
Lightroom Settings
When it comes to working out the right settings, Lightroom is almost as bewildering as Enigma!
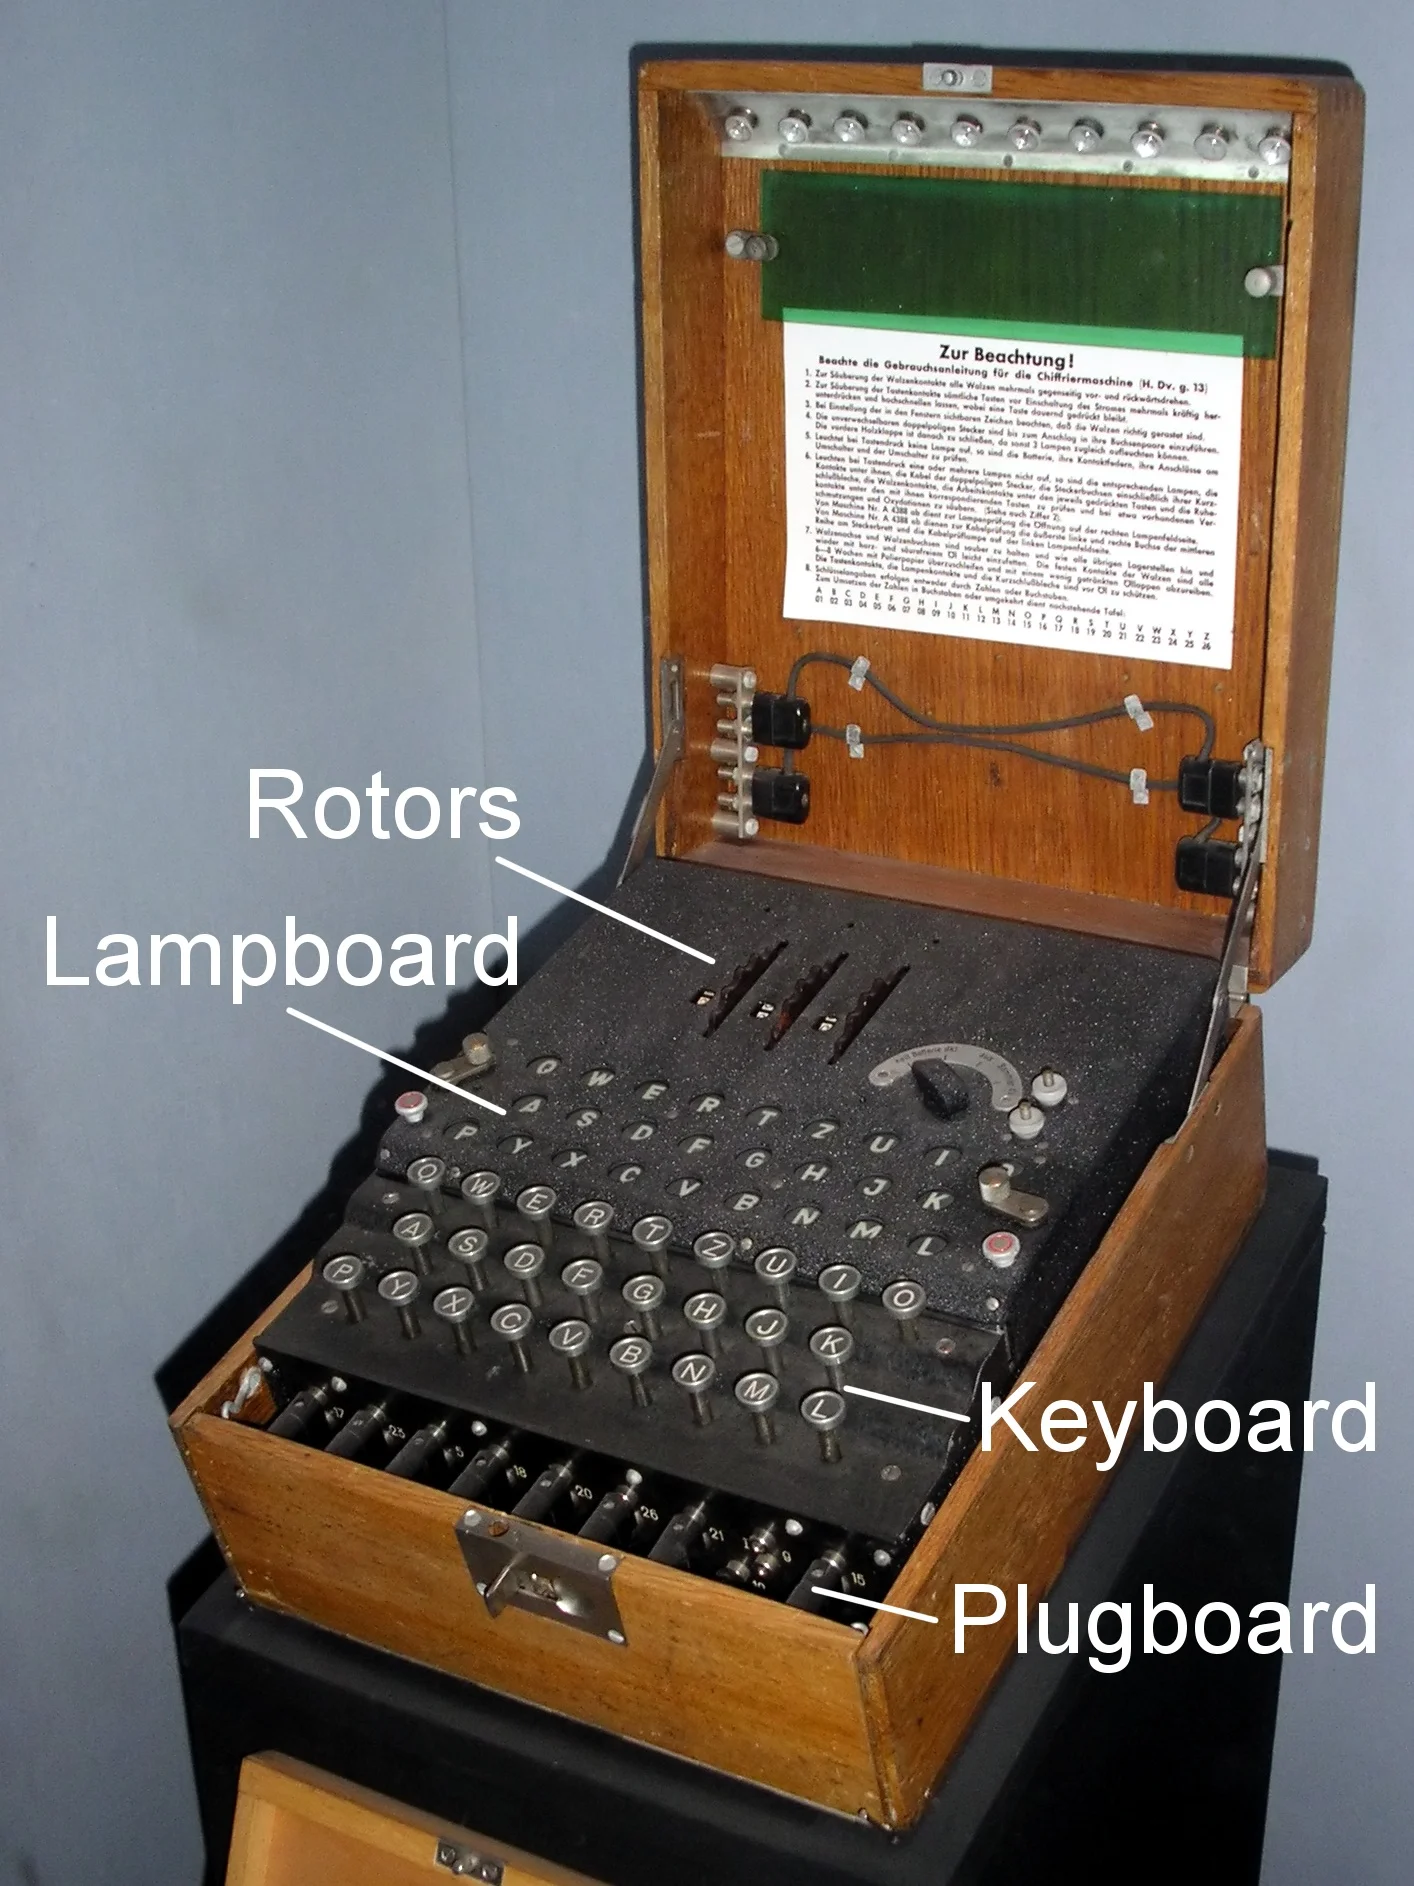
You have to be Alan Turing to make sense of all this
In the last year, I've started doing all my photographic post-processing in Lightroom. It's the program used by most professional photographers and is reasonably user-friendly, but the problem is choosing all the right settings.
I shoot in RAW, which captures the maximum amount of information, but it doesn't necessarily provide a great picture right out of the box. To do that, you need to improve the contrast, clarity, vibrance and various other settings, but what exactly should these settings be?
Enigma had 150 trillion possible combinations of 10 pairs of 26 letters on the plugboard. Lightroom isn't quite as bad as that (!), but it can be bewildering. Even the experts disagree.
I got to grips with Lightroom mostly by watching a very useful series of YouTube videos by Anthony Morganti and an article on KeepSnap, but I've now been given conflicting advice by one of my stock agencies!
What to do, what to do...
In the end, I've used a combination of the recommended settings as a starting point, but I've taken on all the advice from the stock agency, as they pay the bills!
When I've taken a batch of pictures, this is my 'workflow':
Connect camera to my MacBook Pro (or use my new card reader if it's quicker!).
Import all the RAW files to a new folder in Pictures using Image Capture.
Import the files to Lightroom using my custom 'Import' settings.
Rate the images (2 stars = people shots worth putting on Facebook, 3-4 stars = shots worth selling, 5 stars = favourite shots).
Check the ratings (which includes checking the sharpness at 100%).
Work on 3-, 4- and 5-star images in Lightroom (eg cropping, tagging faces, choosing custom black and white points to avoid clipping of highlights and shadows).
Add metadata to 3-, 4- and 5-star images, including titles, captions, keywords, location and copyright.
Export 3-, 4- and 5-star images as JPEGs to 4*, 5* and 'To upload' folders in Finder.
Import 4- and 5-star JPEGs to 4* and 5* folders in Lightroom.
Upload to stock agencies (and social media).
Format the memory card and delete files in the 'To upload' folder and any unrated files in Lightroom.
I know that sounds a bit complicated, but I've learned from experience which steps work for me! At the end of the day, the most important thing is to keep a copy of the original RAW files. Lightroom is 'non-destructive', so, whatever changes you make, you can always start again.
The next thing to cover is what these mysterious 'Import' settings actually are. If you want a 'quick and dirty' solution, then you simply need to hit the ‘Auto’ tone key in the Basic panel. However, it's best to do a little with a number of settings rather than a lot with one, so here are some possible preset settings, shown for each panel in the Develop module:
Basic:
Contrast +25
Highlights -80
Shadows +30
Whites 0 (edited later for each shot to avoid pure white)
Blacks 0 (edited later for each shot to avoid pure black)
Clarity +5 (KeepSnap thinks it should be +40!)
Vibrance +20
Tone Curve
Highlights -5
Shadows +5
Detail:
Sharpening - Amount 0 (Anthony Morganti thinks is should be 70!)
Noise Reduction - Luminance 0 (Anthony Morganti thinks is should be 40!)
Lens Corrections:
Enable Profile Corrections ticked (This doesn’t always work for different lenses in Lightroom, so you might need to apply it separately for each.)
Remove Chromatic Aberration ticked
As I say, these settings are only a starting point, and I'll obviously change them if I think the image would benefit, but it's important not to push things too far. That will only make the photograph look 'over-processed' and unnatural.
The only other thing I add is a vignette to my wildlife 'portraits'. I do this by setting the Post-Crop Vignetting Amount to -20 in the Effects module. I don't do it when the background is a perfect blue sky, as I don't think it looks very good.
I should say a couple of things about export settings and the use of metadata.
I've set up presets for all the folders I usually export to, but my experience selling via stock agencies has taught me that JPEG files should be no more than 20MB each, so I've used that as my file size limit.
Most stock agencies also have minimum quality thresholds, so I try not to crop so much that the image is less than 6.3 megapixels.
The agencies also have rules on the type and number of characters in each metadata field, so I avoid apostrophes and give all my images seven-word titles that are no longer than 50 characters.
Finally, keywords are essential for Search Engine Optimisation, so I use at least 10 but more often 20 or 30, including tags describing the location, content and theme of the image (plus obvious synonyms).
Lightroom is a subject I'm learning all the time, but I hope all this will give you a head start!
If you’d like to order a framed print of one of my wildlife photographs, please visit the Prints page.
If you’d like to book a lesson or order an online photography course, please visit my Lessons and Courses pages.