
Experiment with Lens Blur
“What’s the point of a background if you can see what it looks like…?!”
Lightroom's latest release (13.0.1) has just come out, and it offers a cool new AI feature called Lens Blur that works with any image format. It's labelled 'Early Access', so it's experimental and doesn't (yet) work with masking or presets or include sharpening, but it's a great way to add creative blur in post.
How Does it Work?
All you have to do is go to the new Lens Blur panel in the Develop module and click the Apply checkbox. You can then play around with various settings.
The Blur Amount slider controls the intensity.
Bokeh lets you choose from five different options with a Boost slider.
The Focal Range slider sets the depth of field. The person icon selects the subject automatically while the crosshairs let you click on the focal point (eg the eye of your subject). The slider has handles that you can drag in and out to set the nearest and furthest points that you don't want to blur.
Visualize Depth is a checkbox that superimposes colours over the image to show what's in focus (or you can press the Option/Alt key as you click and drag the Focal Range slider).
The Focus and Blur buttons let you paint over the parts of the image where you want blur to be applied. You get the usual Lightroom brush options: Amount, Size, Feather, Flow and Auto Mask.
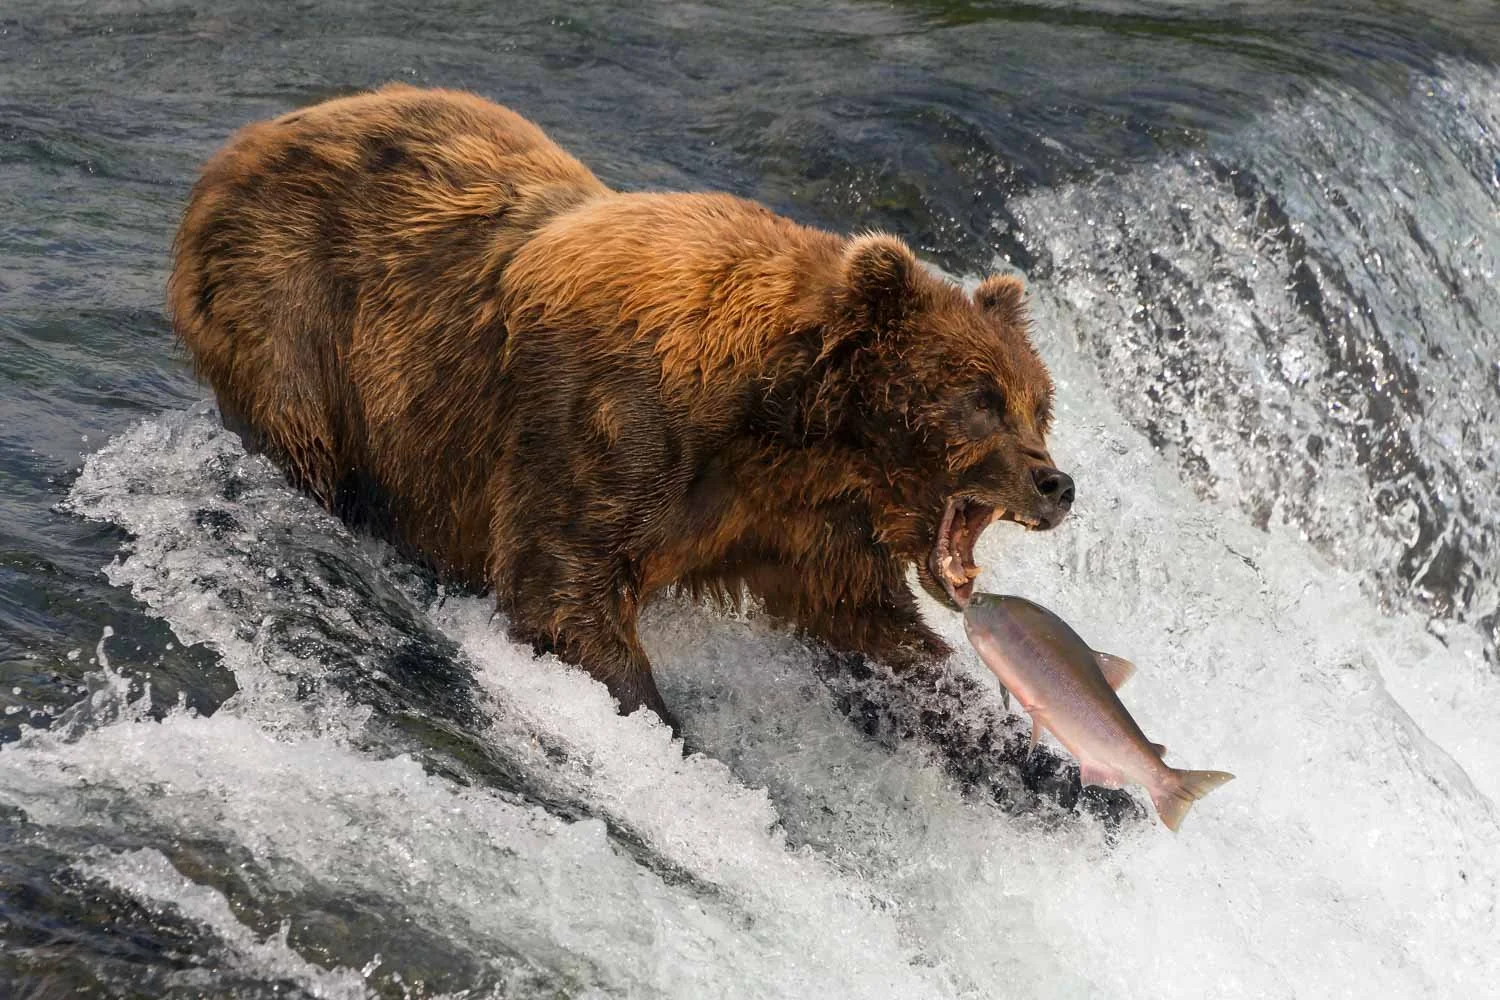
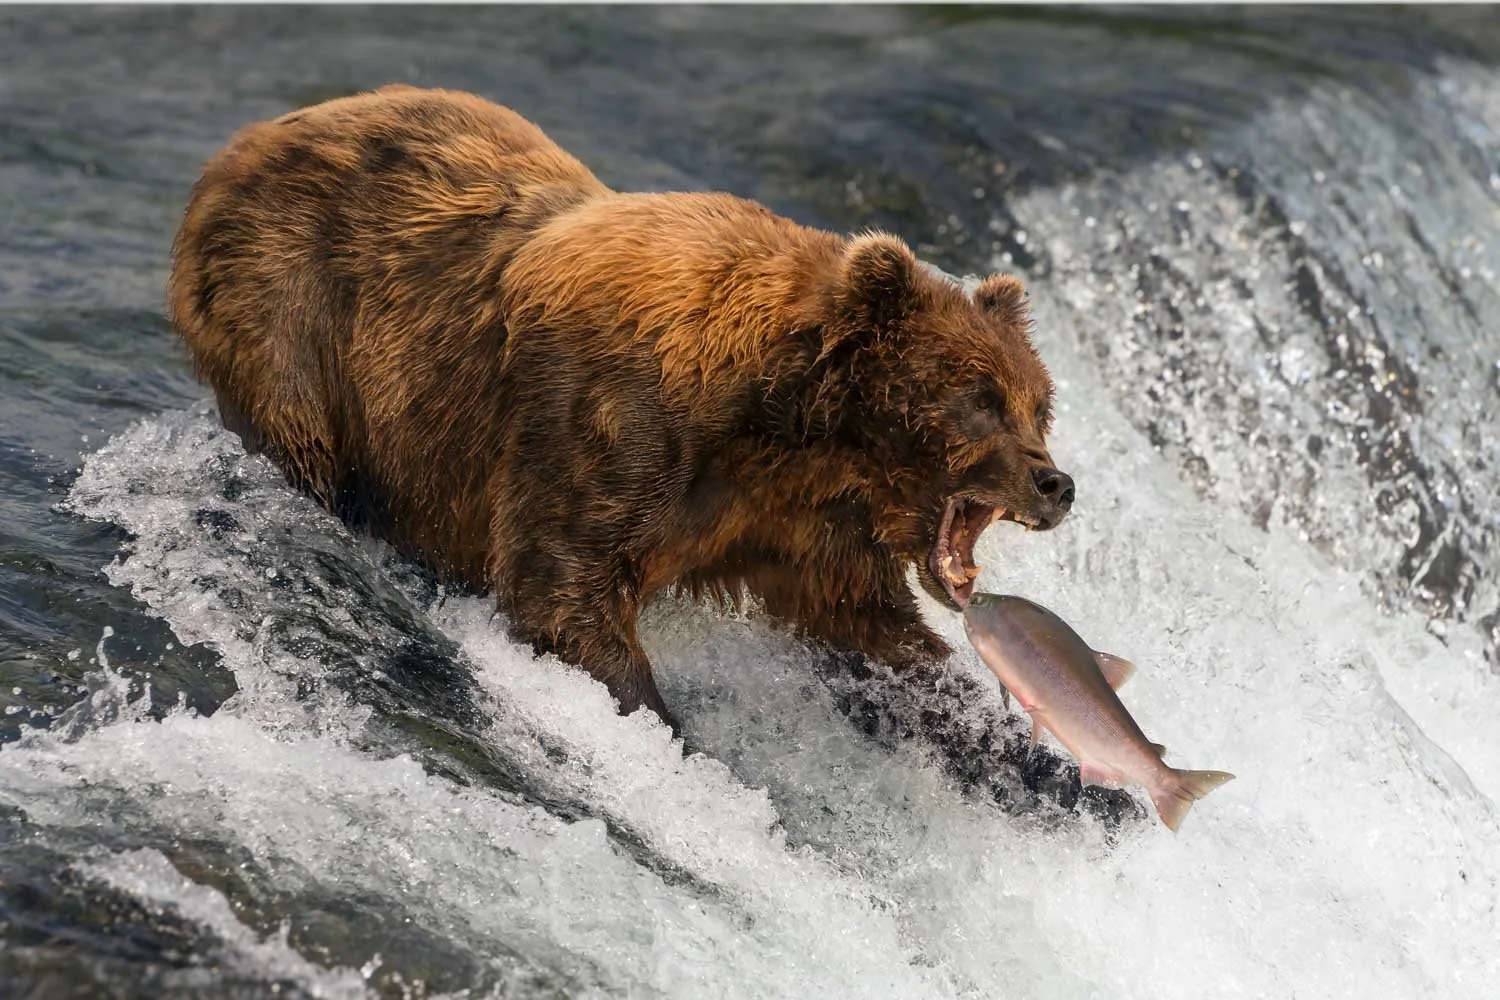
I tried out Lens Blur with this shot of a bear catching salmon. I'd taken it at f/9, so the water in the background was annoyingly sharp, but I softened it using a Blur Amount of 50. What do you think...?
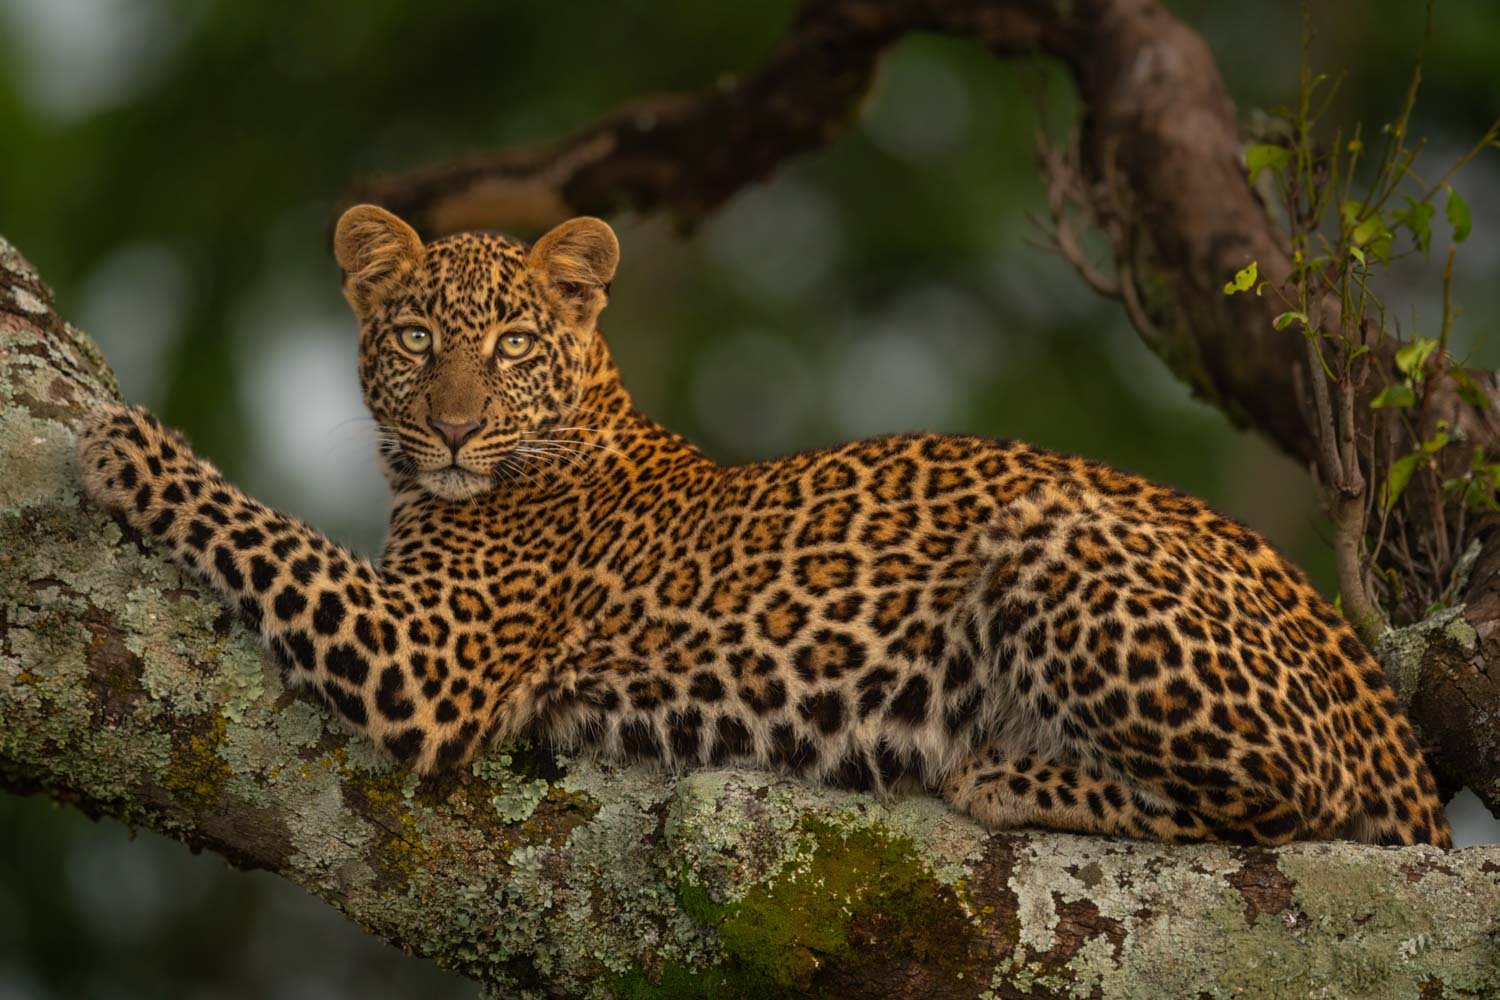
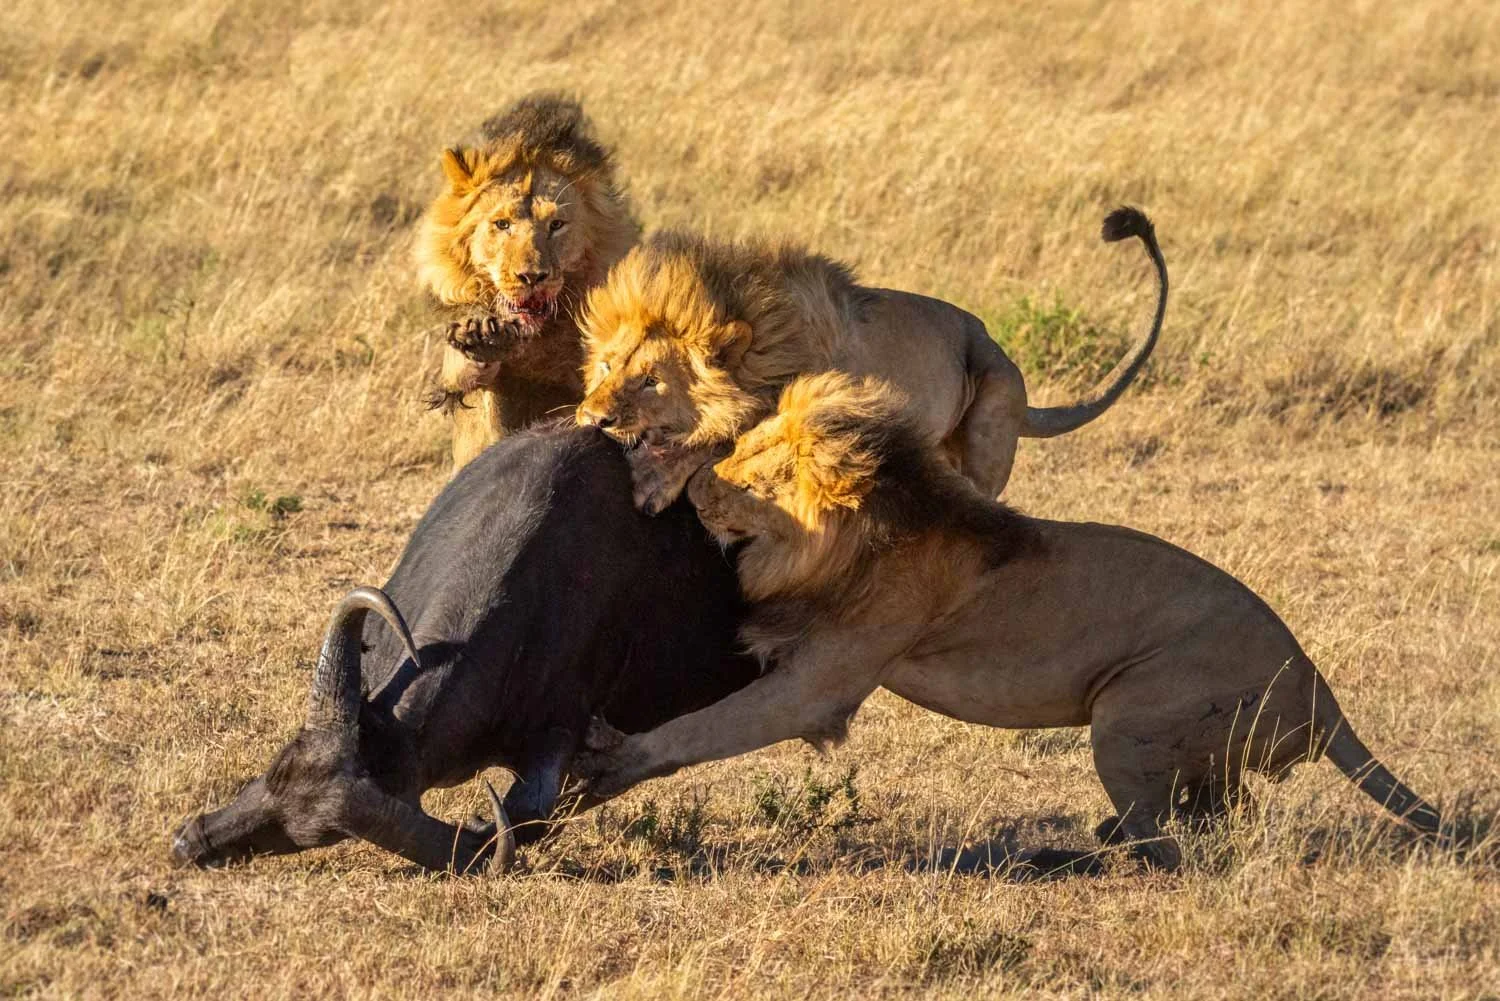
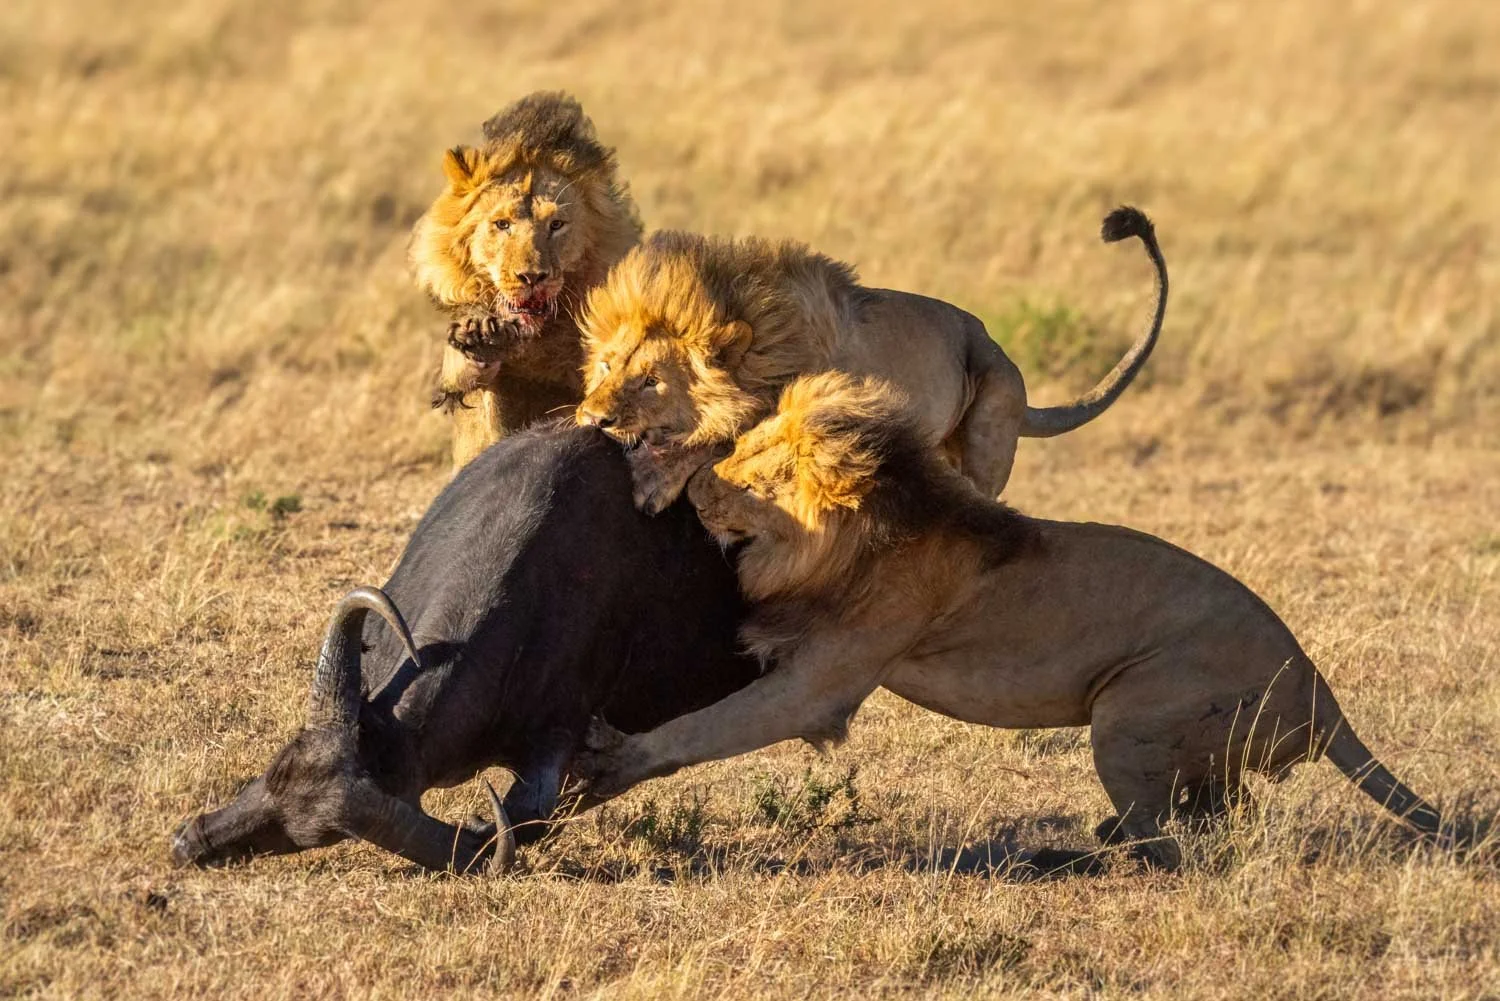
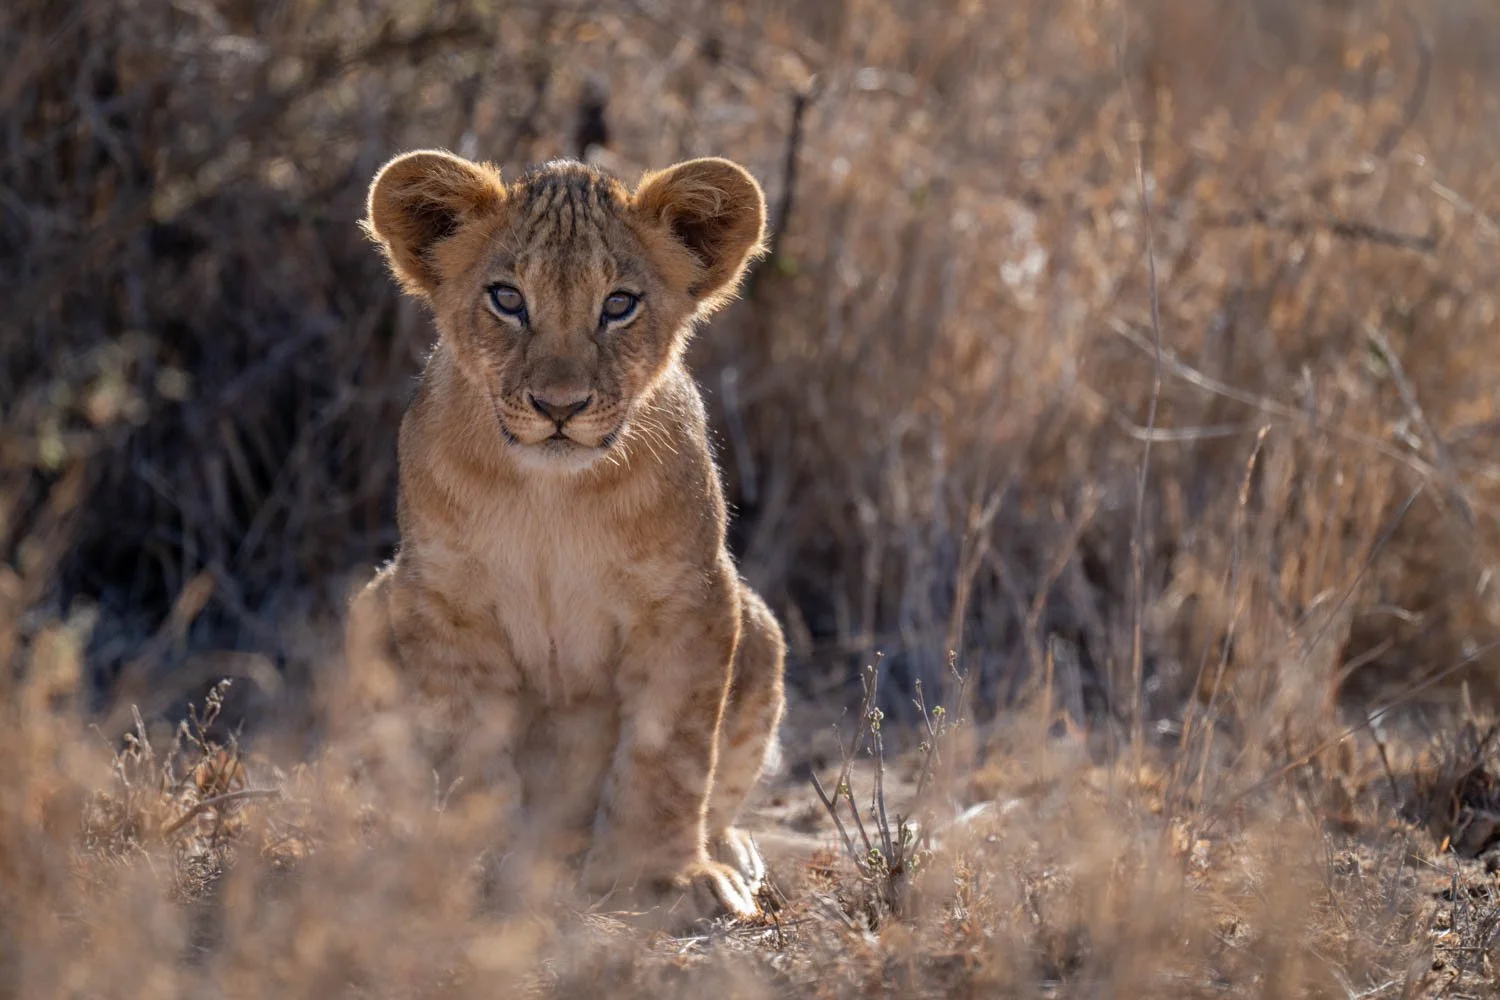
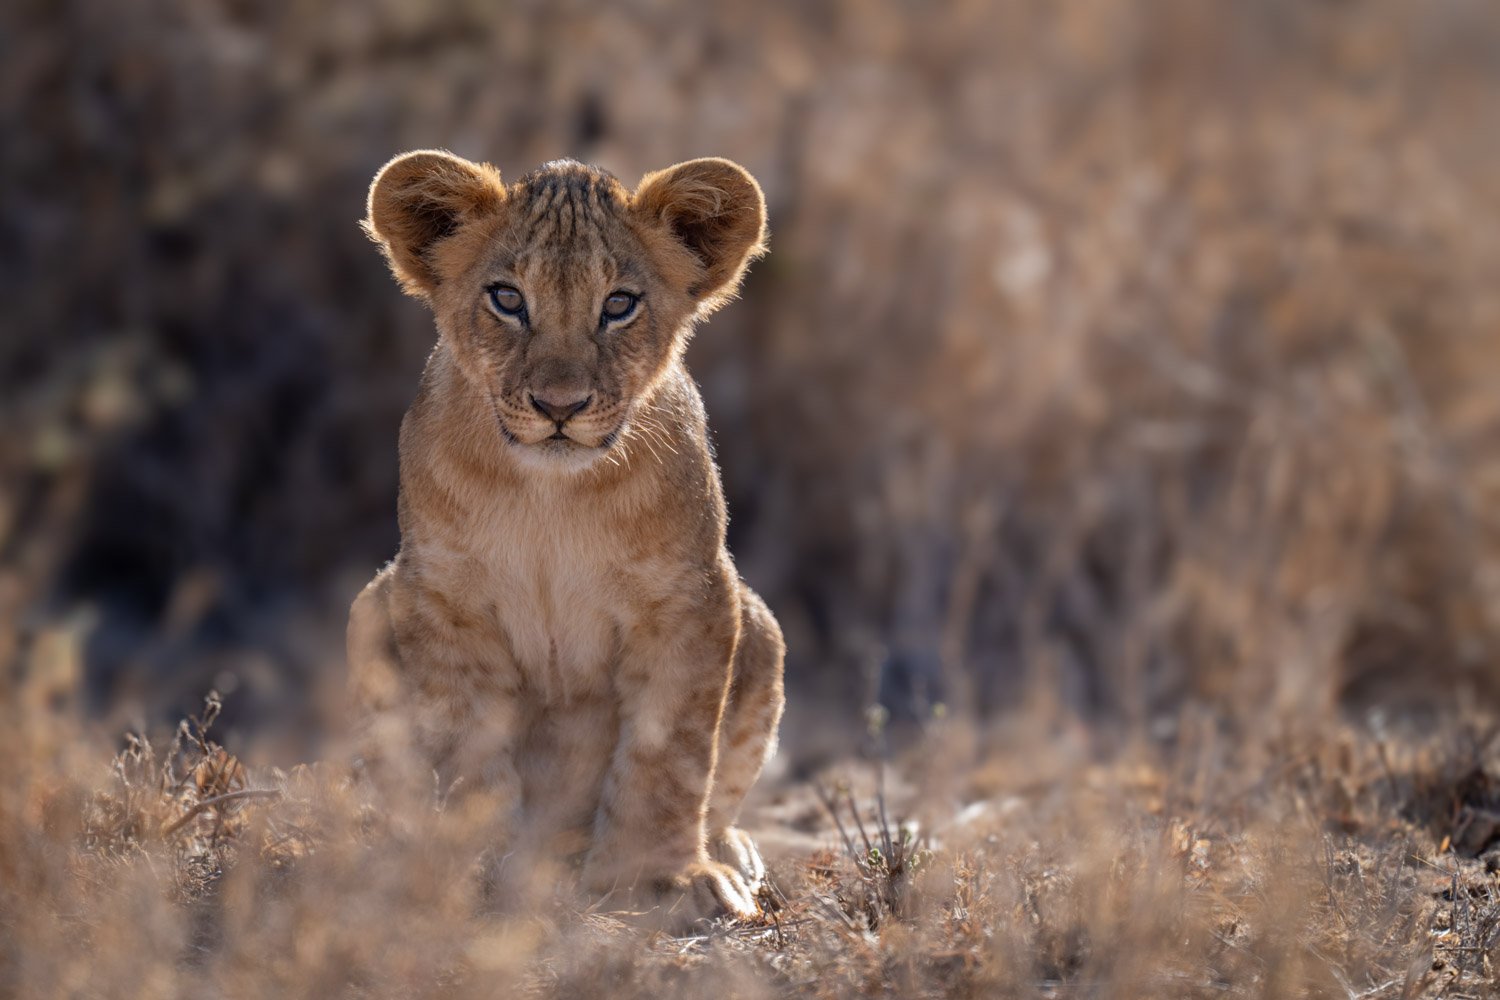
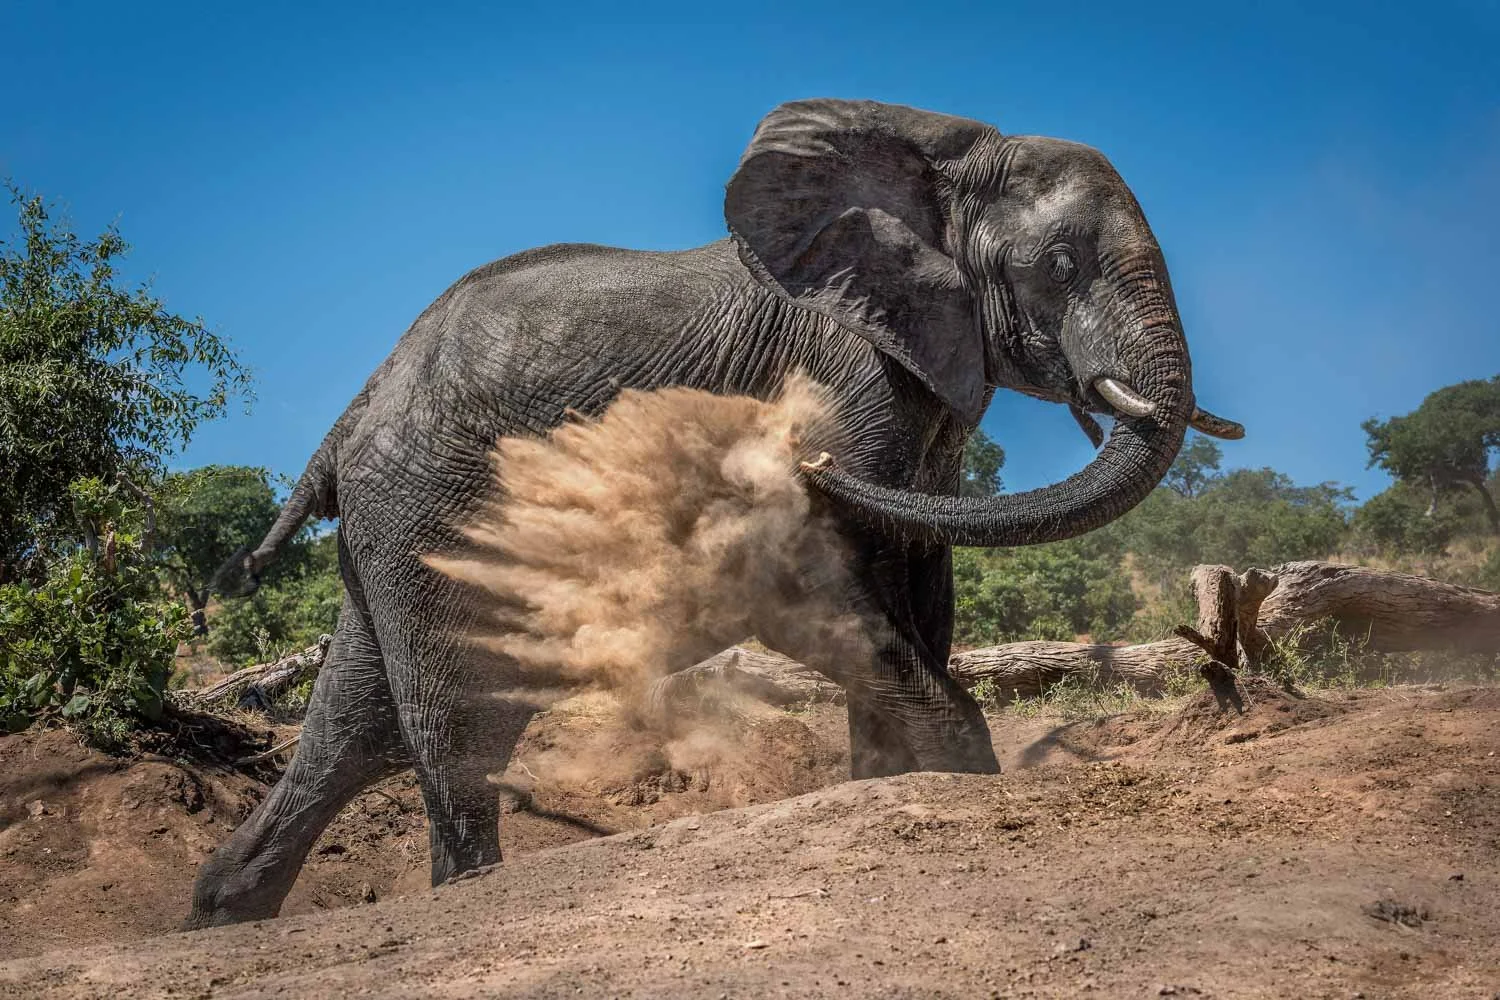
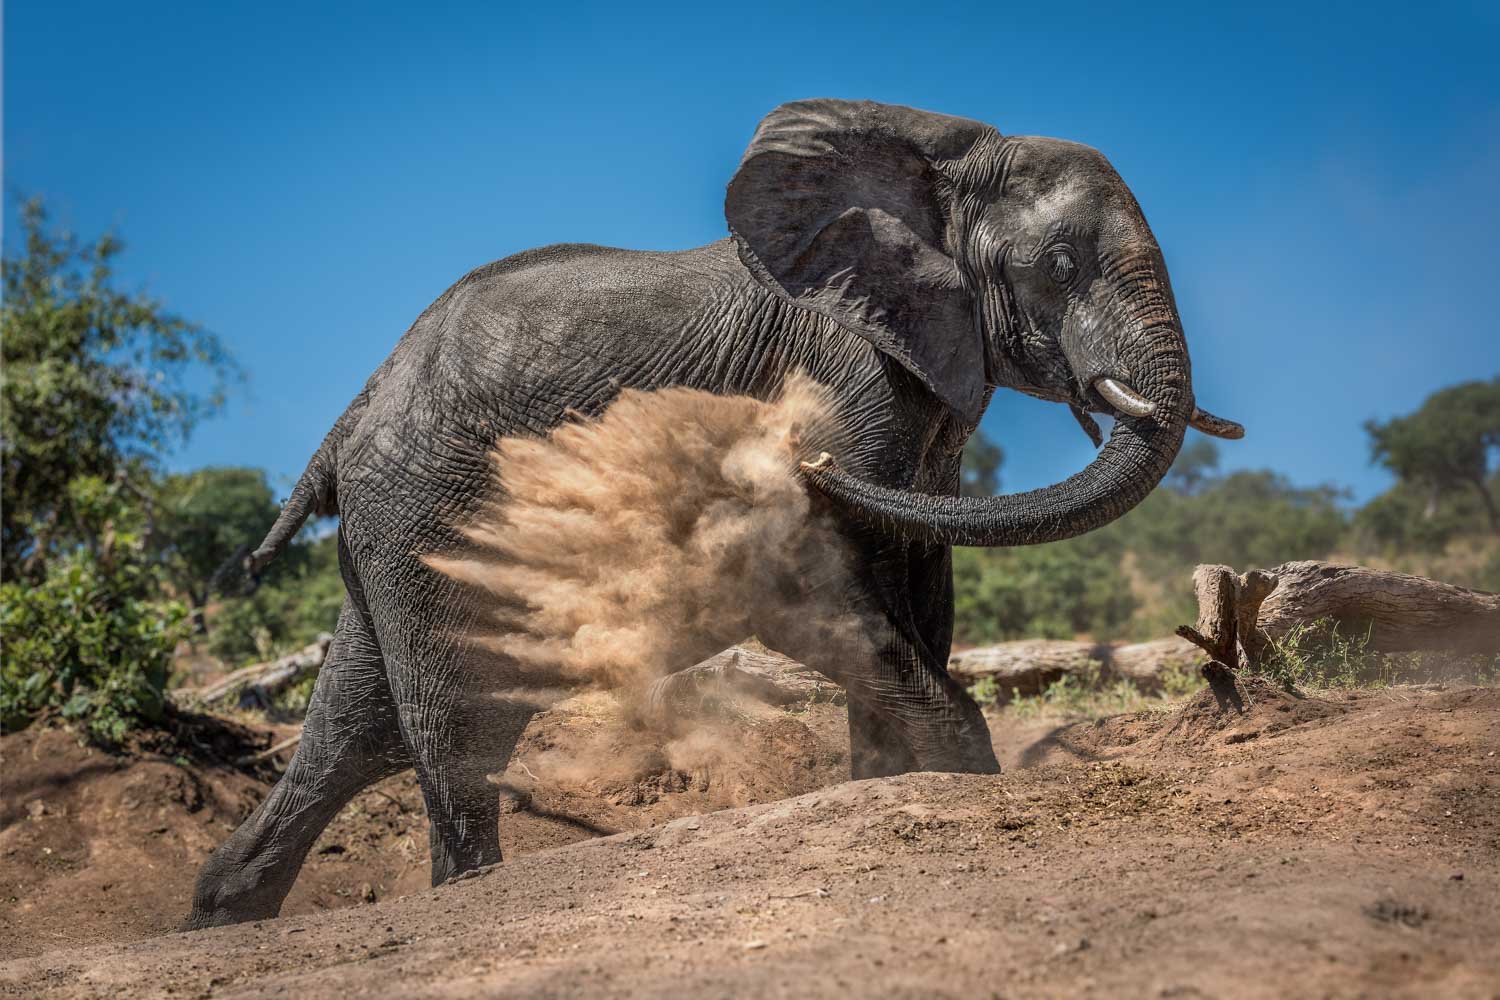
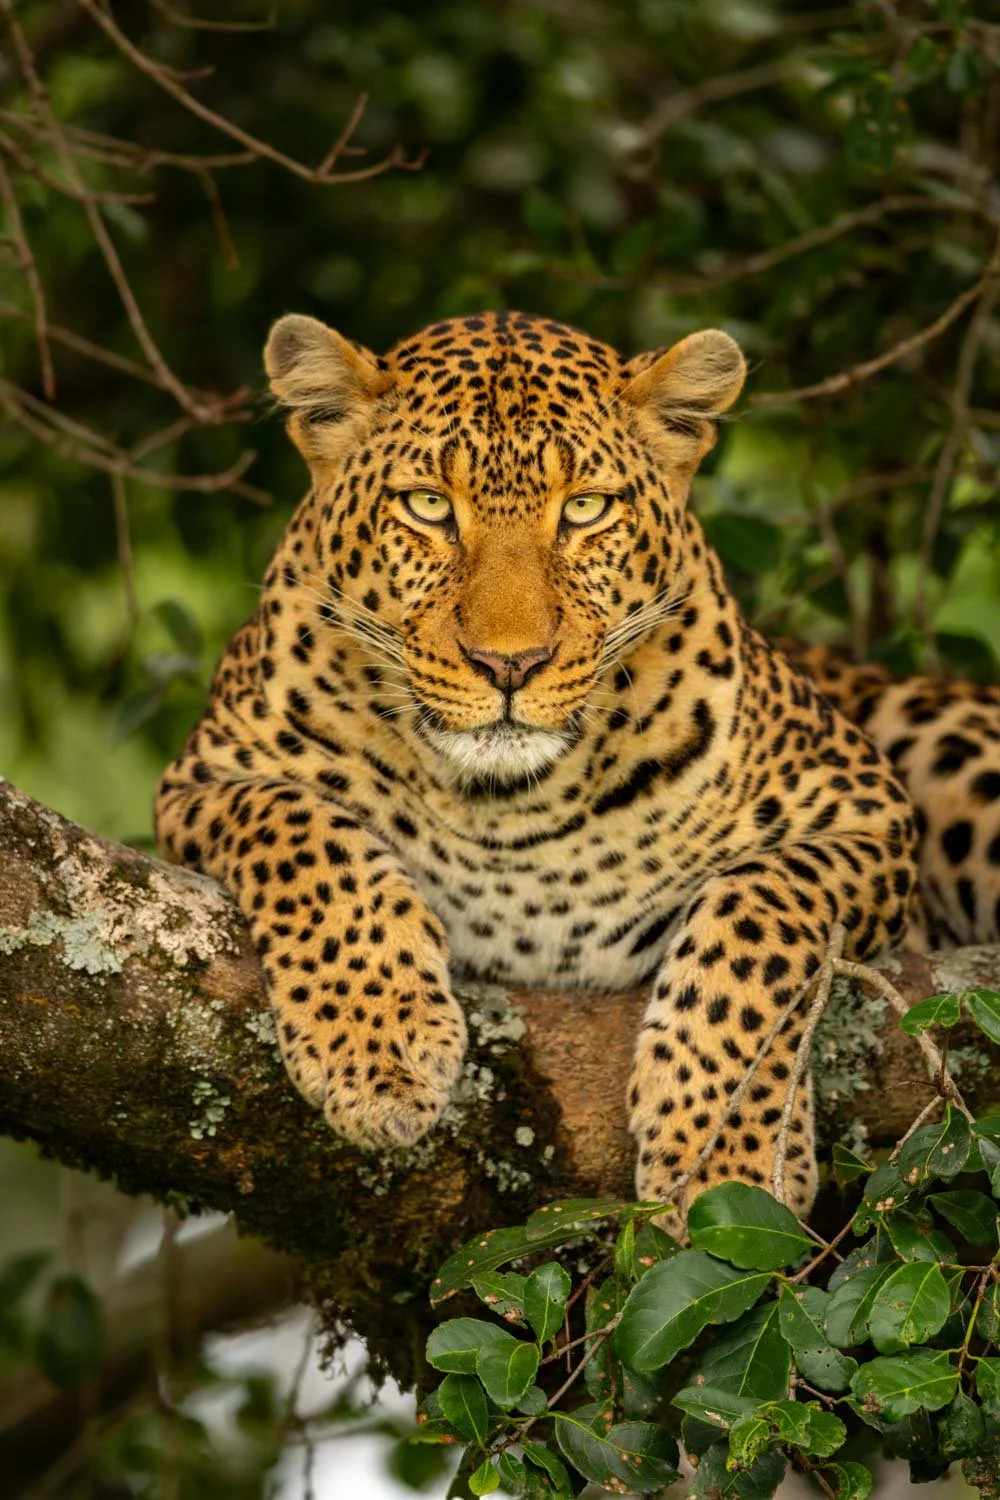
Here’s a gallery of a few other images with added Lens Blur.


Verdict
As always, the main thing to remember when using this kind of feature is that you shouldn't go too far. If you add too much blur, the result won't look natural.
If you’d like to order a framed print of one of my wildlife photographs, please visit the Prints page.
If you’d like to book a lesson or order an online photography course, please visit my Lessons and Courses pages.