
Kind Hearts and Coronets
Wales has more sheep than people. Ecuador has more hummingbirds!
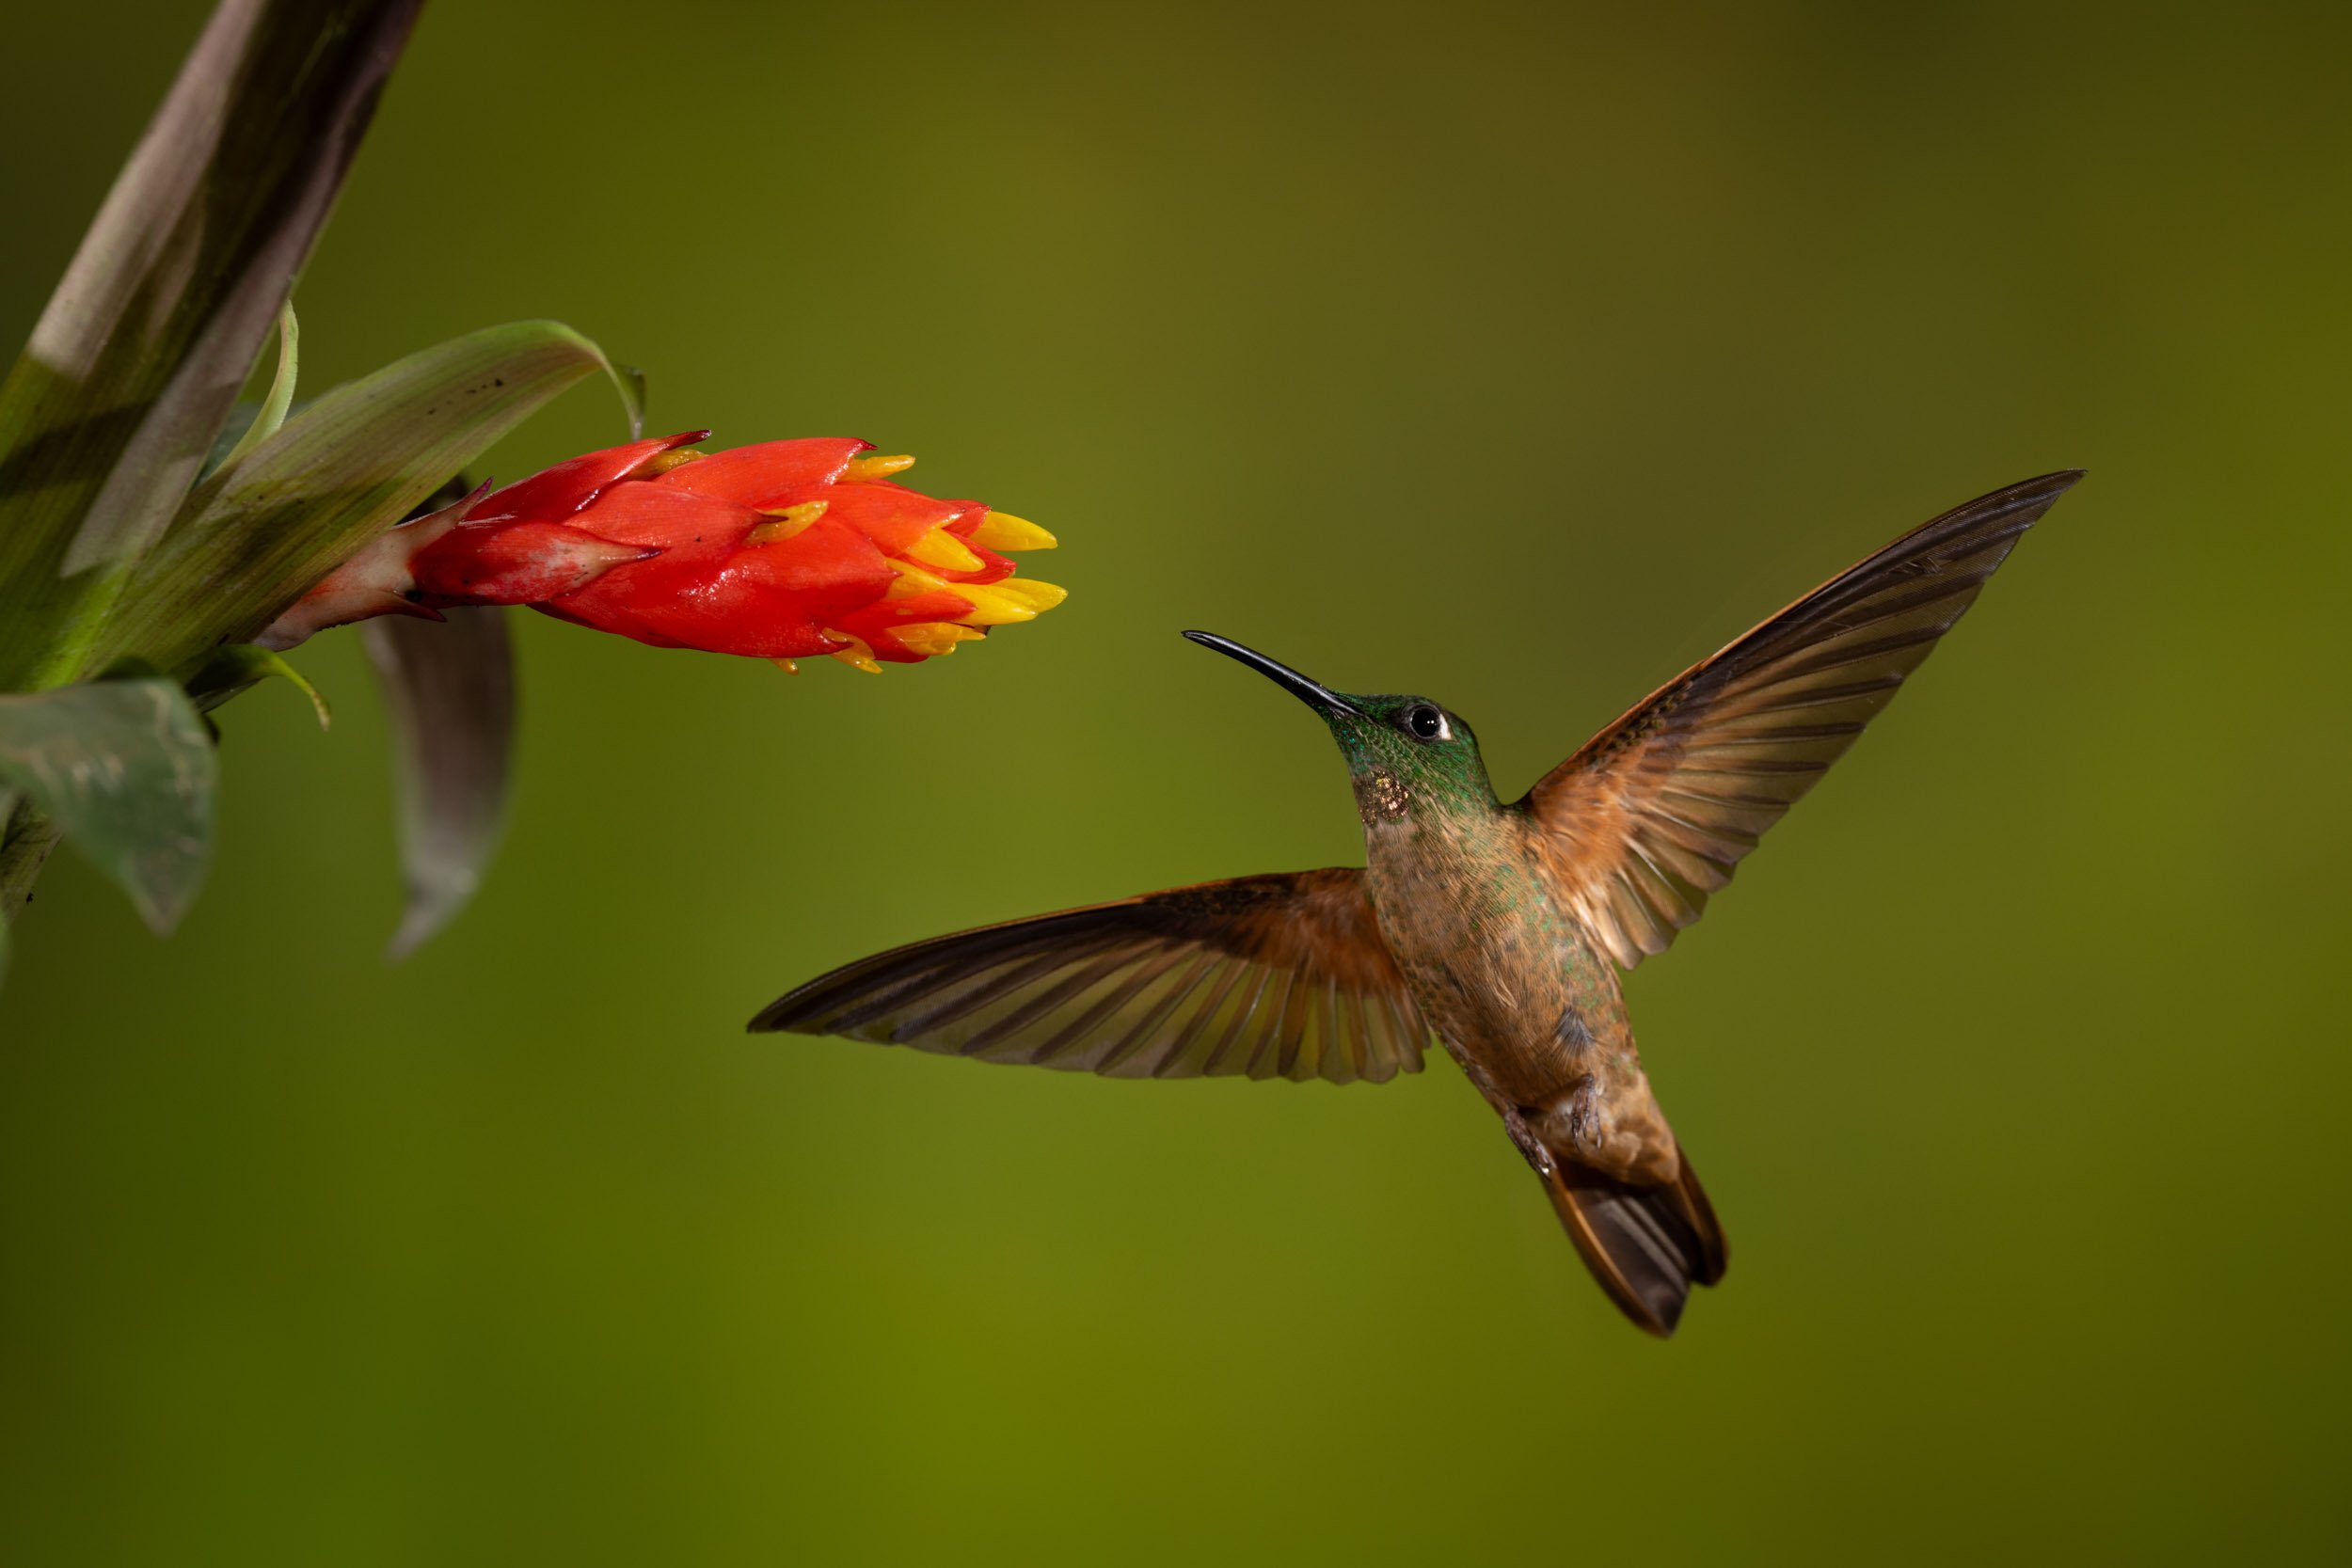
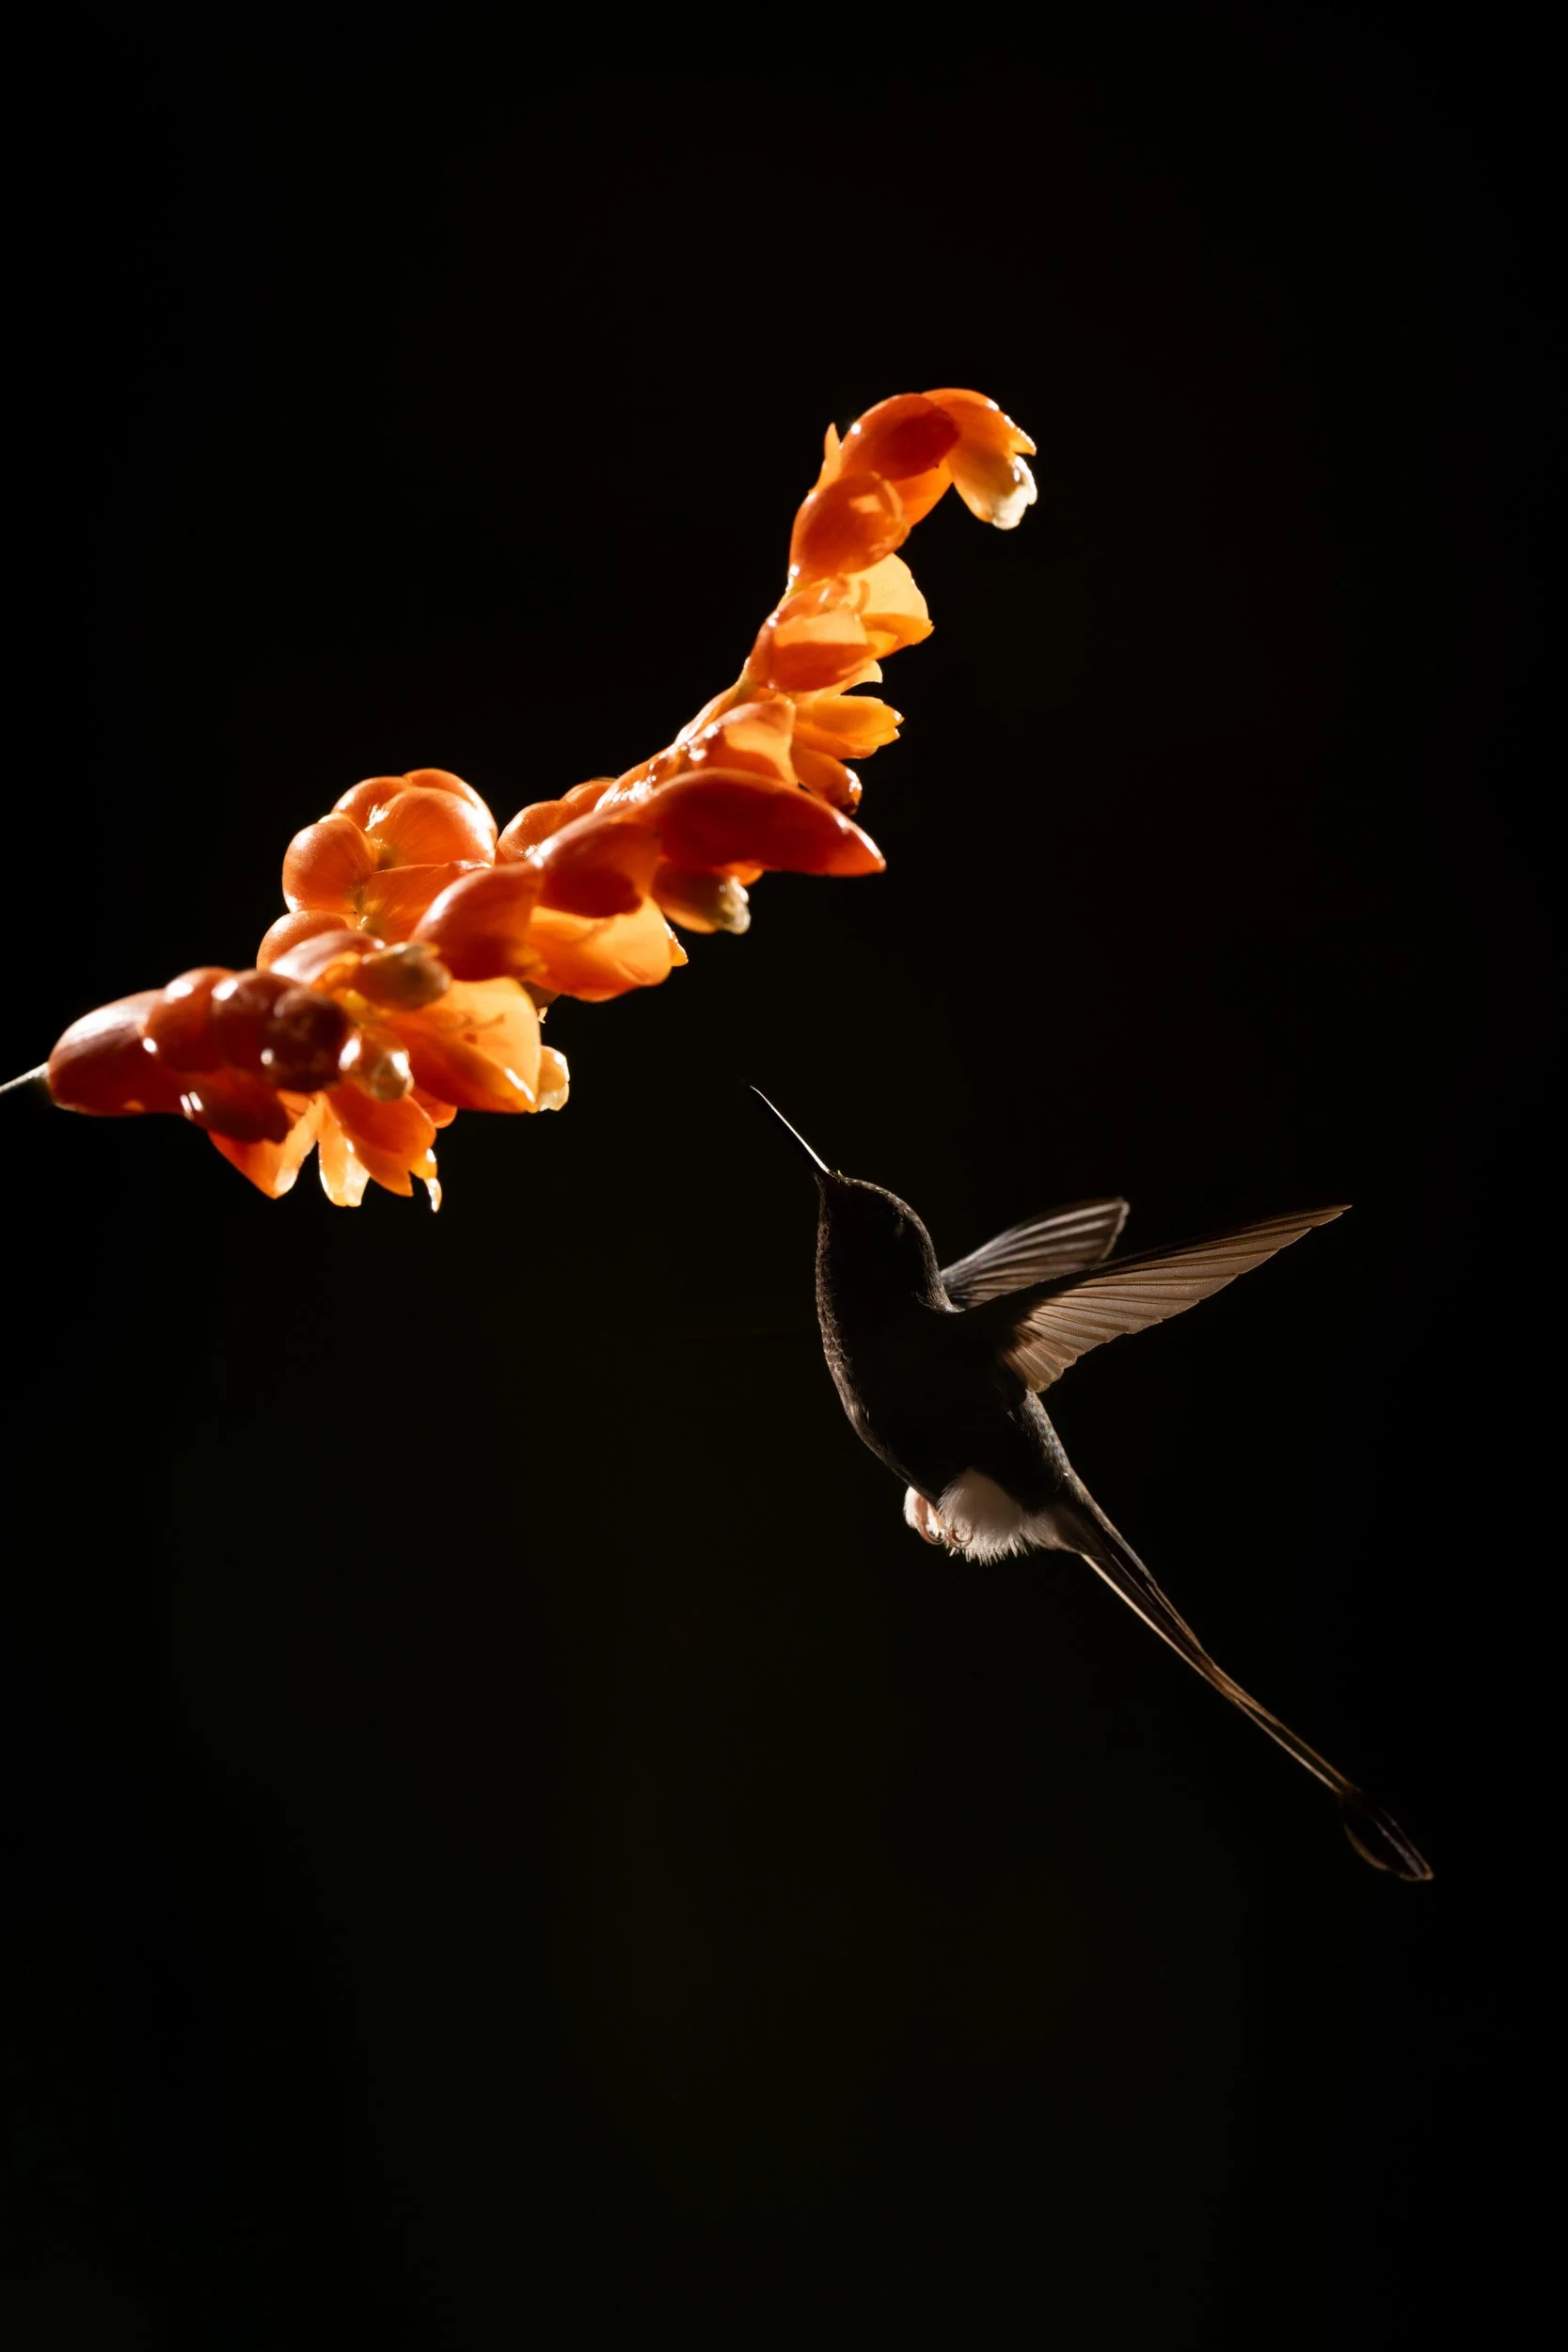
Reach for the Sky
If you thought the Colibri was just a café in Richmond Park popular with MAMILs, you might be surprised to know it’s the Spanish word for hummingbird! I’ve just spent two weeks photographing hummers and other birds at Tandayapa Bird Lodge in the foothills of the Ecuadorian Andes. I had to cope with power cuts, the language barrier, a mañana attitude and a fallen tree, but it was worth it!
Getting There
This whole adventure came about when I received an email out of the blue from someone called Martina at Tandayapa Bird Lodge. It began “Dear Amy…” Not a promising start, I grant you, and her original idea that I’d bring my clients to Tandayapa wasn’t going to work as I didn’t have any clients to bring!
However, I suggested my usual barter deal, which meant swapping free accommodation in exchange for pictures of the lodge, the food, the staff and the local wildlife. Martina checked with her boss, and we came to an arrangement. I’d get three nights’ free accommodation and 15% off any further nights. A three-night trip to South America wasn’t really on, so I decided to extend my stay to two weeks.
And that’s how I ended up photographing hummingbirds in Ecuador…
As well as paying for most of my accommodation, I also had to book flights to Quito, which was the nearest airport. Unfortunately, Quito was all the way across the Atlantic in a different hemisphere, but that was nothing new. I only seem to like photographing wildlife that lives at least 5,000 miles away, so I’m used to long-haul flights by now!
I ended up flying overnight from London to Quito via Madrid and then taking a three-hour taxi ride. It took just over 20 hours door-to-door, but I paid for an exit row seat on the flight to Ecuador, so at least I had plenty of room to stretch my legs…!
The Lodge

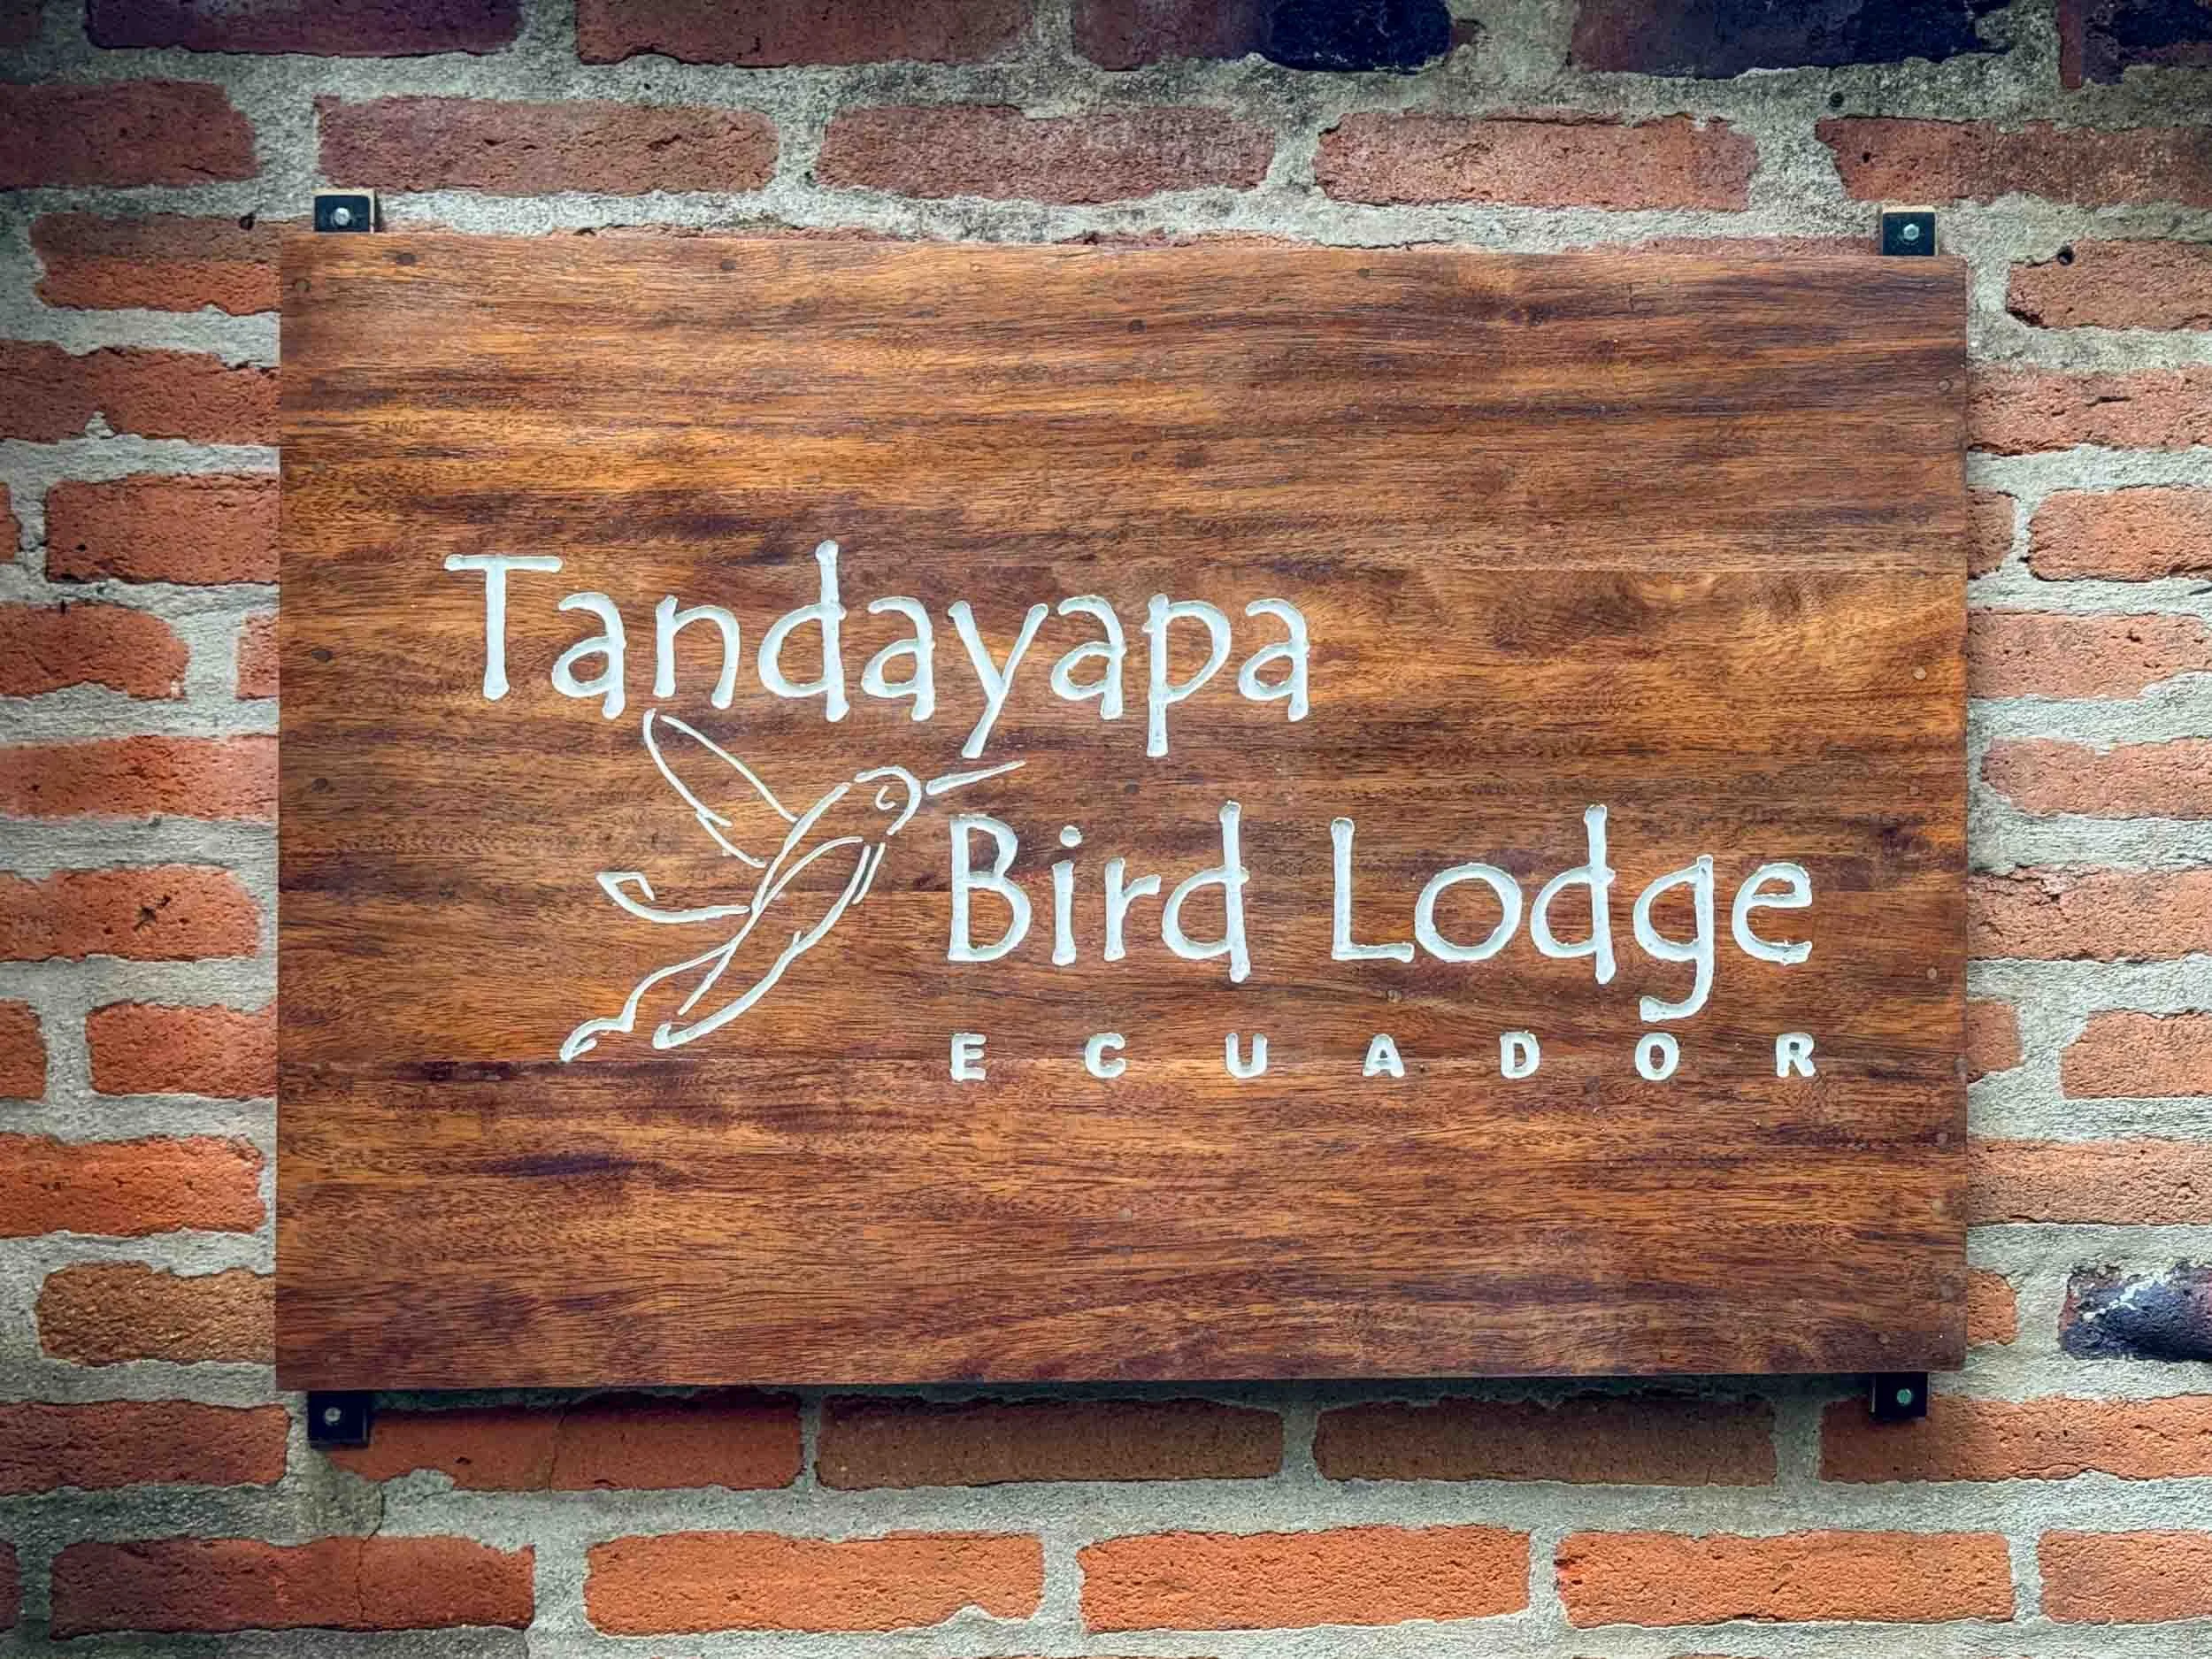
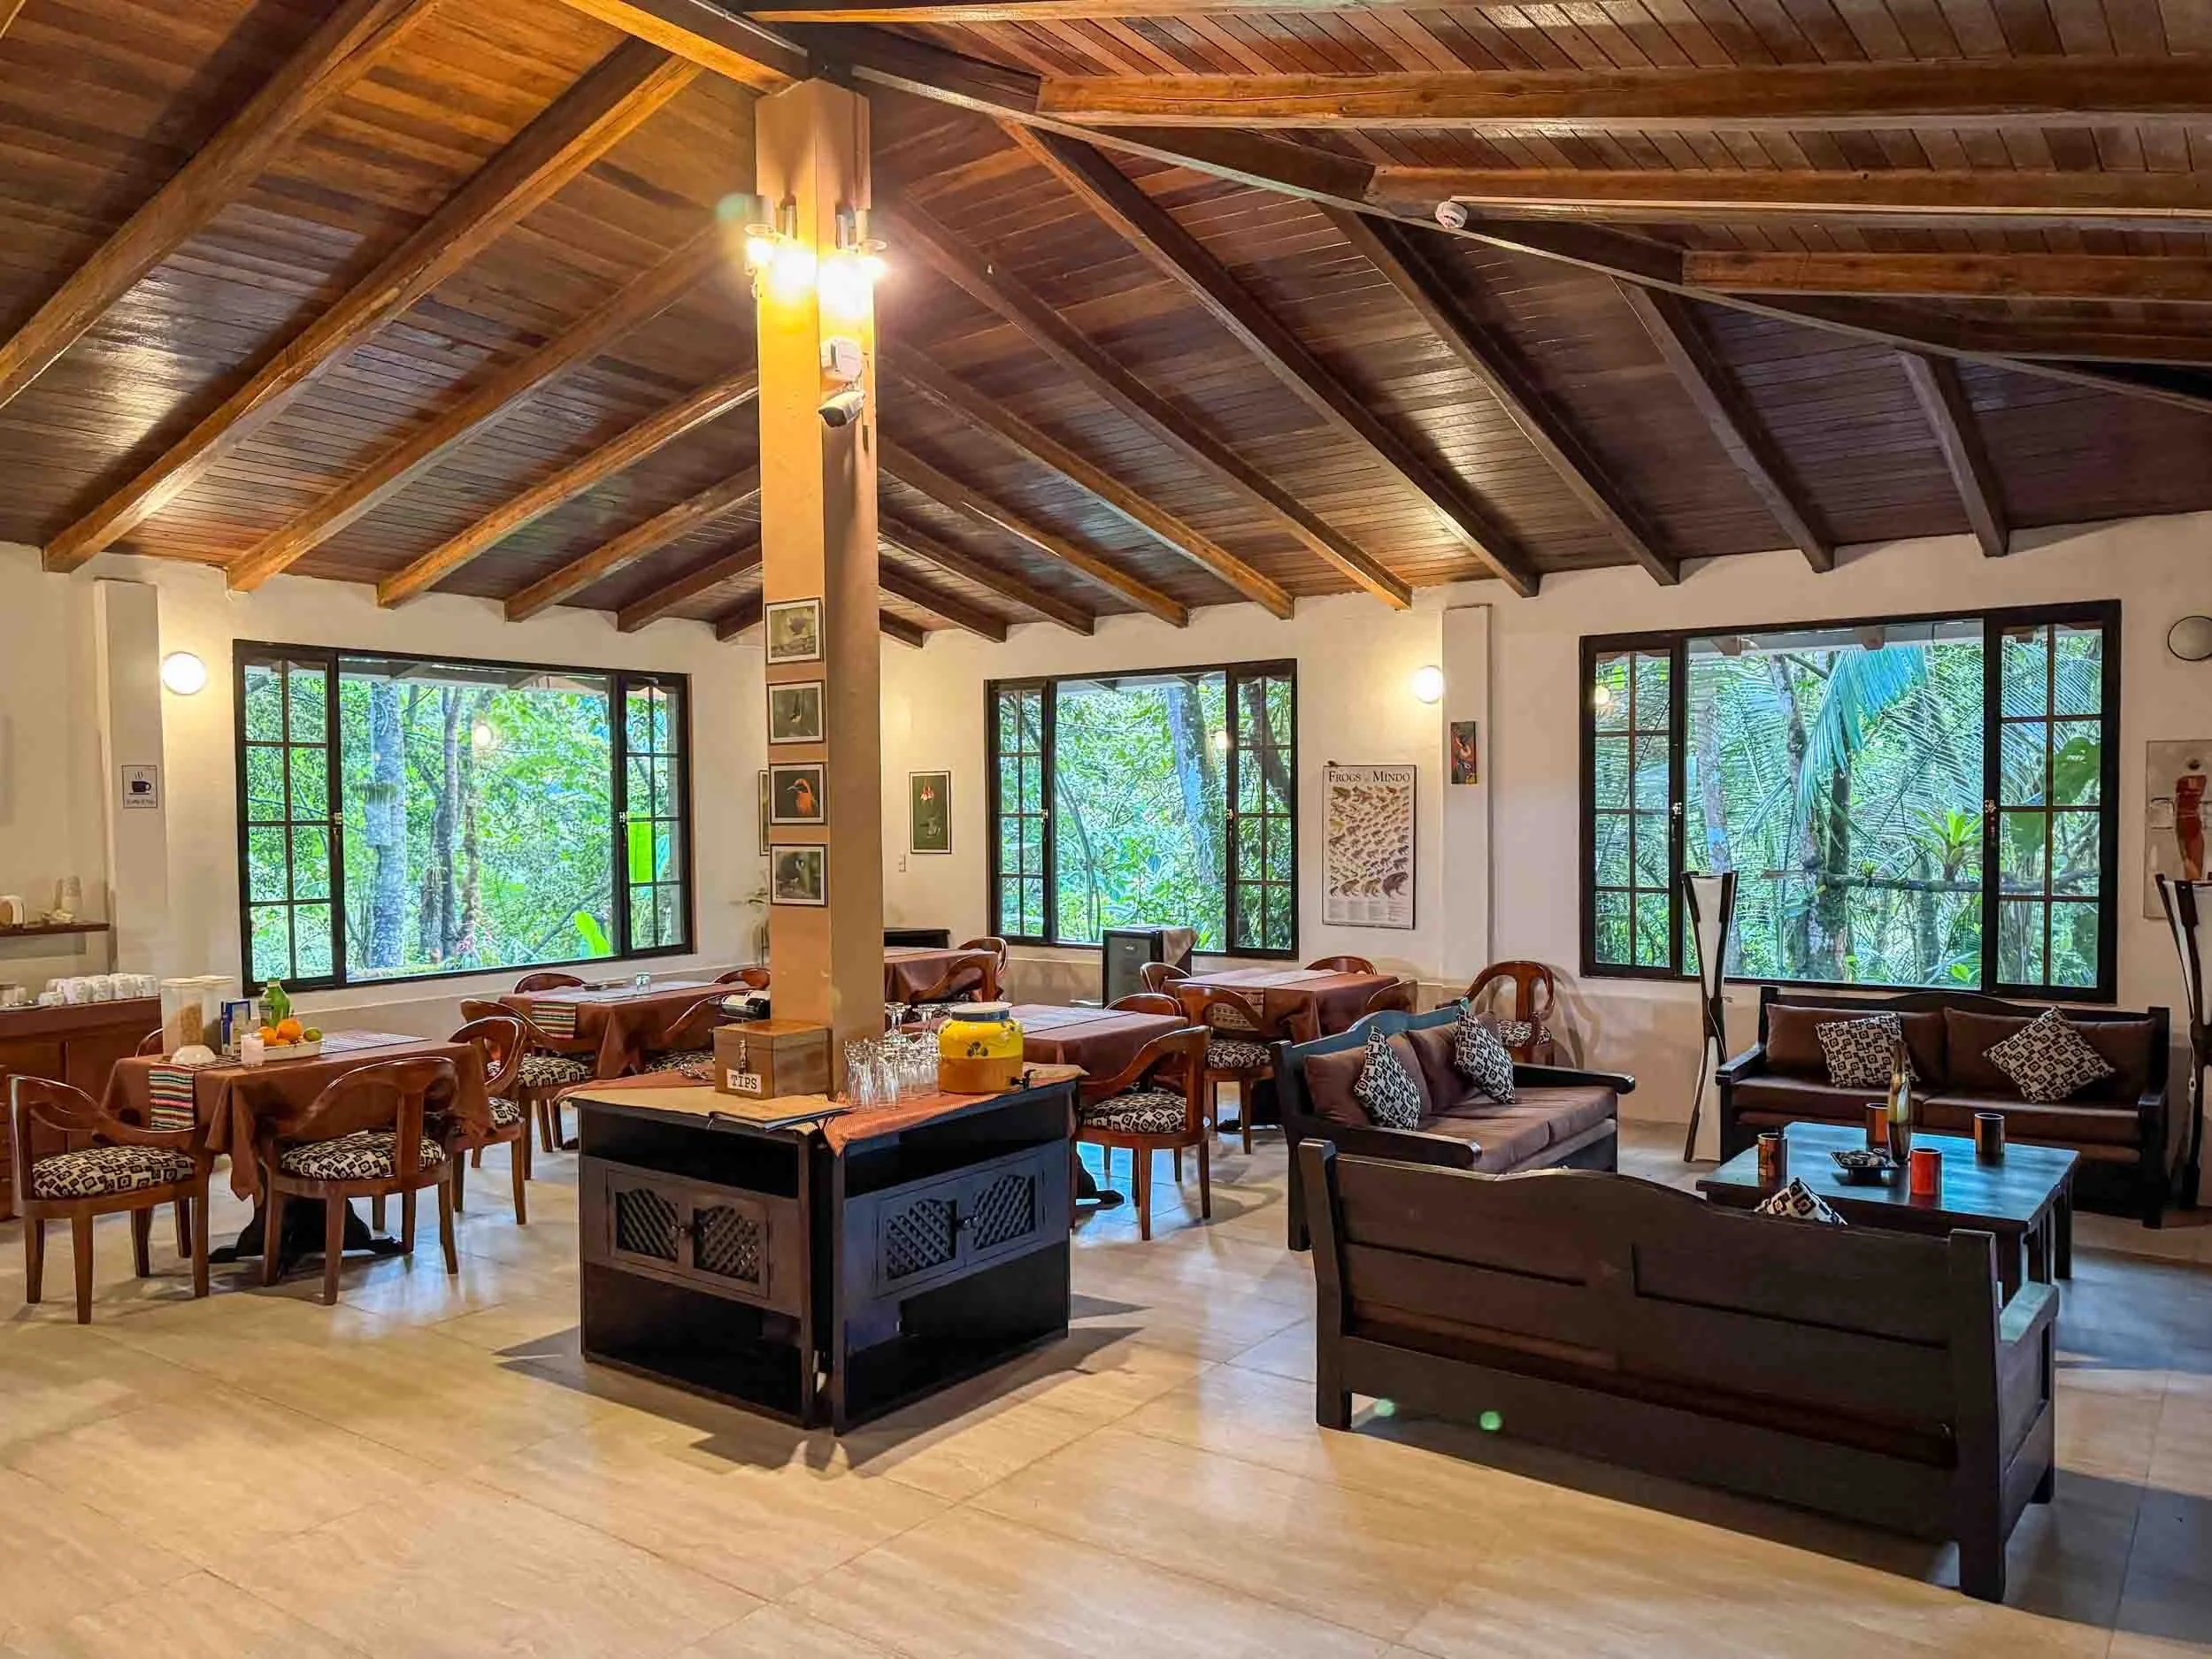
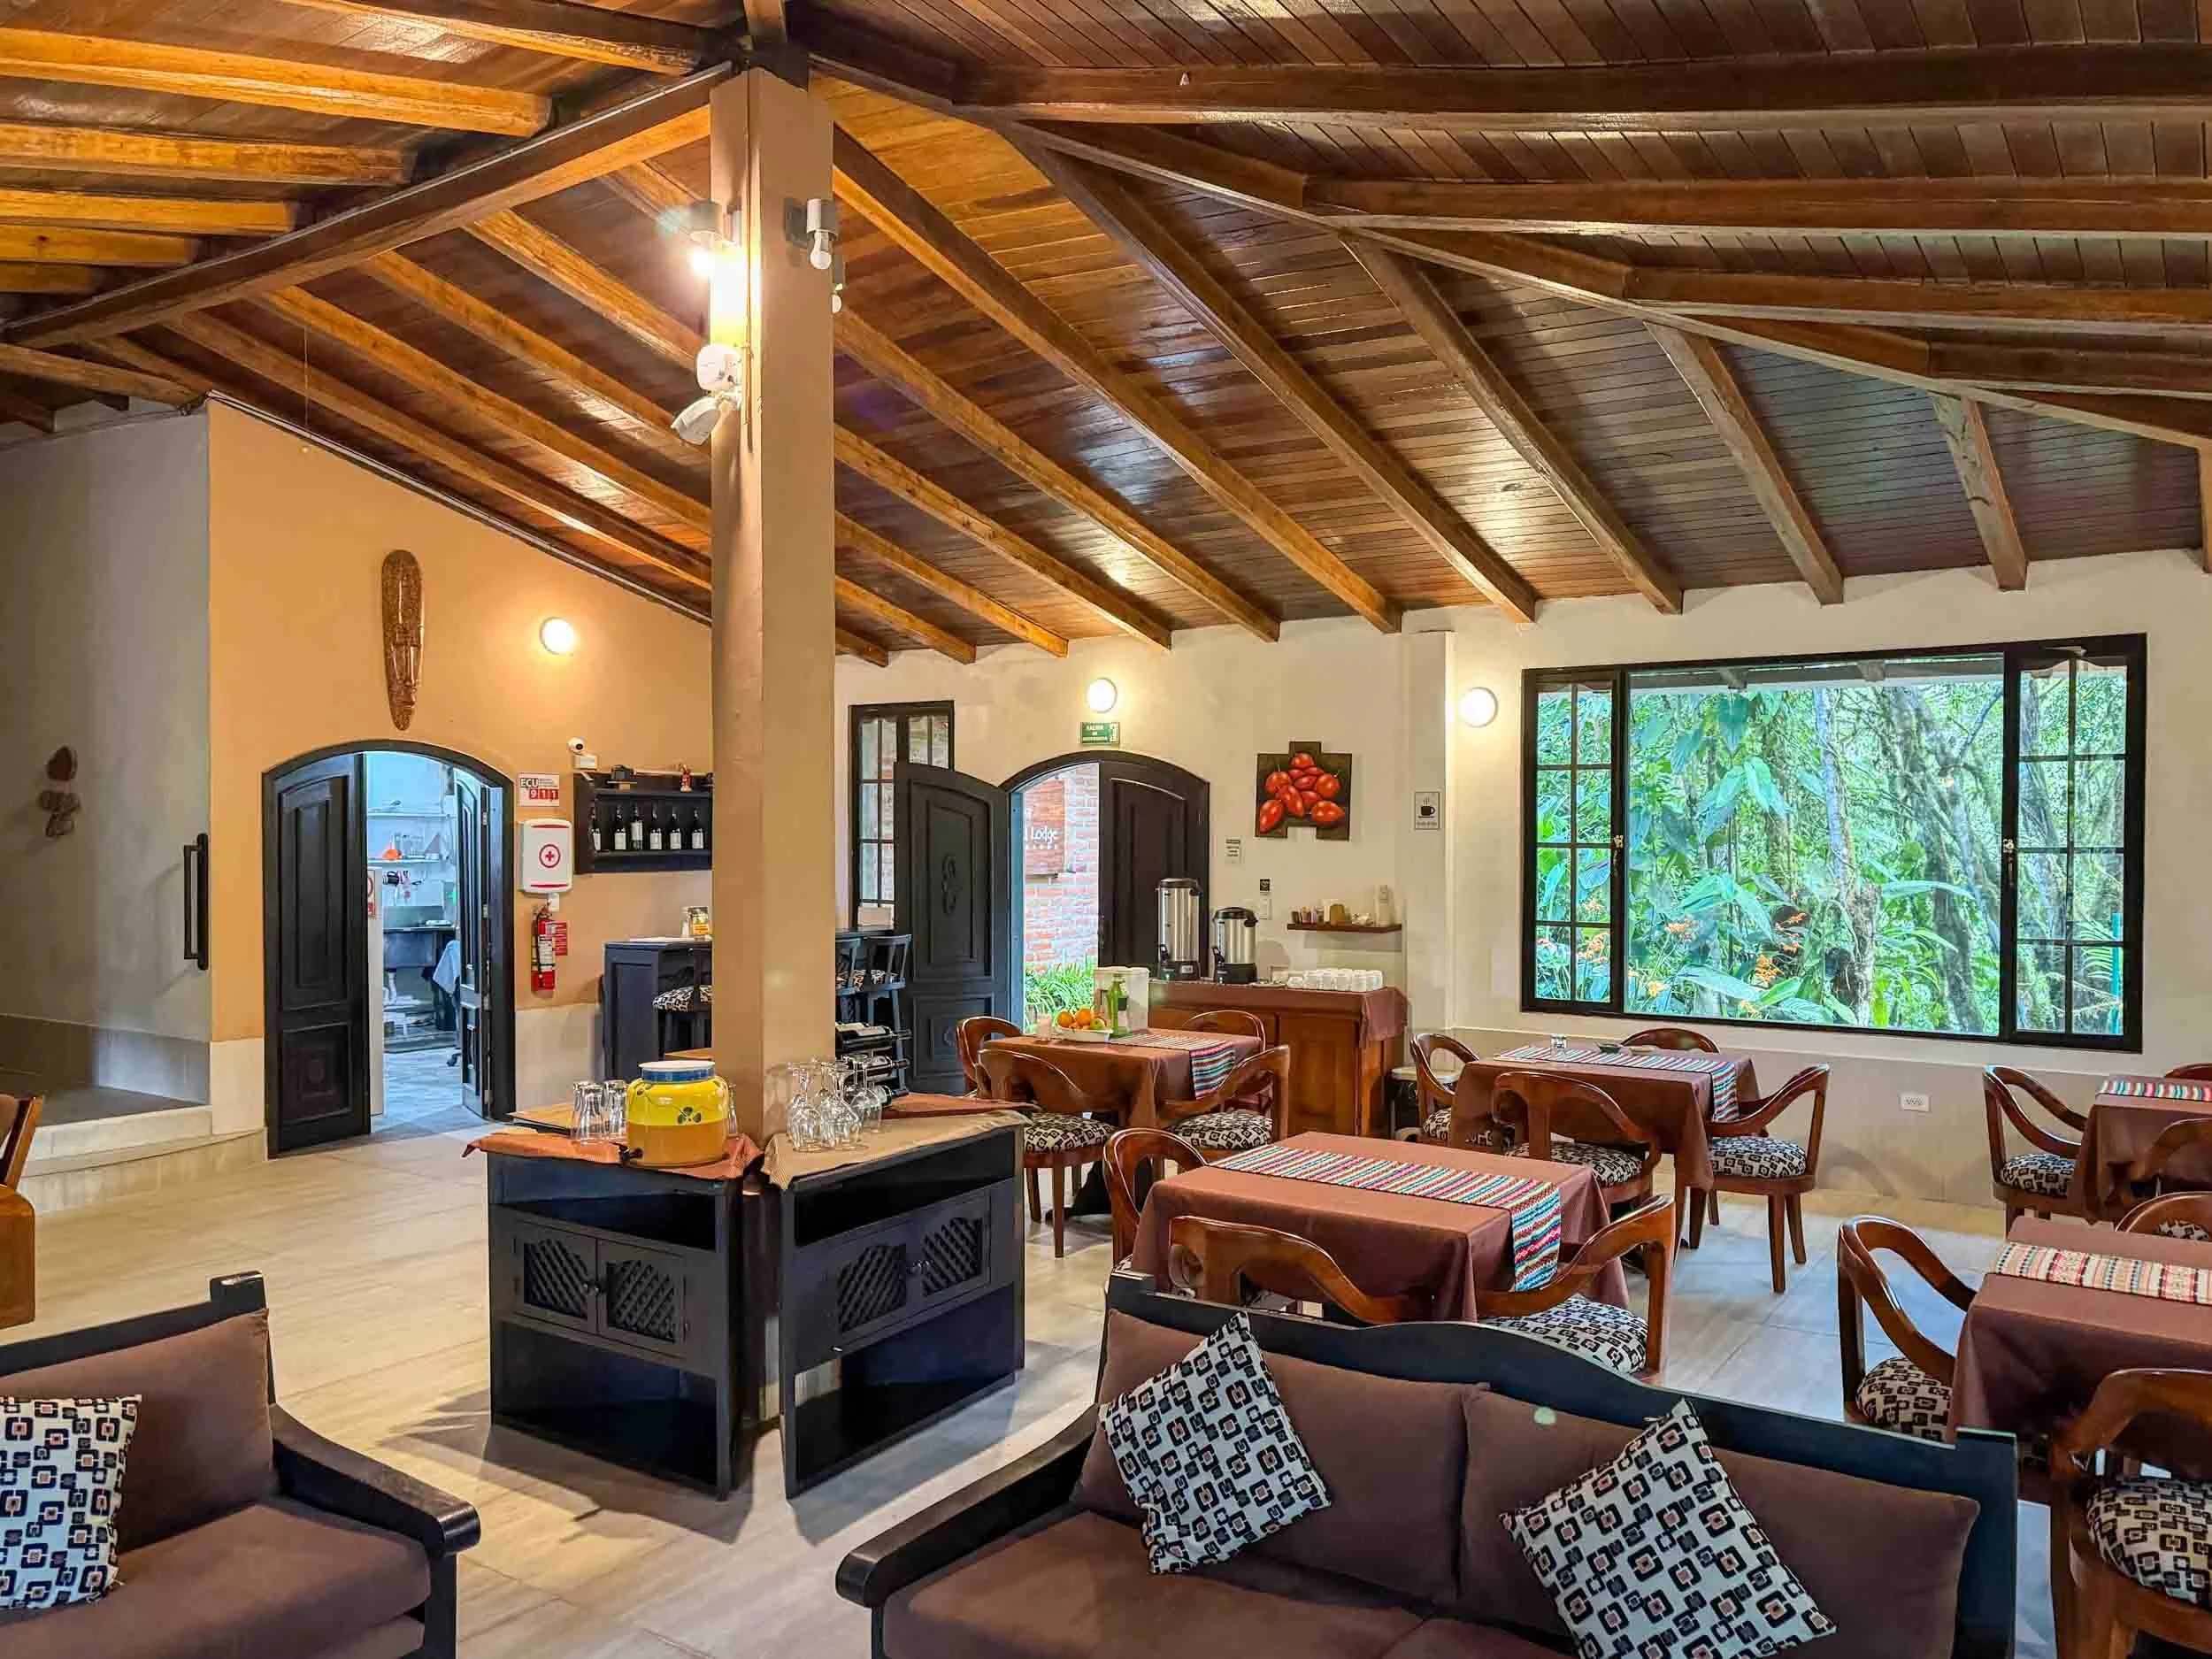
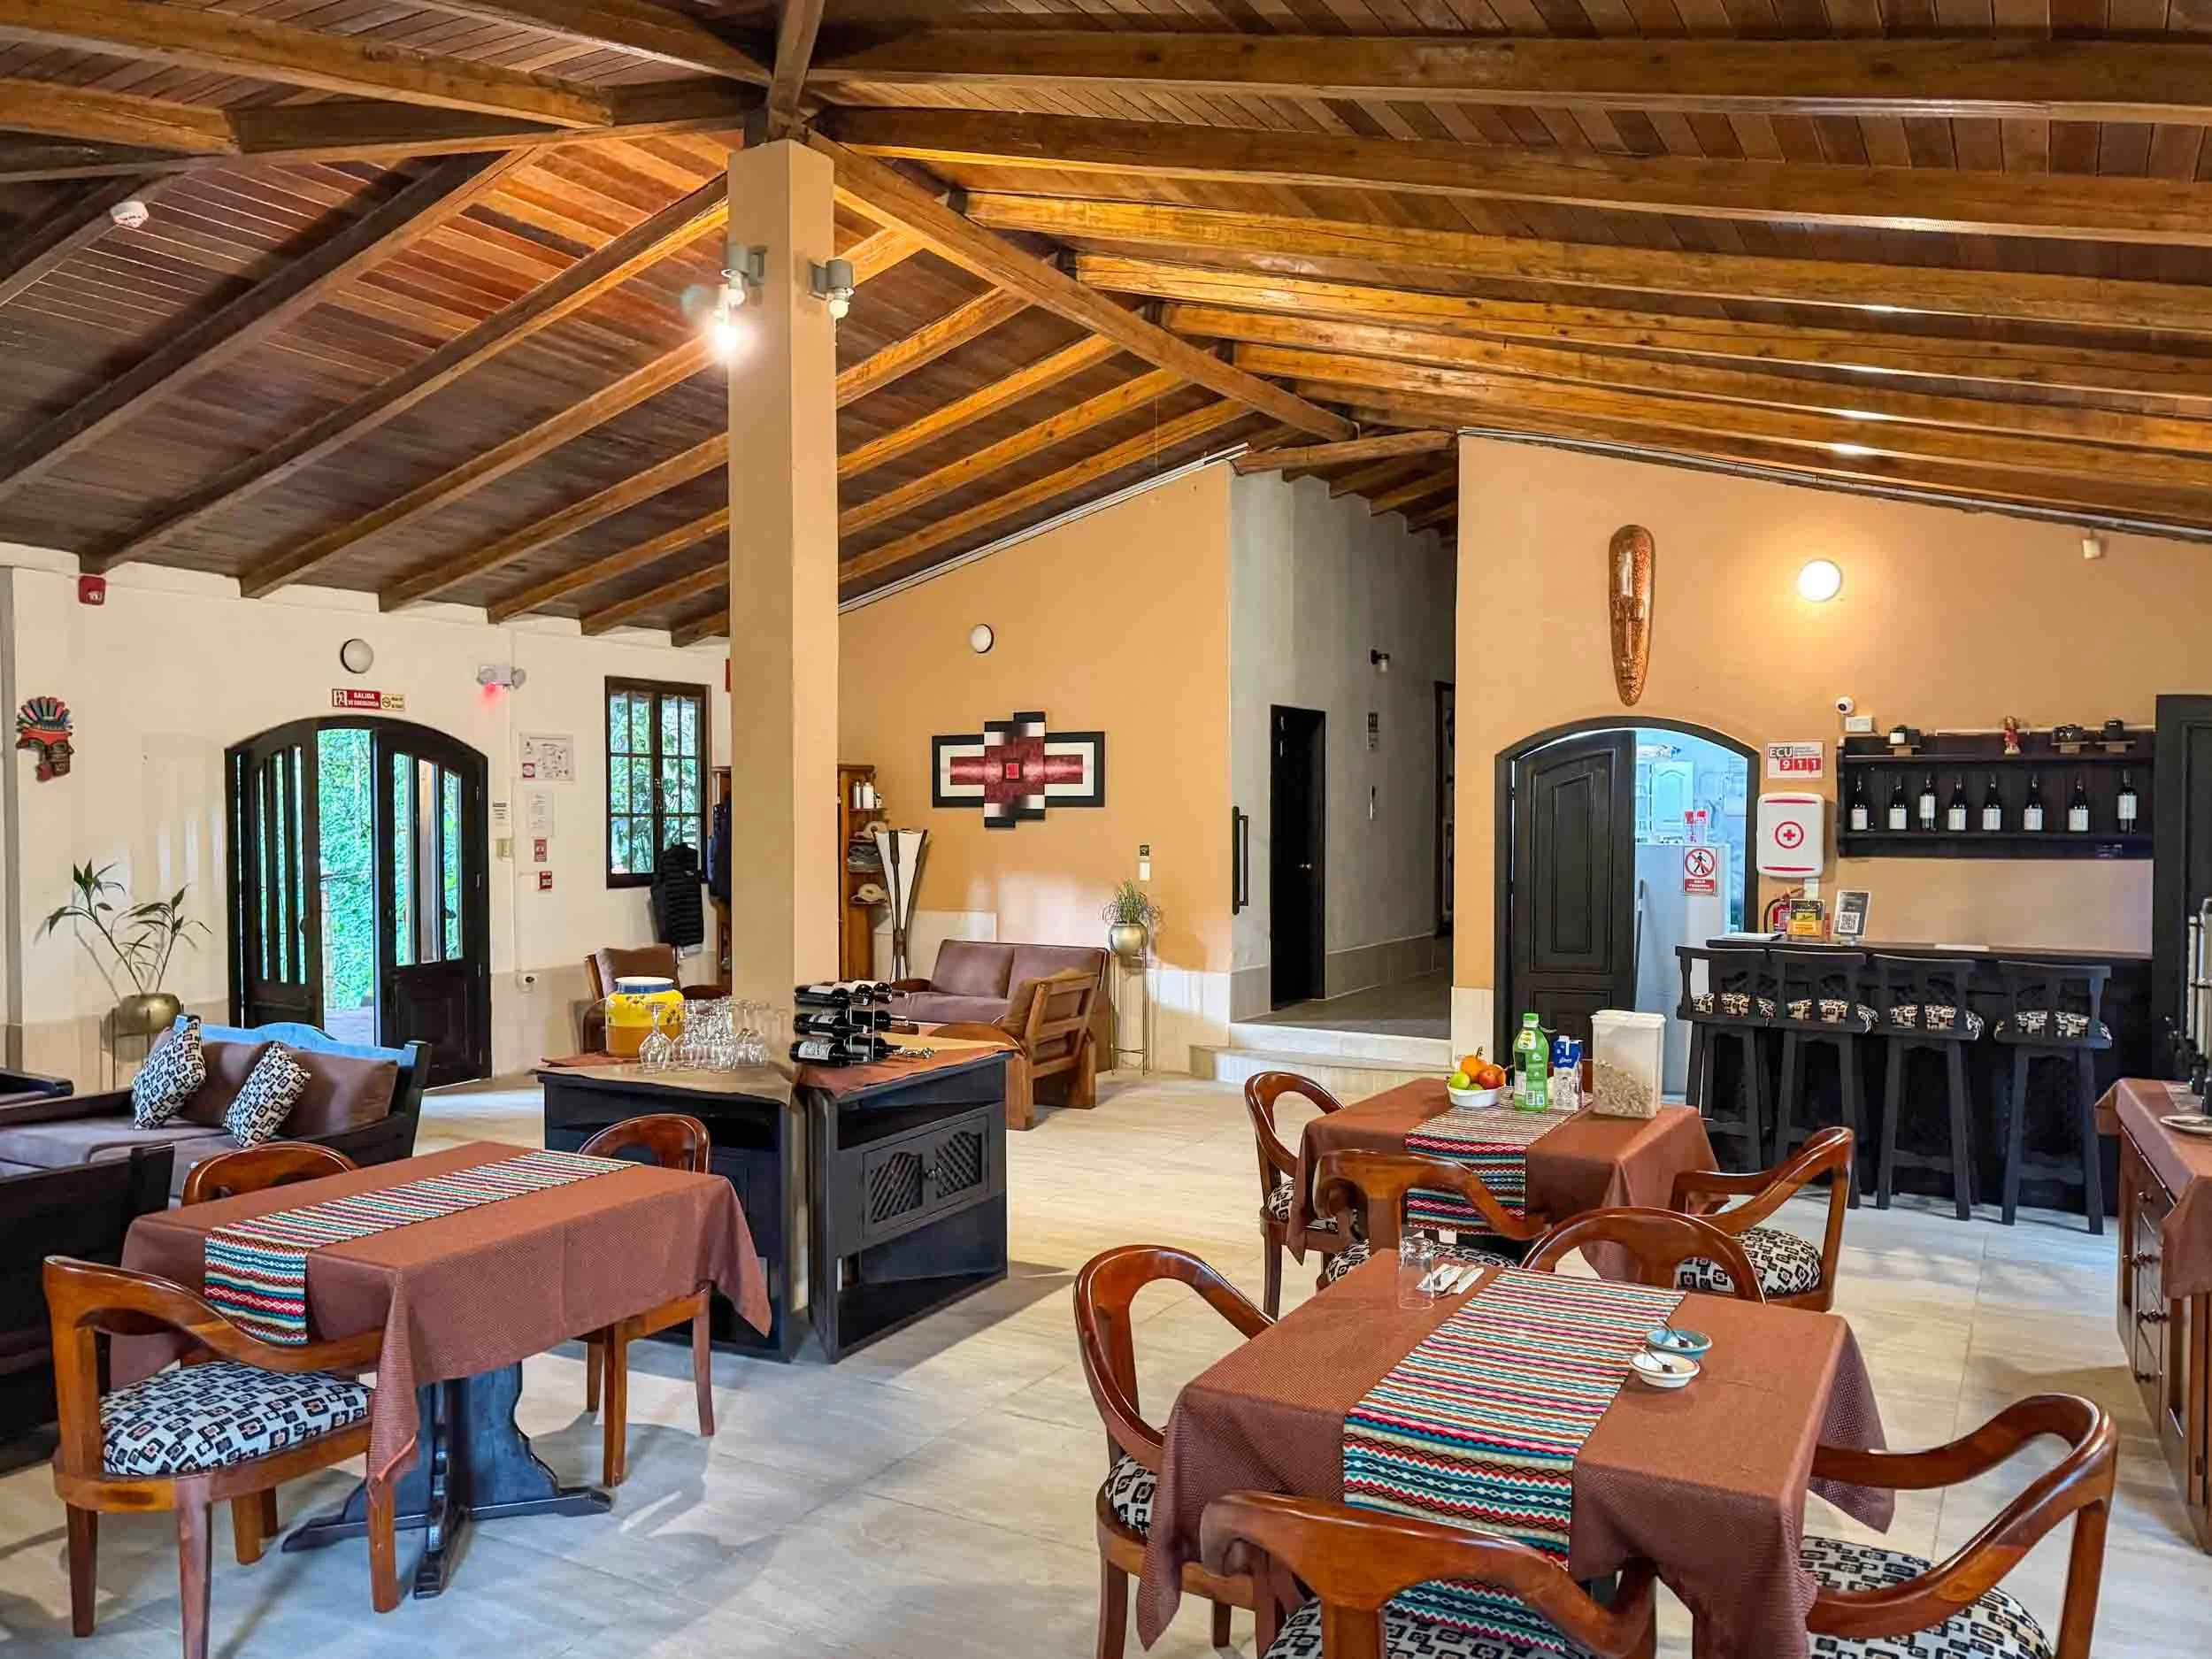
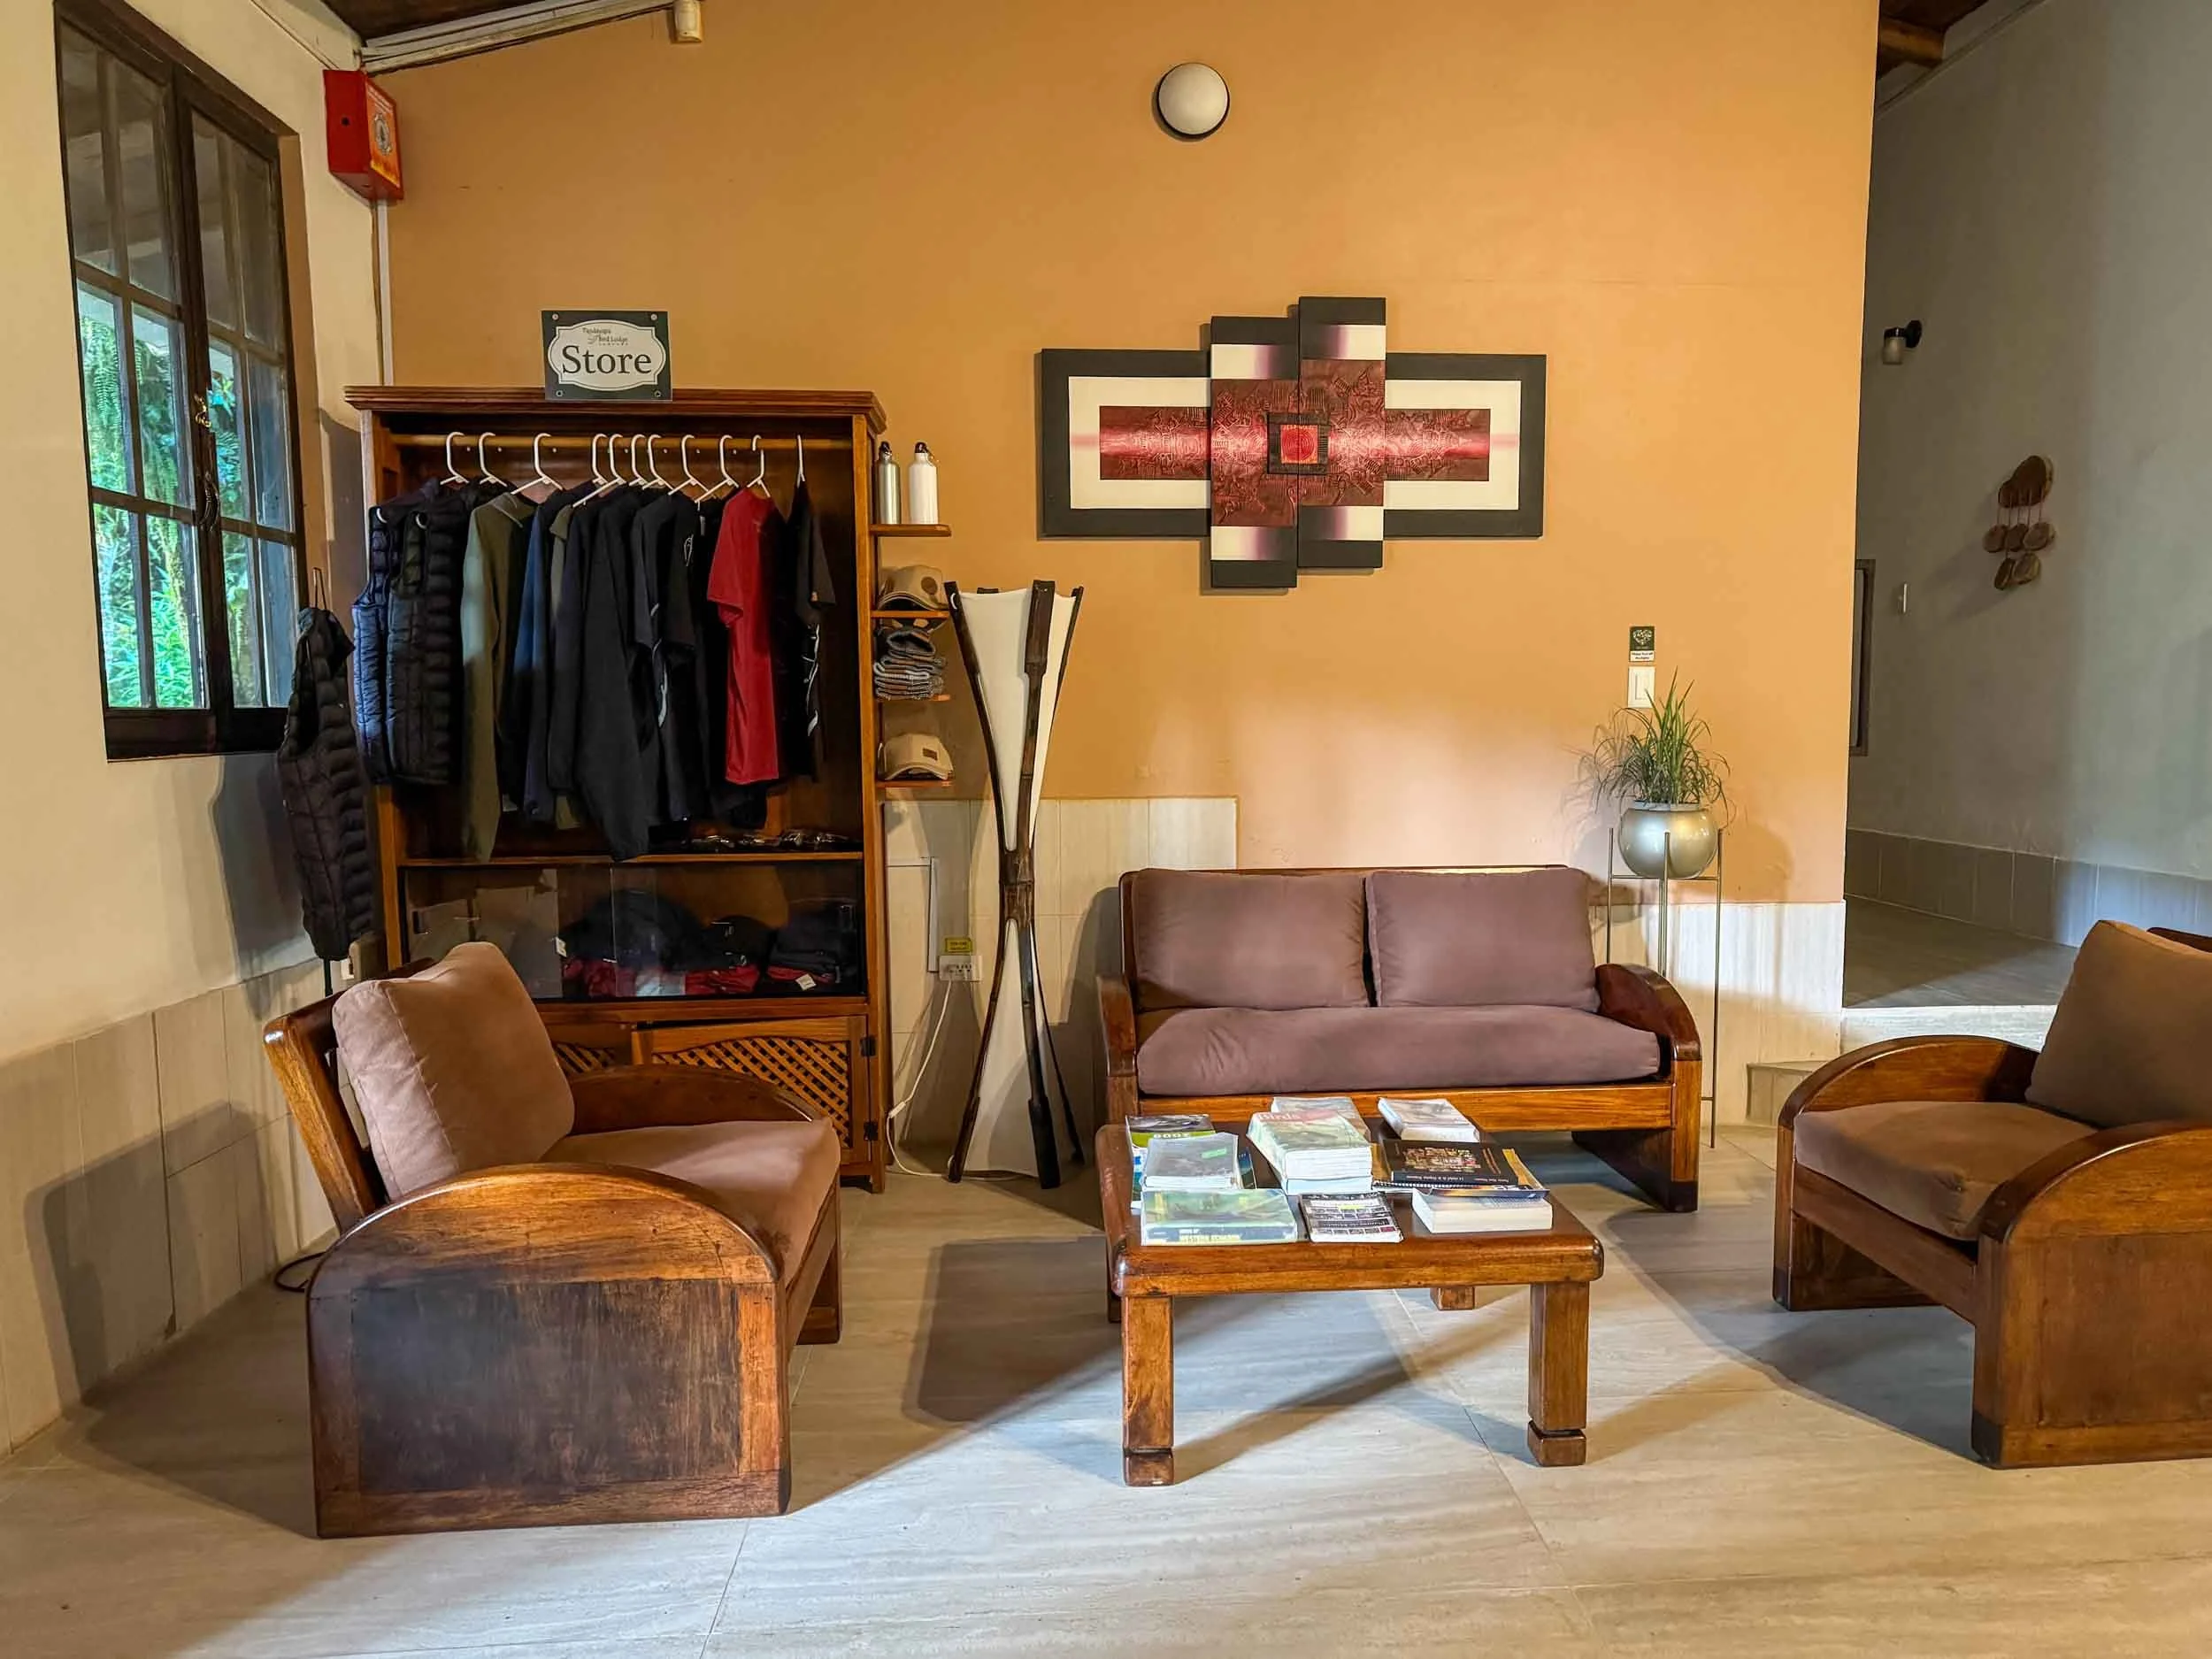
Like hummingbirds themselves, Tandayapa Bird Lodge was small but perfectly formed. After a rather long (and steep!) flight of steps, the front door opened onto a lounge-dining room, which had a reception desk, a kitchen near the doorway and a corridor leading to all the rooms.
When I arrived, there was actually a male violet-tailed sylph flying around the lodge, and at one point or another, various hummingbirds landed on my hand, my head, my camera and my flashguns!
My Room
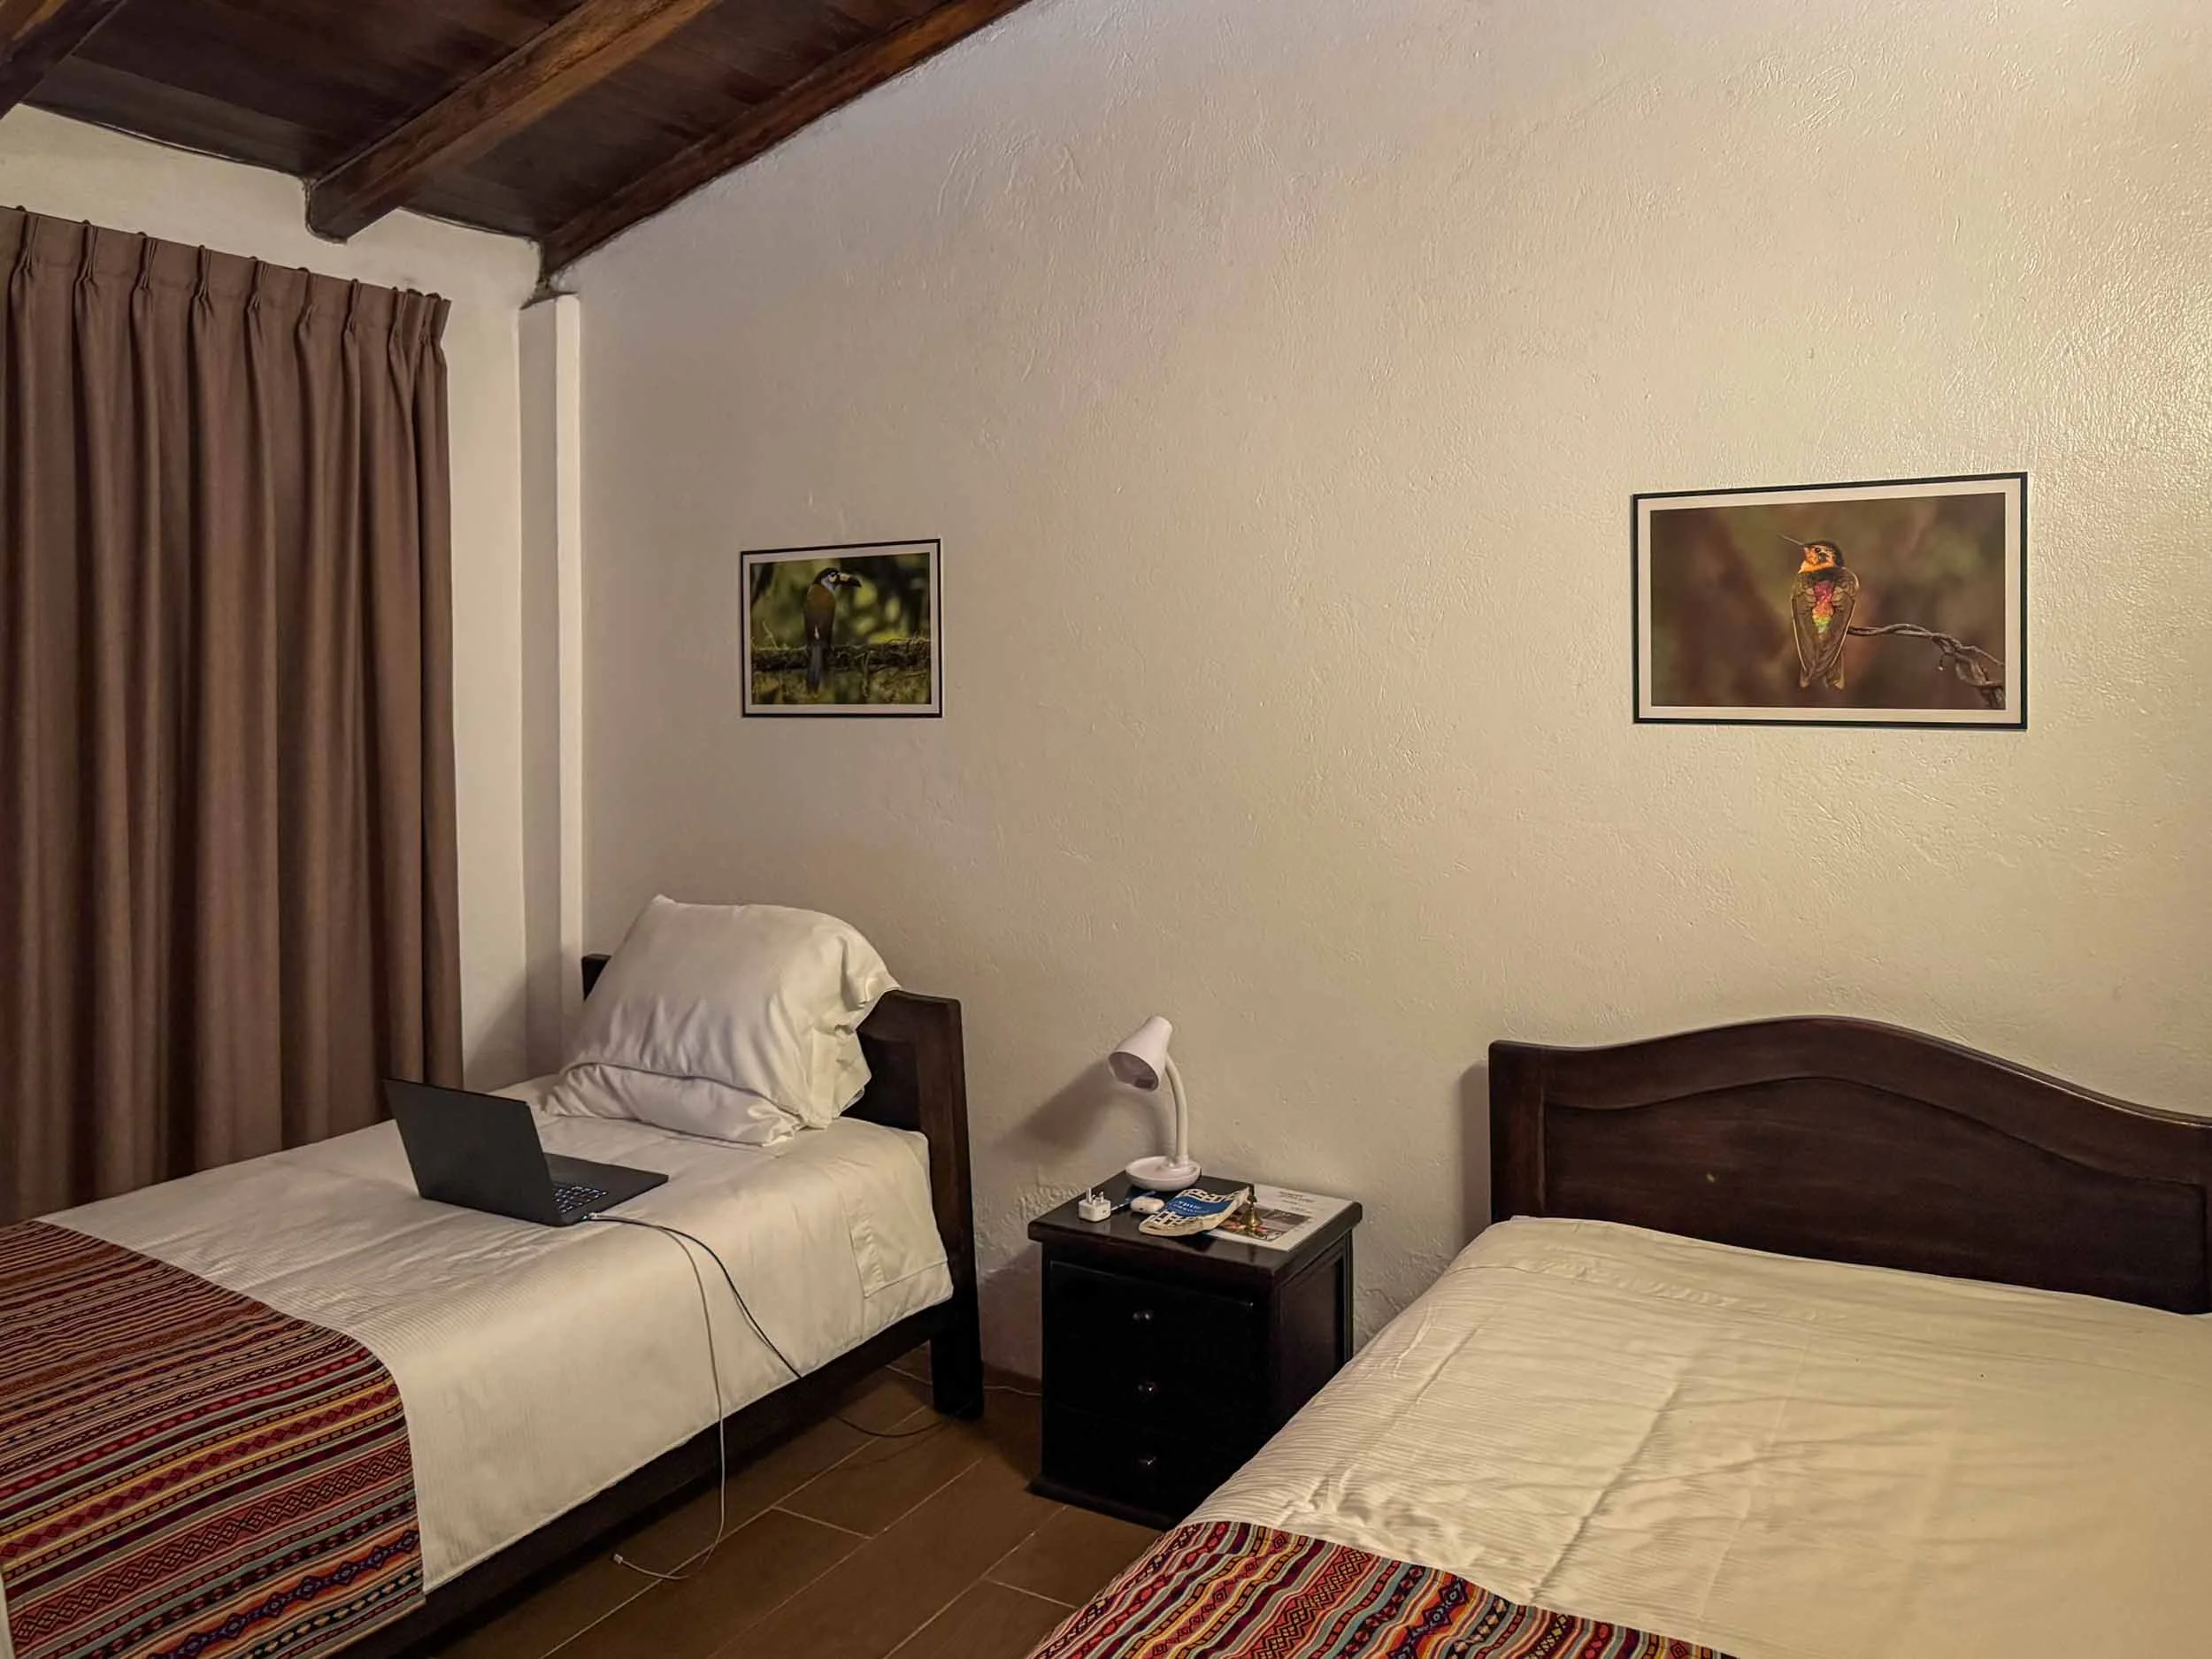

I was given Room 1, which had a good view of the patio and was only a few feet from the reception desk. I don’t think I’ve ever been so close to the action. At most safari lodges, I’m packed off to the furthest tent and have to lug all my gear half a mile every morning just to get to the main area!
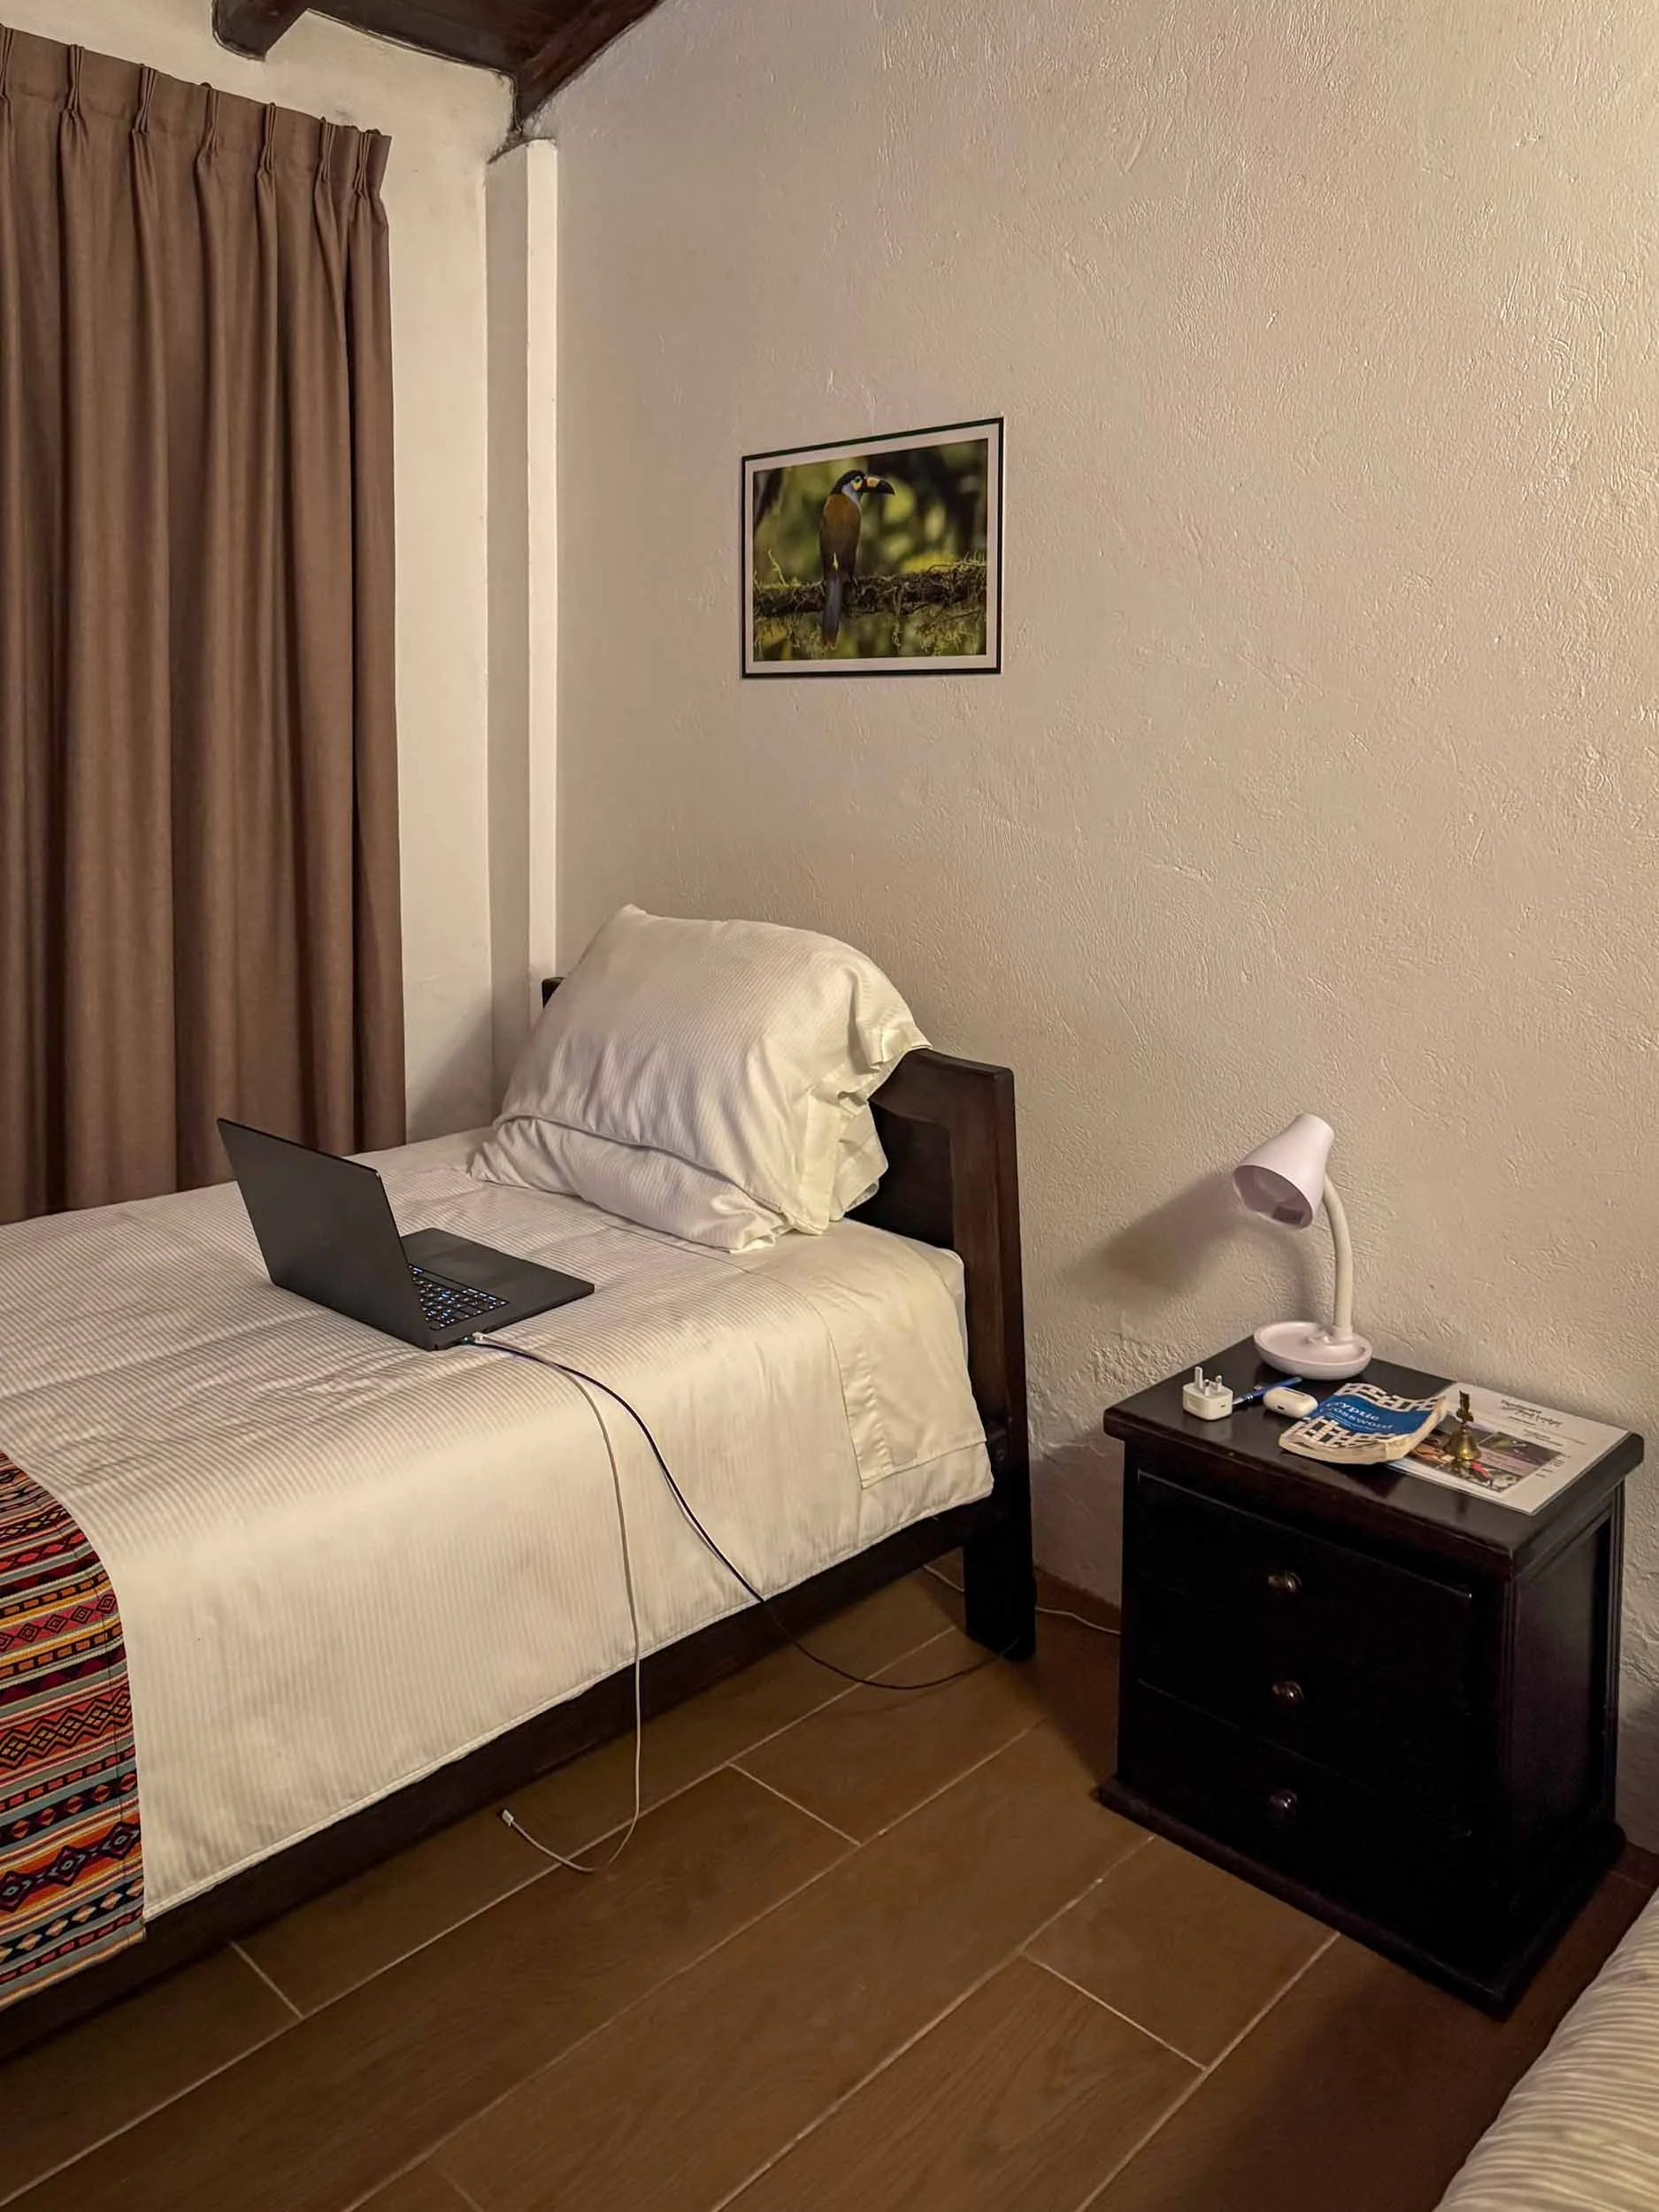
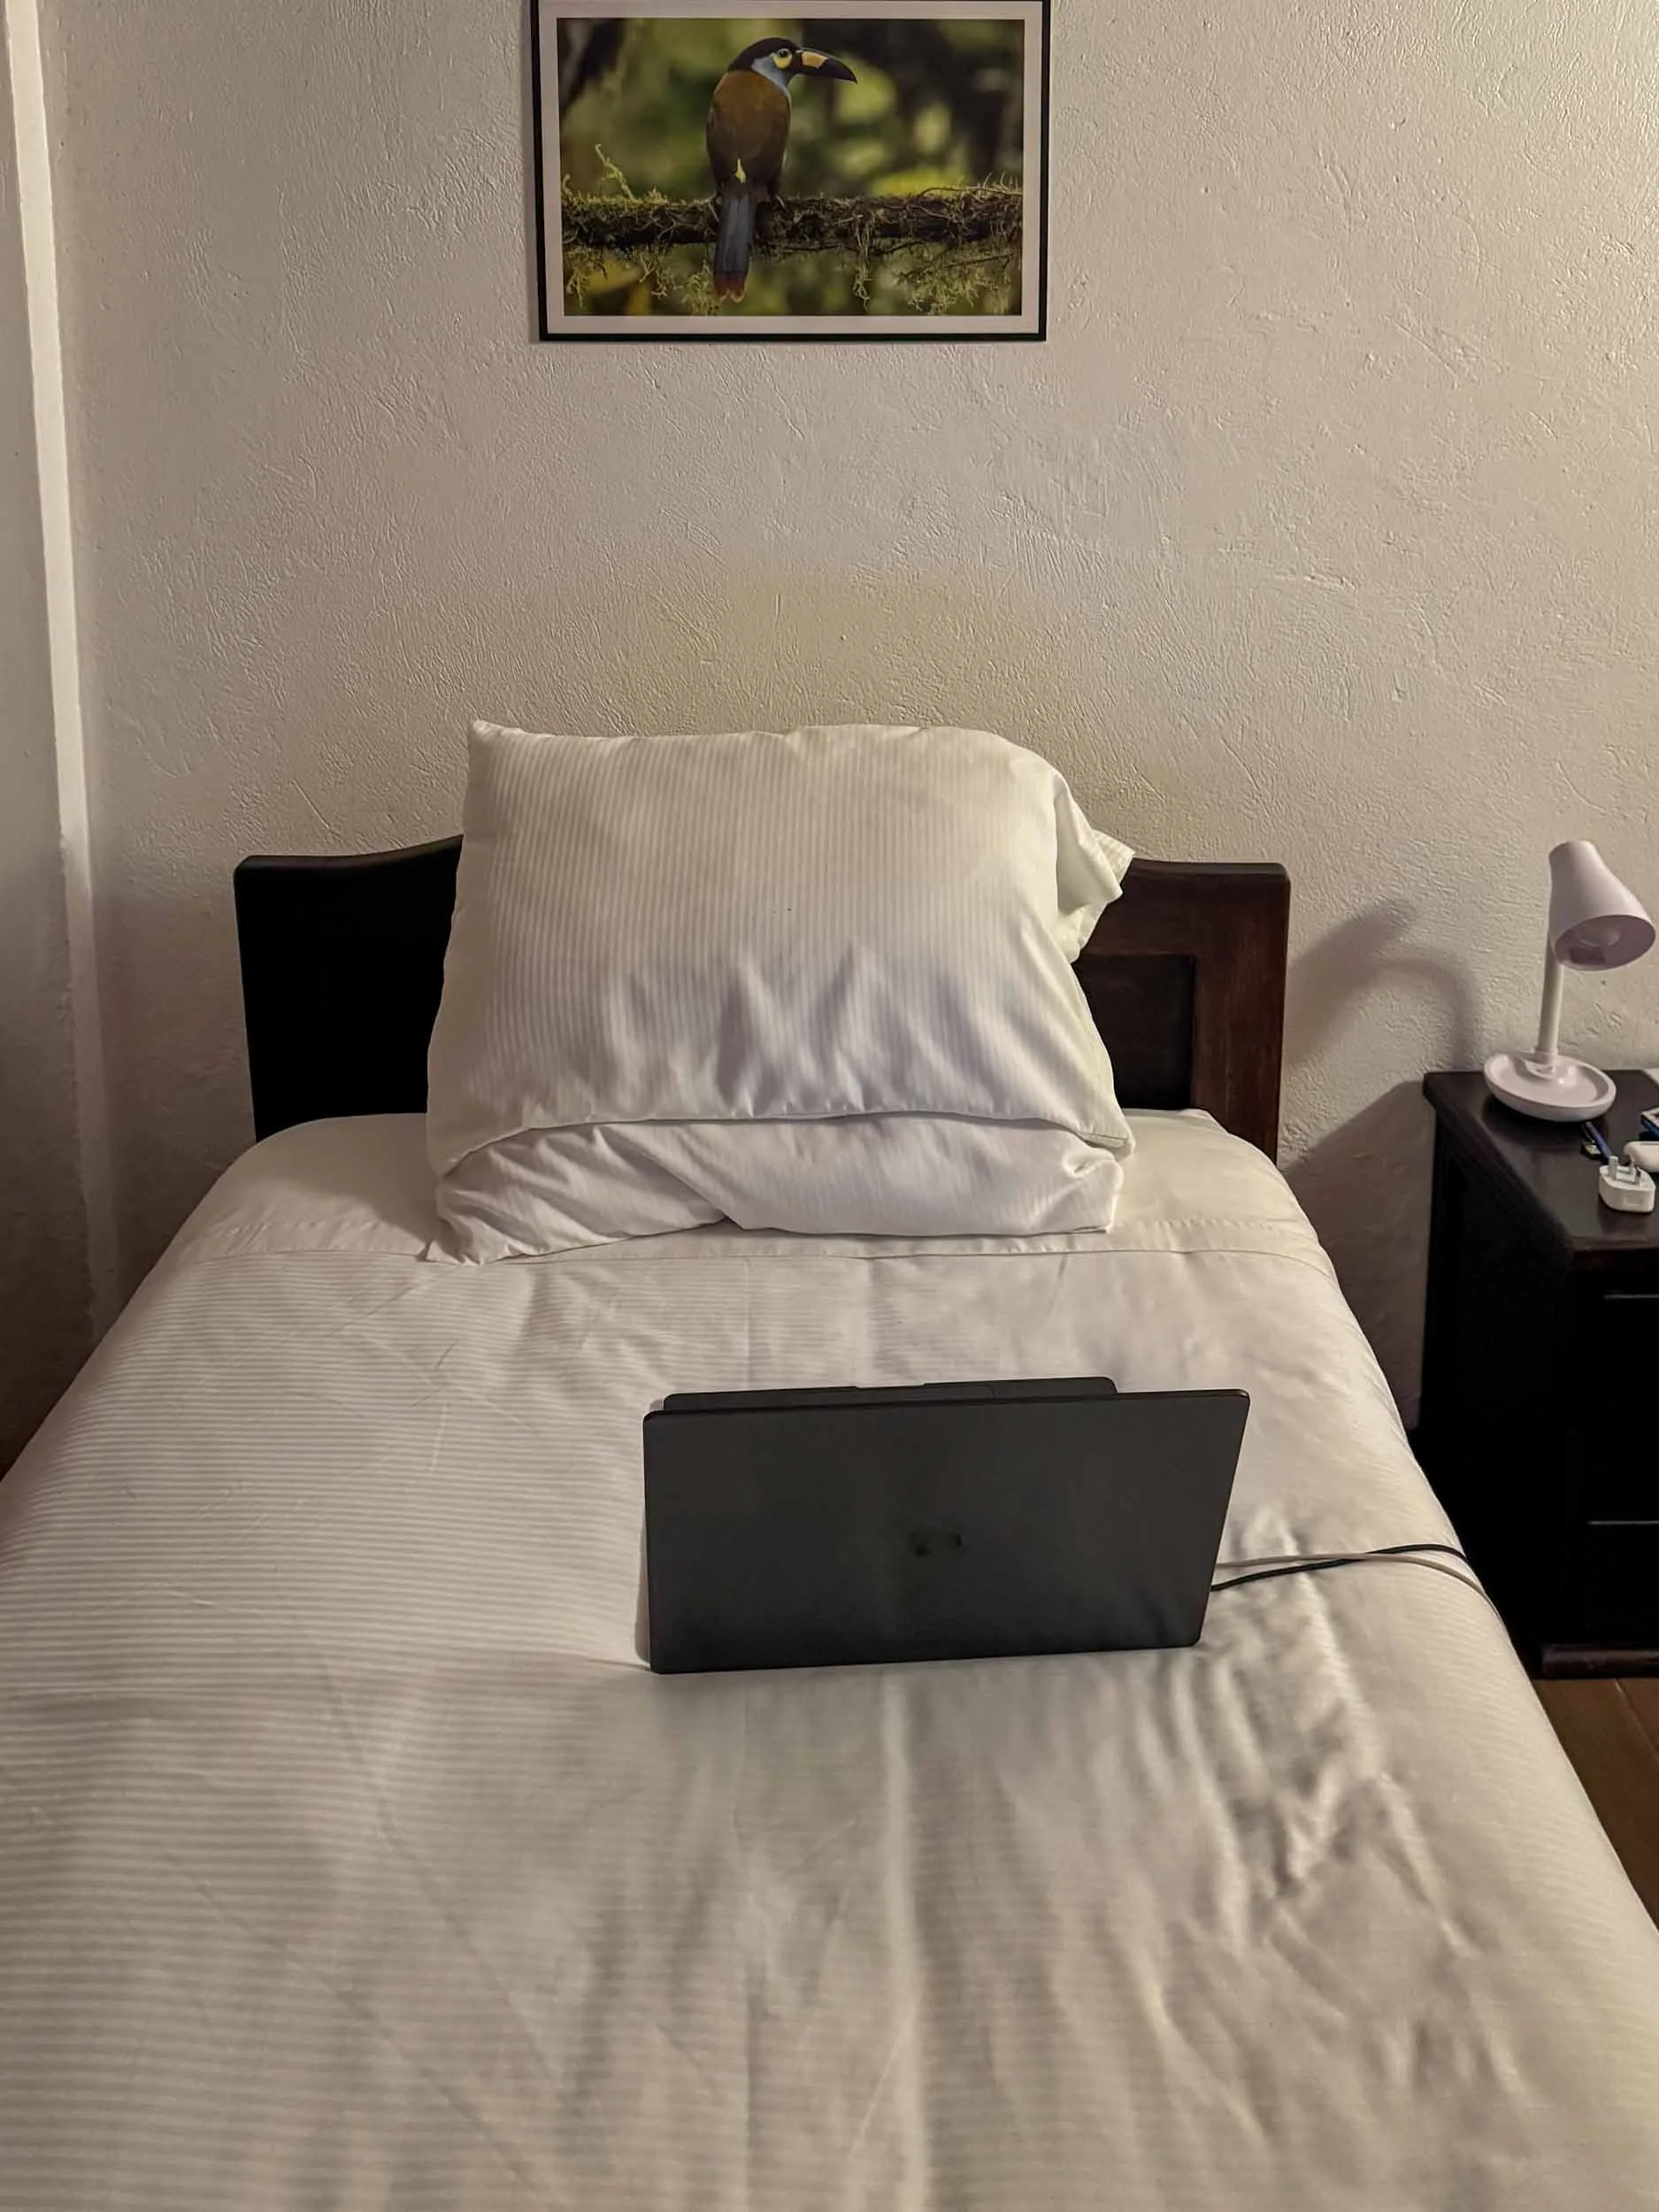
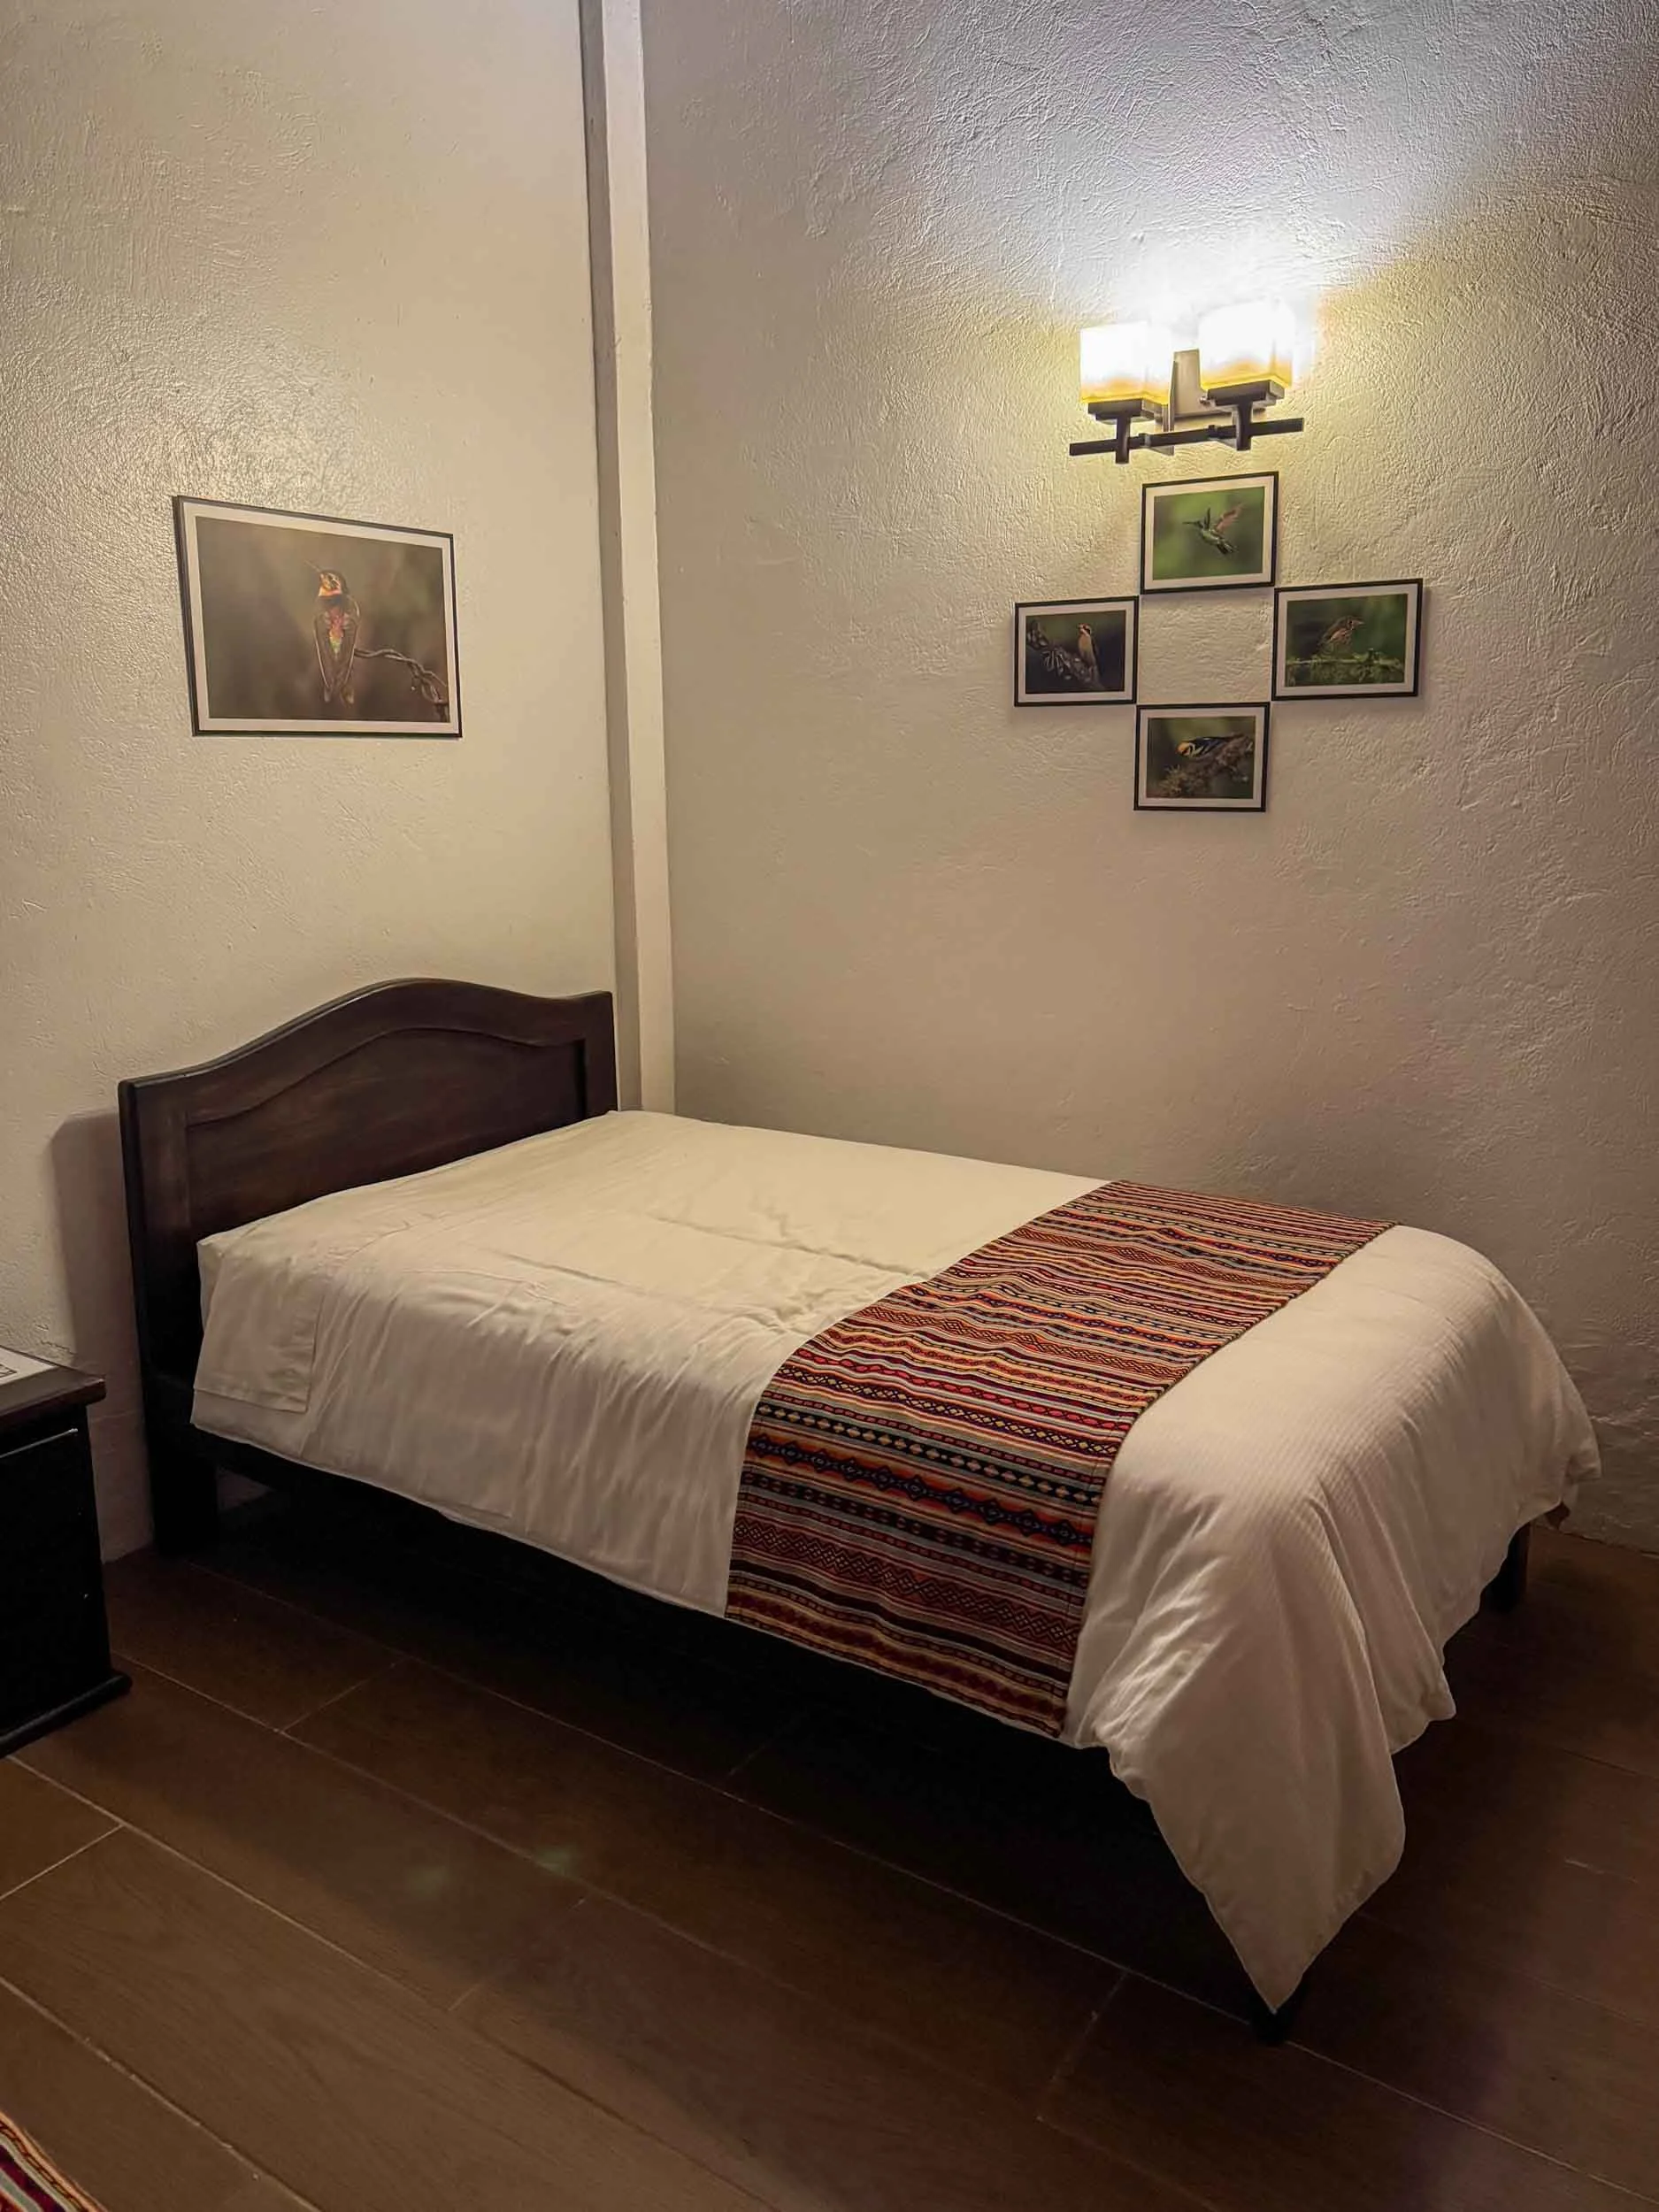
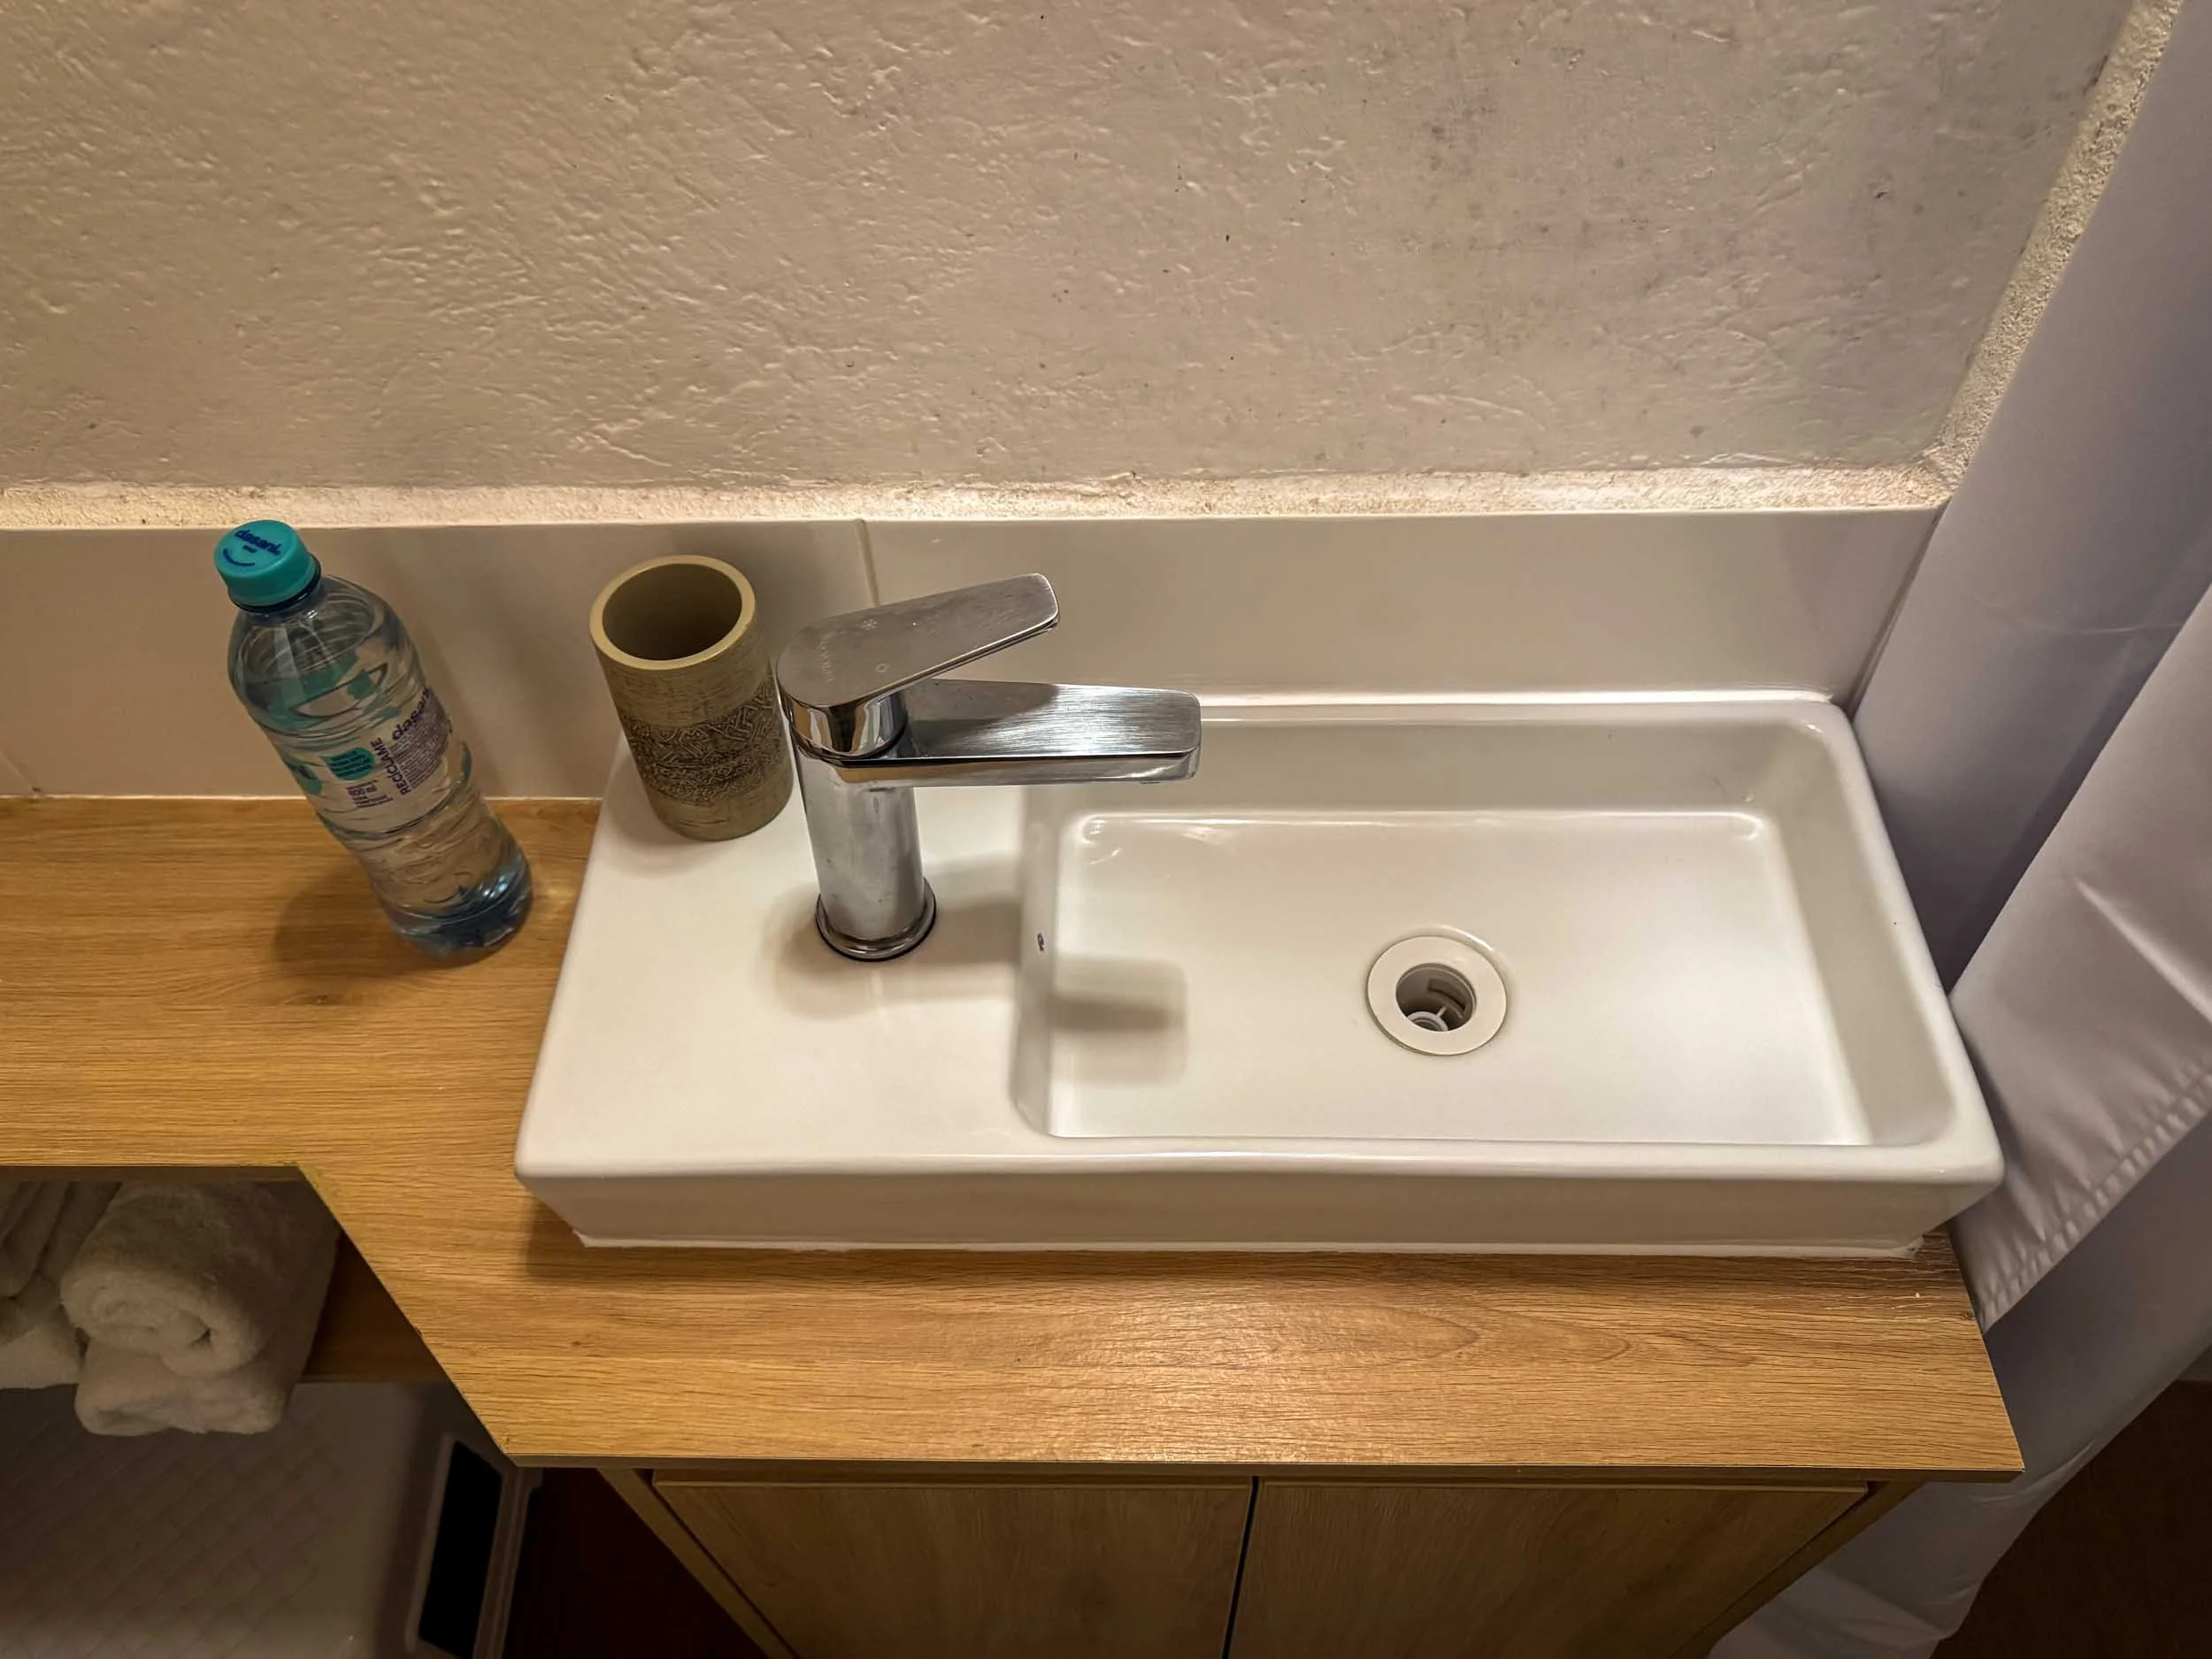
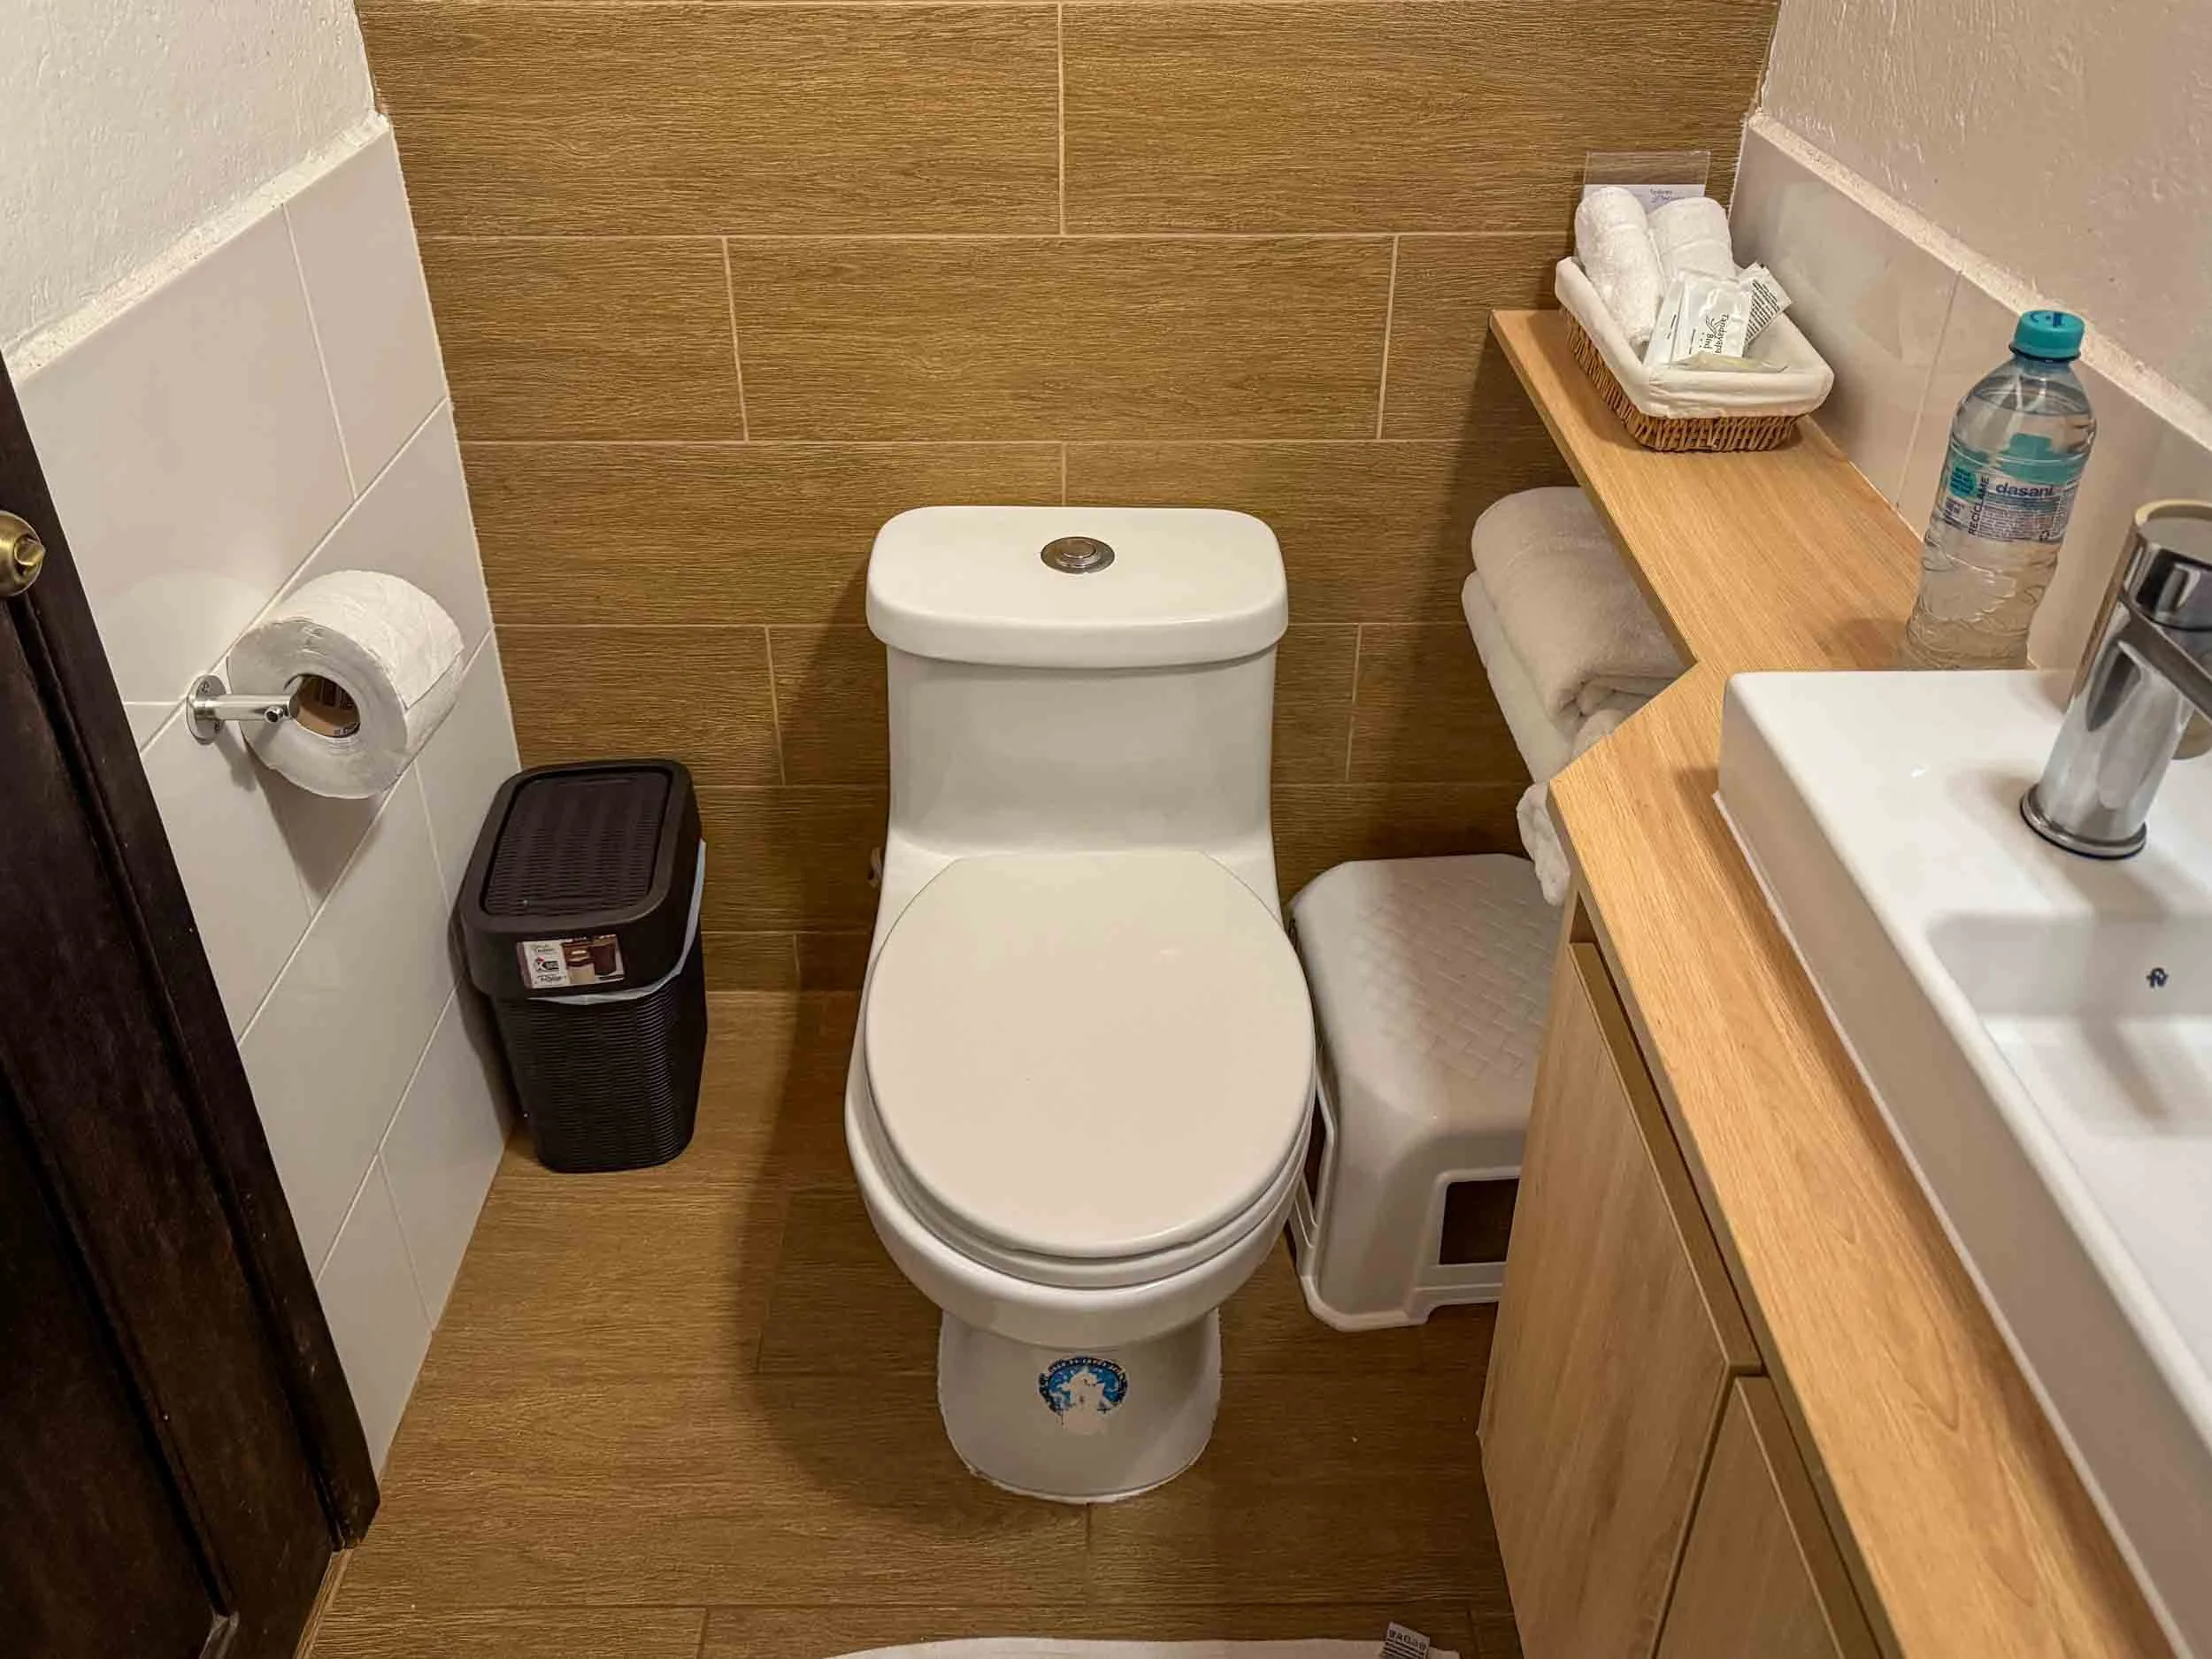
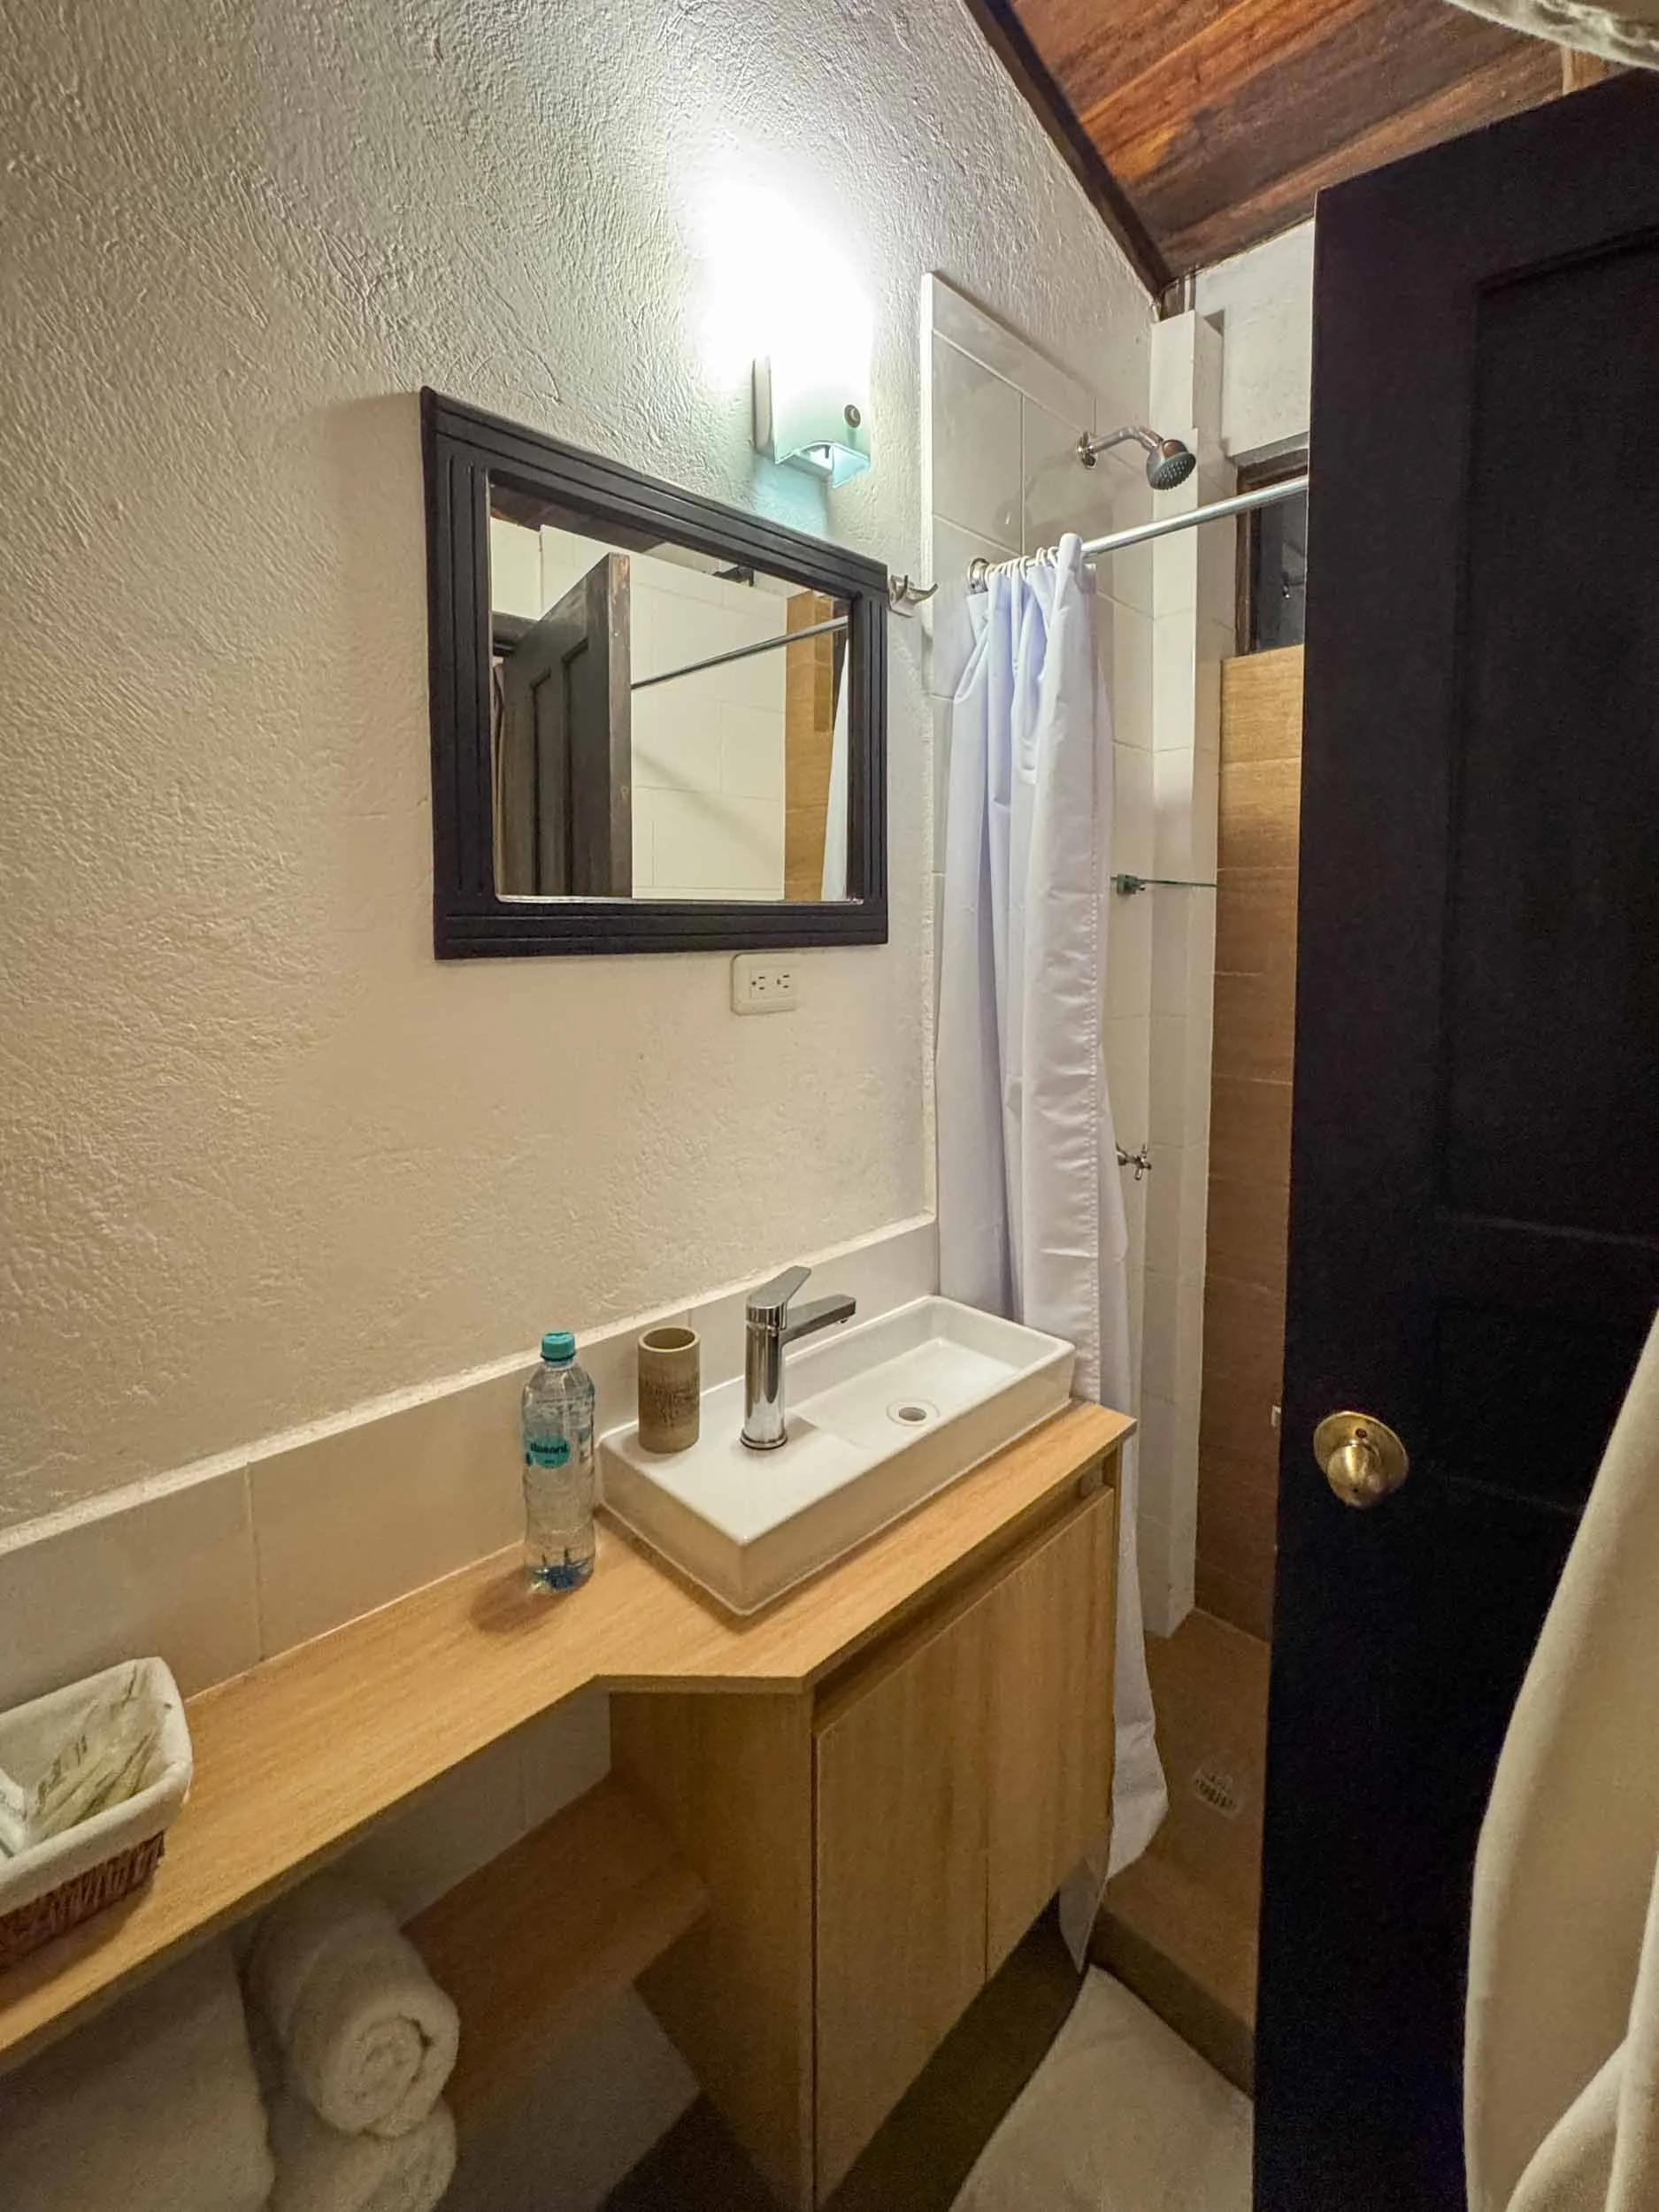
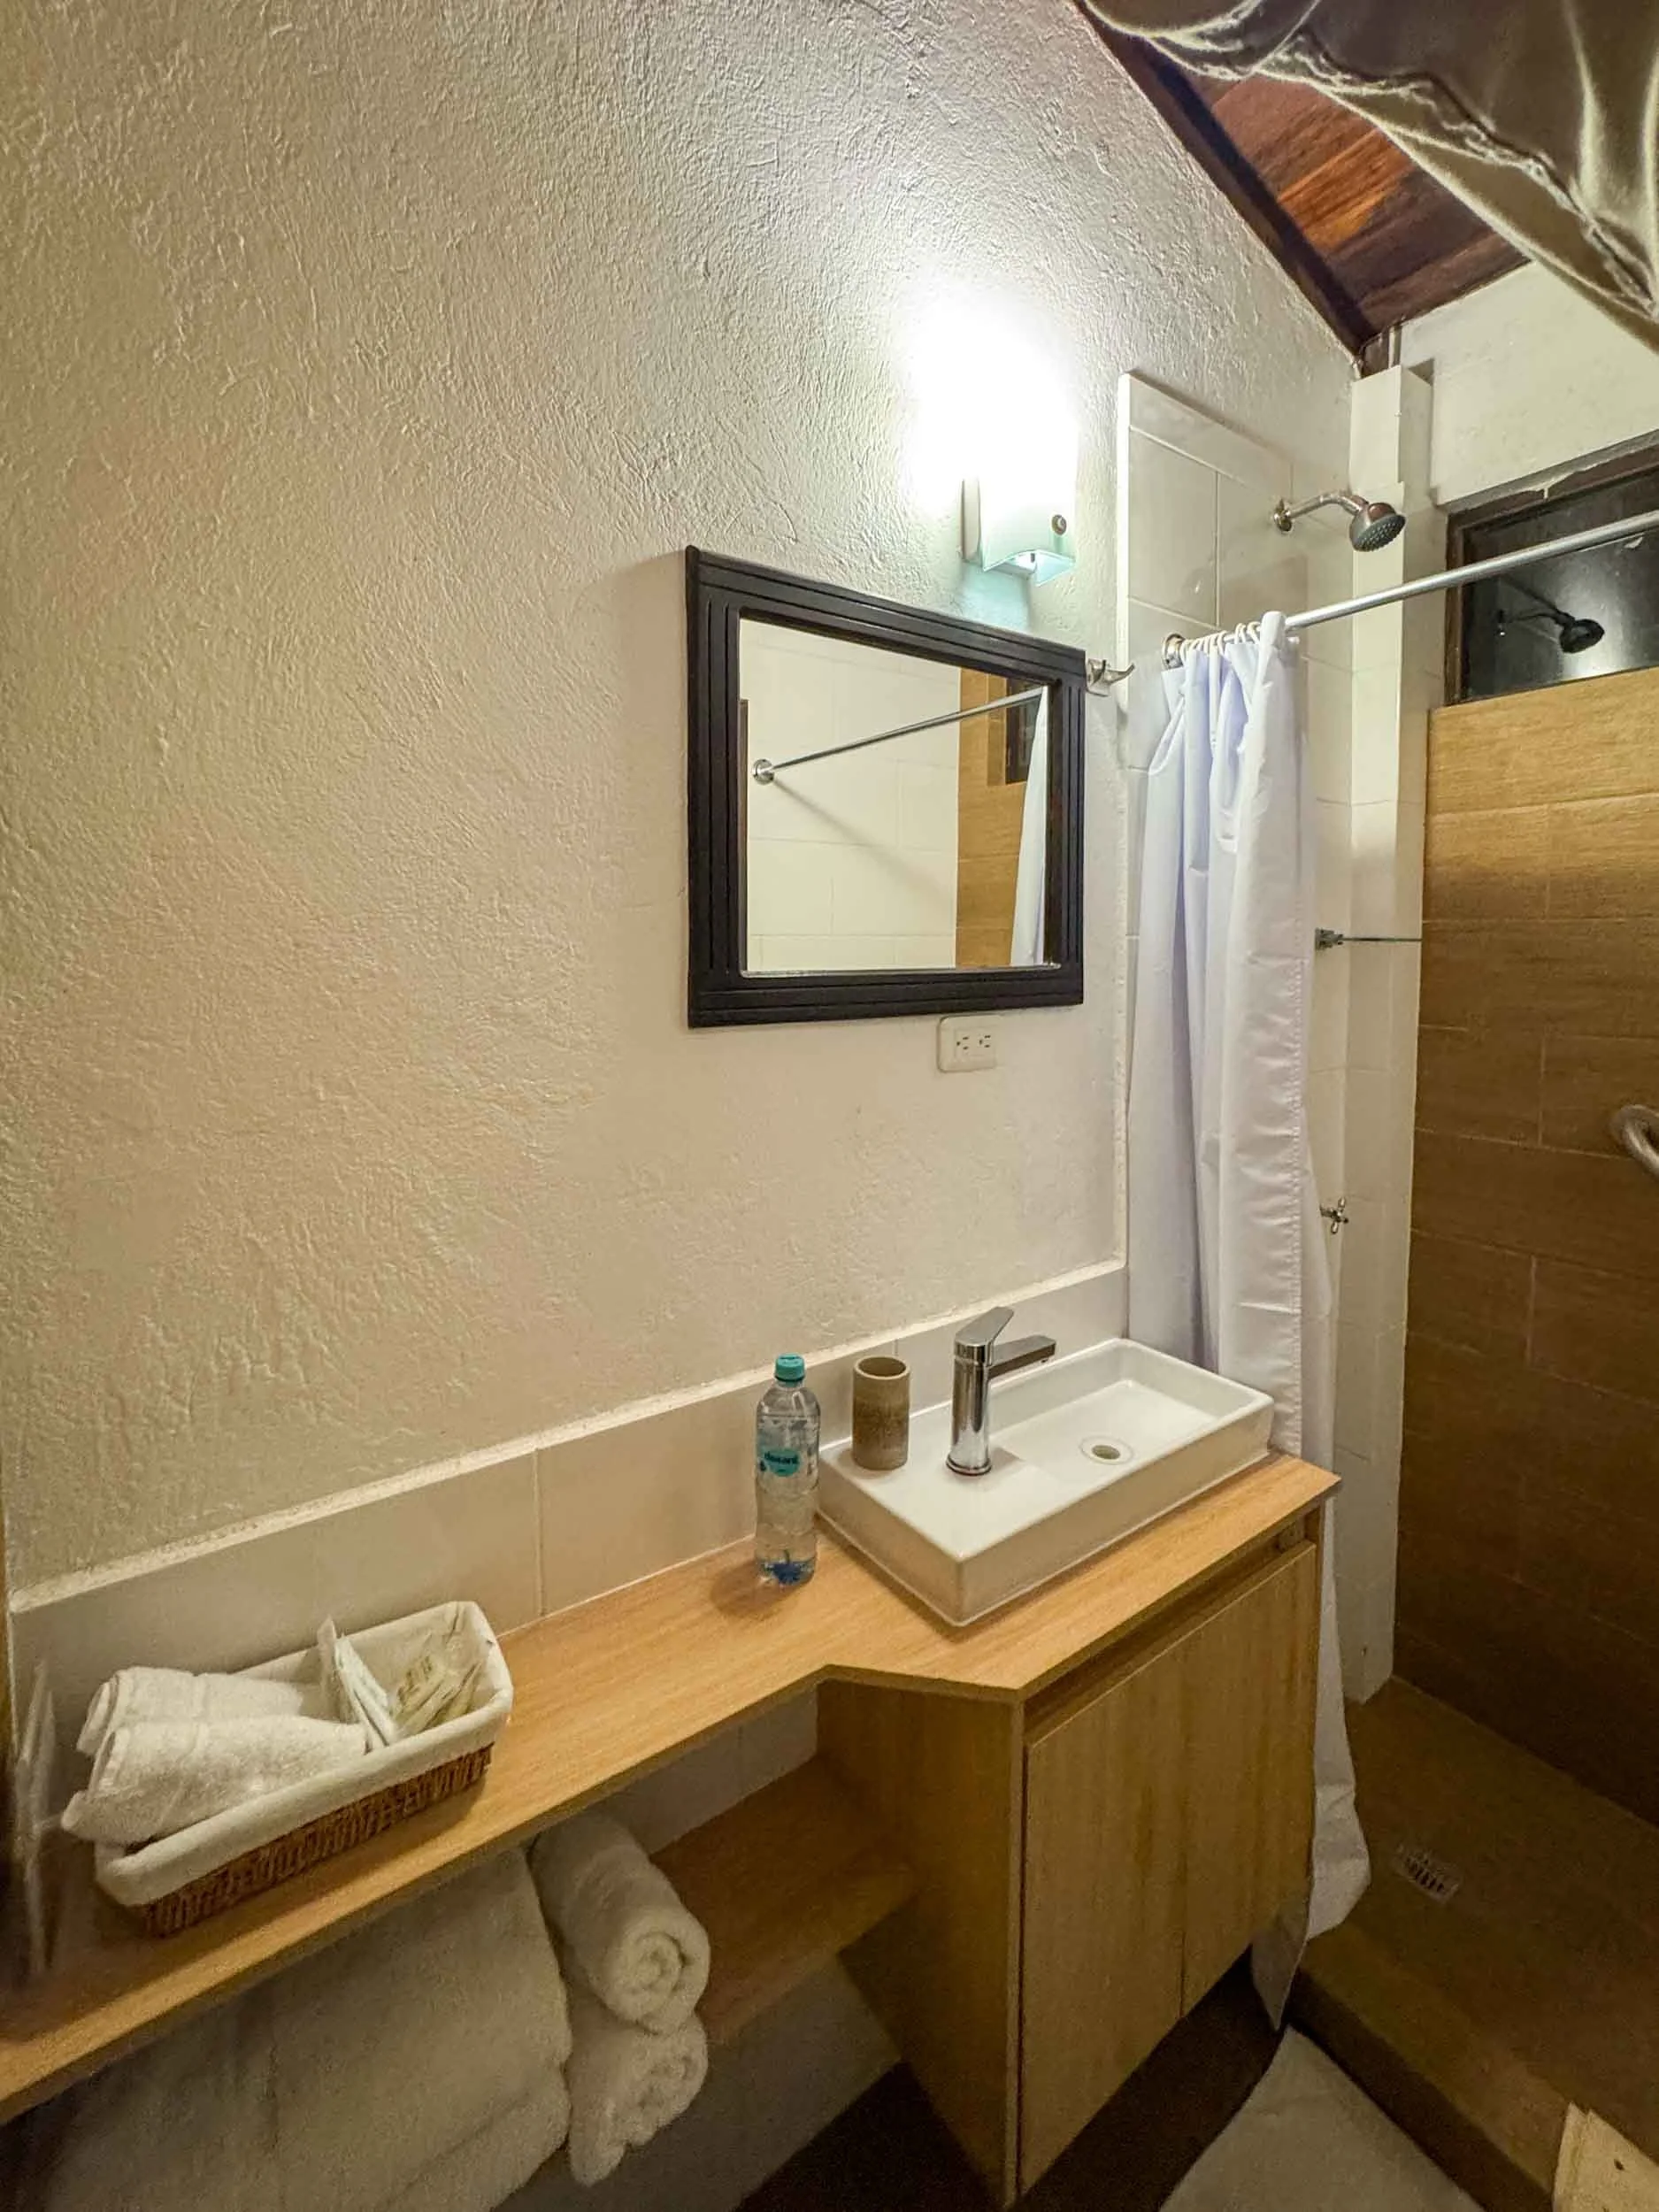
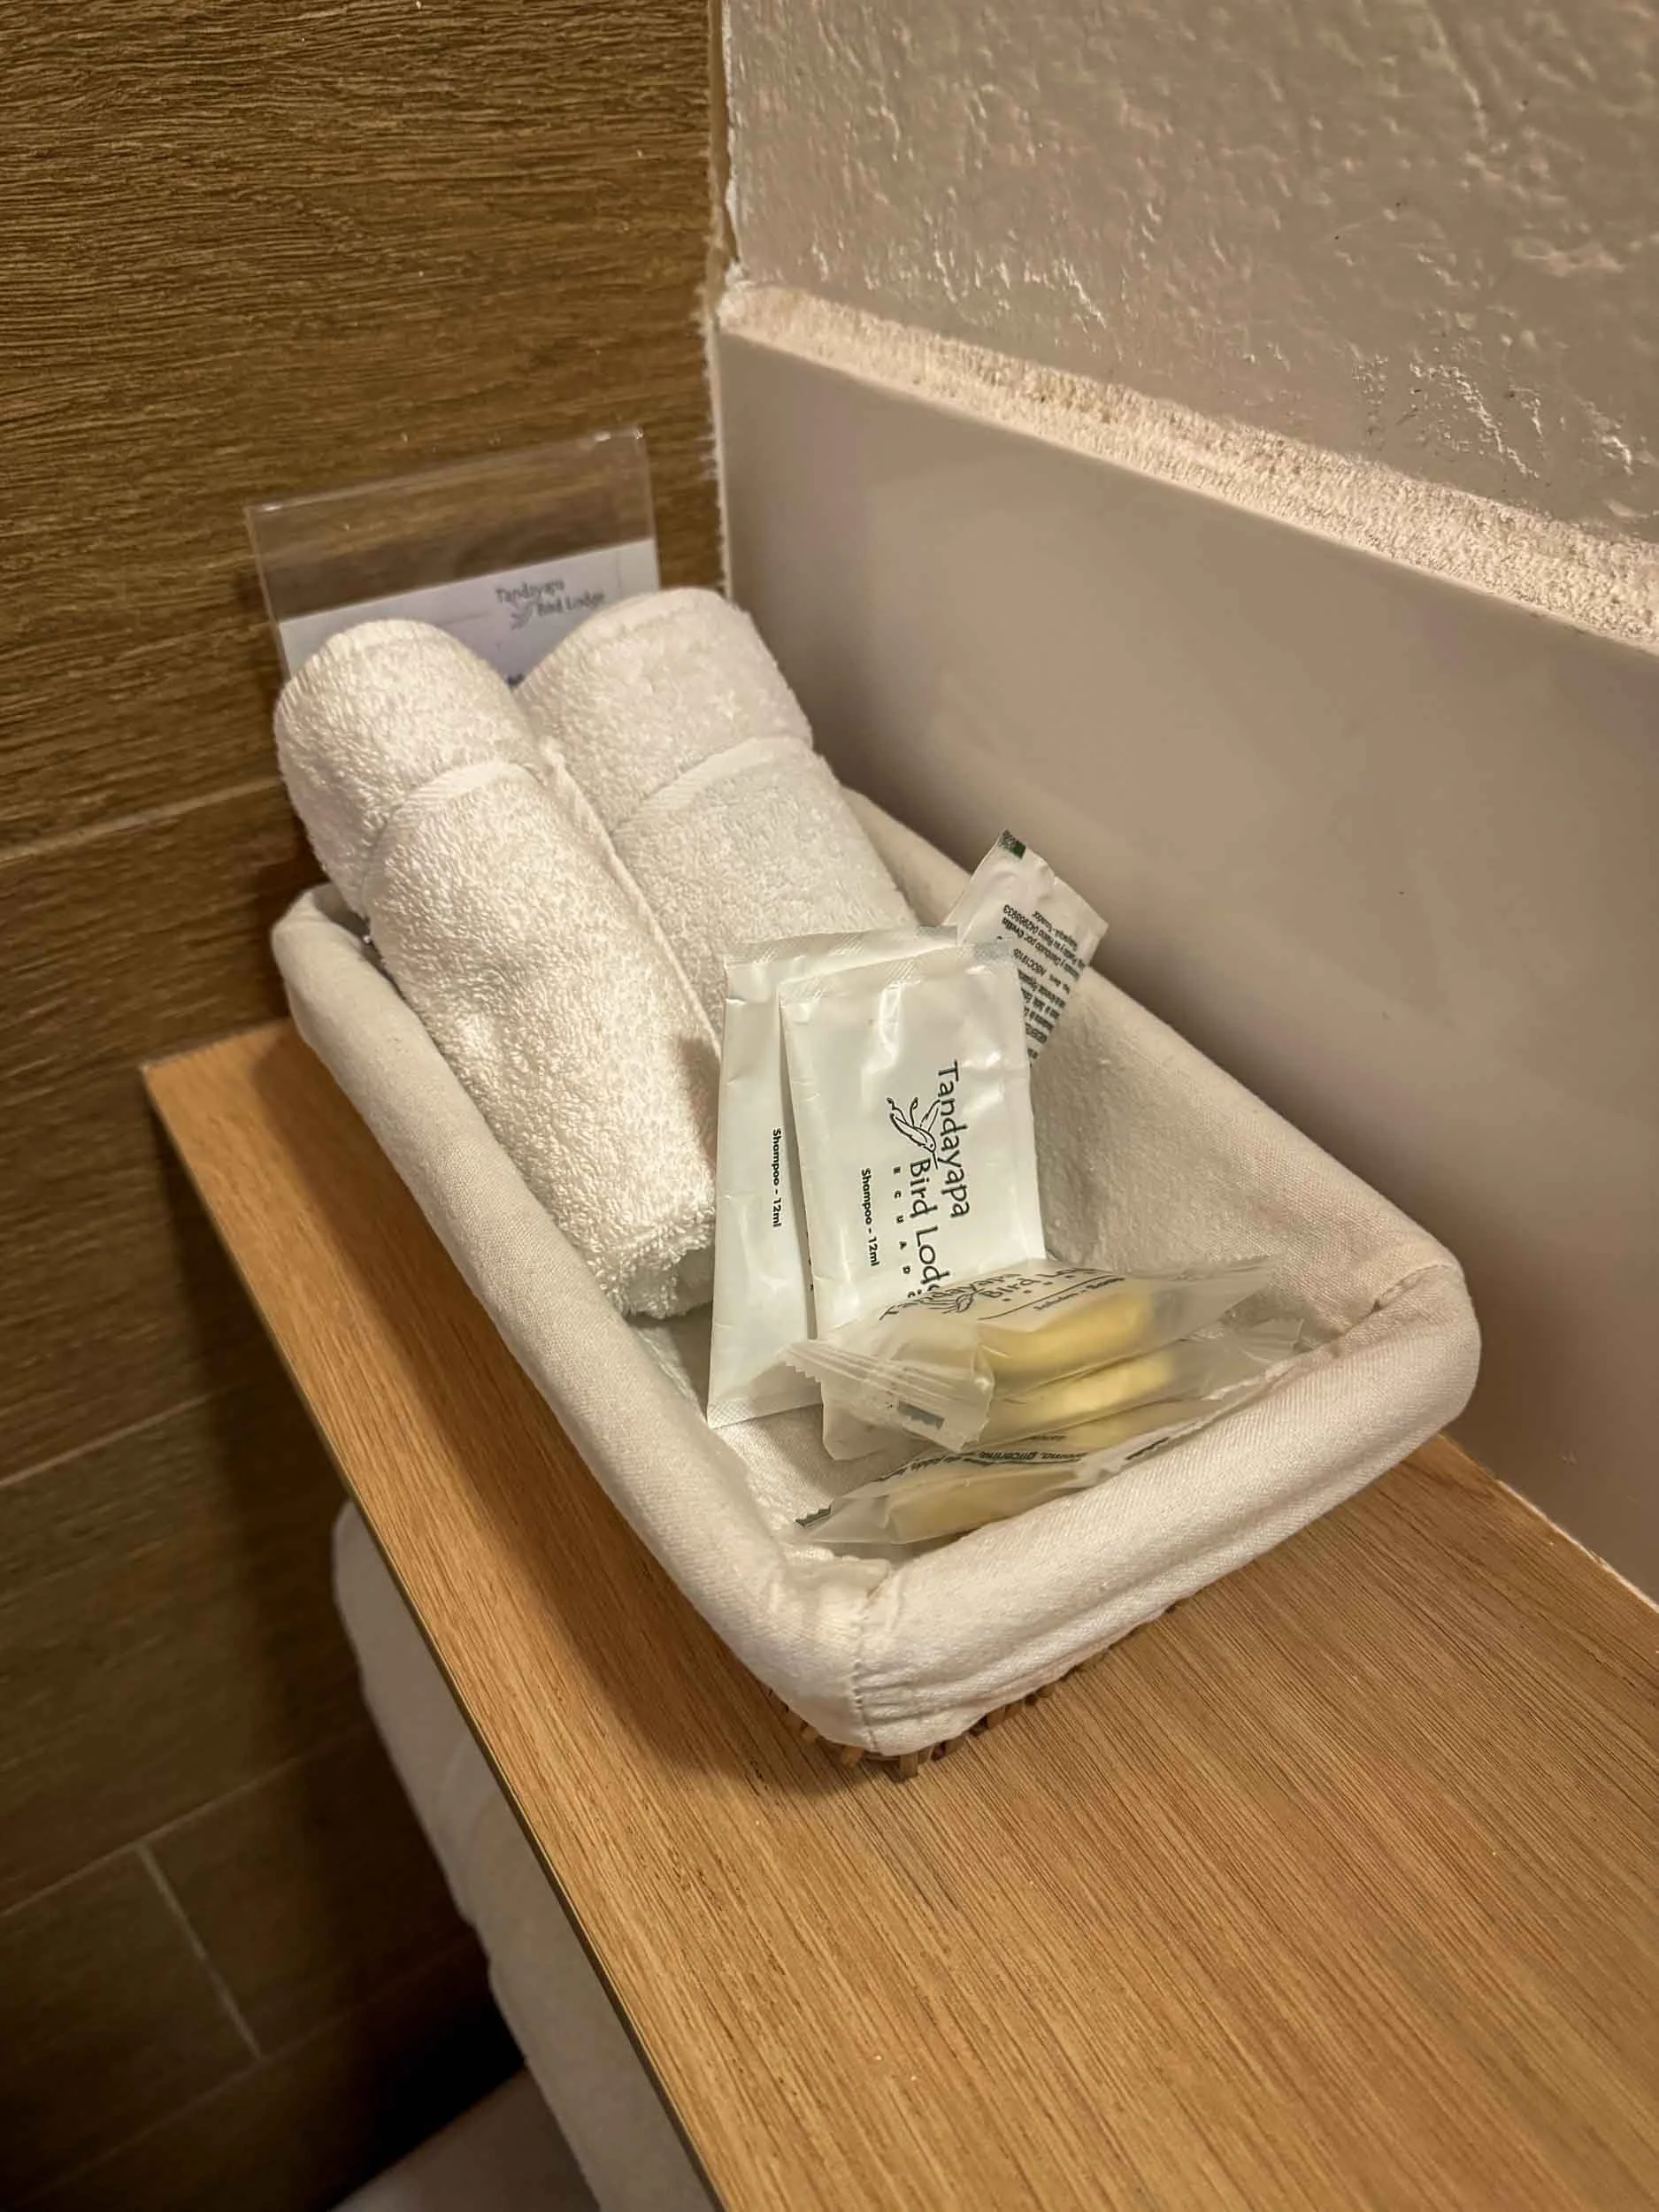
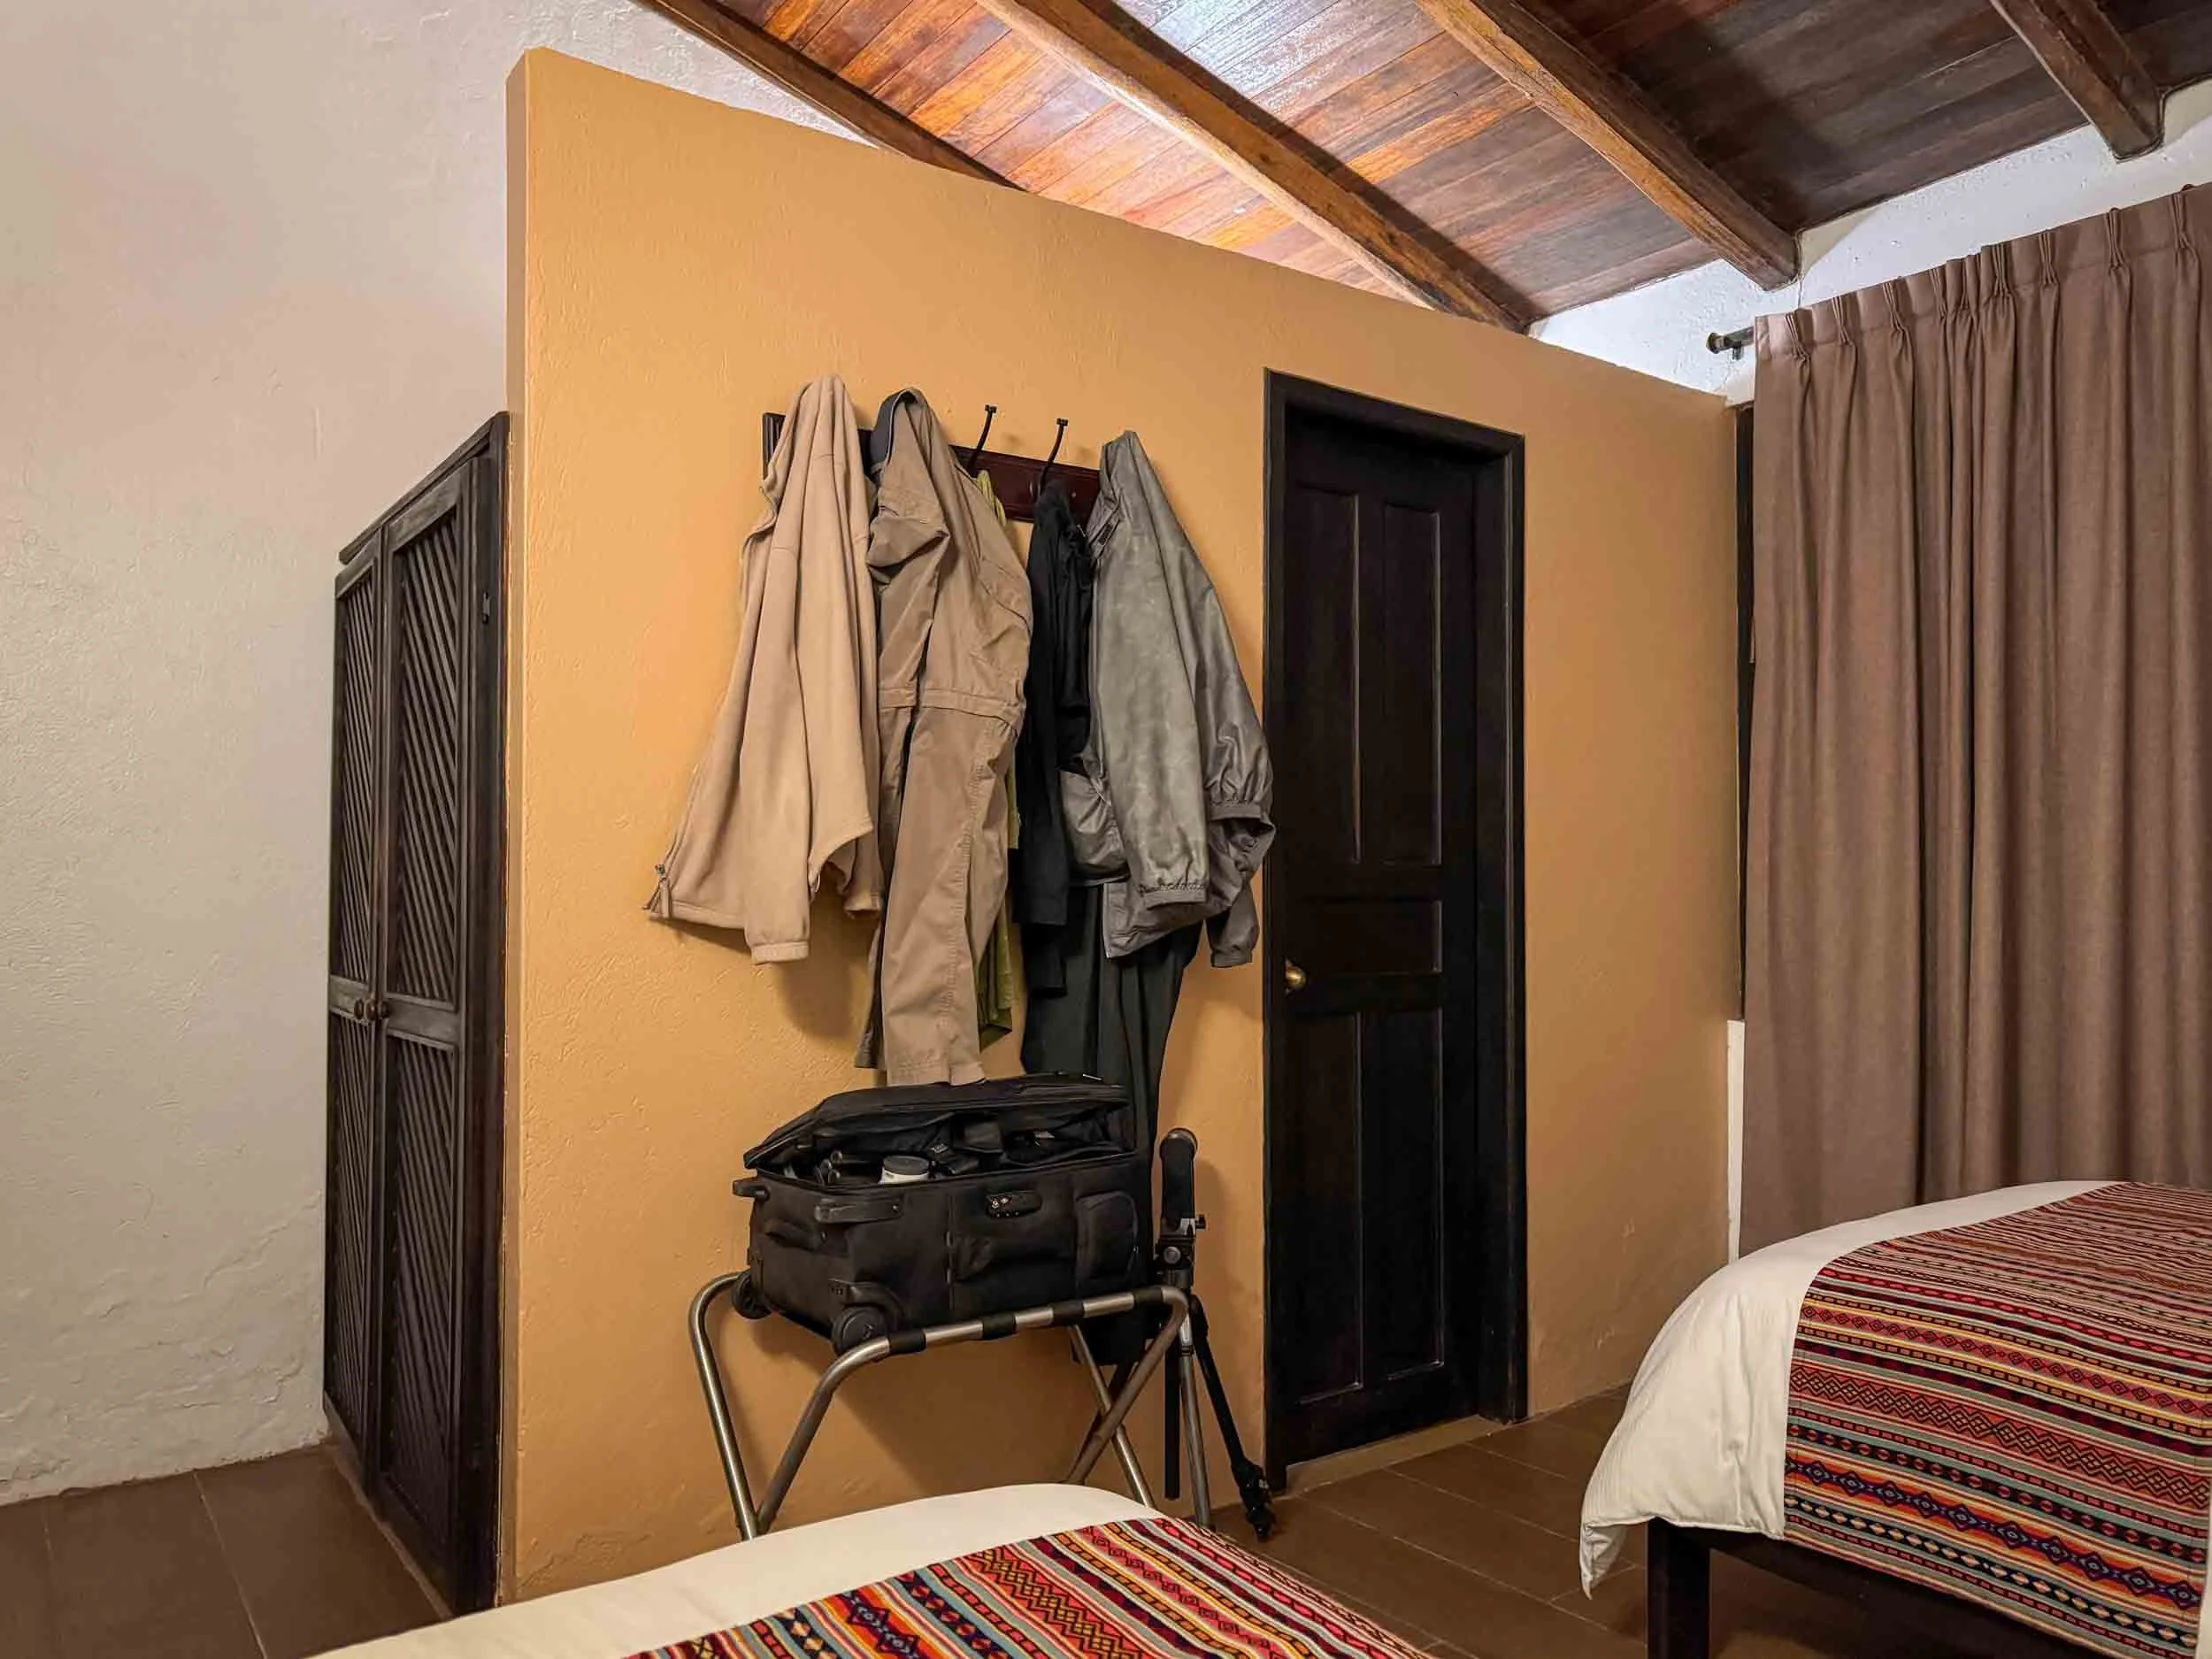
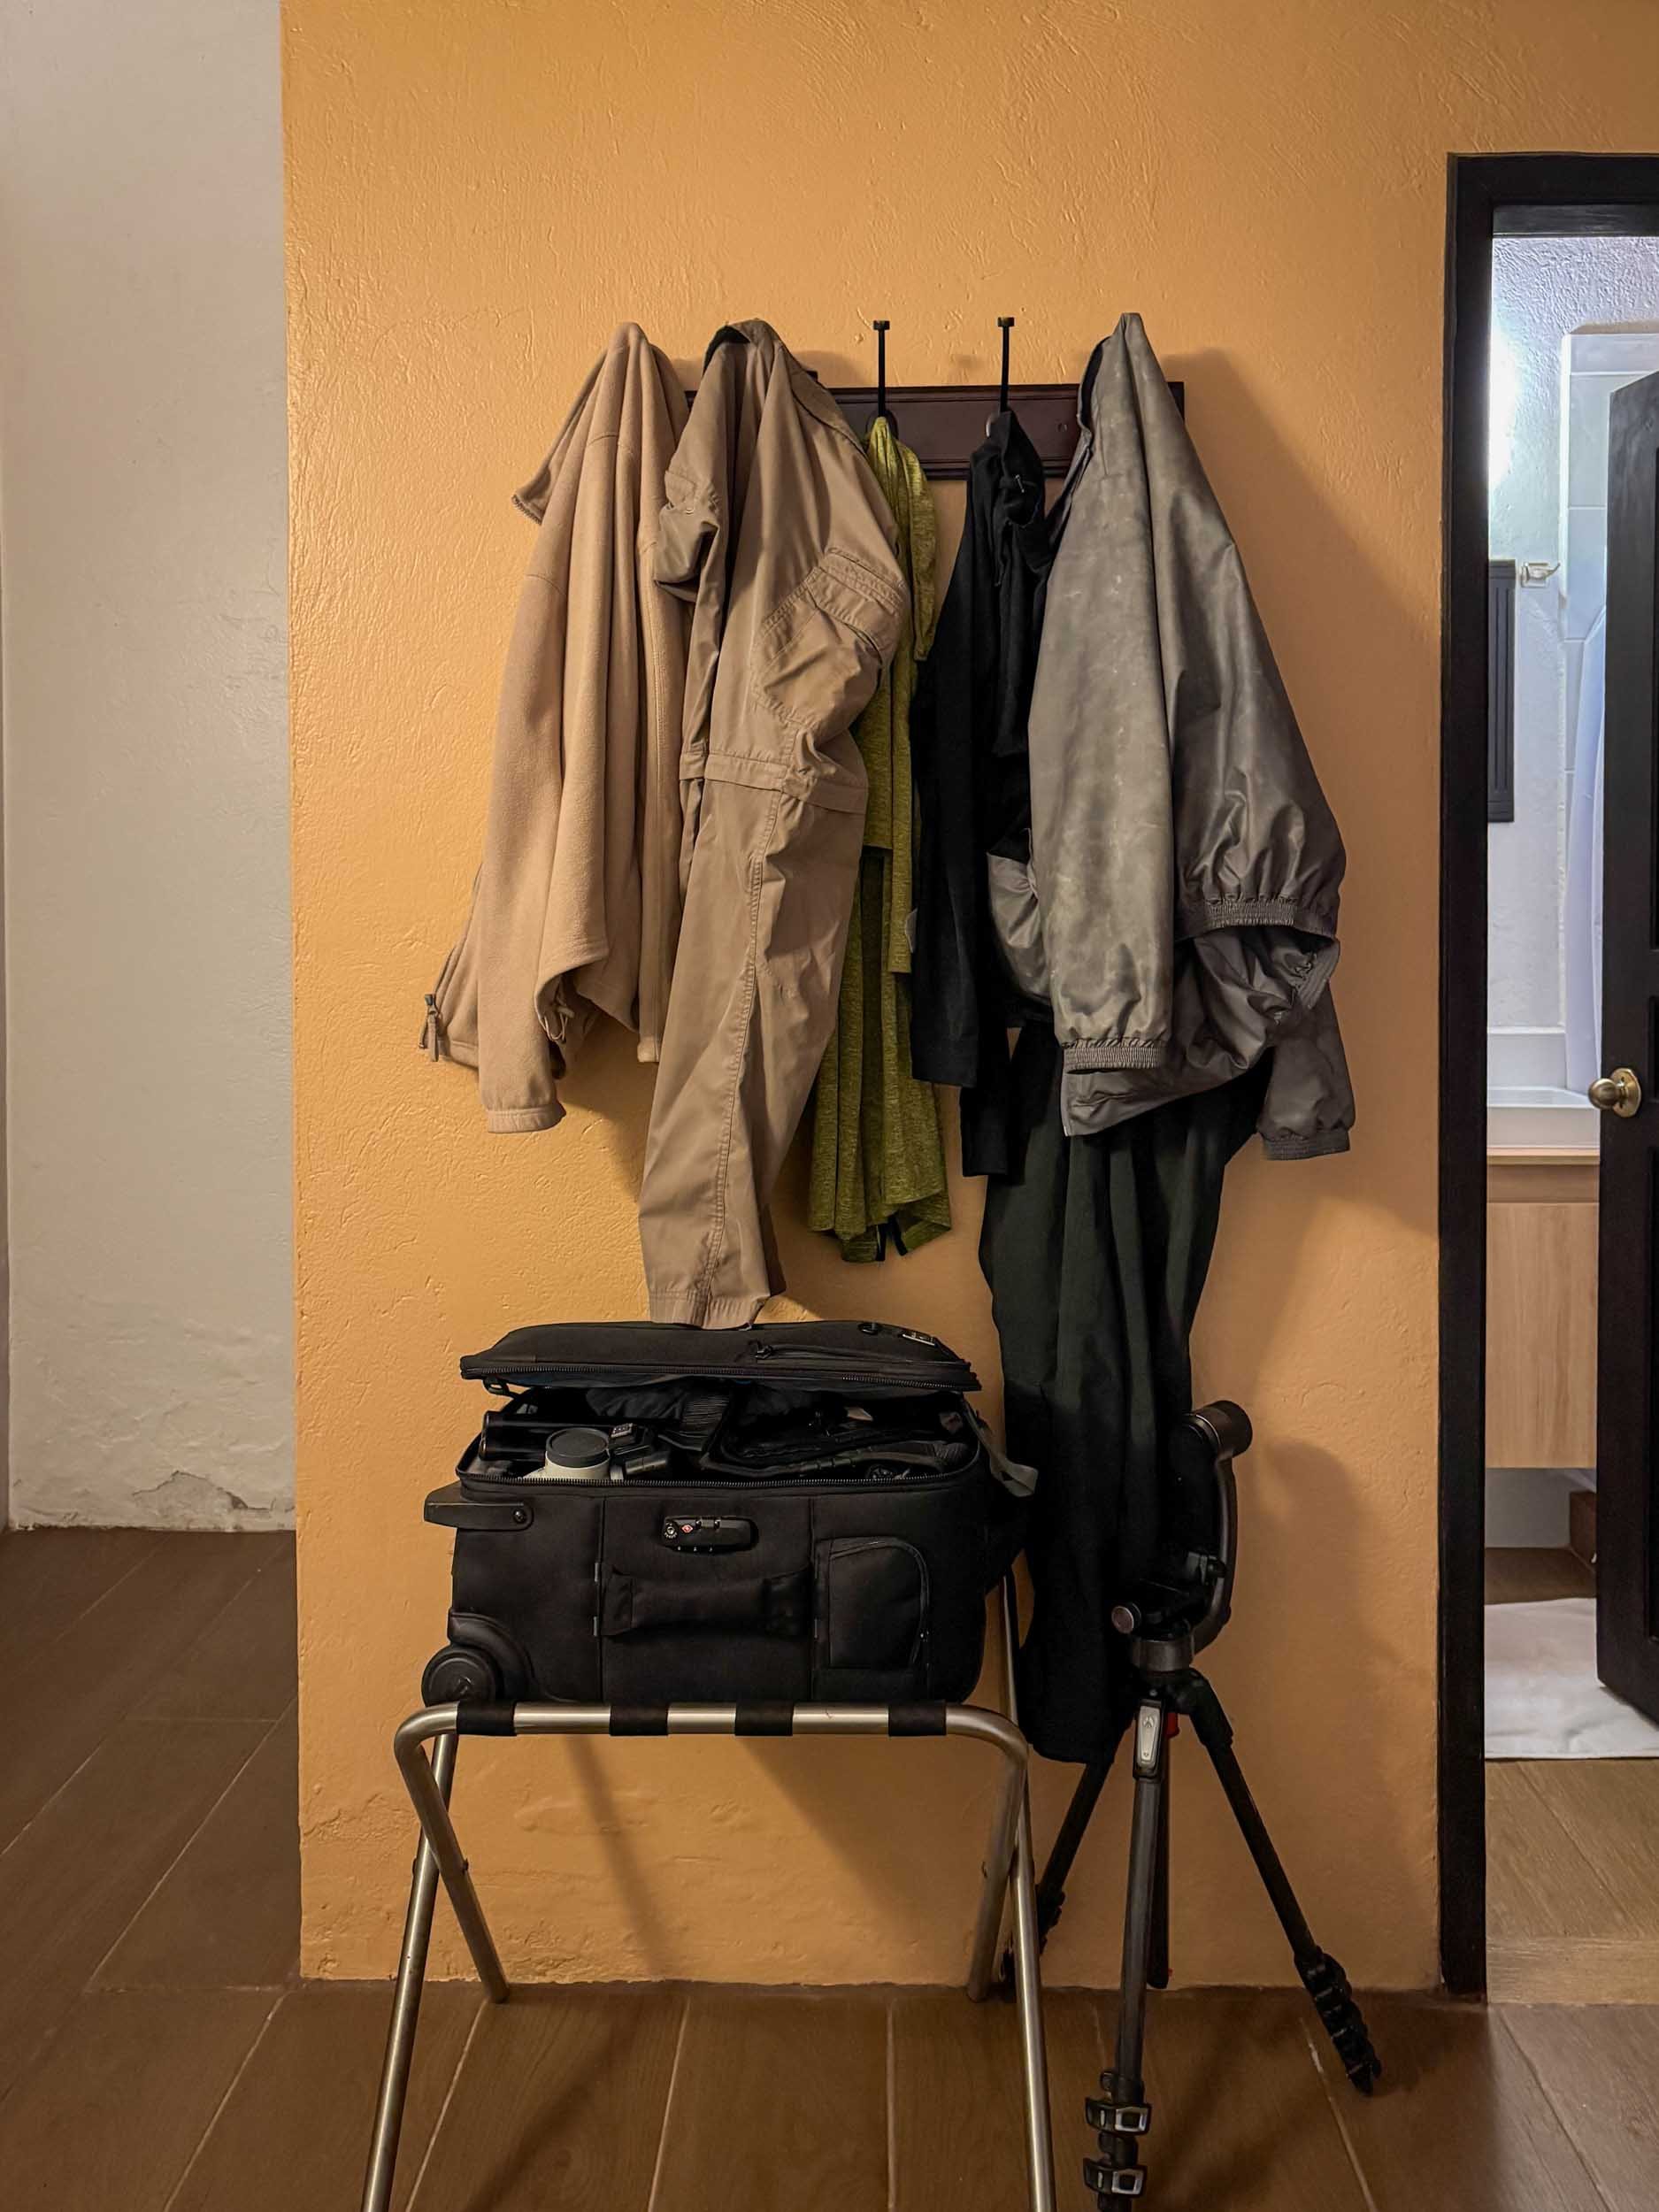
My room was small but clean and functional. There were twin beds with bedside tables and bedside lights, plus the usual wardrobe and folding luggage stand. The bathroom was just about big enough for me to turn around in, but it had a sink, mirror, toilet and shower—which was all I needed.
The other essentials were power and Wi-Fi. I’ve given up on hotels putting power sockets in the most convenient place above the bedside table, but there was one on the wall behind the bed, and my adapter worked fine. Phew!
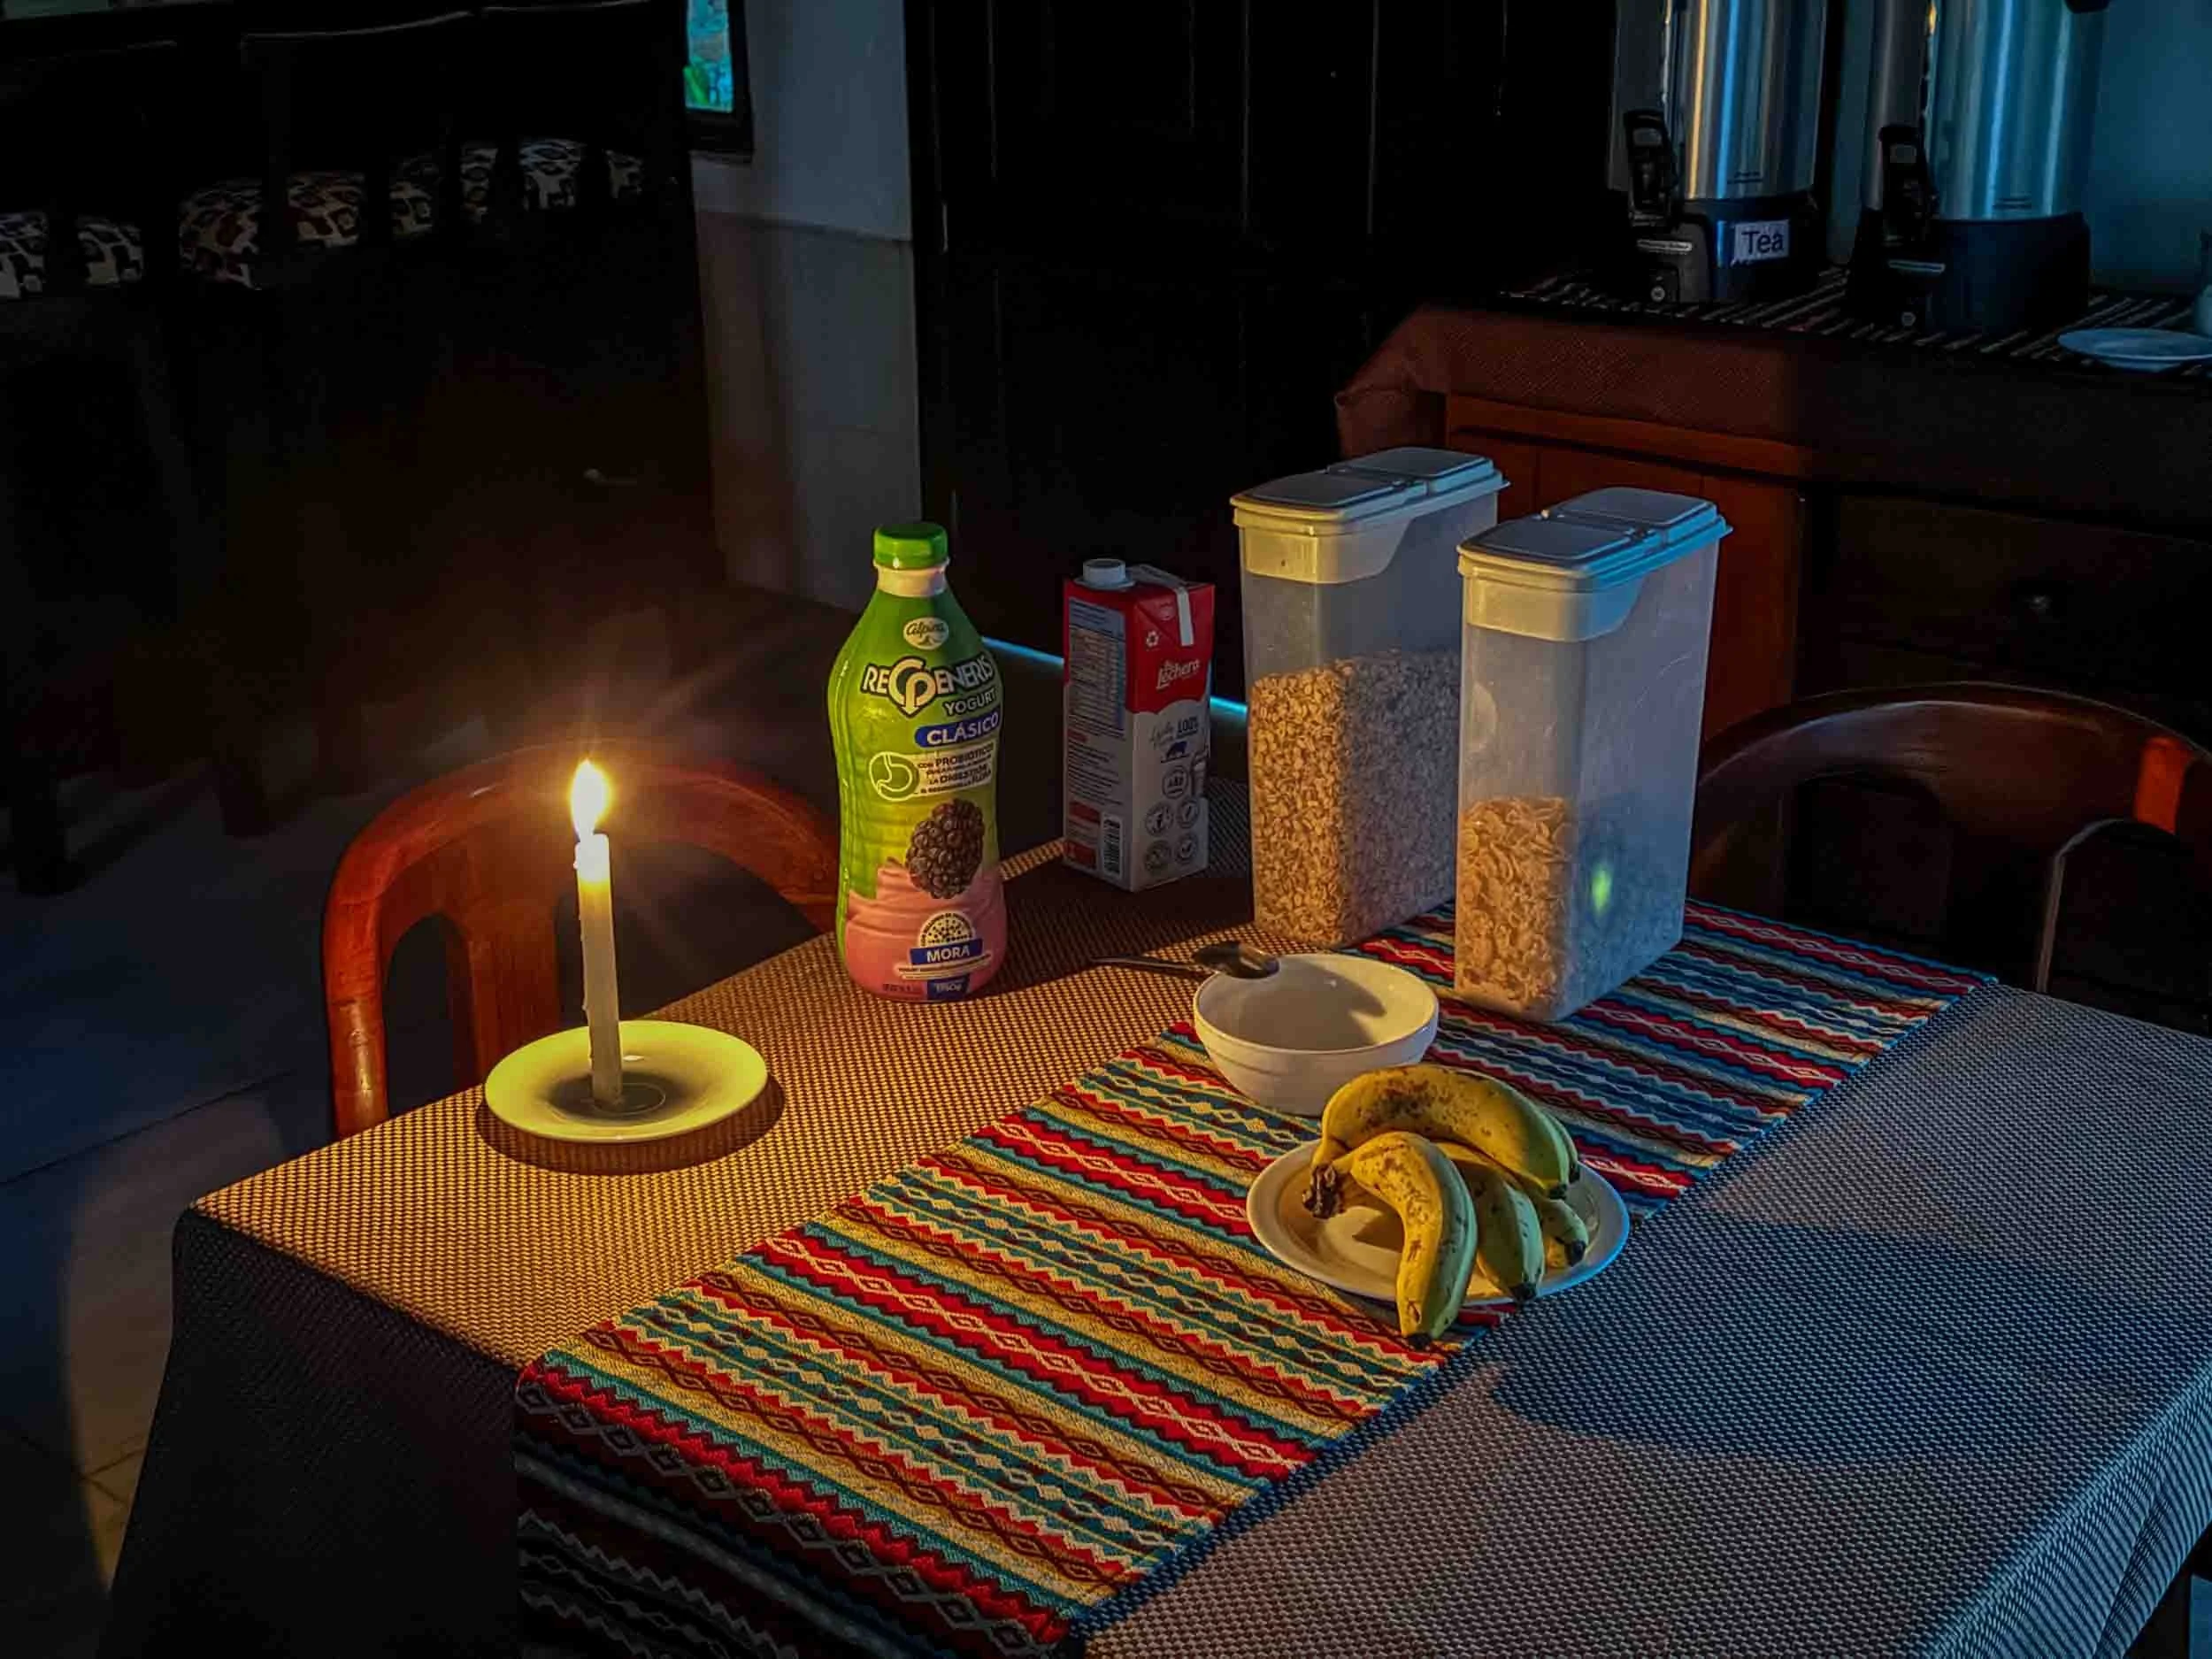
The only problem was that the electricity supply was very unreliable, which meant the Wi-Fi was, too. There were three lengthy power cuts while I was there, and two of them happened when I was supposed to be teaching online. There was no mobile service, so I couldn't let my pupil know what was going on—and I ended up losing the client!
It wasn’t just at the lodge either. One morning, I took my laptop with me to one of the reserves, hoping to recharge the battery, but the power was out there, too! The whole region must’ve had an outage, and it took a good couple of hours before the power came back on...
Daily Routine
Zuro Loma Reserve
When I go on safari, the daily routine is fairly predictable. I go on morning and evening game drives, and everything else fits in around those activities. At Tandayapa, it was a bit more, er, flexible, shall we say…?!
It was my first time birding in South America, my first time photographing hummingbirds and my first time using flash for wildlife photography, so I had a lot of questions before I even arrived at the lodge. Fortunately, my contact, Martina, was very patient and kindly answered them all. There were a lot of them, and we ended up exchanging over a hundred emails! (My only criticism is that she advised me to bring my own flashgun even though I never needed it. That’s £114 I’ll never see again…!)
The main problem was that I didn’t know how things would work in practice. In Africa, I already know what happens on game drives, so everything runs pretty smoothly, but in South America, I had no idea where I was going to find the hummingbirds or how I was going to reach them! Martina recommended a few reserves, including Refugio Paz de las Aves, Mashpi Amagusa and Zuro Loma, but there were still huge gaps in my knowledge—would I have to drive or hike to certain spots and hope to see a sword-billed hummingbird or a velvet-purple coronet? I had no idea!
Fortunately, it was a lot more straightforward than I thought. Martina explained that all the reserves had tourist-friendly areas with plastic feeders to attract the hummingbirds, so I’d just have to turn up and start taking pictures!
In the end, I had to rely on Martina to book a driver to take me on various day trips. Despite the three free nights and the 15% discount, I didn’t really have the budget to splash out on a proper guide, and I couldn’t afford to pay for a driver and my entry fees every single day. As a result, I decided to take part in two photography and birding workshops that Martina had mentioned at the start and end of my trip and only book visits to reserves during the first week. In addition, I’d be allowed to use the ‘multi-flash set-up’ at the lodge whenever I wanted.
This was my original schedule:
Thursday, 15th January
Arrival
16-19th
Photography Tour
Tuesday 20th
Early departure (5:45 am): Zuro Loma $30 AM
Lunch: lunch in Tandayapa
Wednesday 21st
Early departure (6 am): Frutti Tour $10 AM & San Tadeo Reserve $10
Lunch: box lunch
Thursday 22nd
Early departure (6 am): Amagusa Reserve $20 & Alambi $10
Lunch: box lunch
Friday 23rd
Early departure (6 am): Birdwatchers House $30.
Lunch: lunch in Tandayapa
Saturday 24th
Early departure (5:30 am): Angel Paz Reserve $70. Highlight: Andean cock-of-the-rock
Lunch: lunch in Tandayapa
25-28th January
Birding Tour
Thursday, 29th January
Departure
Unfortunately, I wasn’t allowed to join the groups that came for the workshops. They went on their own trips to local reserves, and I couldn’t even take part in their multi-flash sessions or get coaching from their guide, Alex. However, it wasn’t really a problem. I had my own excursions to go on in the morning, and I spent most afternoons on the patio with the multi-flash set-up. As a result, I spent almost all my free time either taking pictures or rating them on my laptop in my room.
The only real difficulty came at the start of my stay when it took a while before I could actually take any pictures. That was partly because I couldn’t join the photography tour and partly because of the language barrier and the difficulty in getting hold of the staff. If I wanted breakfast or lunch or someone to help me with the multi-flash set-up, I had to find someone who spoke English (which wasn’t easy!) and then wait as patiently as I could until I got what I needed.
As time went on, my expectations adjusted to the local rhythms and the staff’s mañana attitude. I’m sure there was always a reason why things happened so slowly (or didn’t happen at all), but it wasn’t always obvious! On safari, the locals have an expression for moments like these: “TIA”—or “This is Africa”. On the other side of the Atlantic, they say, “Welcome to South America!”
Food and Drink


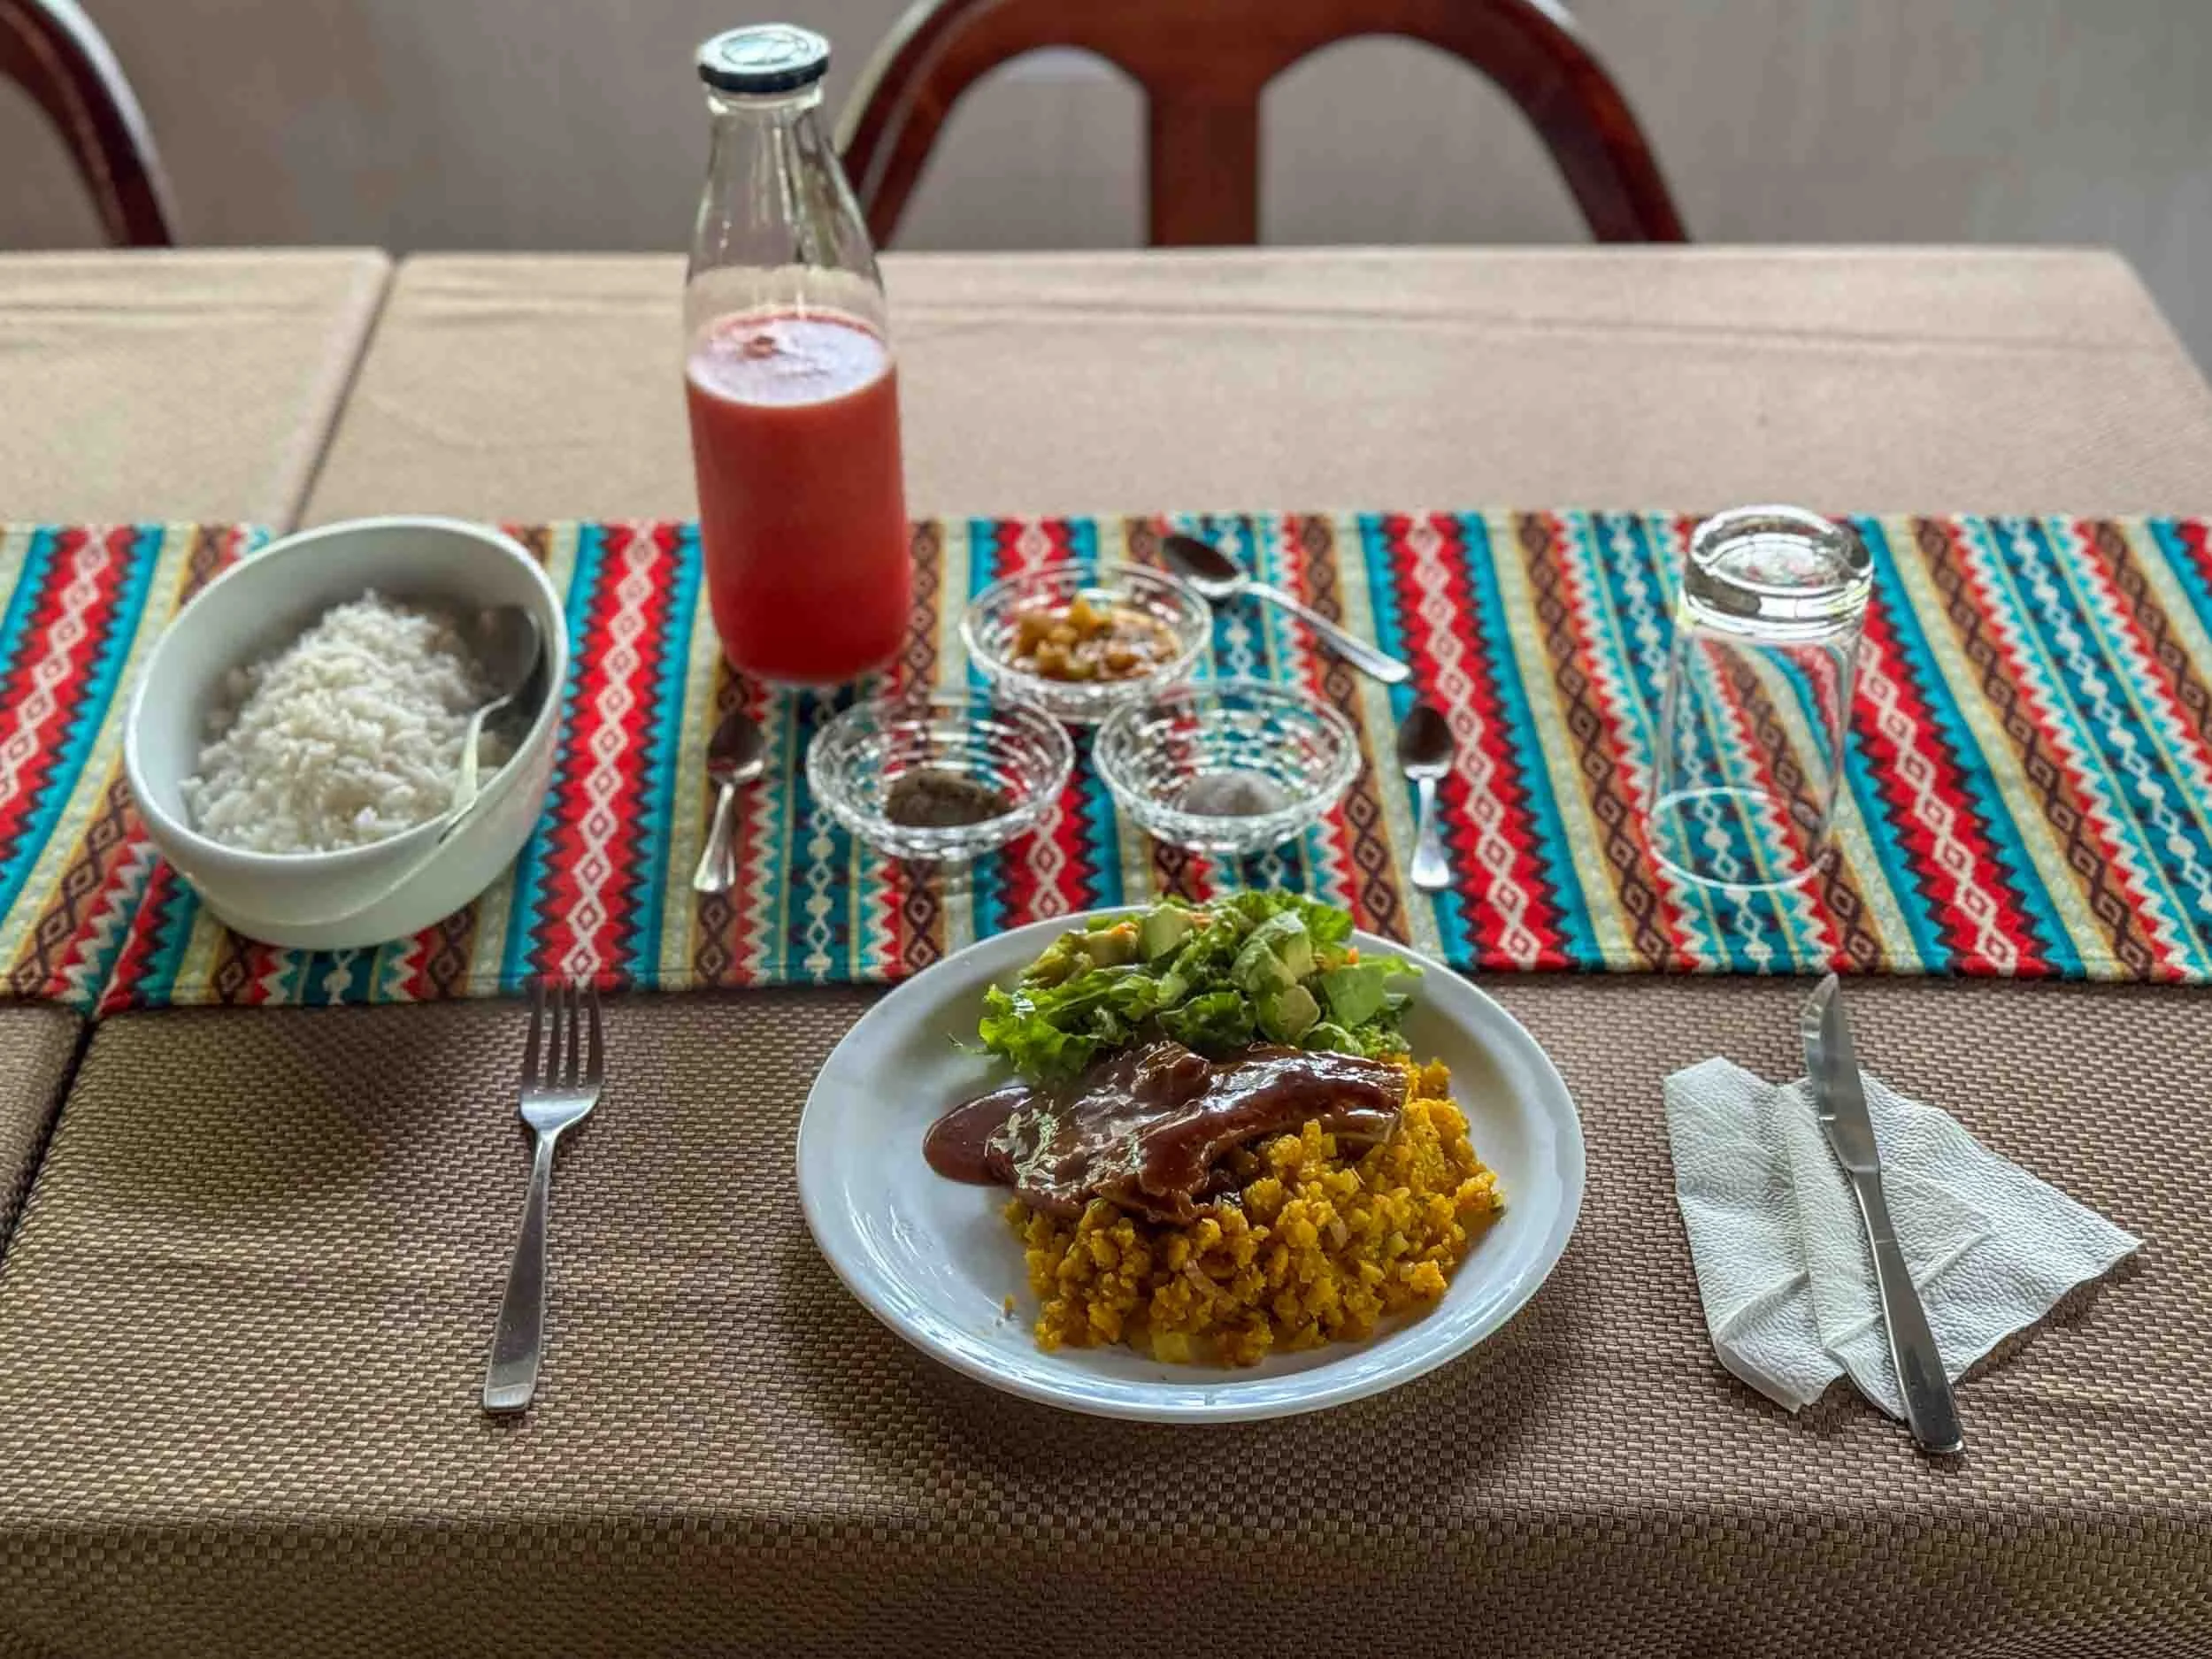
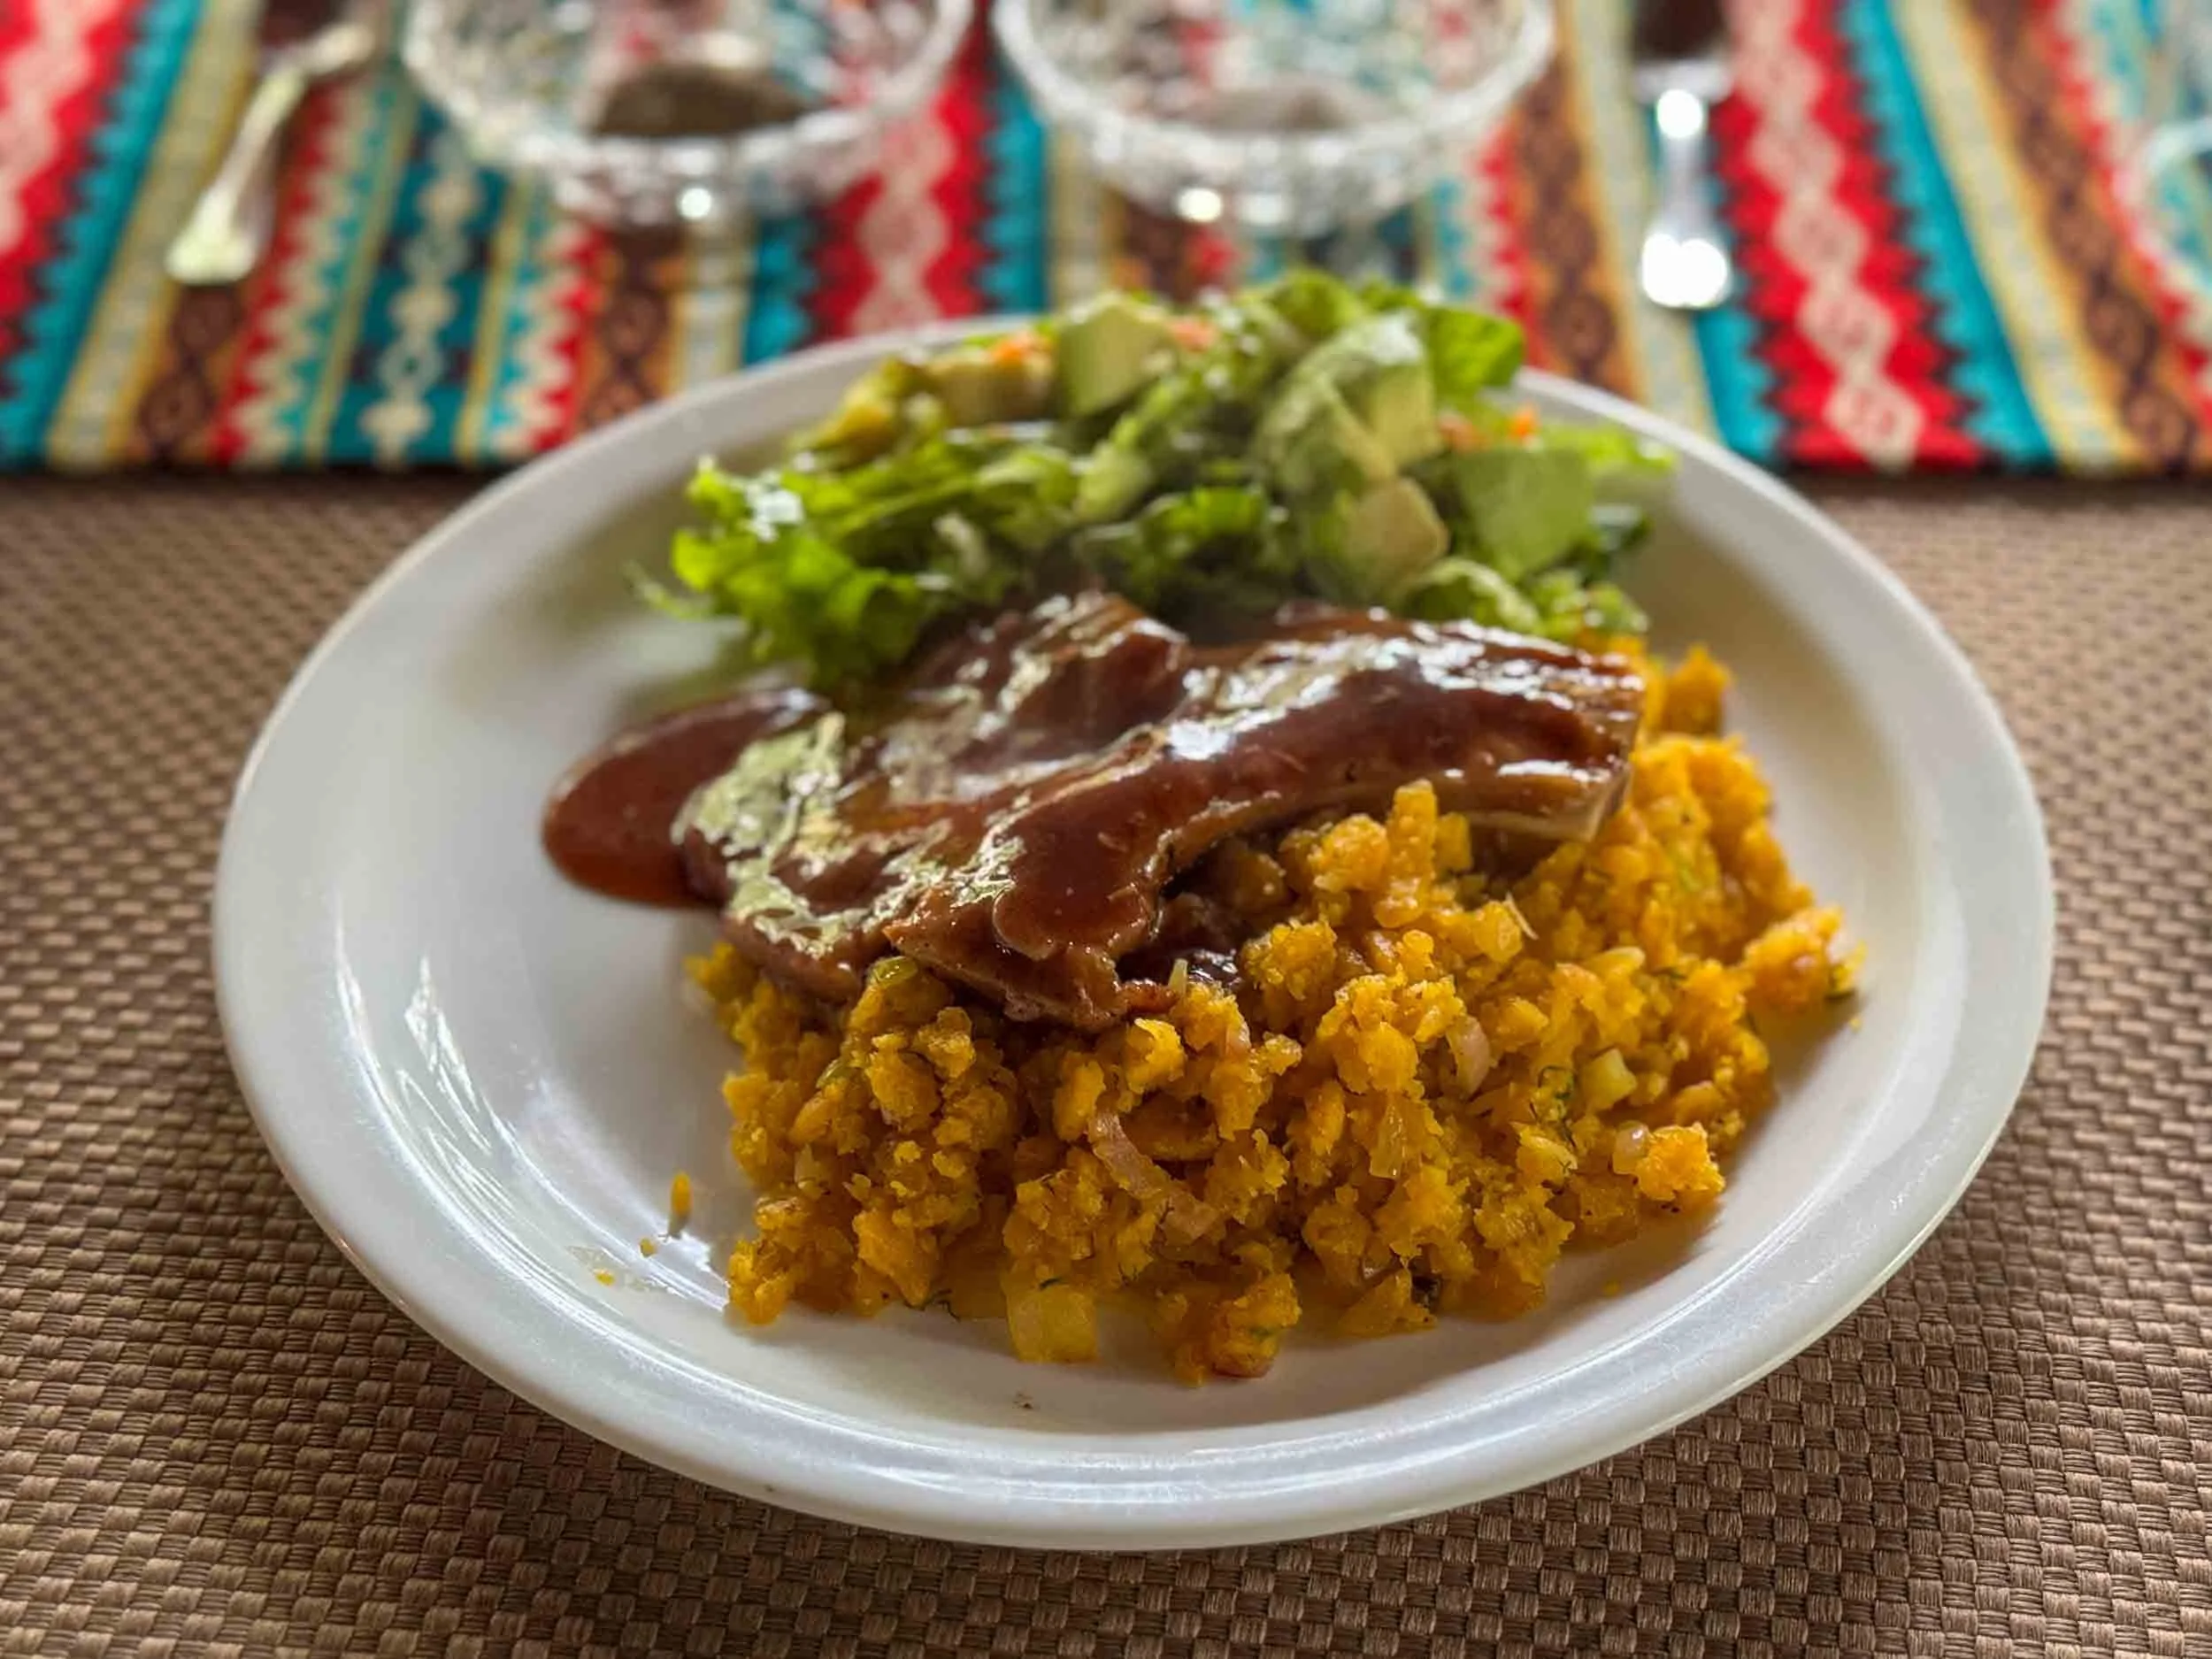
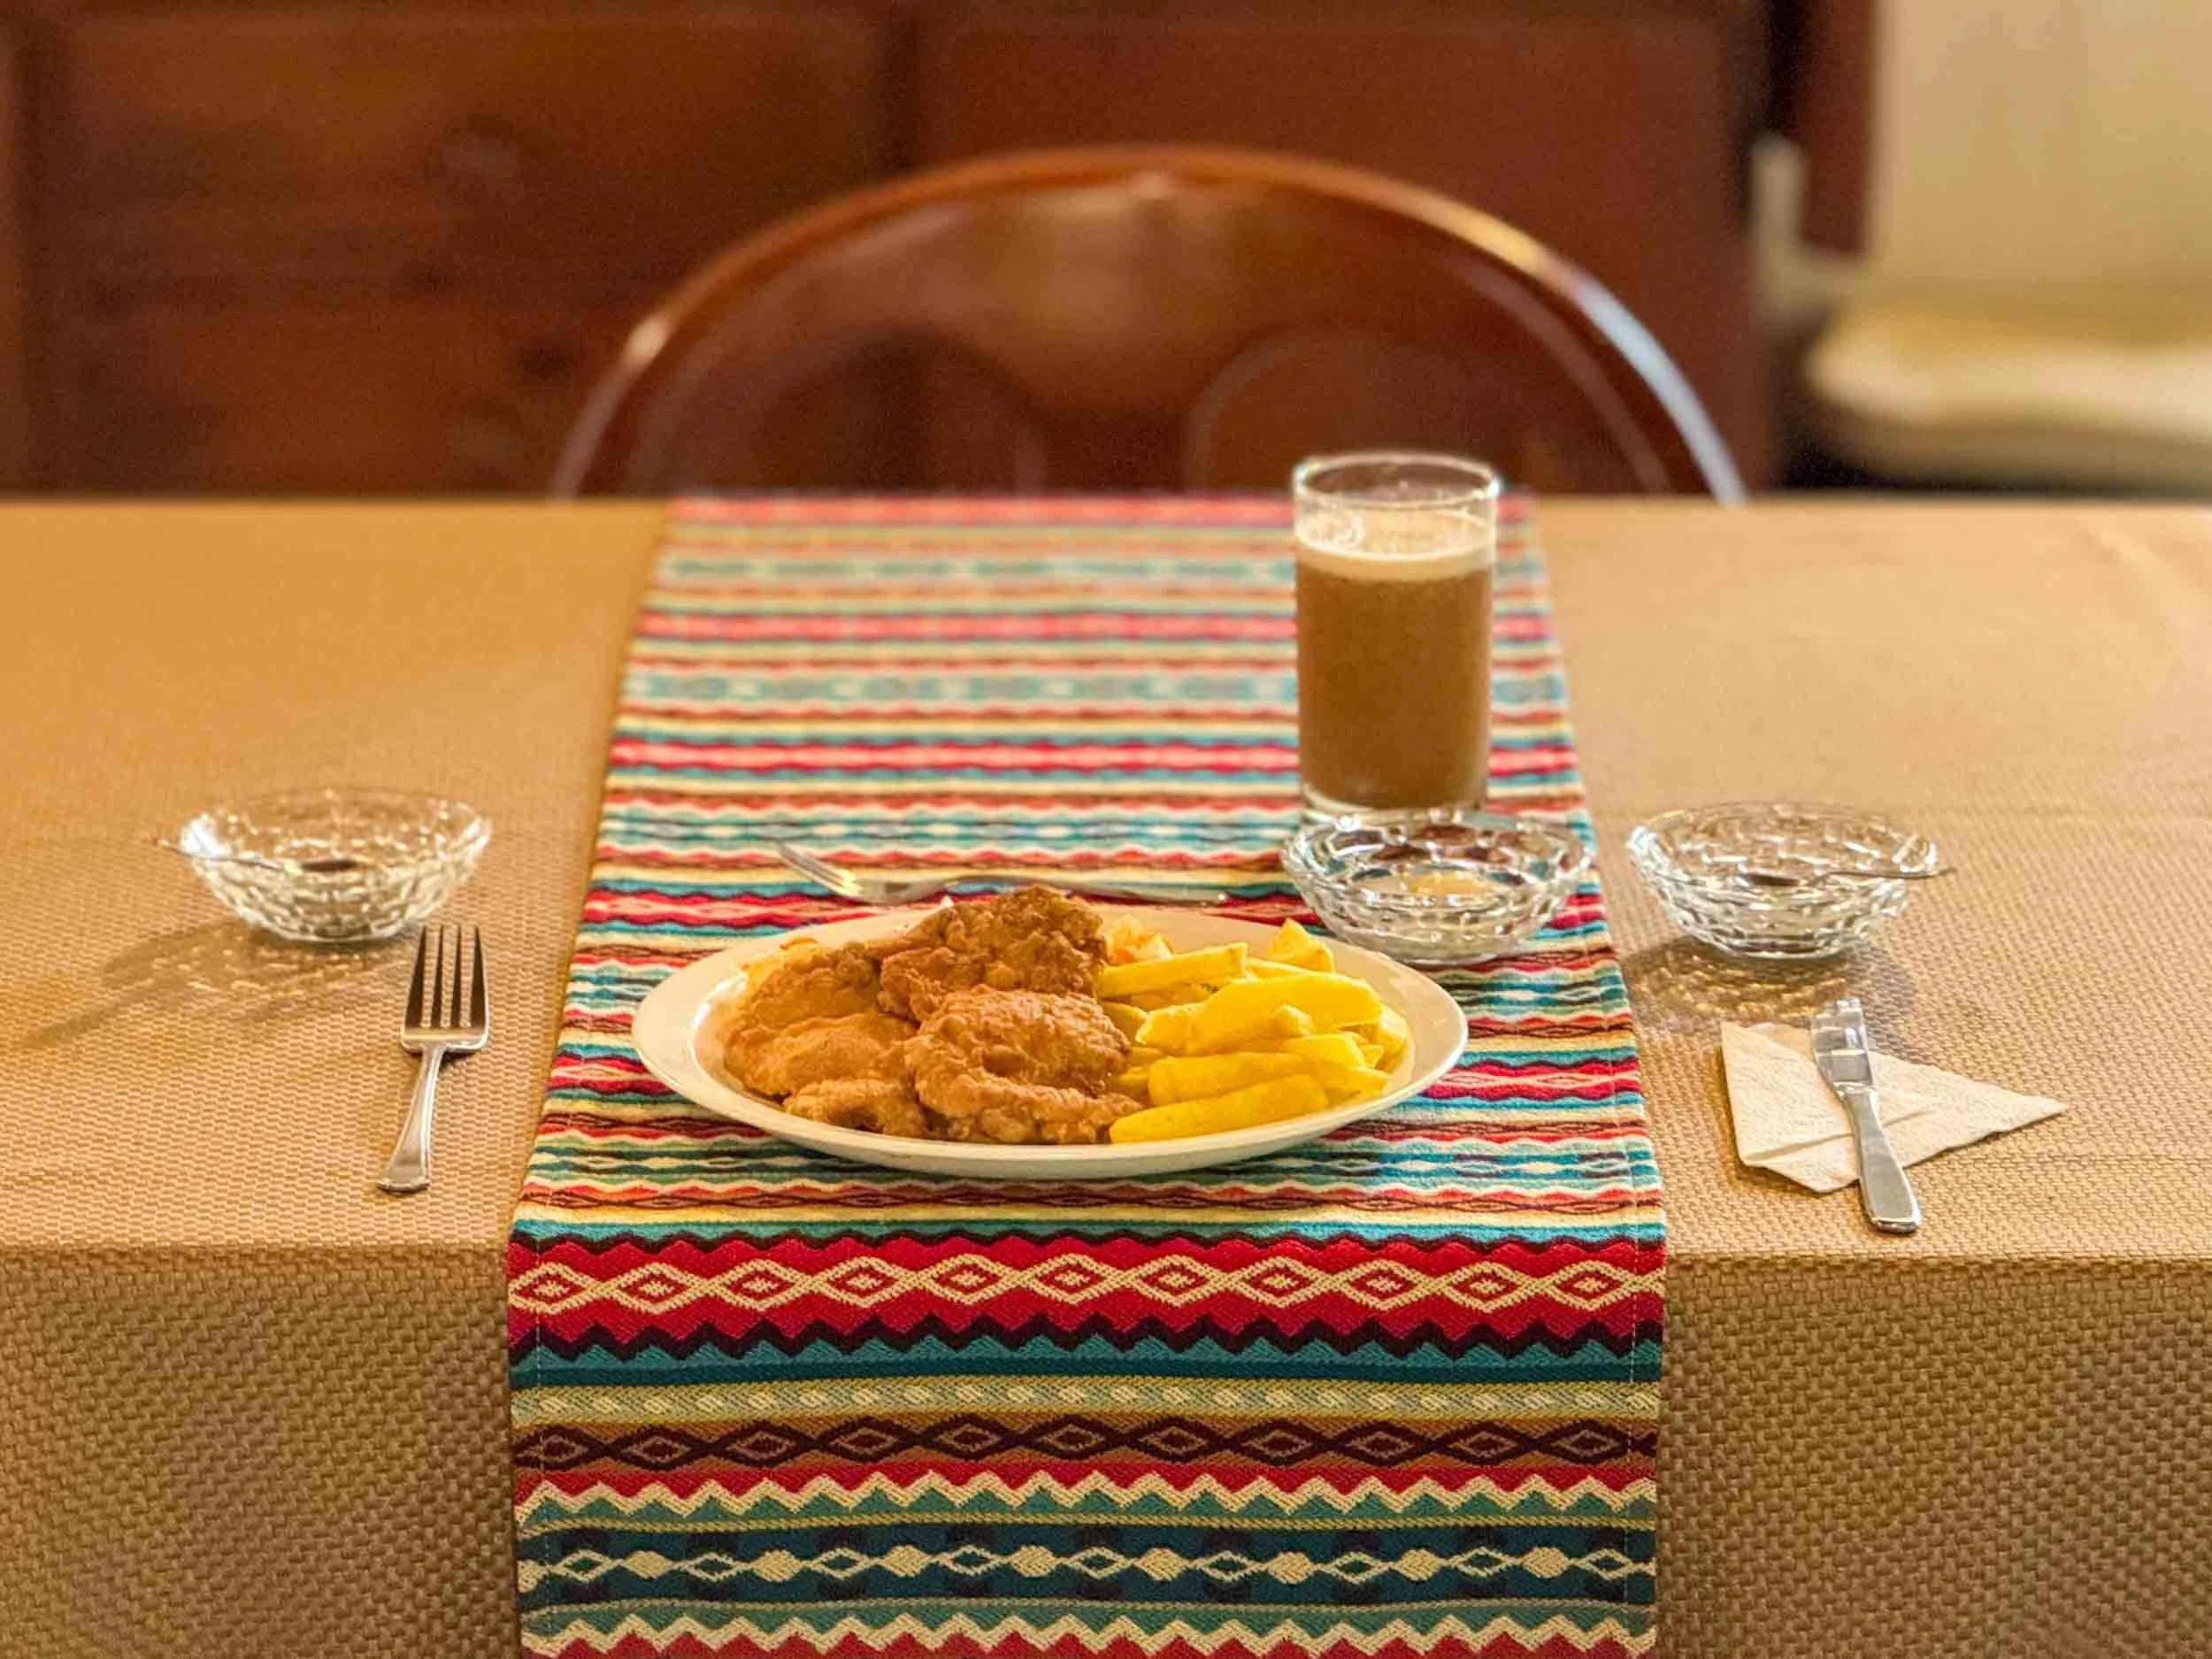
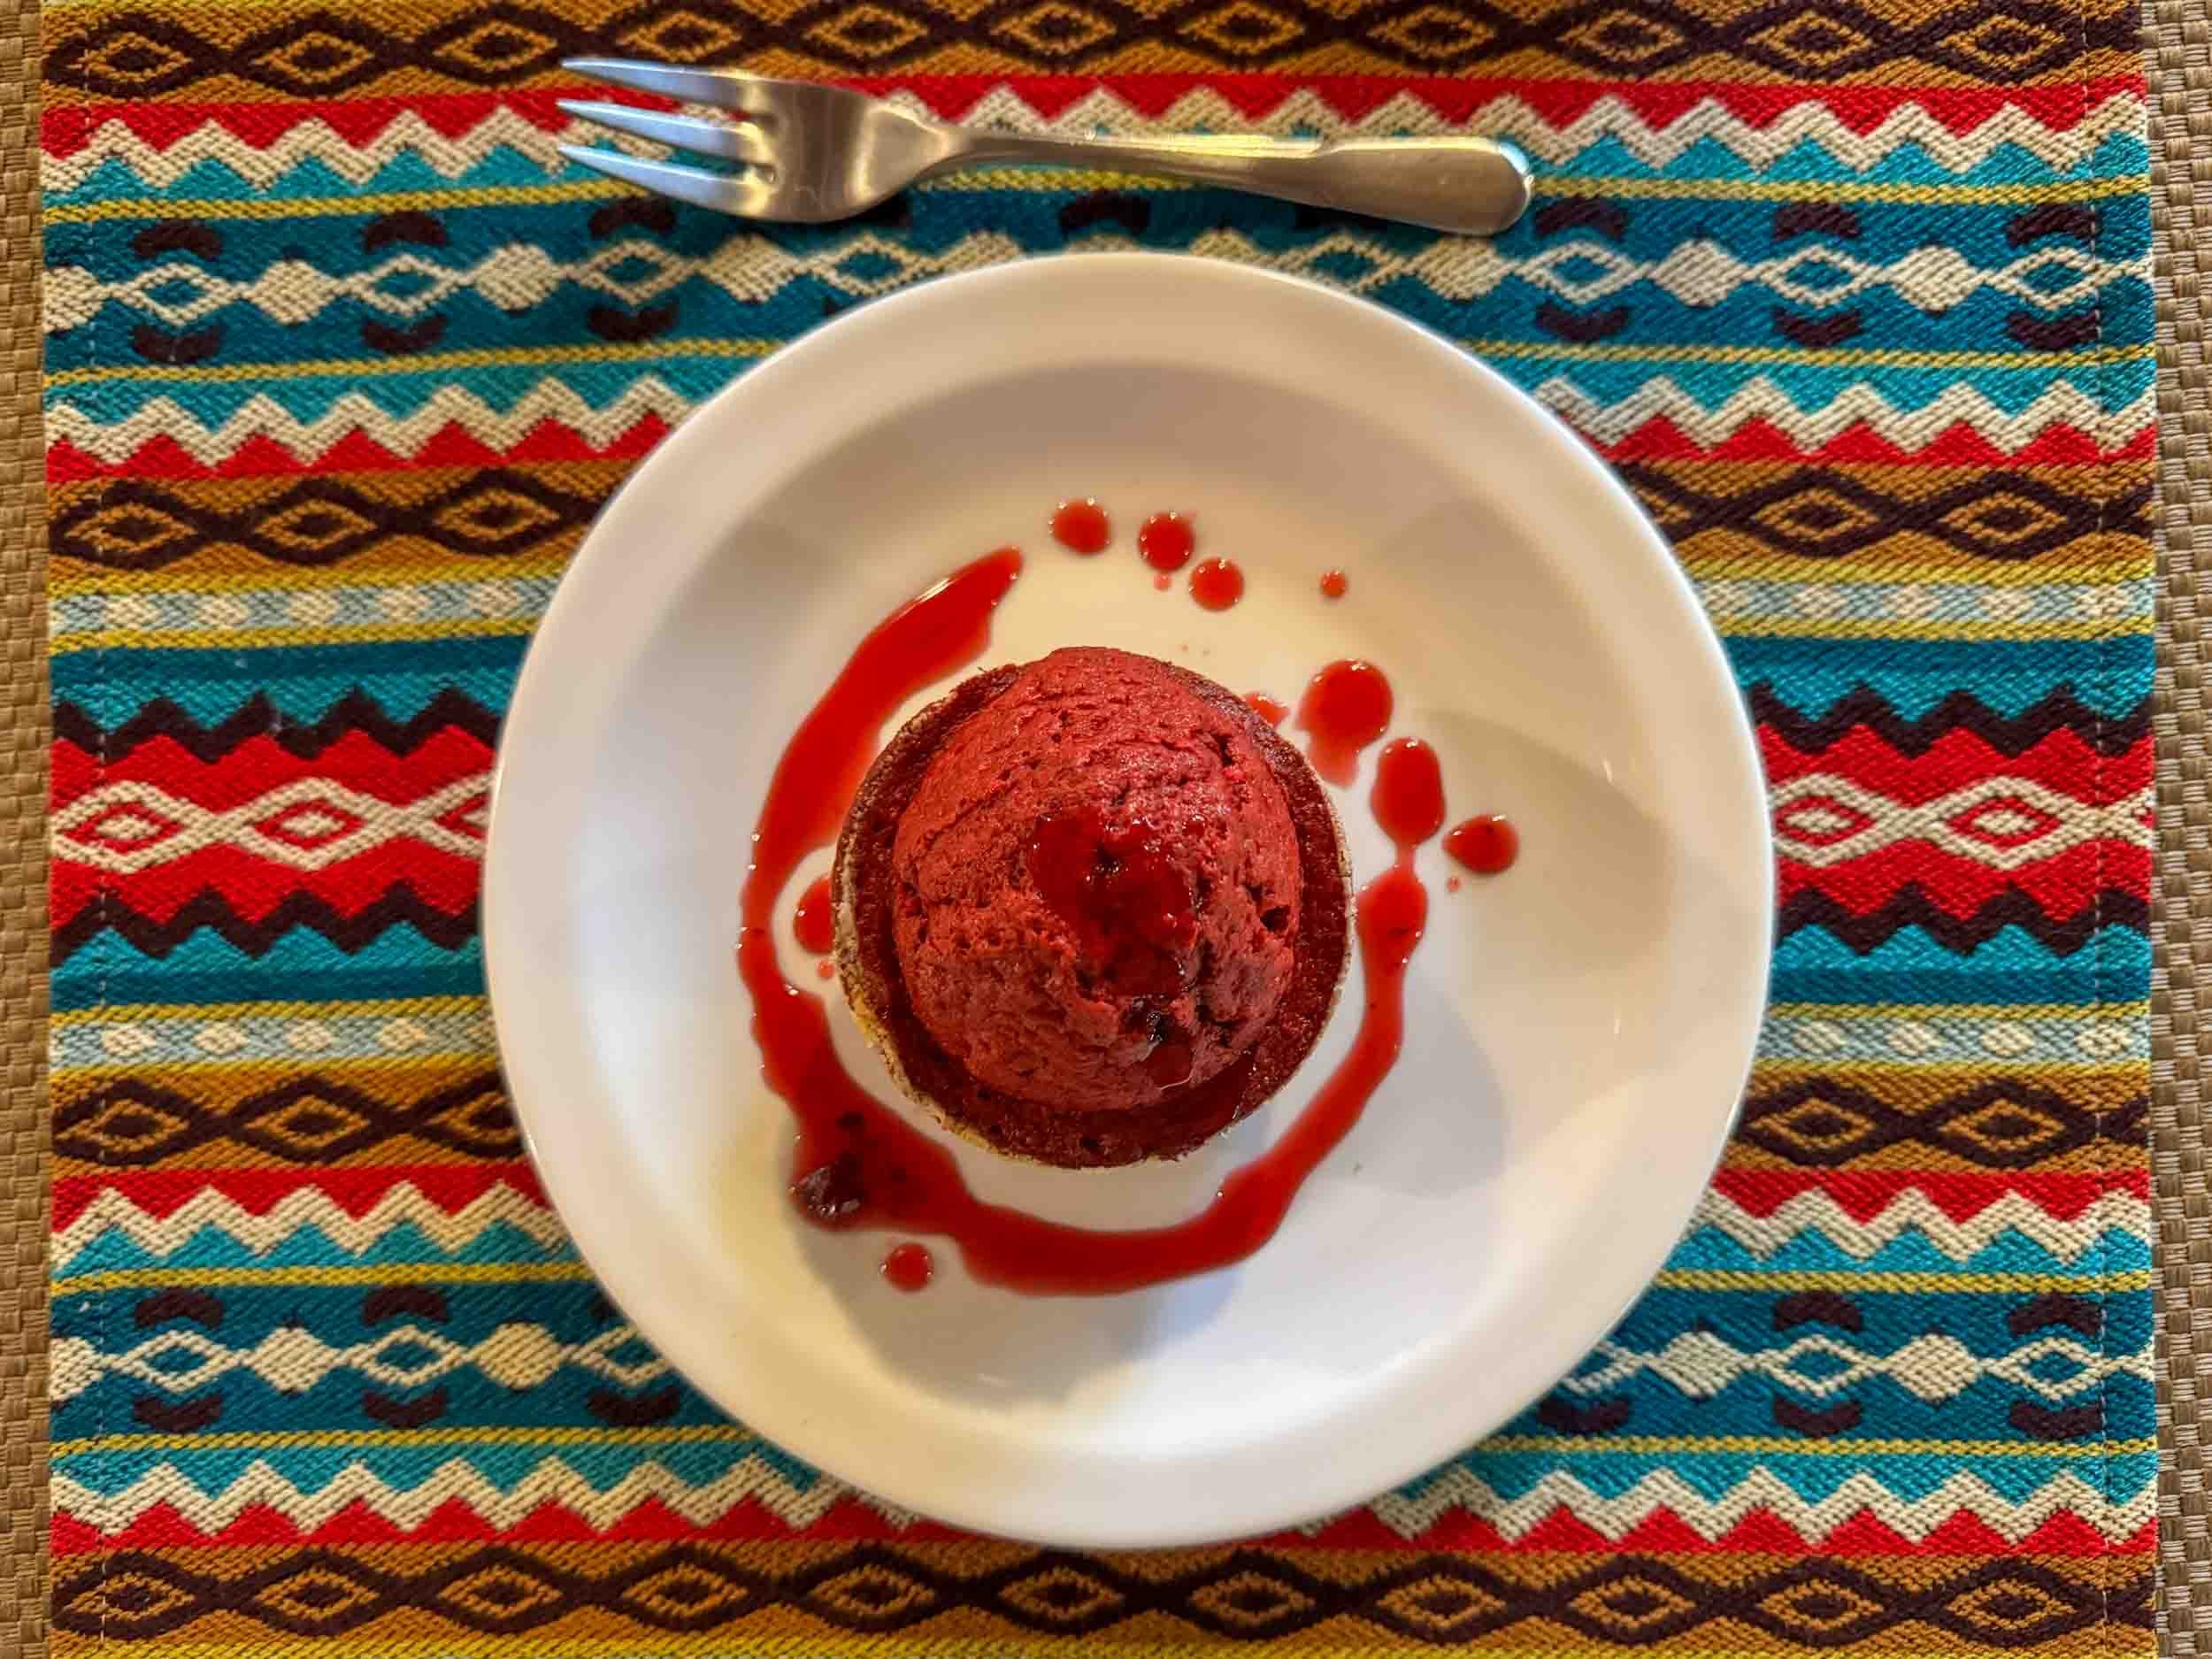
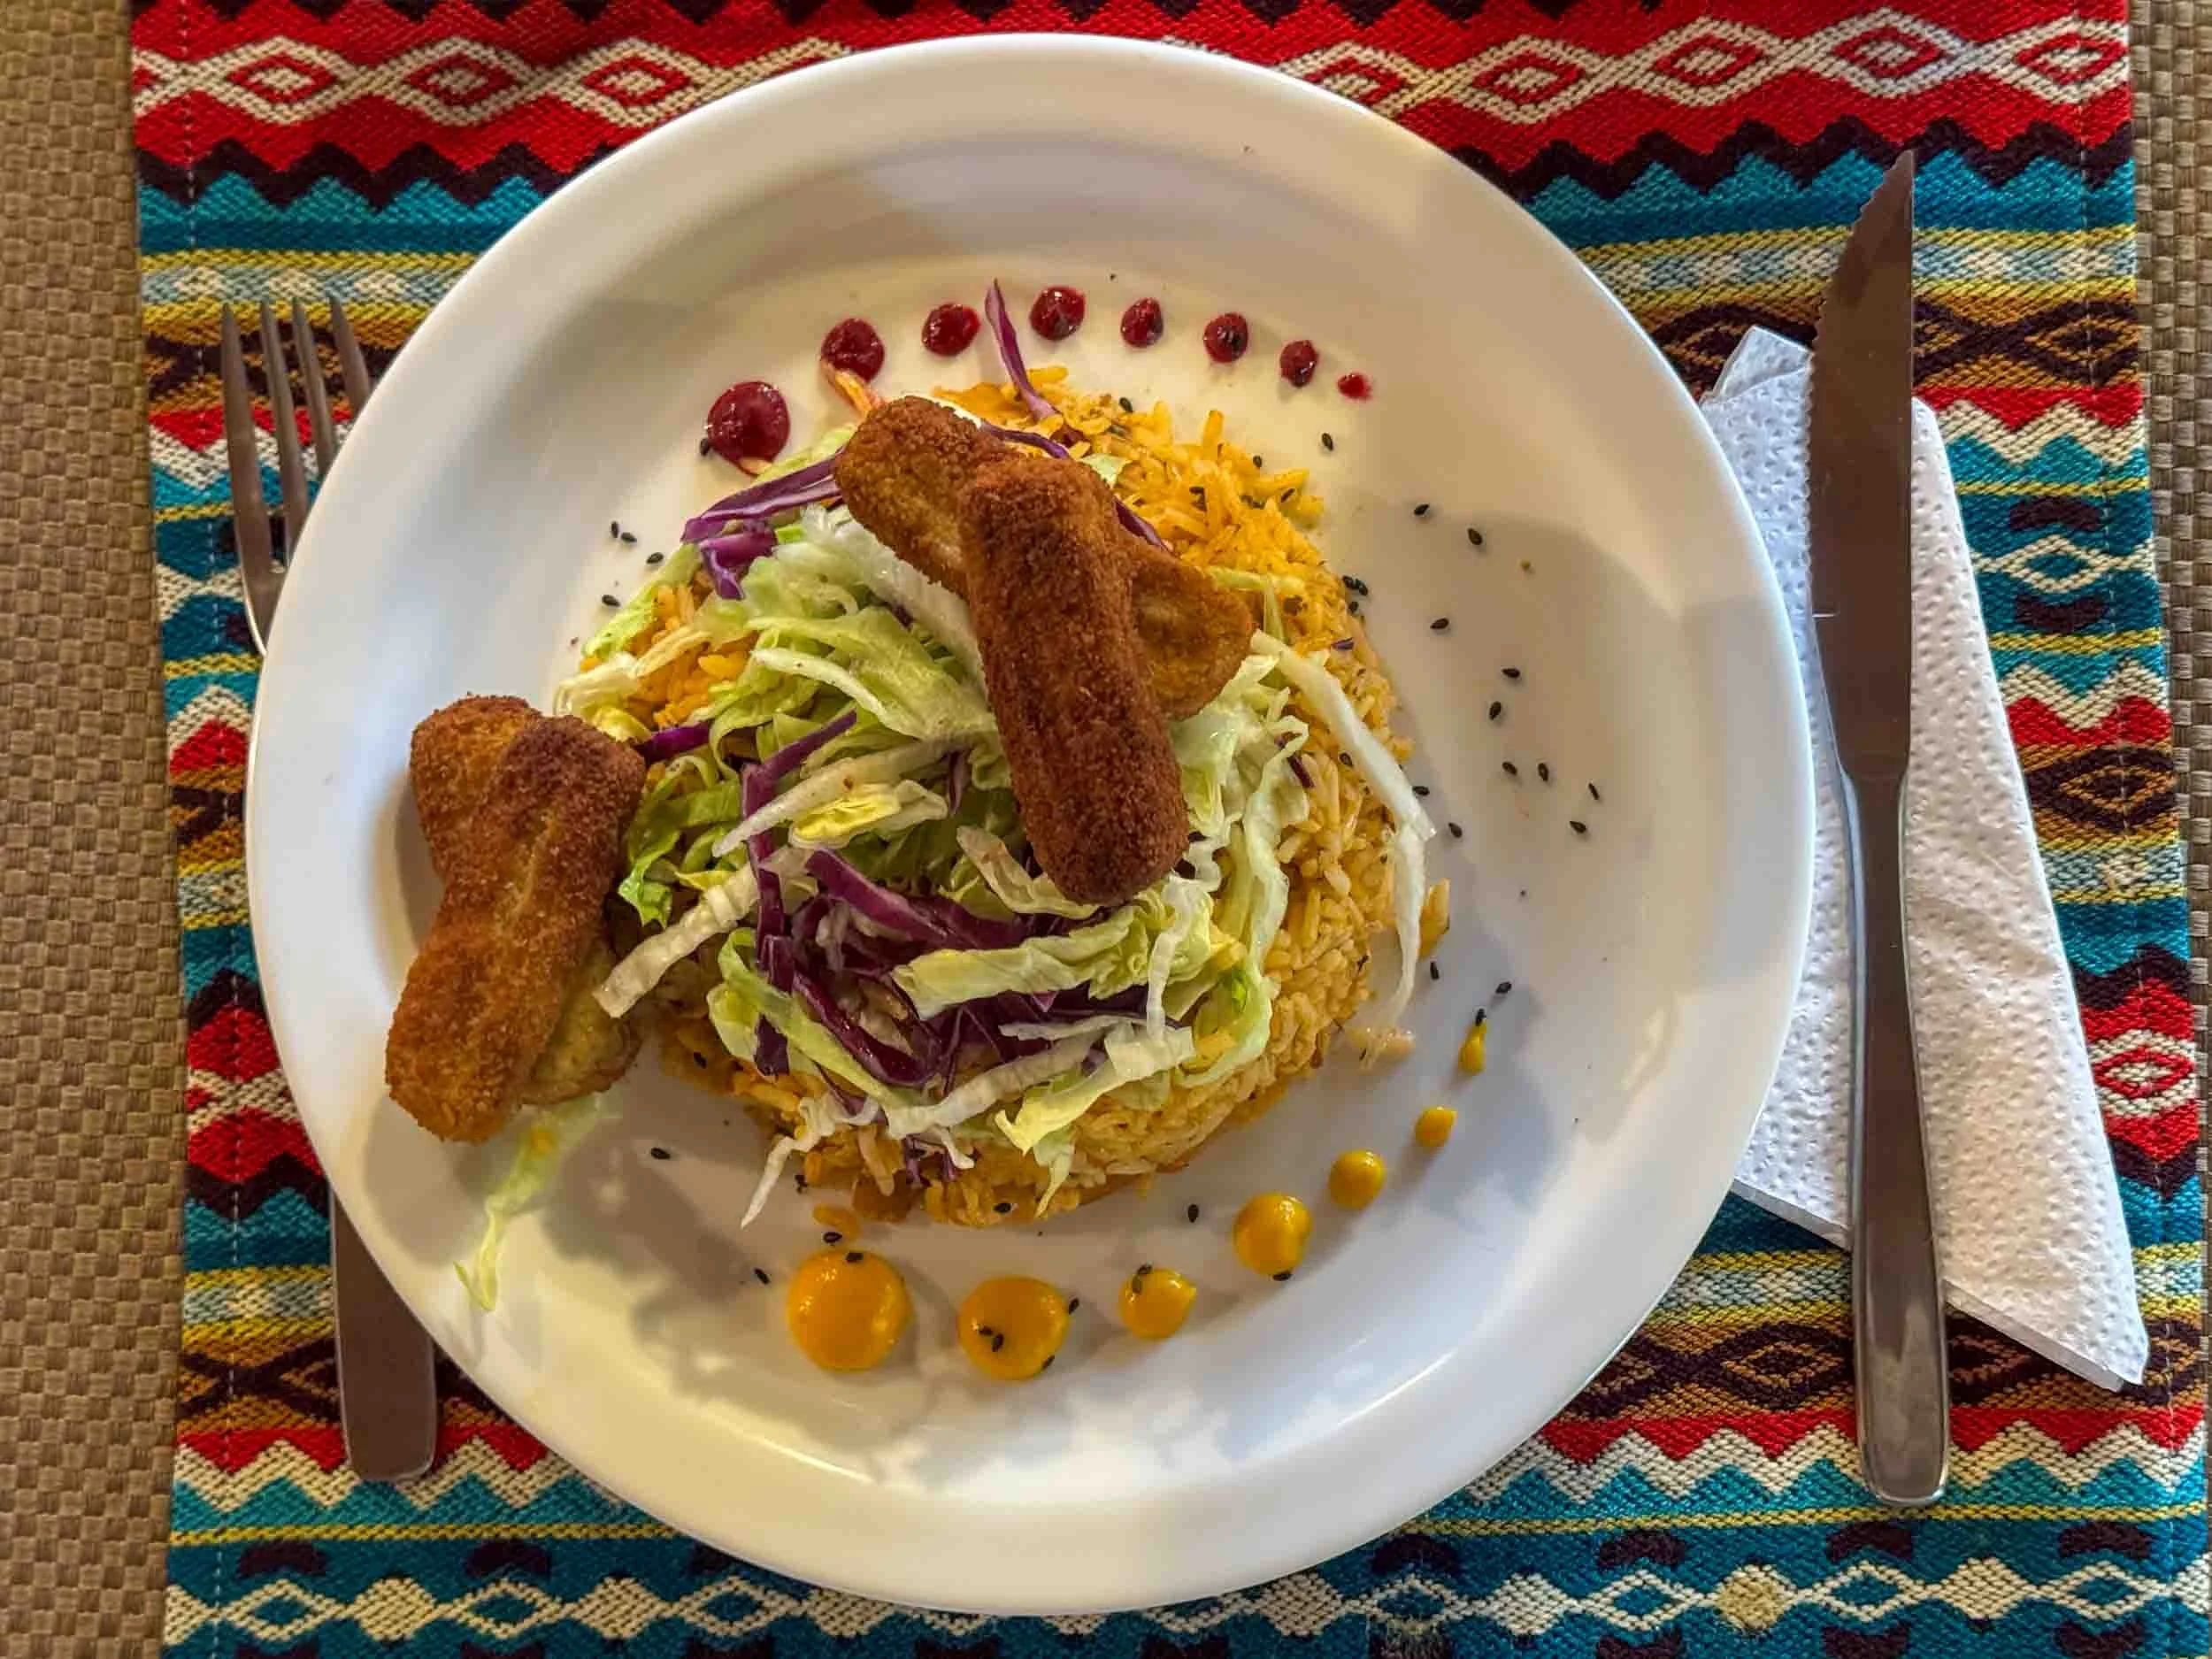
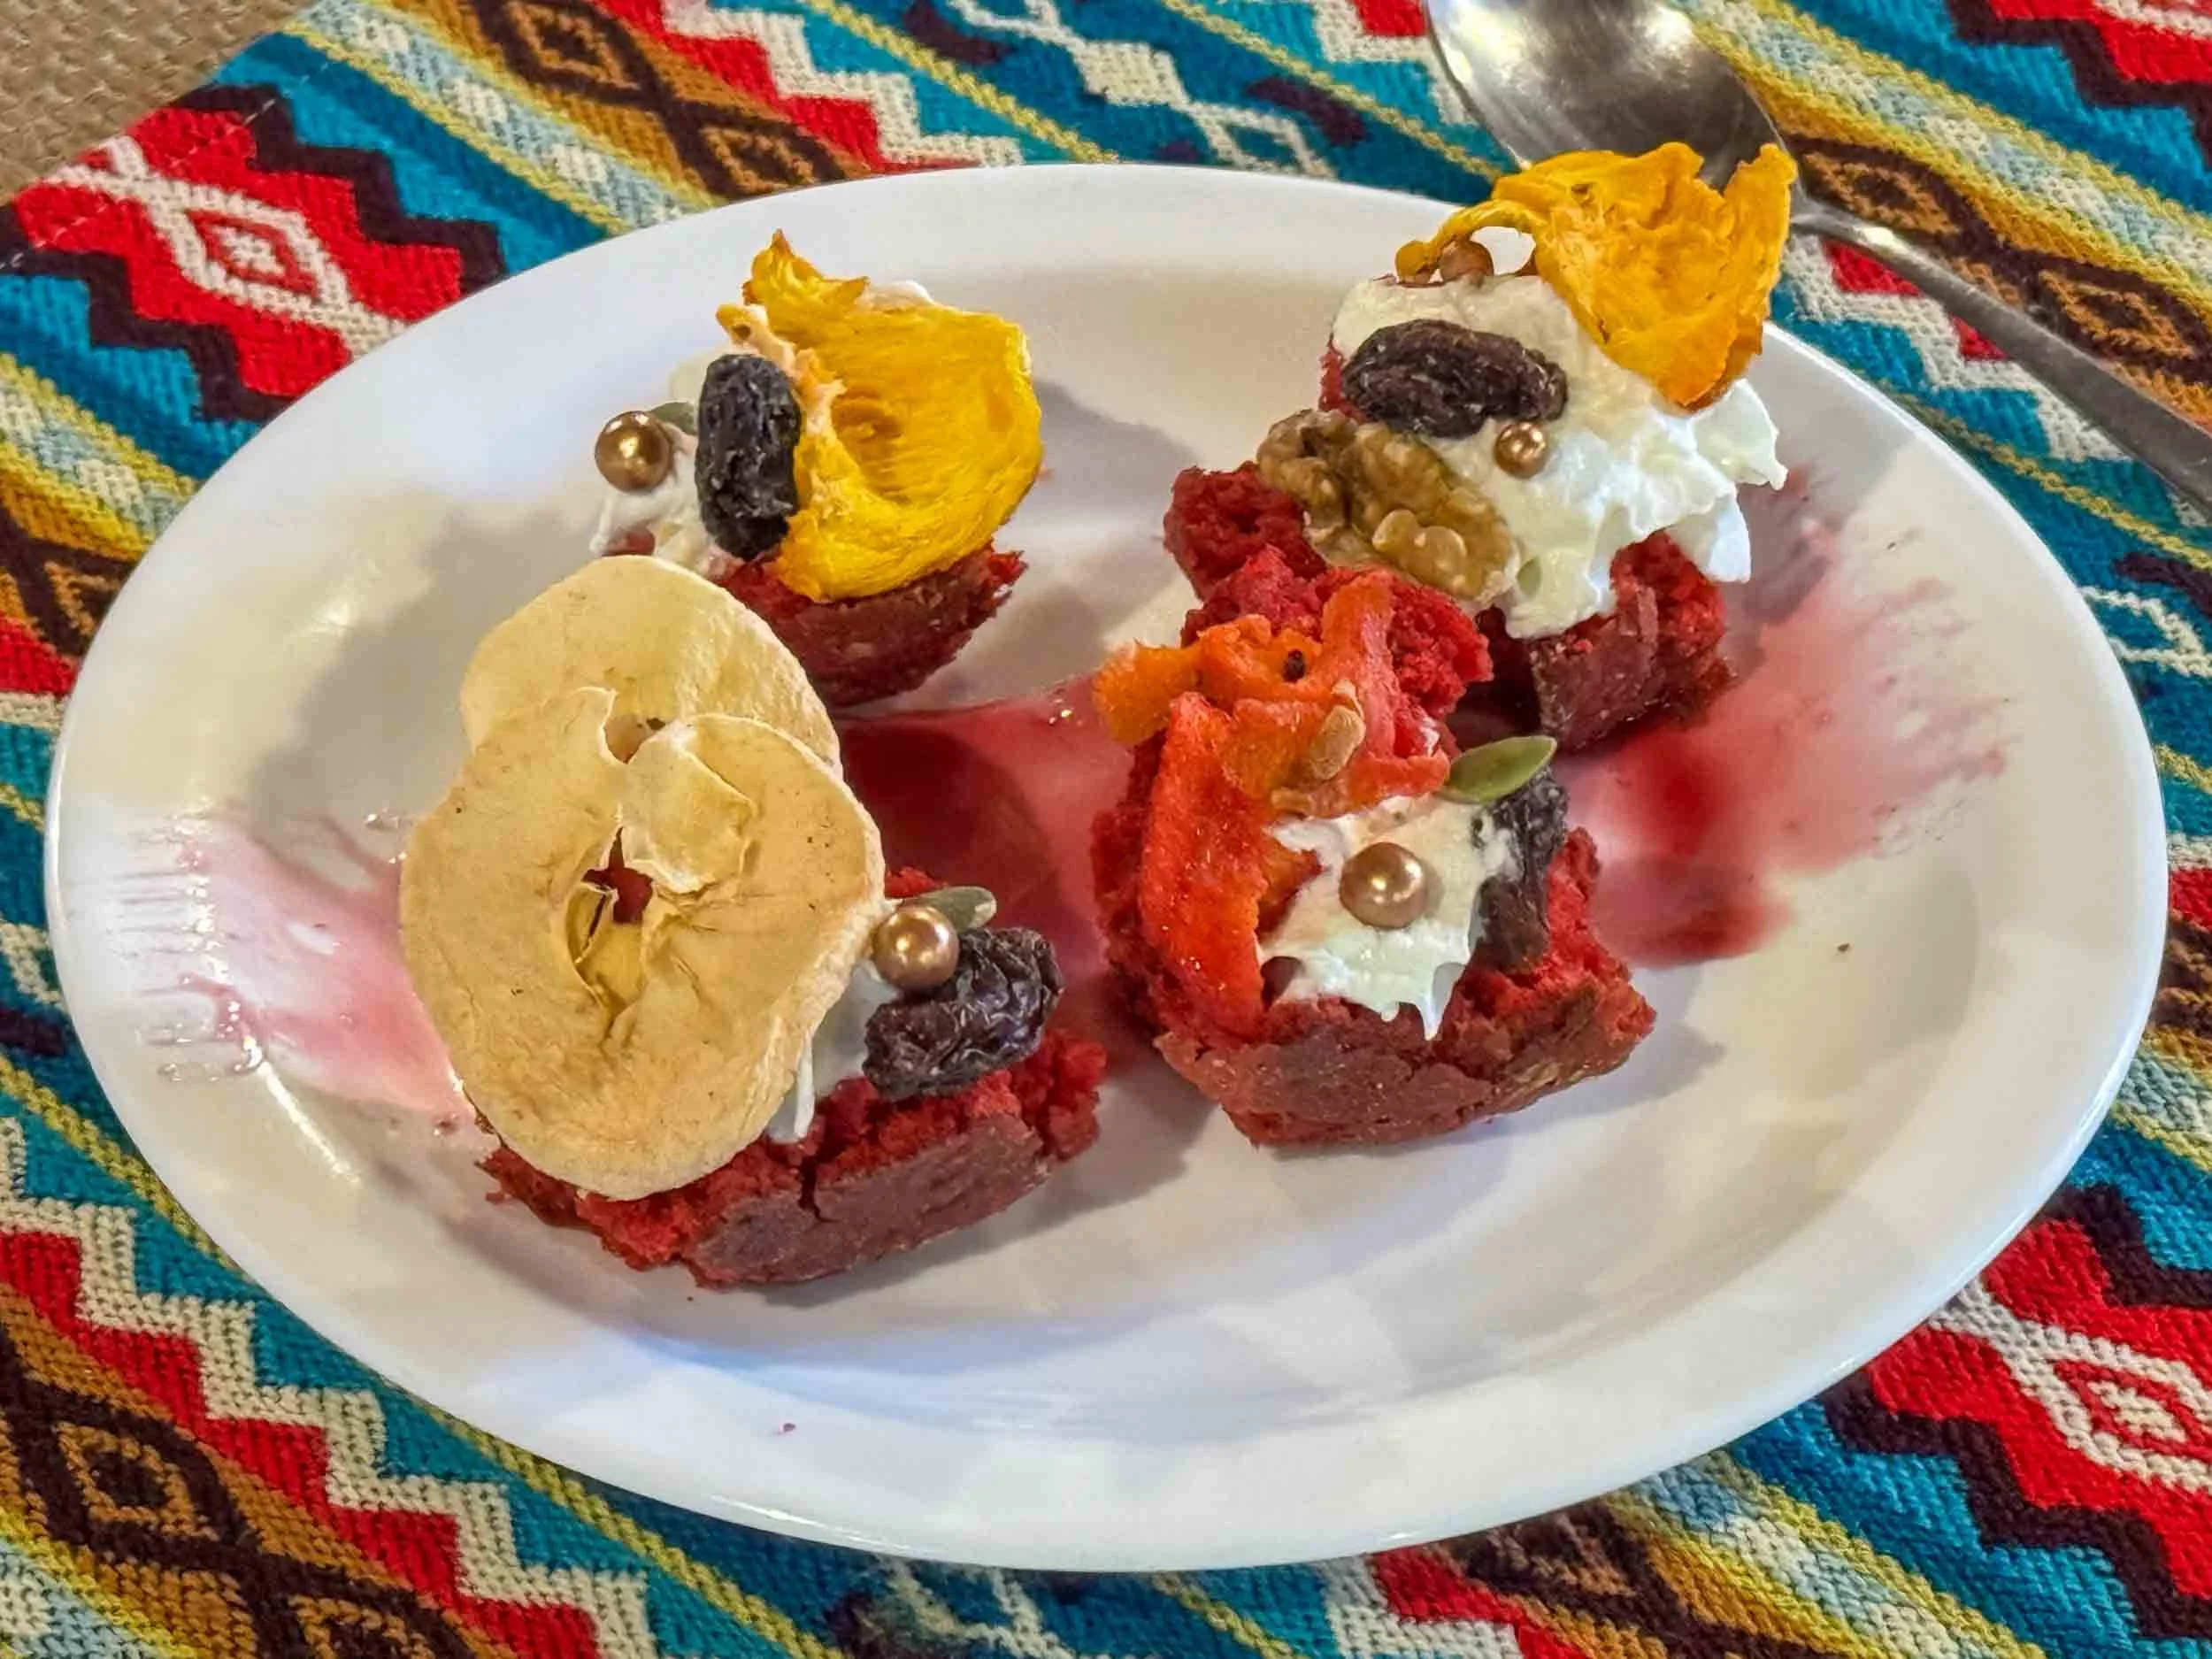
As I often tell people, I didn’t become a professional wildlife photographer for the food, so I don’t really get too excited or disappointed by what I’m given to eat or drink wherever I stay. Yes, it’s nice to go somewhere like Finch Hattons or Cottar’s 1920s Camp, which both offer high-end, restaurant-quality cuisine, but I’m (almost) as happy slumming it with buffet food or the equivalent of school dinners—as long as I’m in good company!
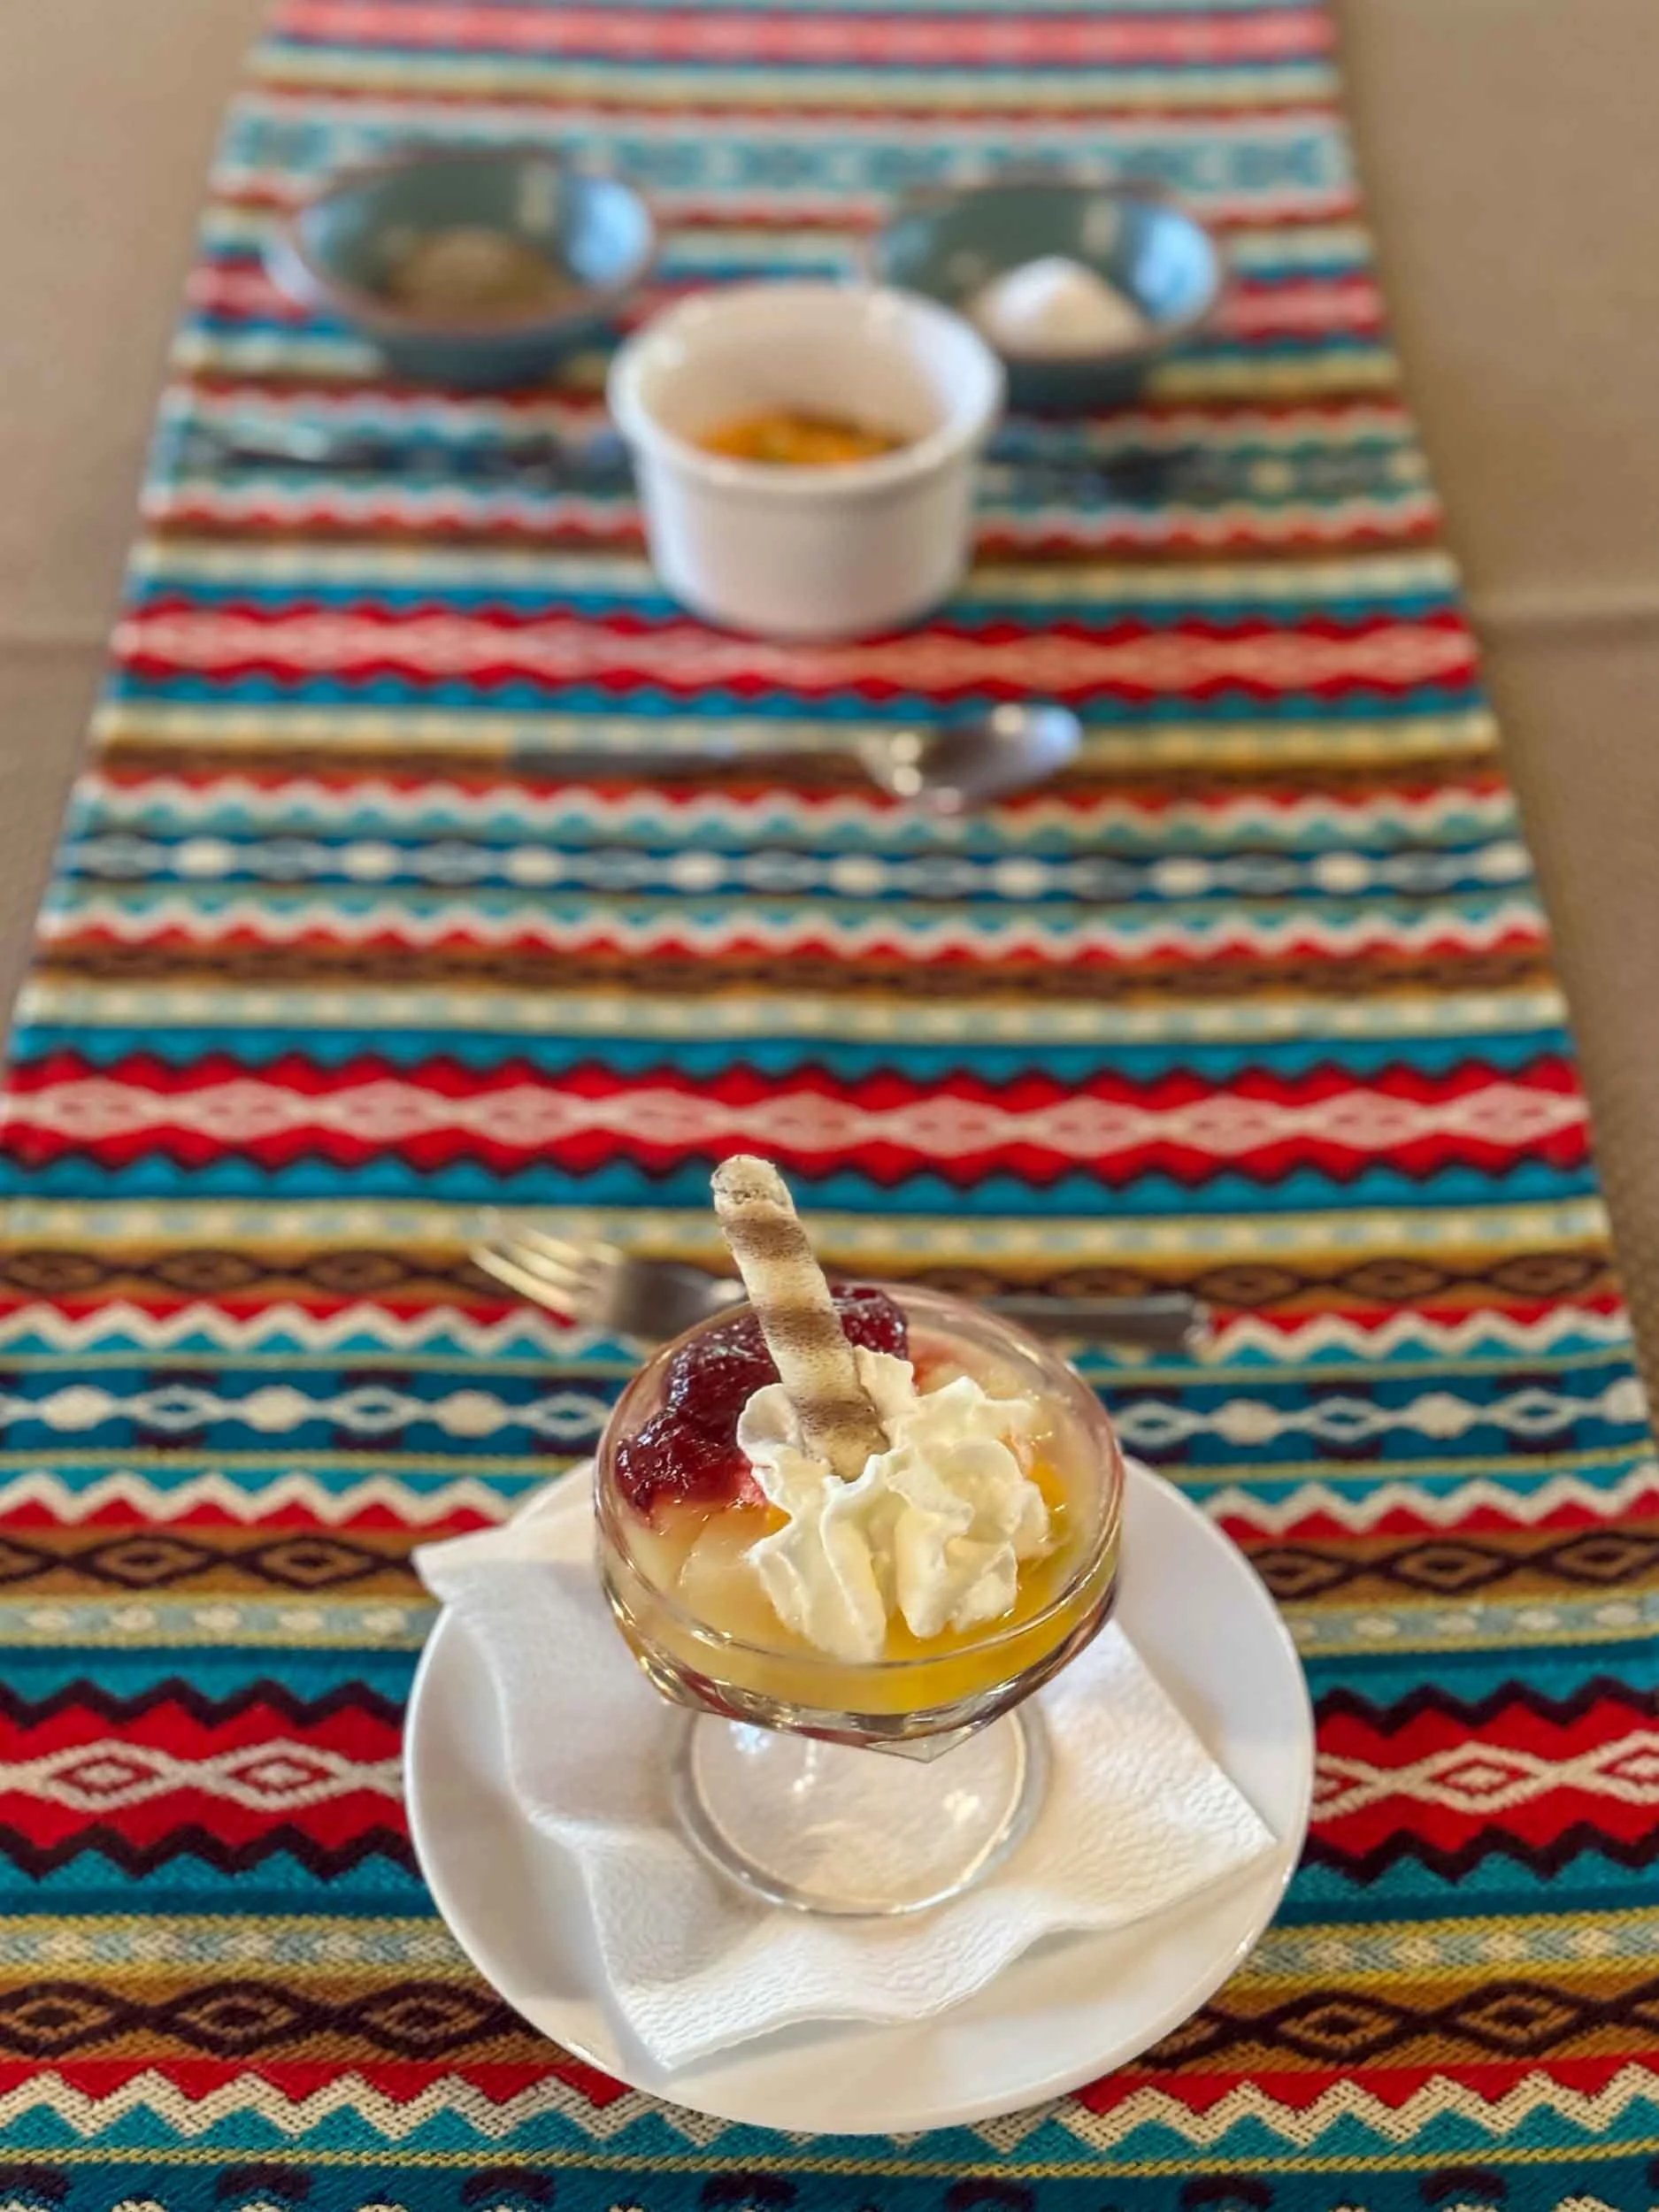
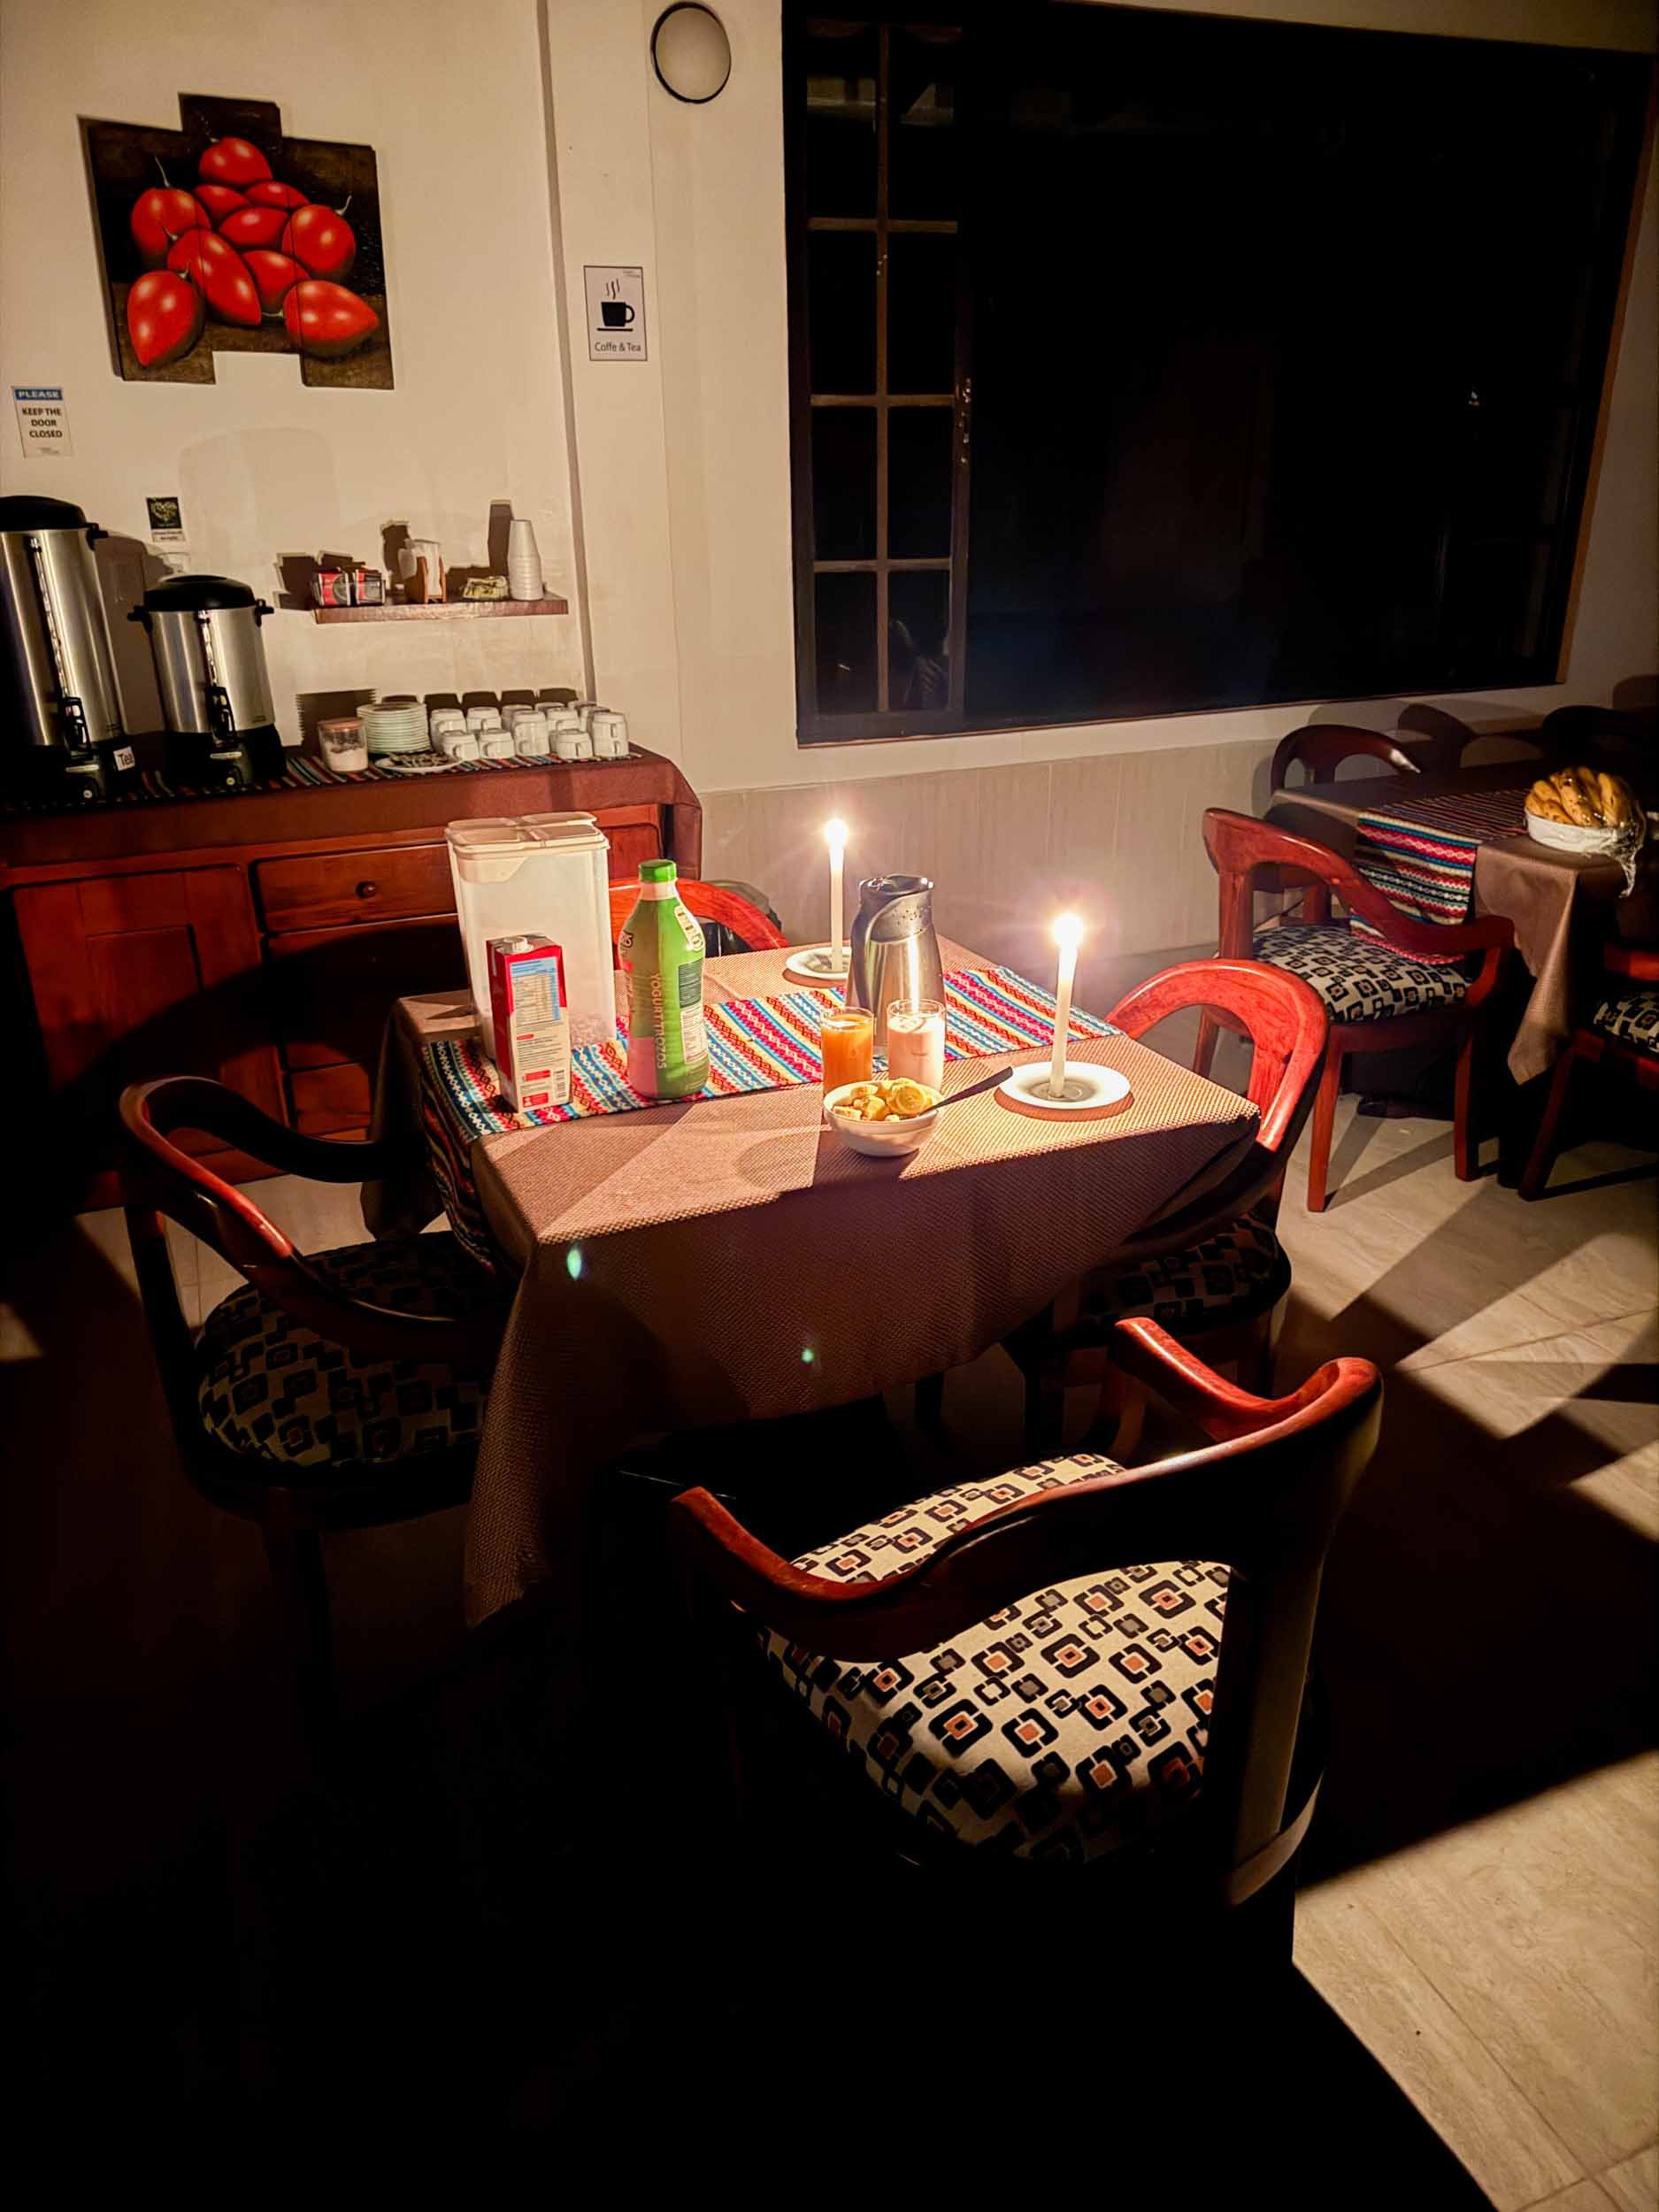
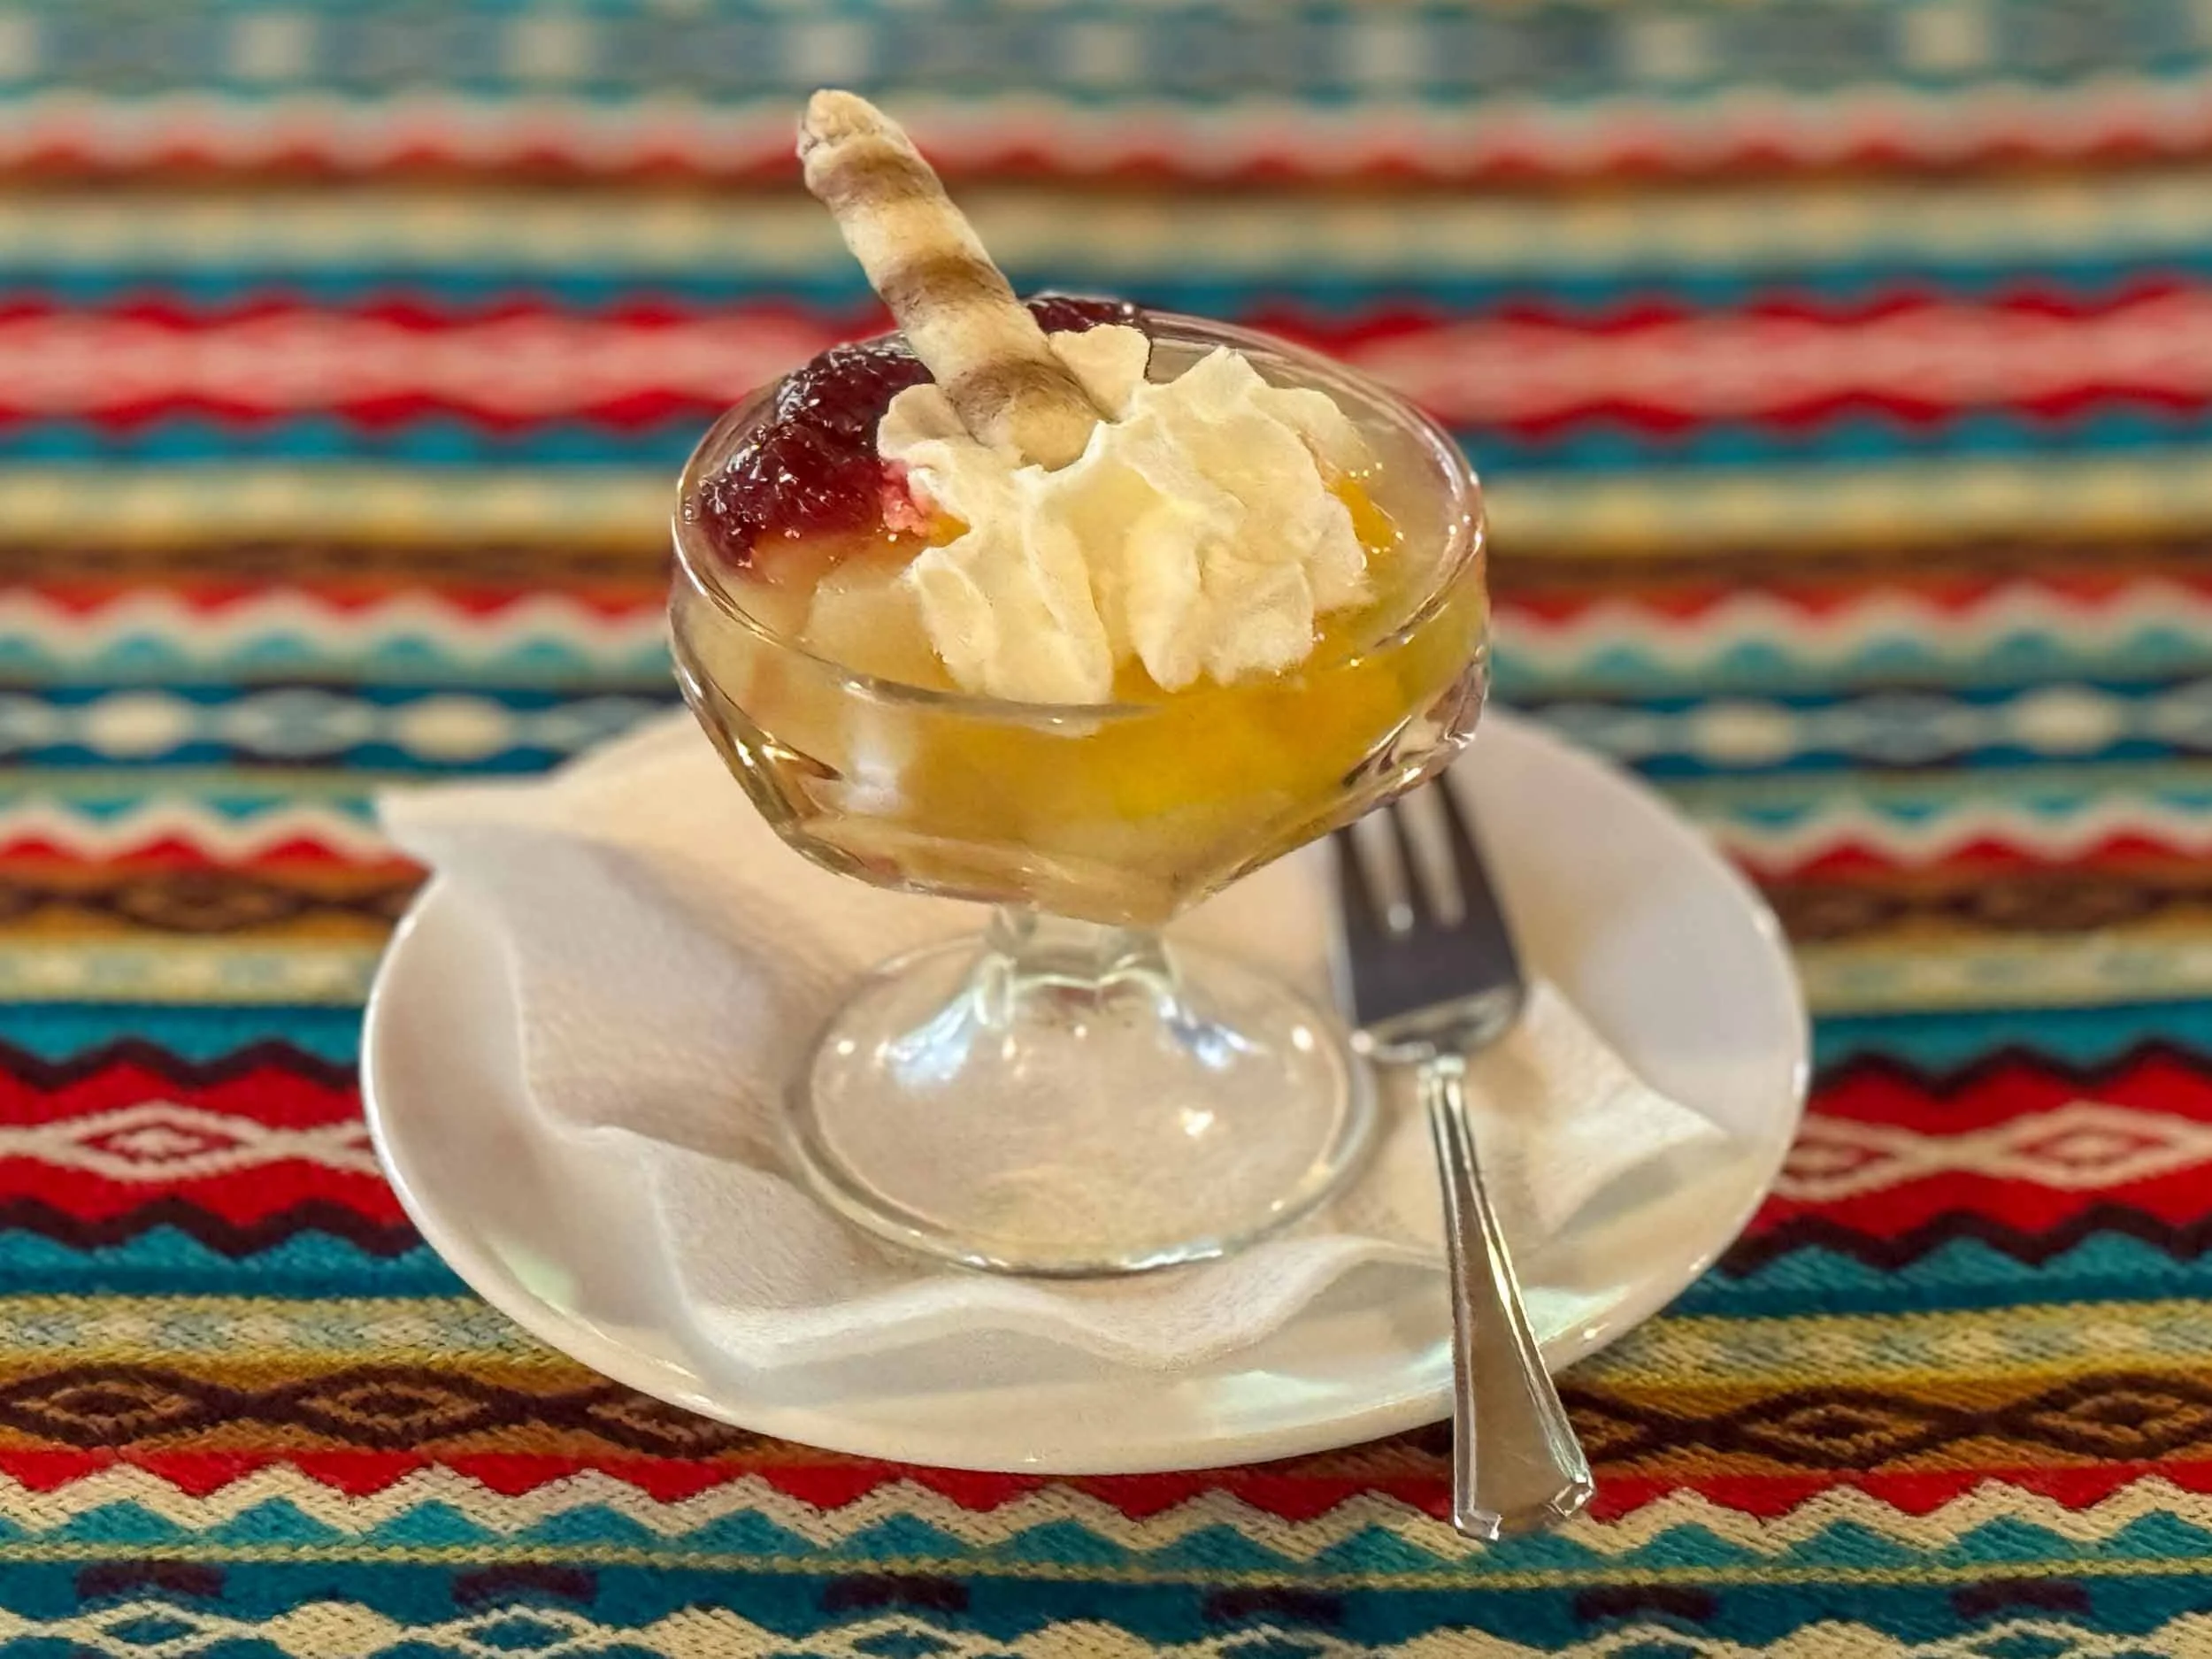
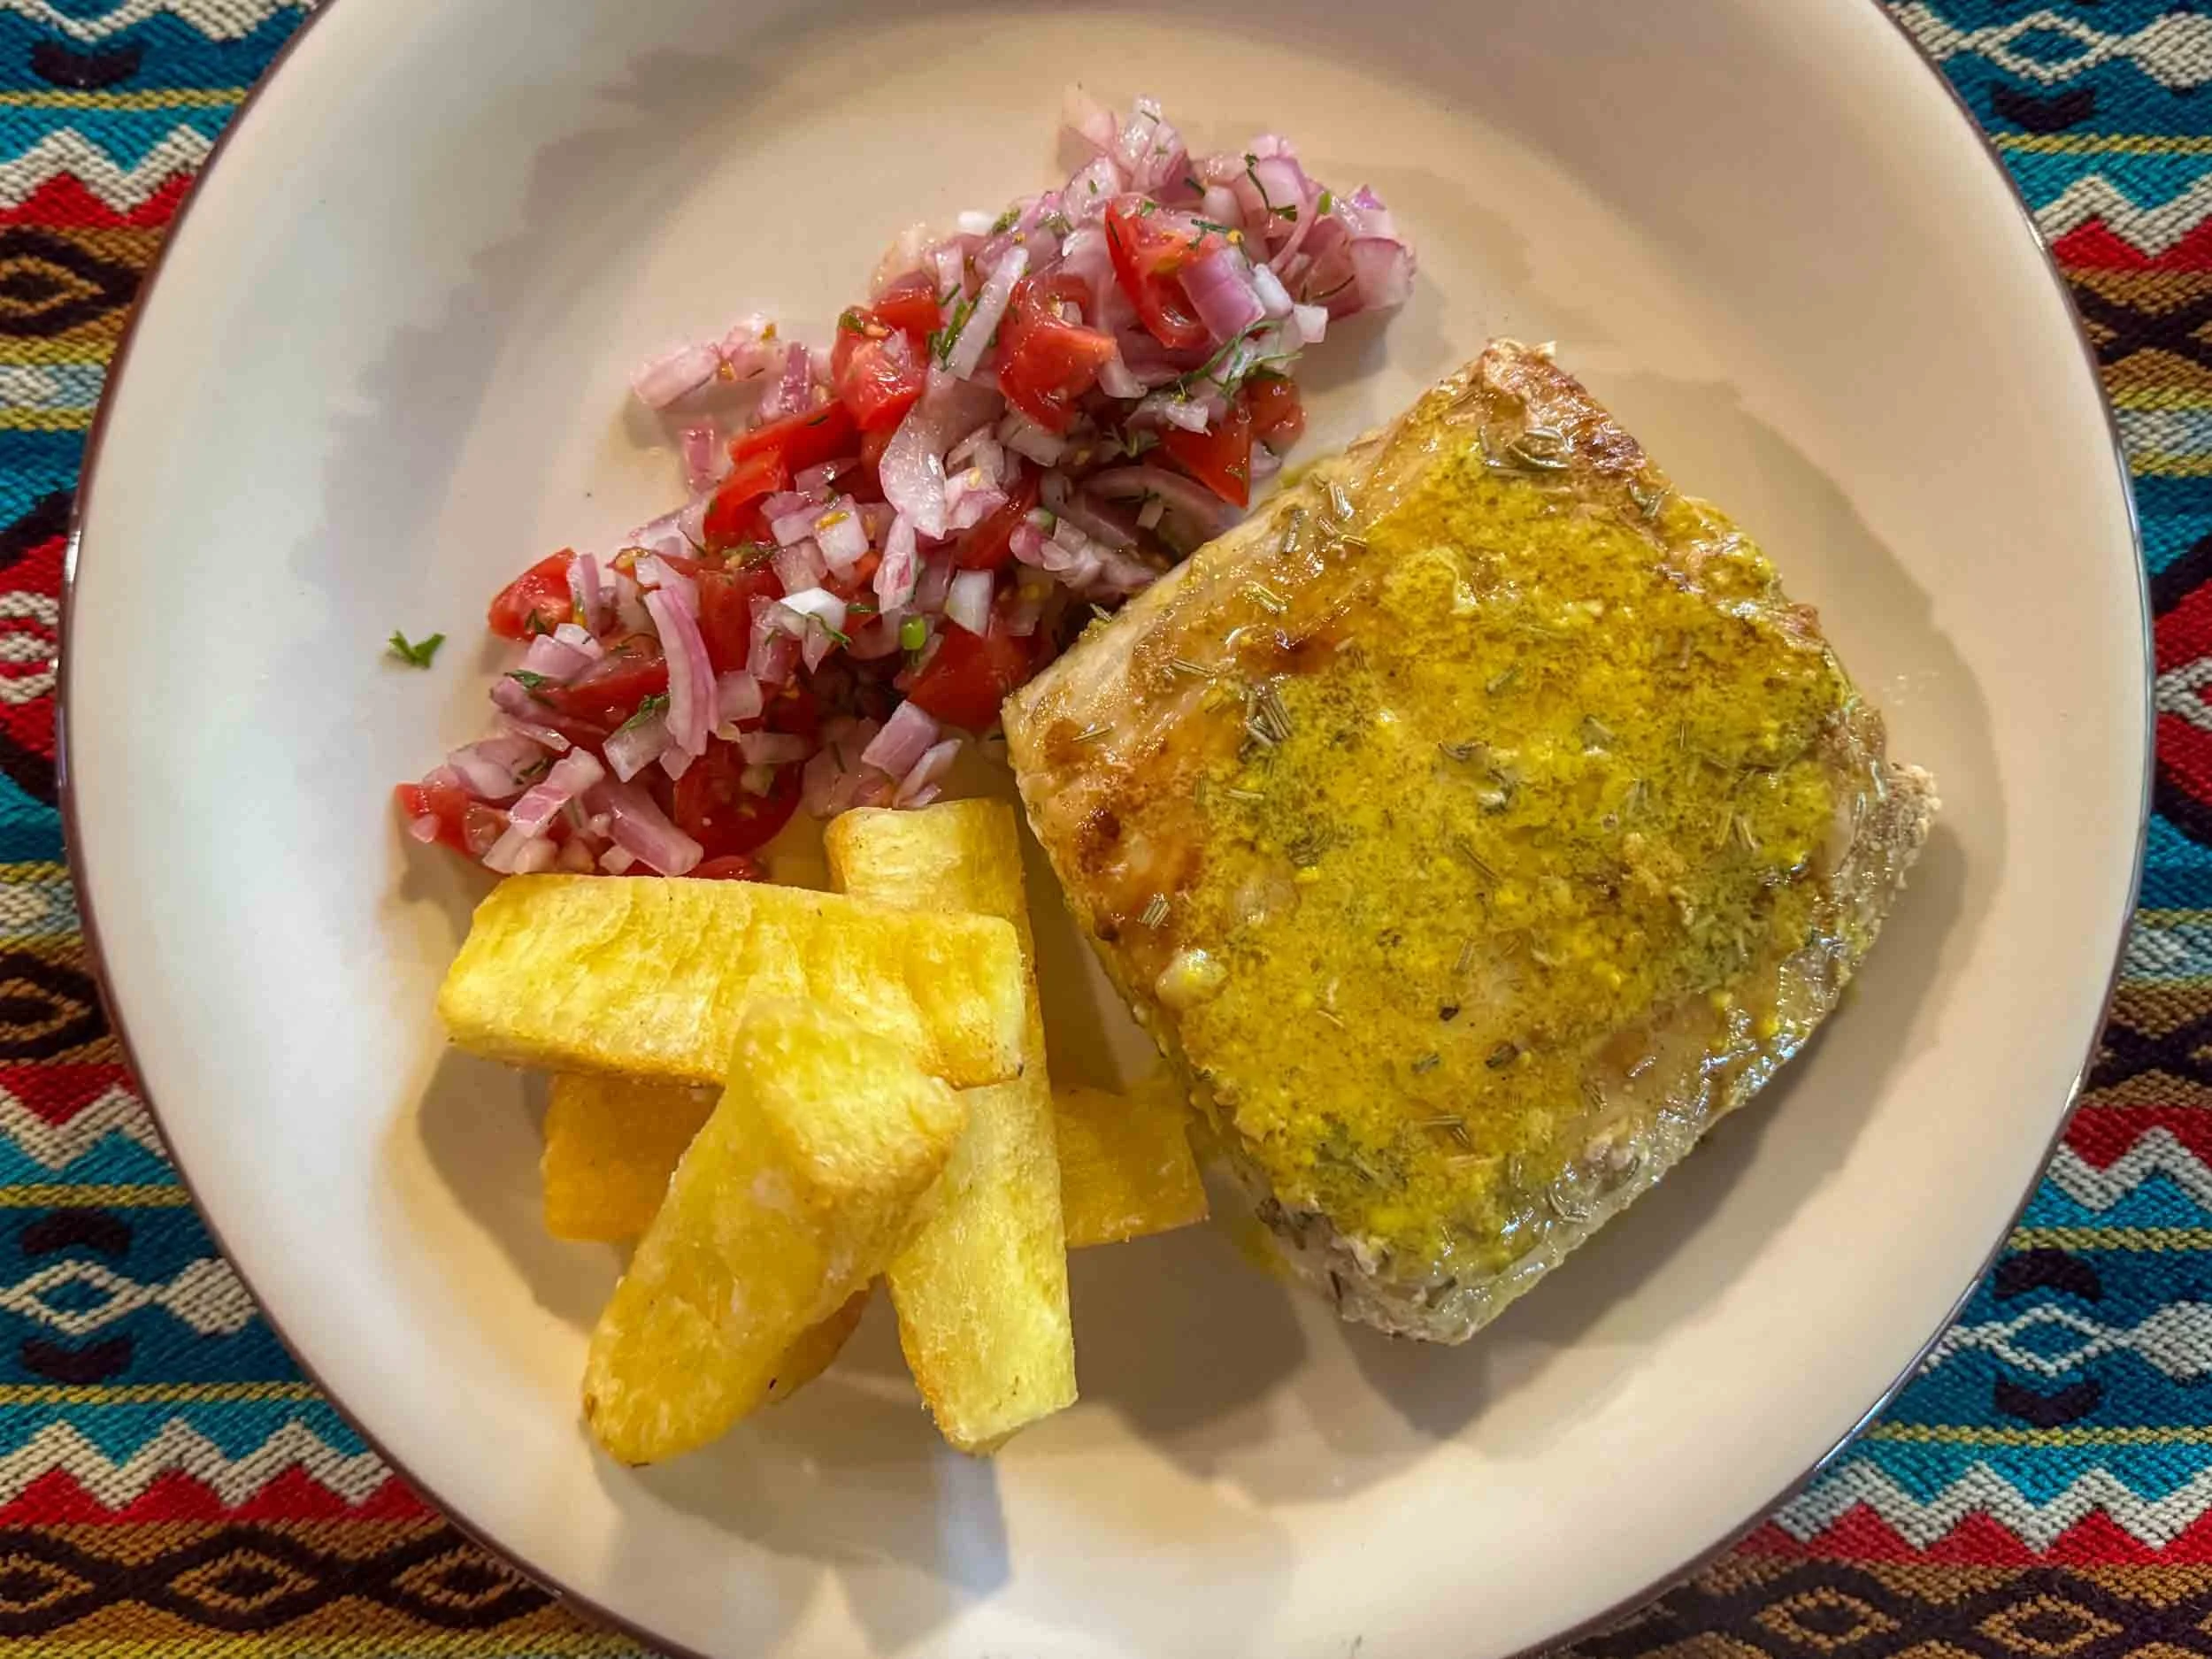
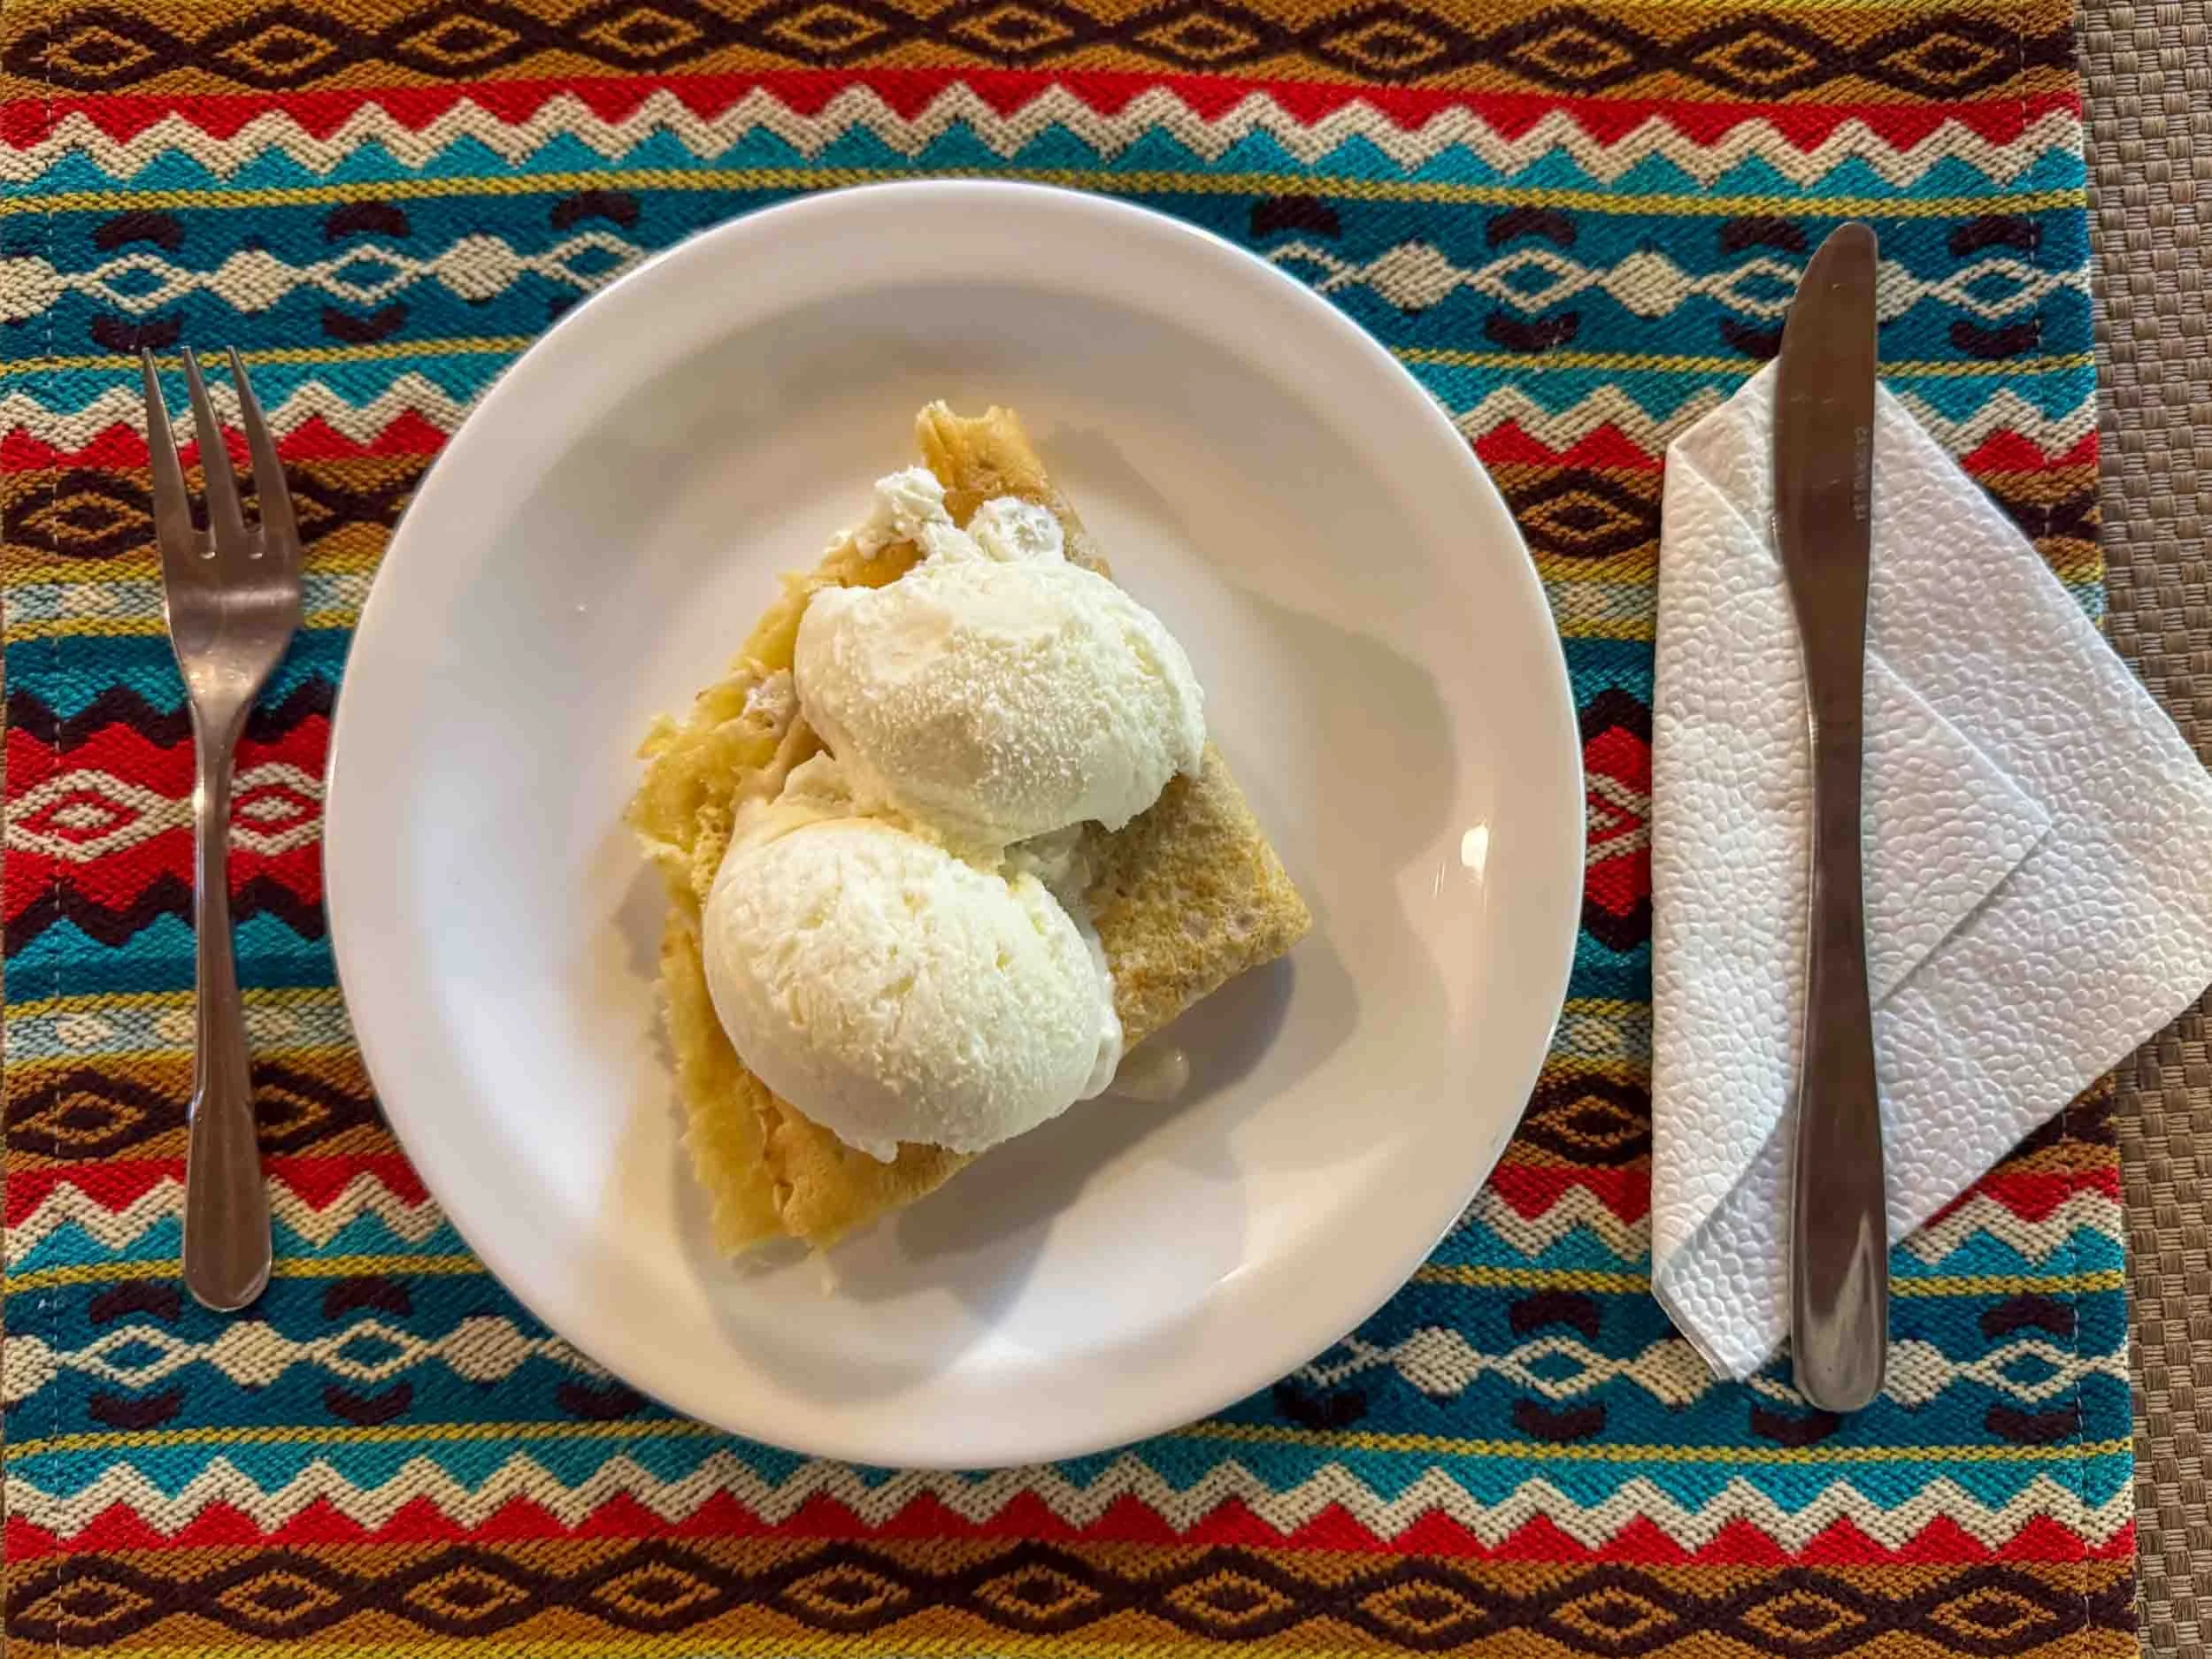
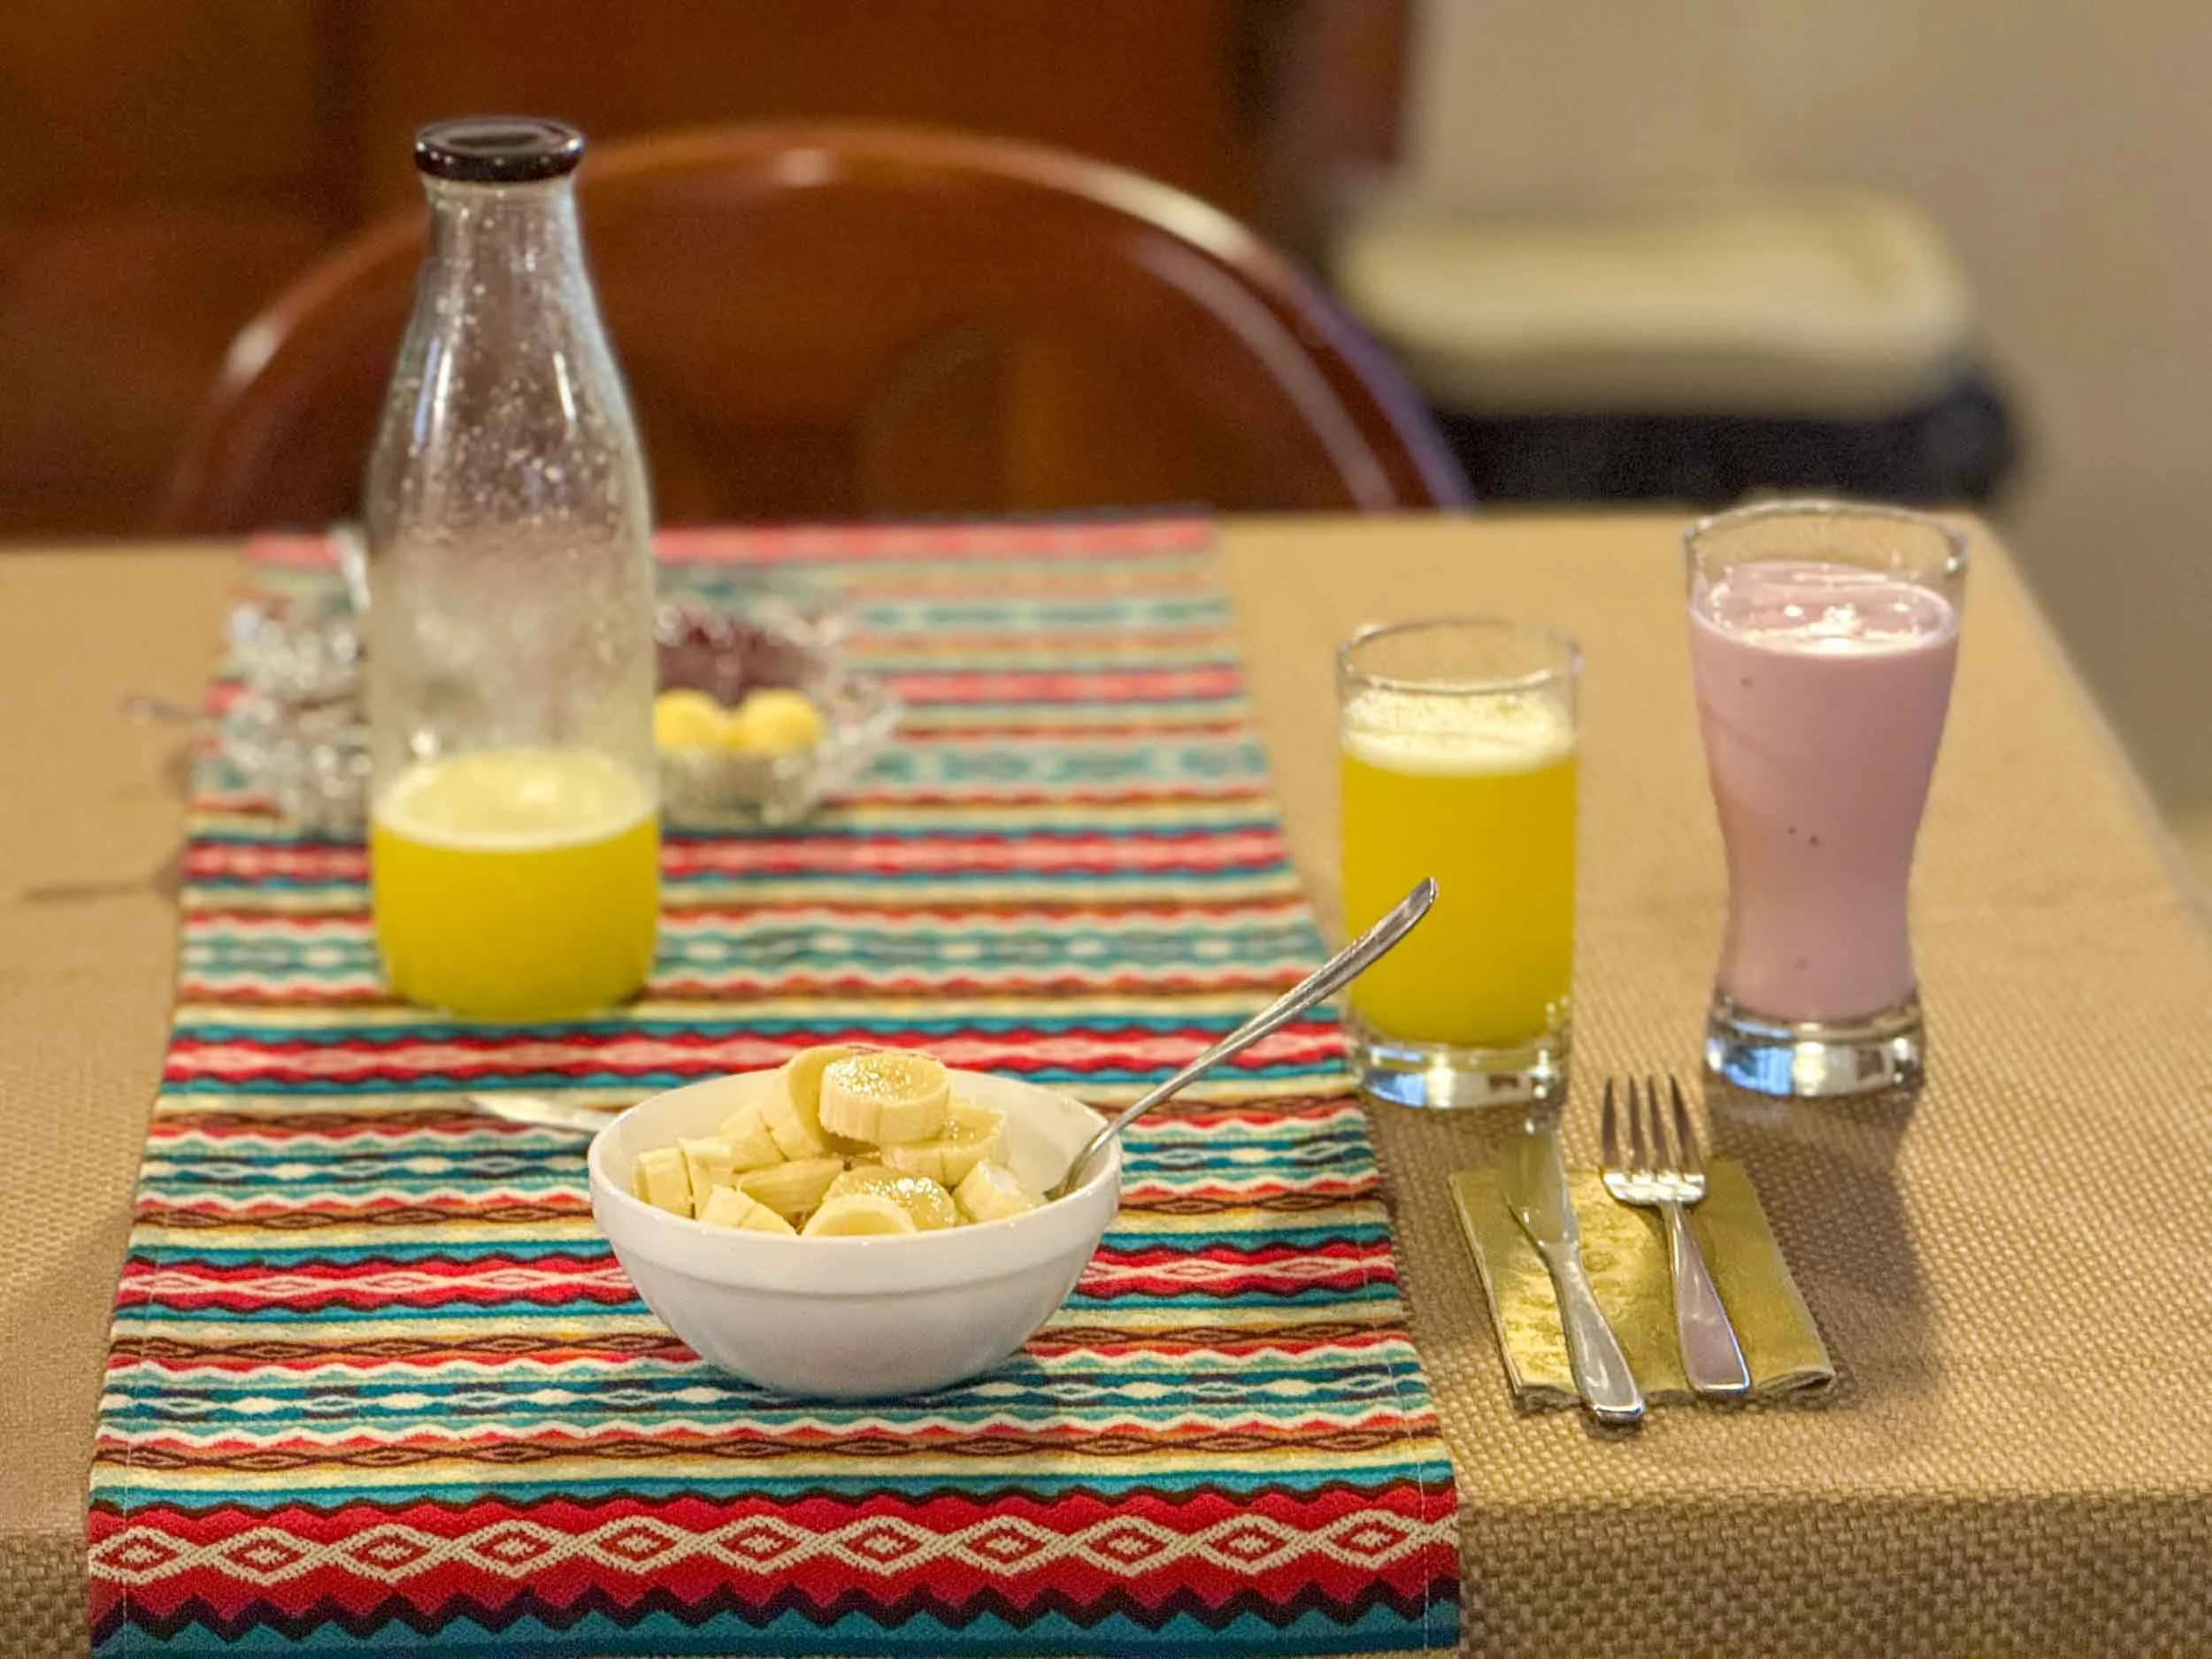
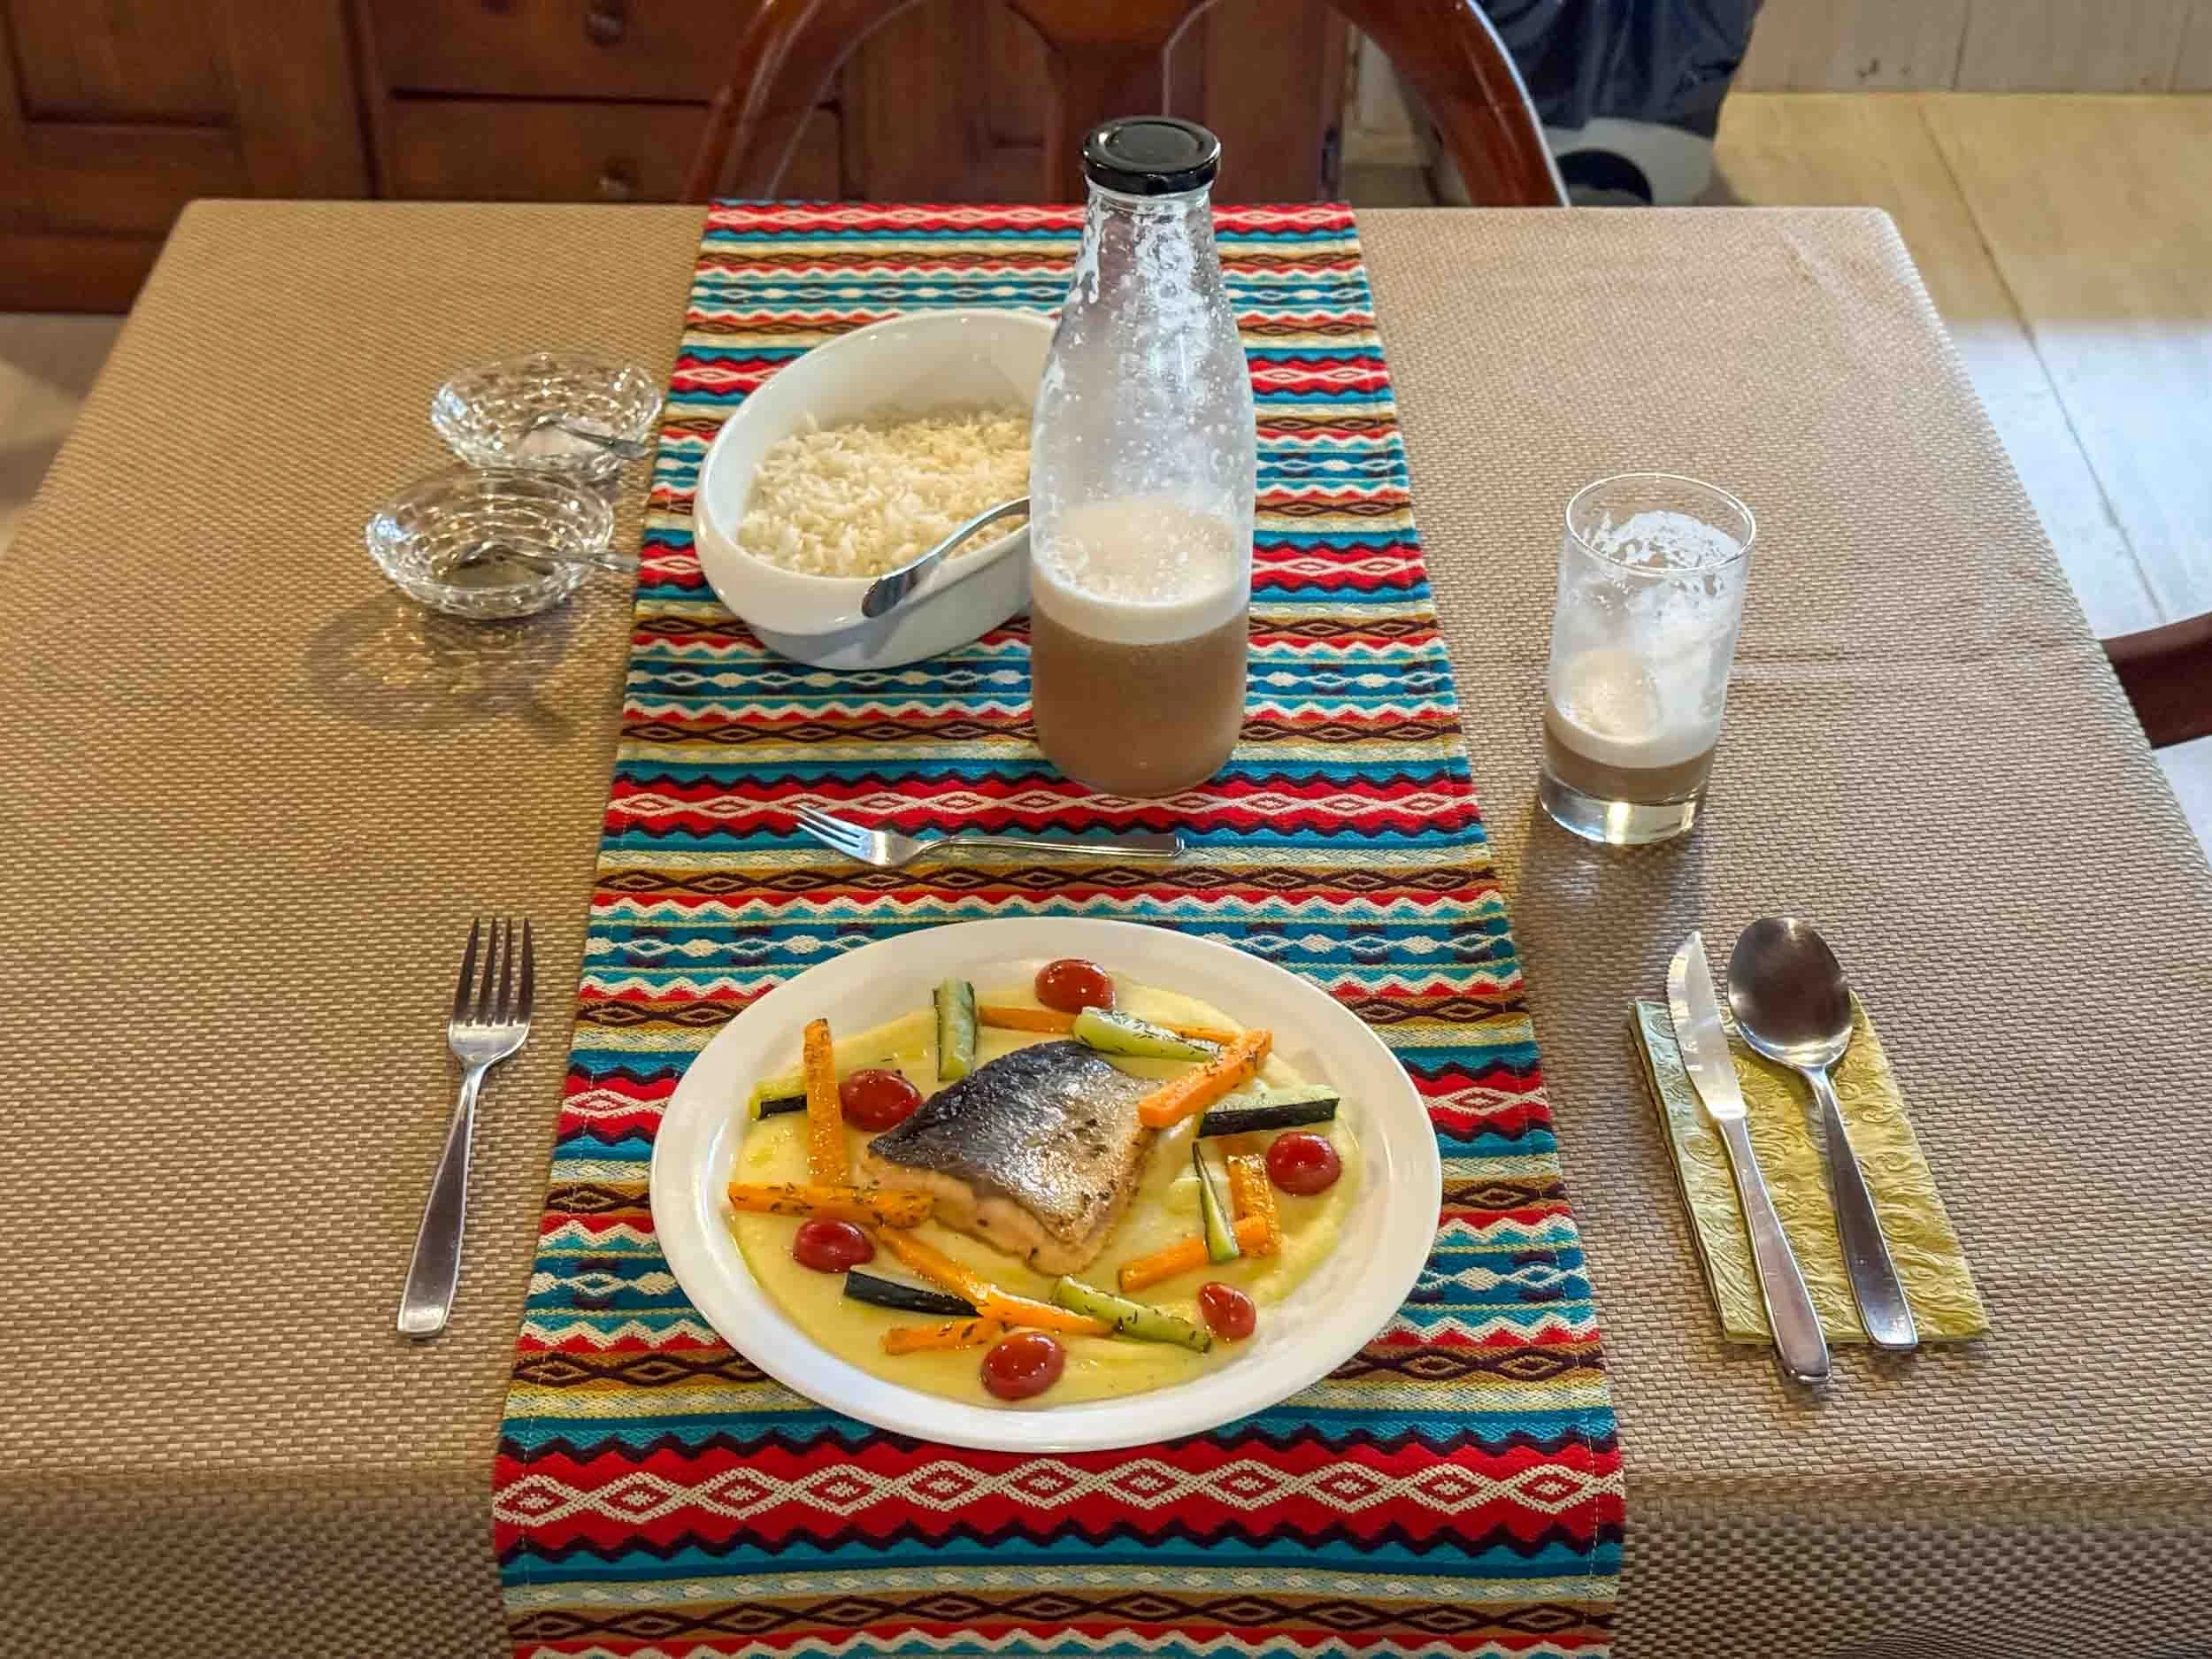
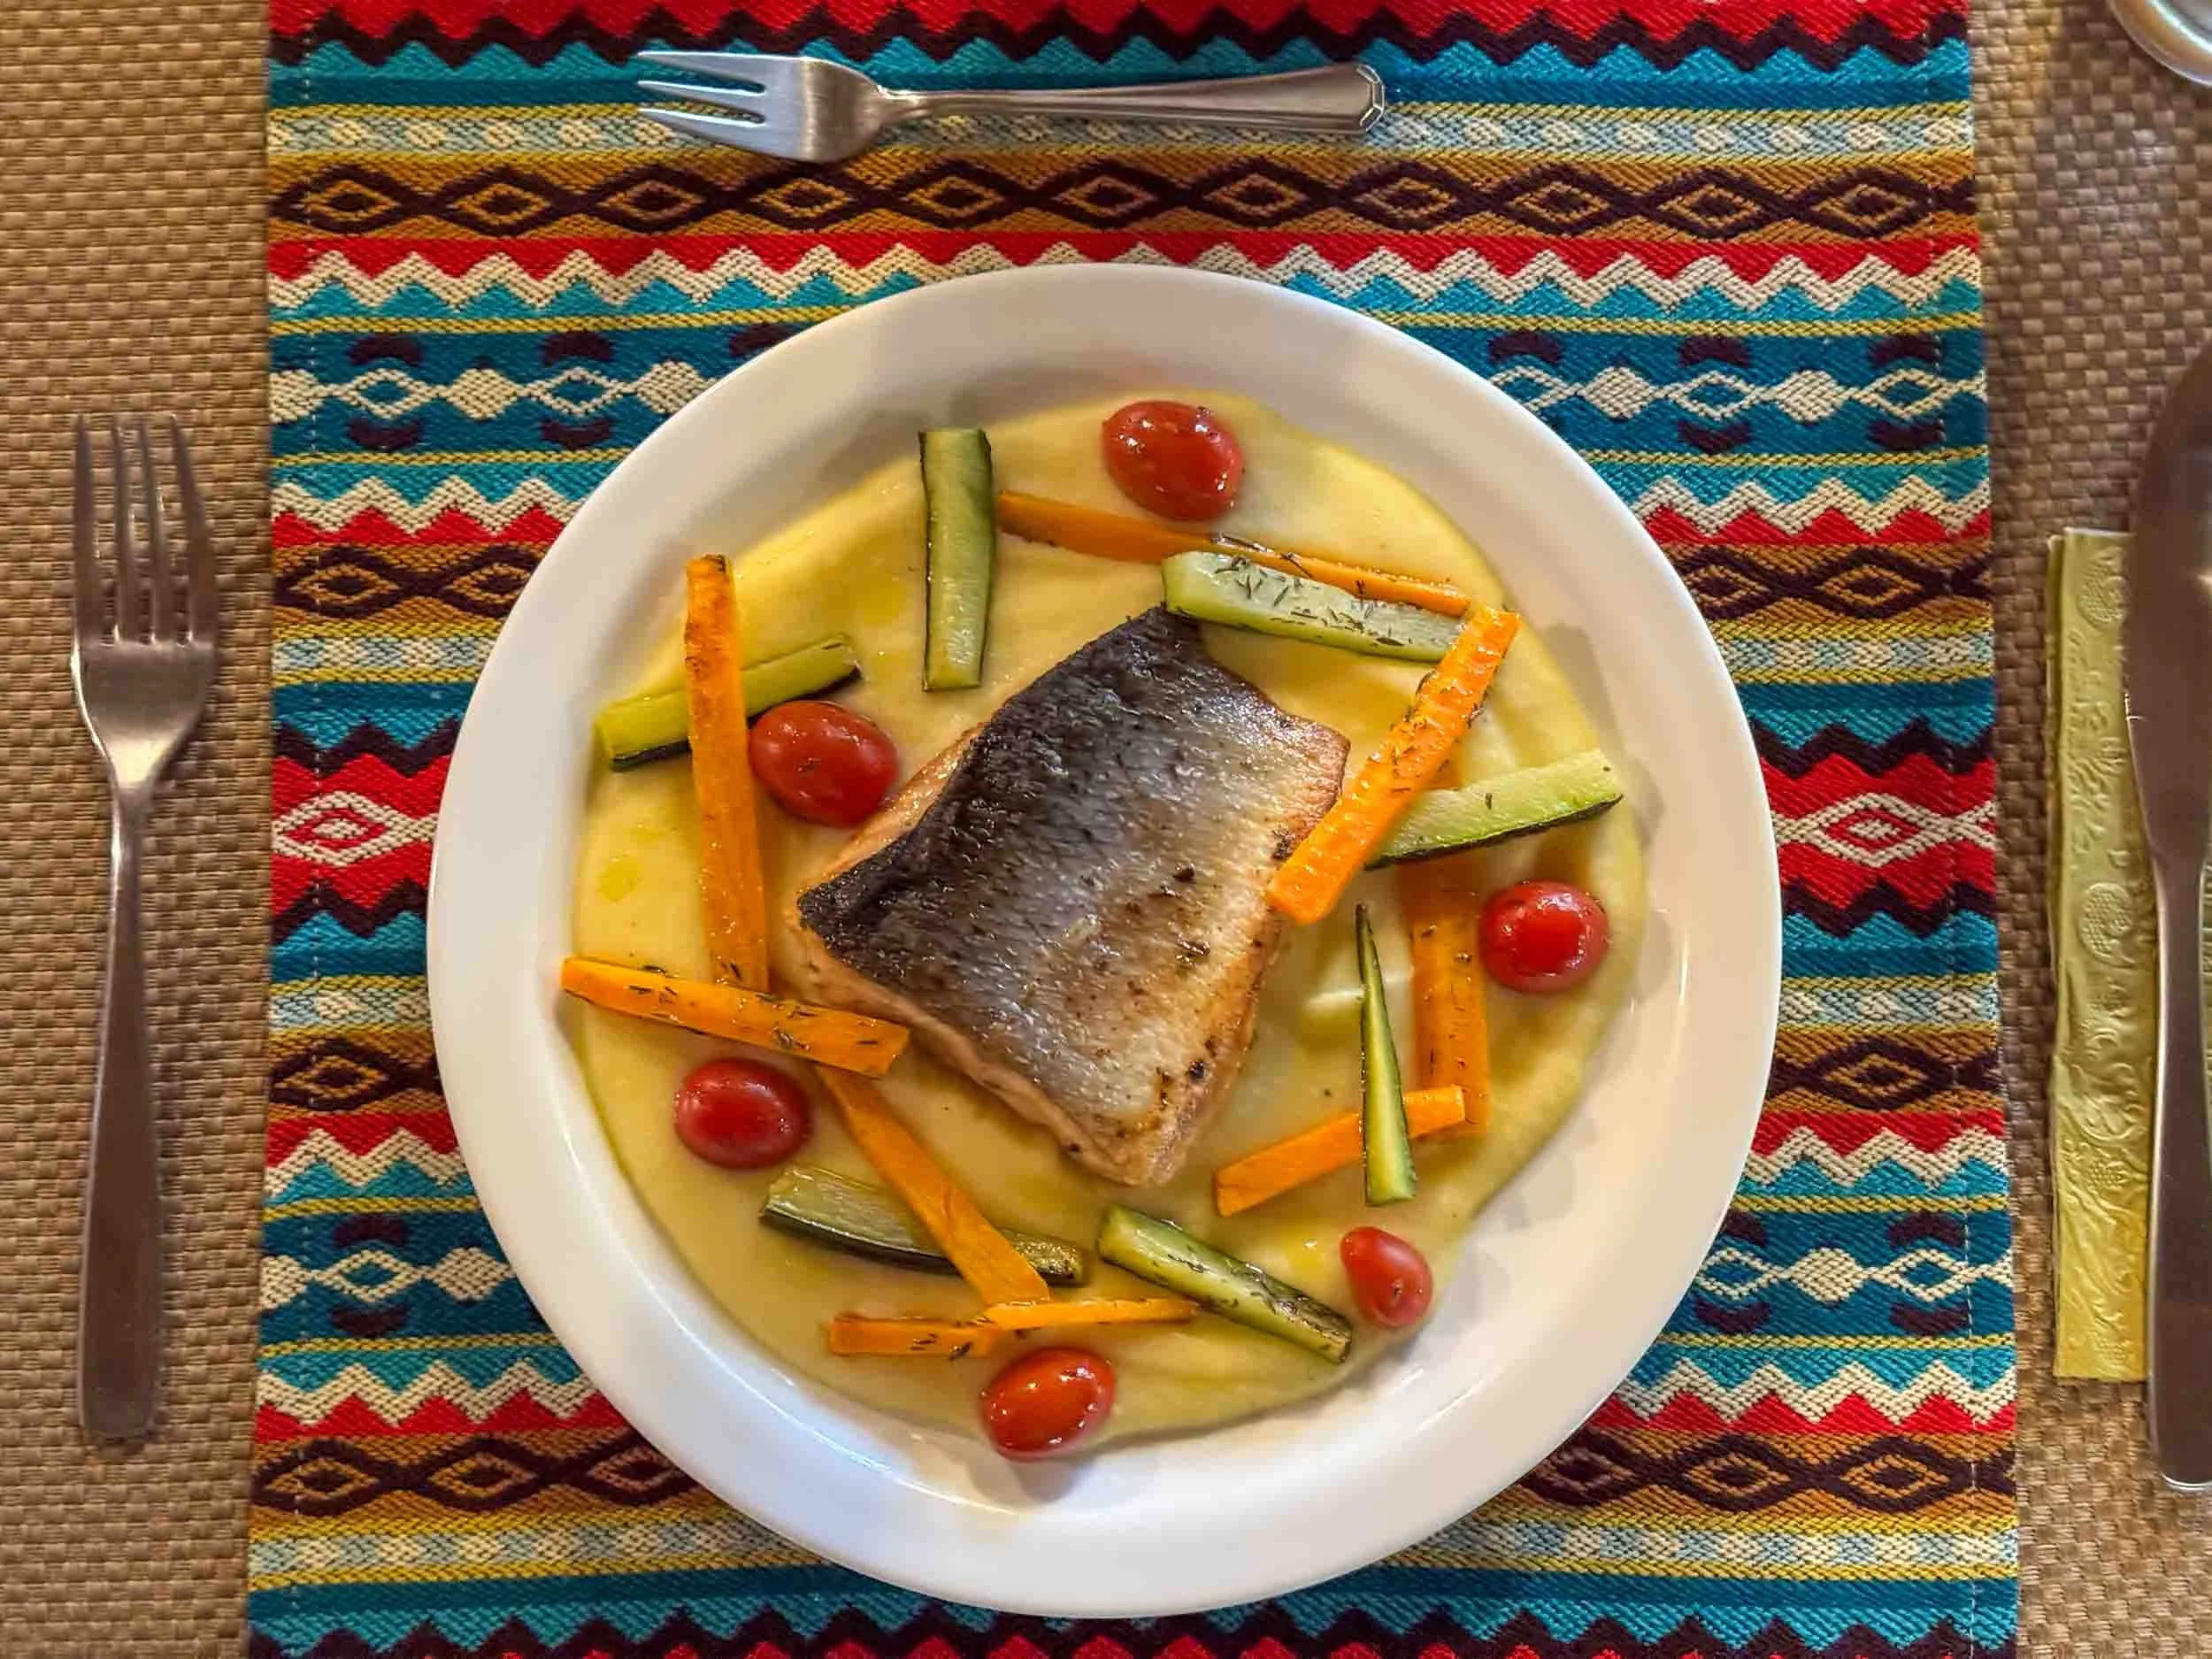
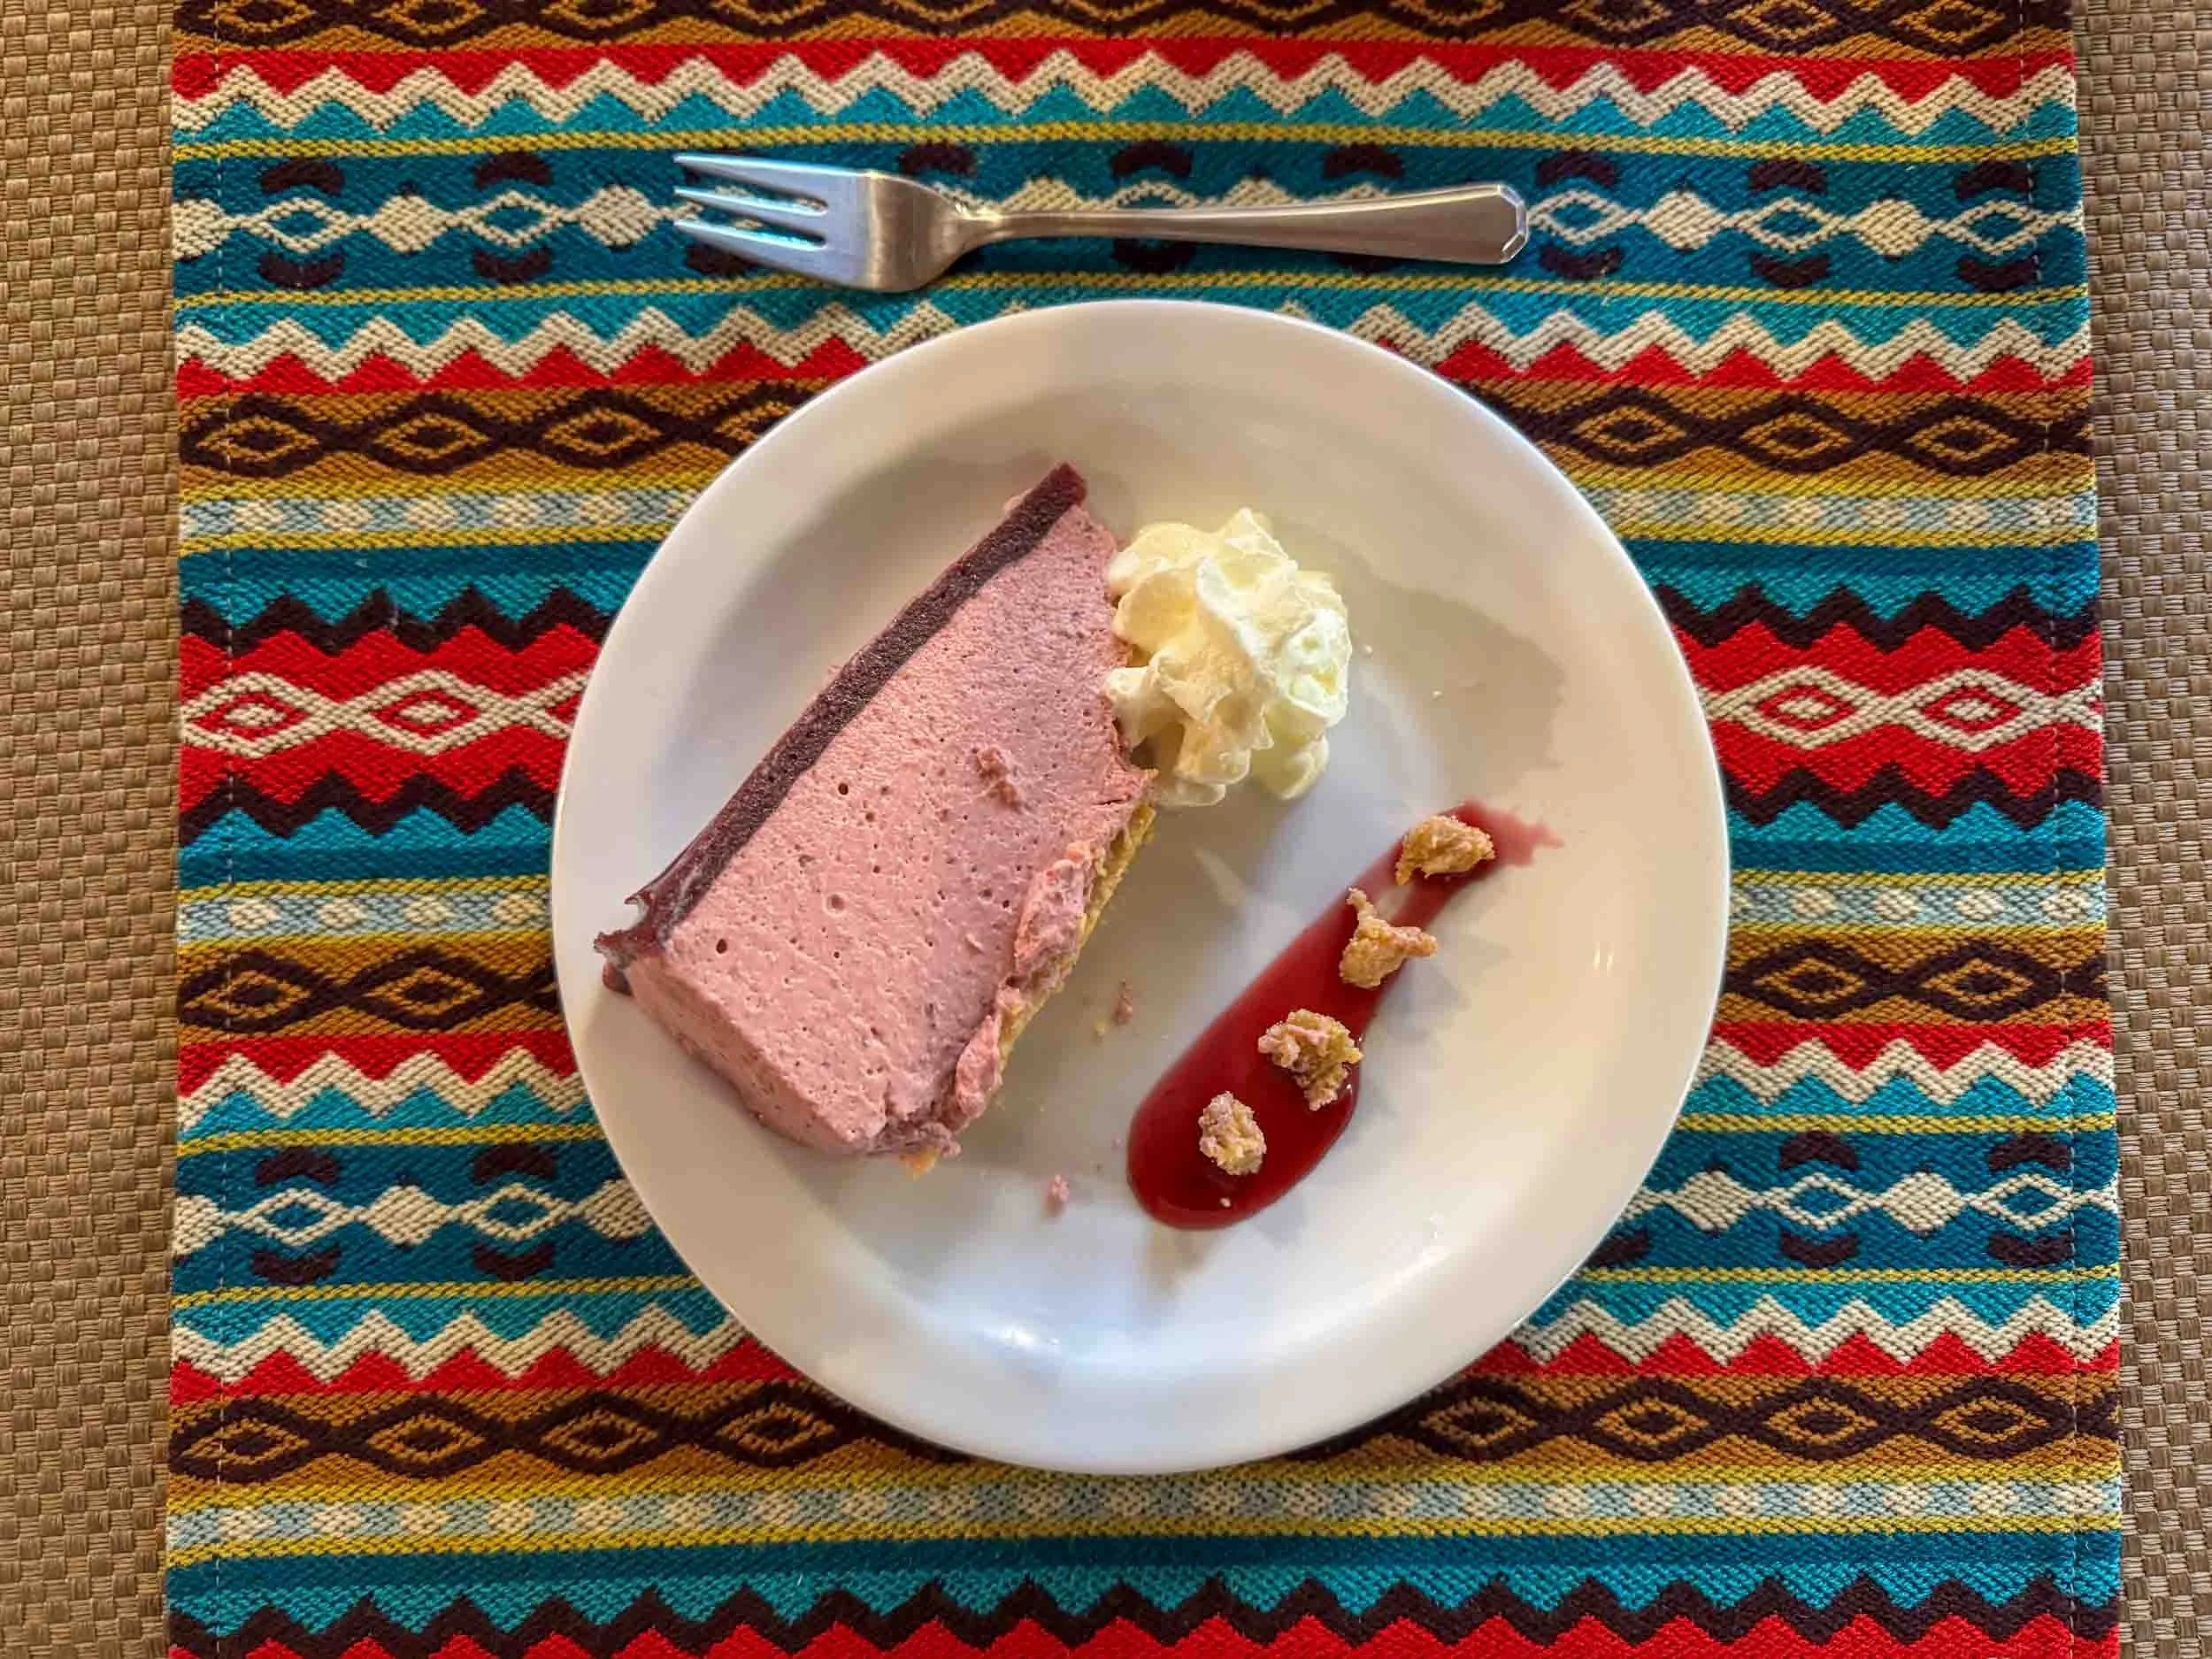
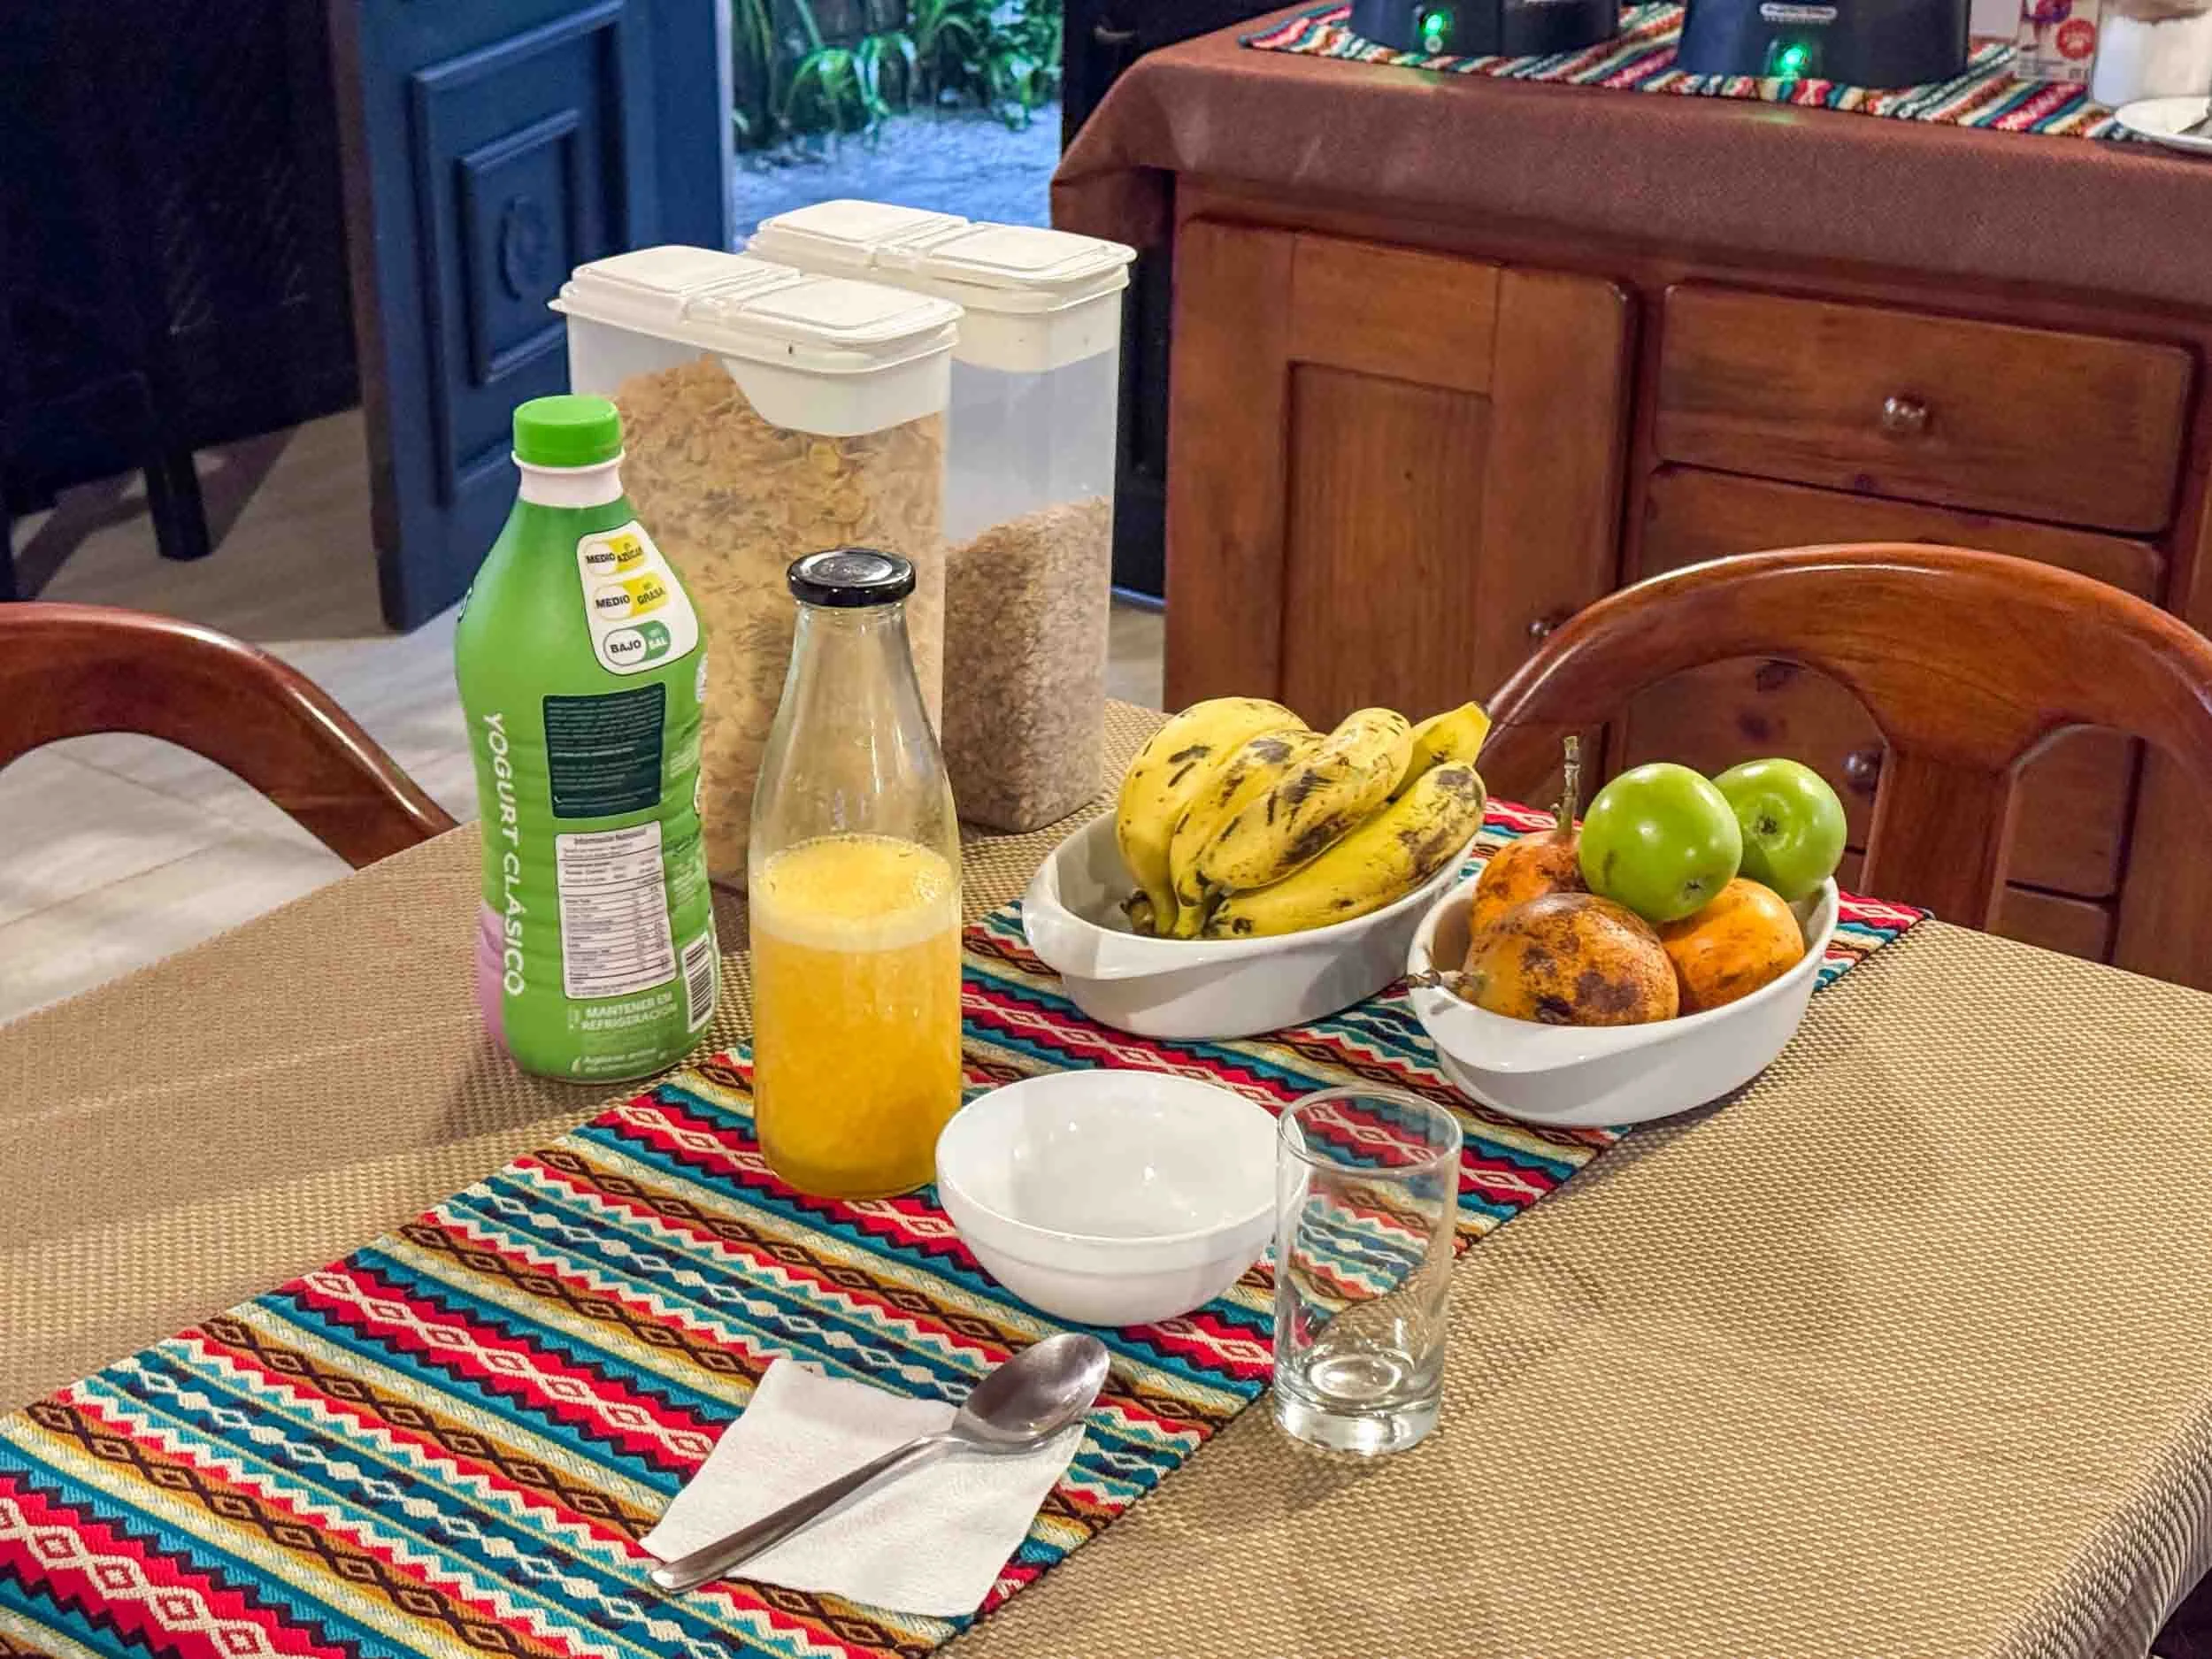
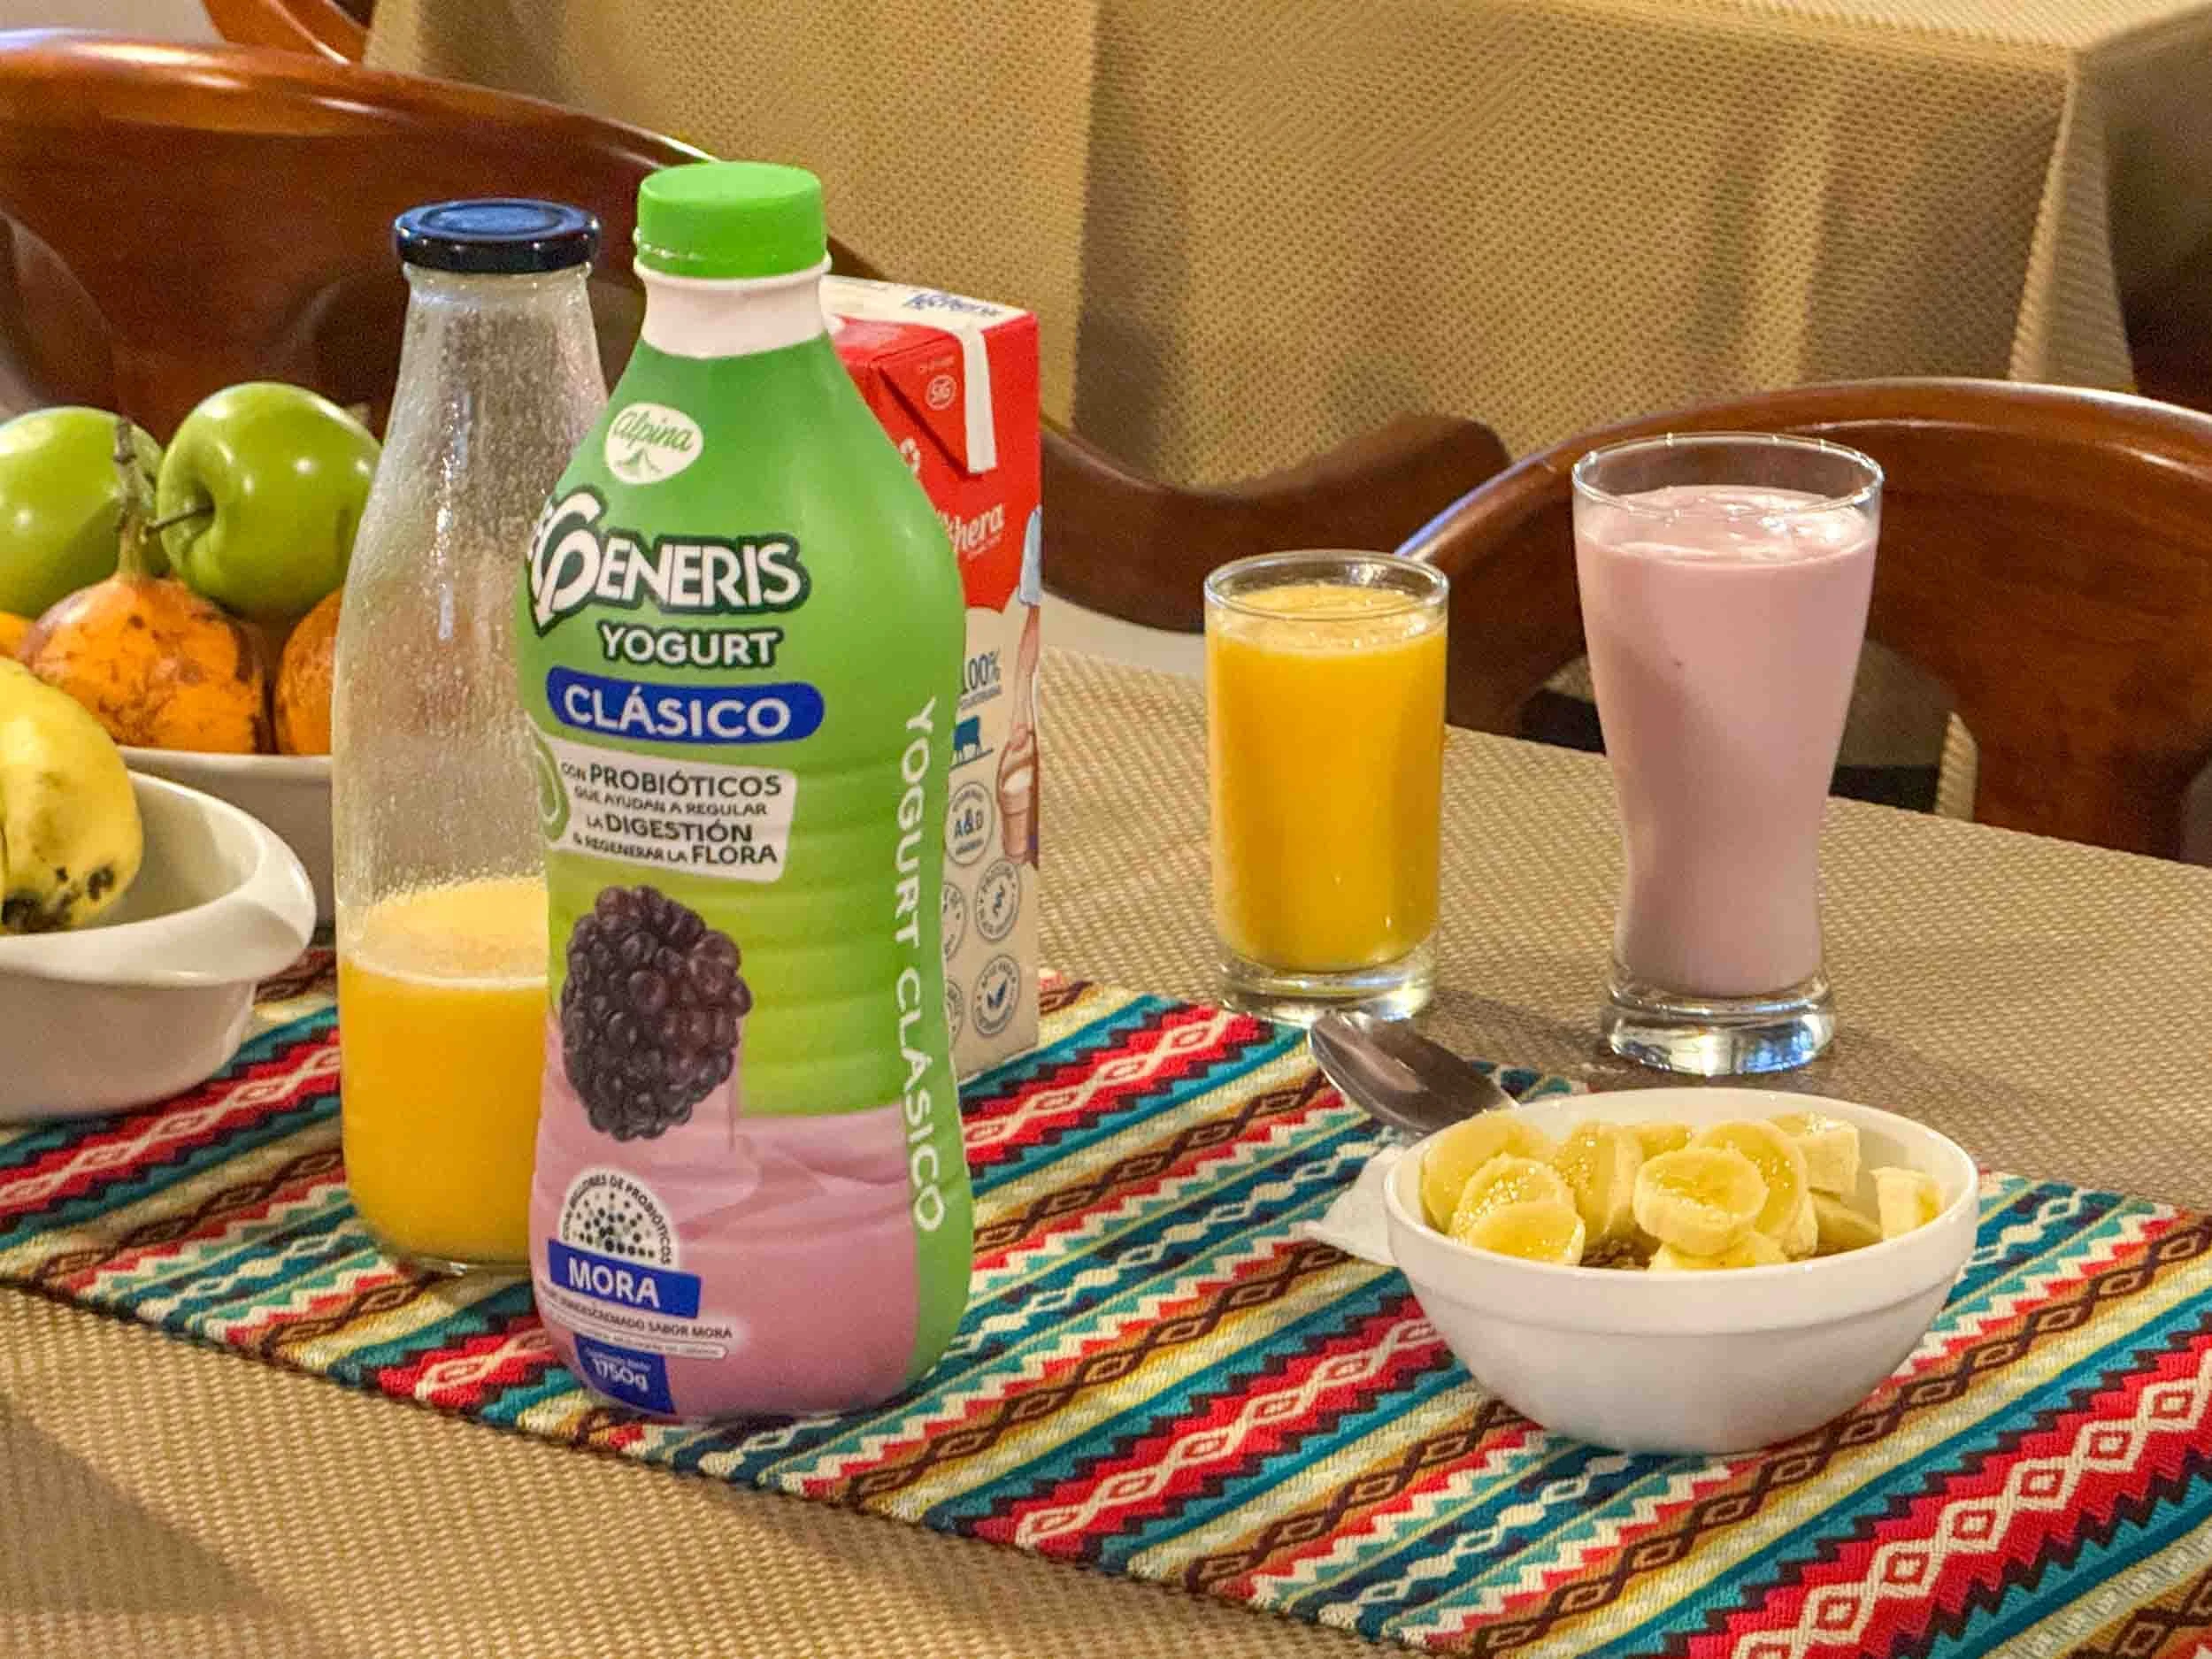
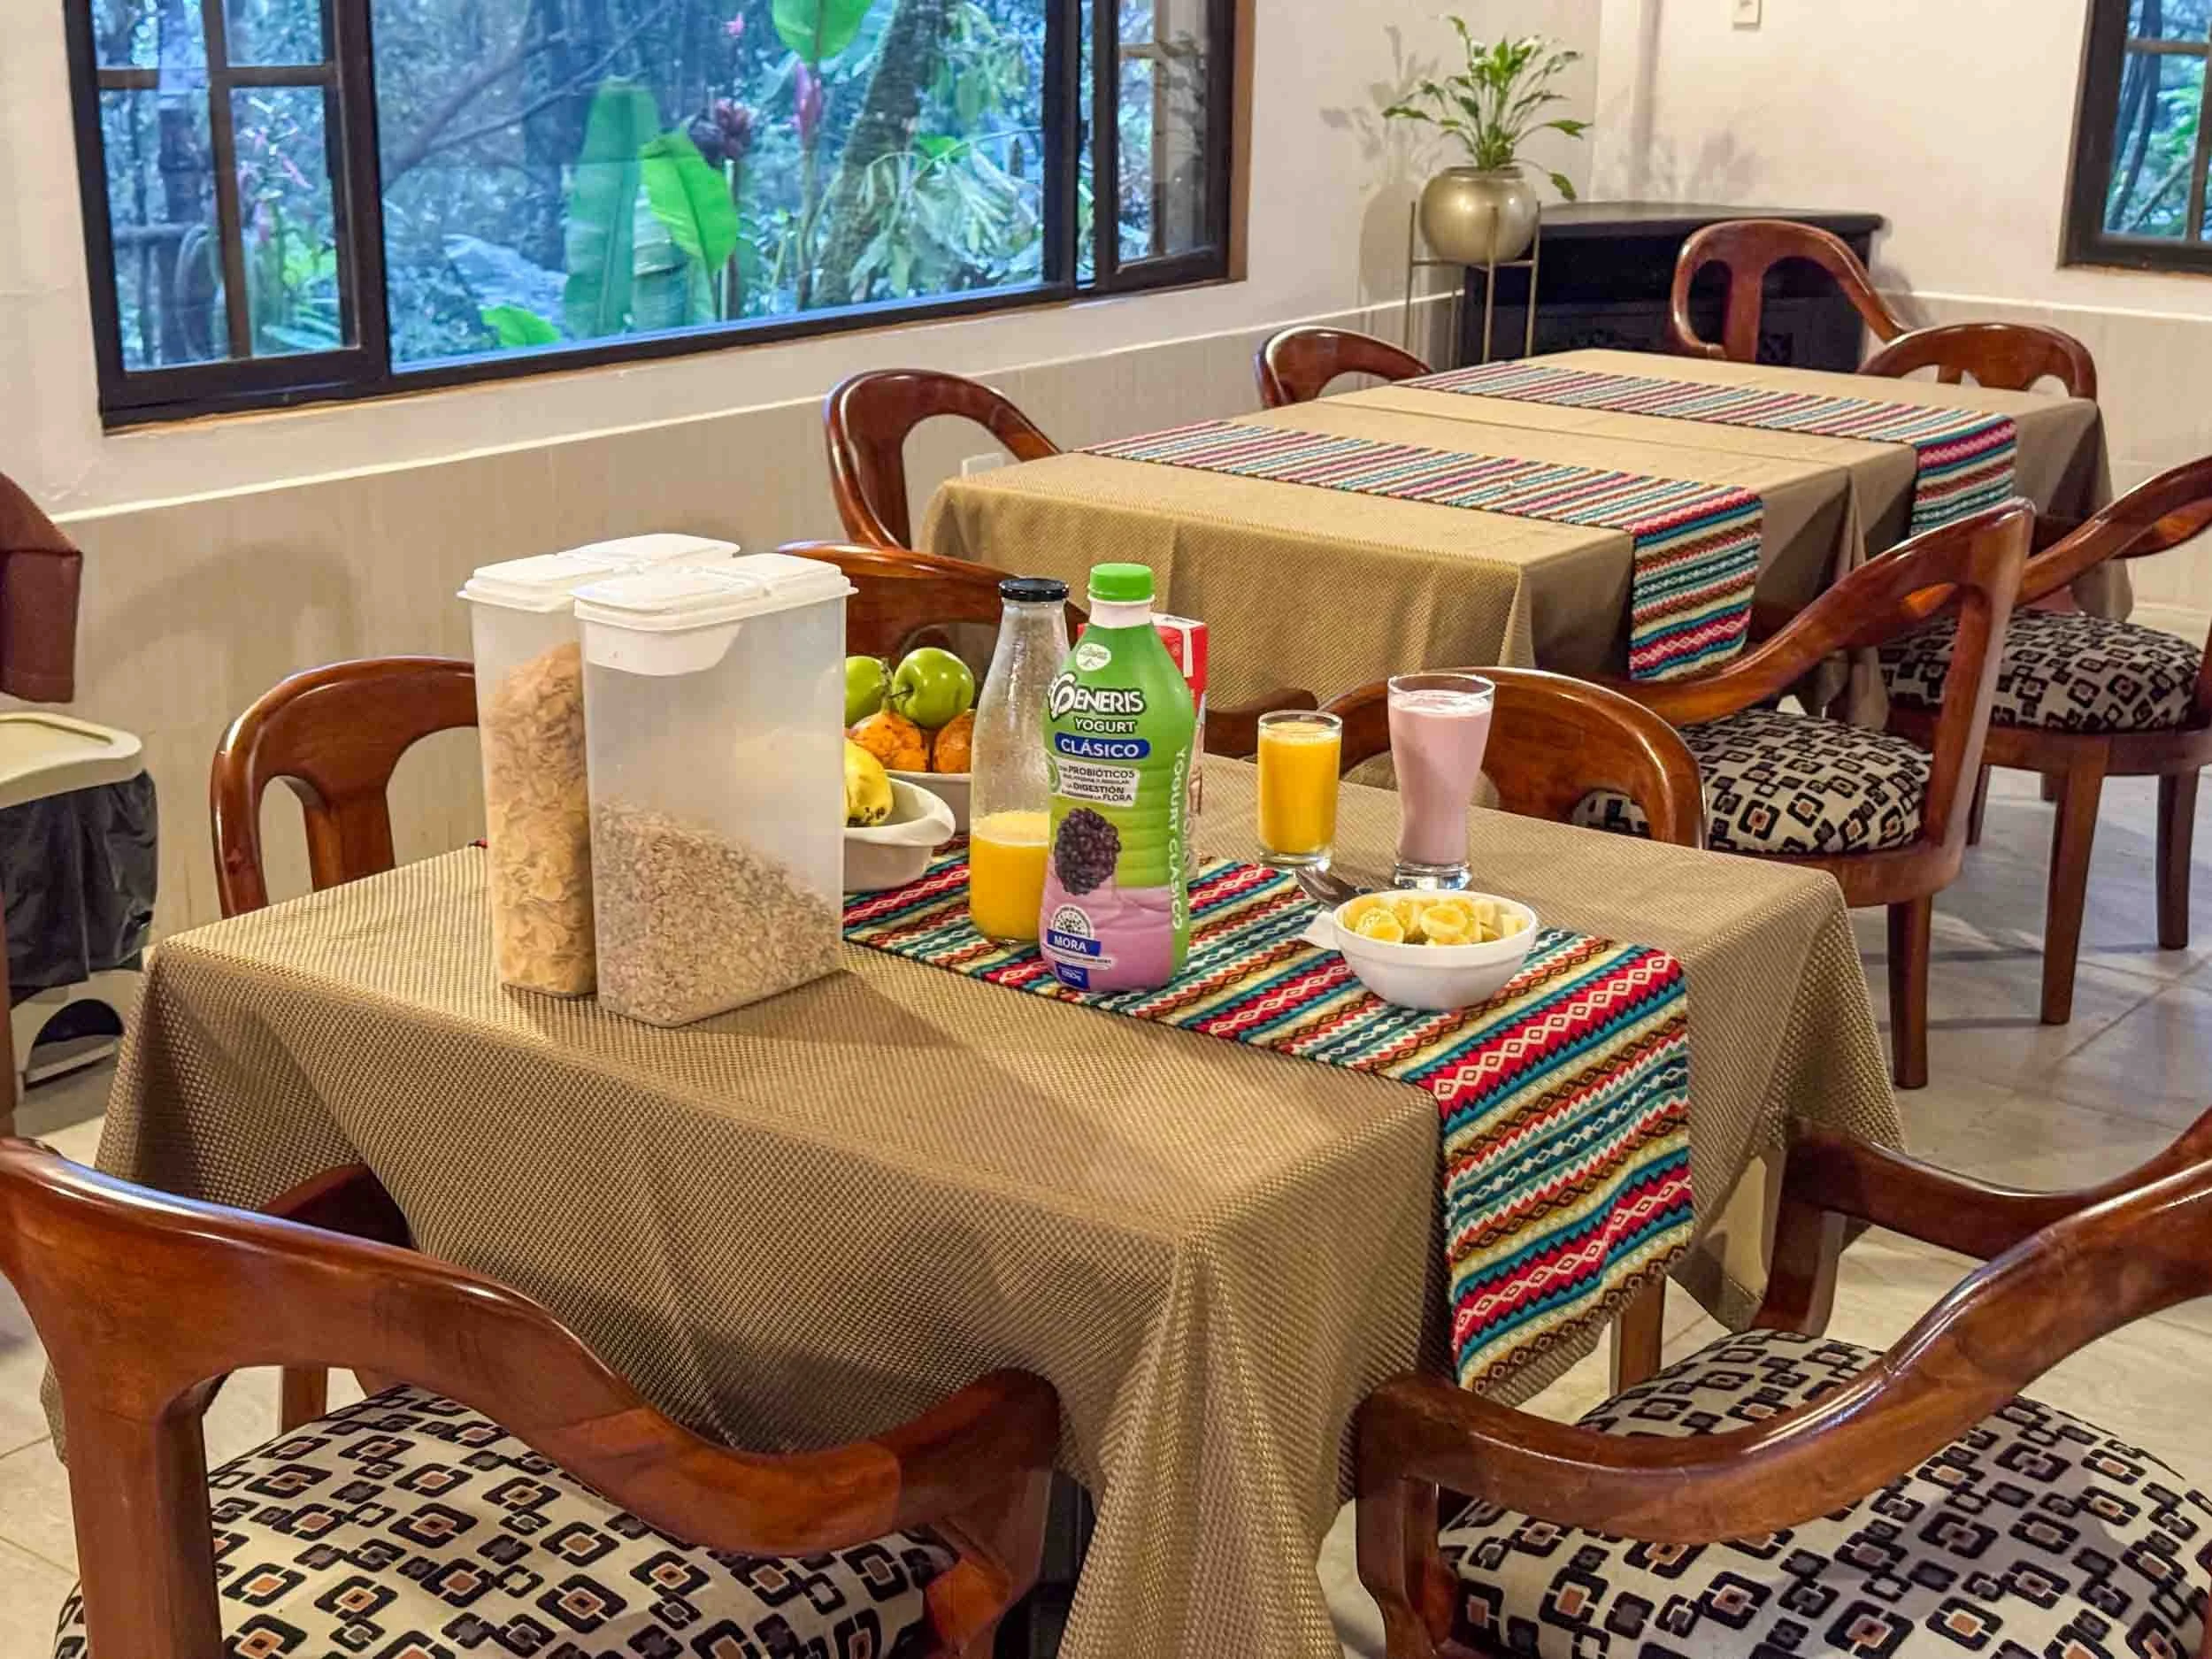
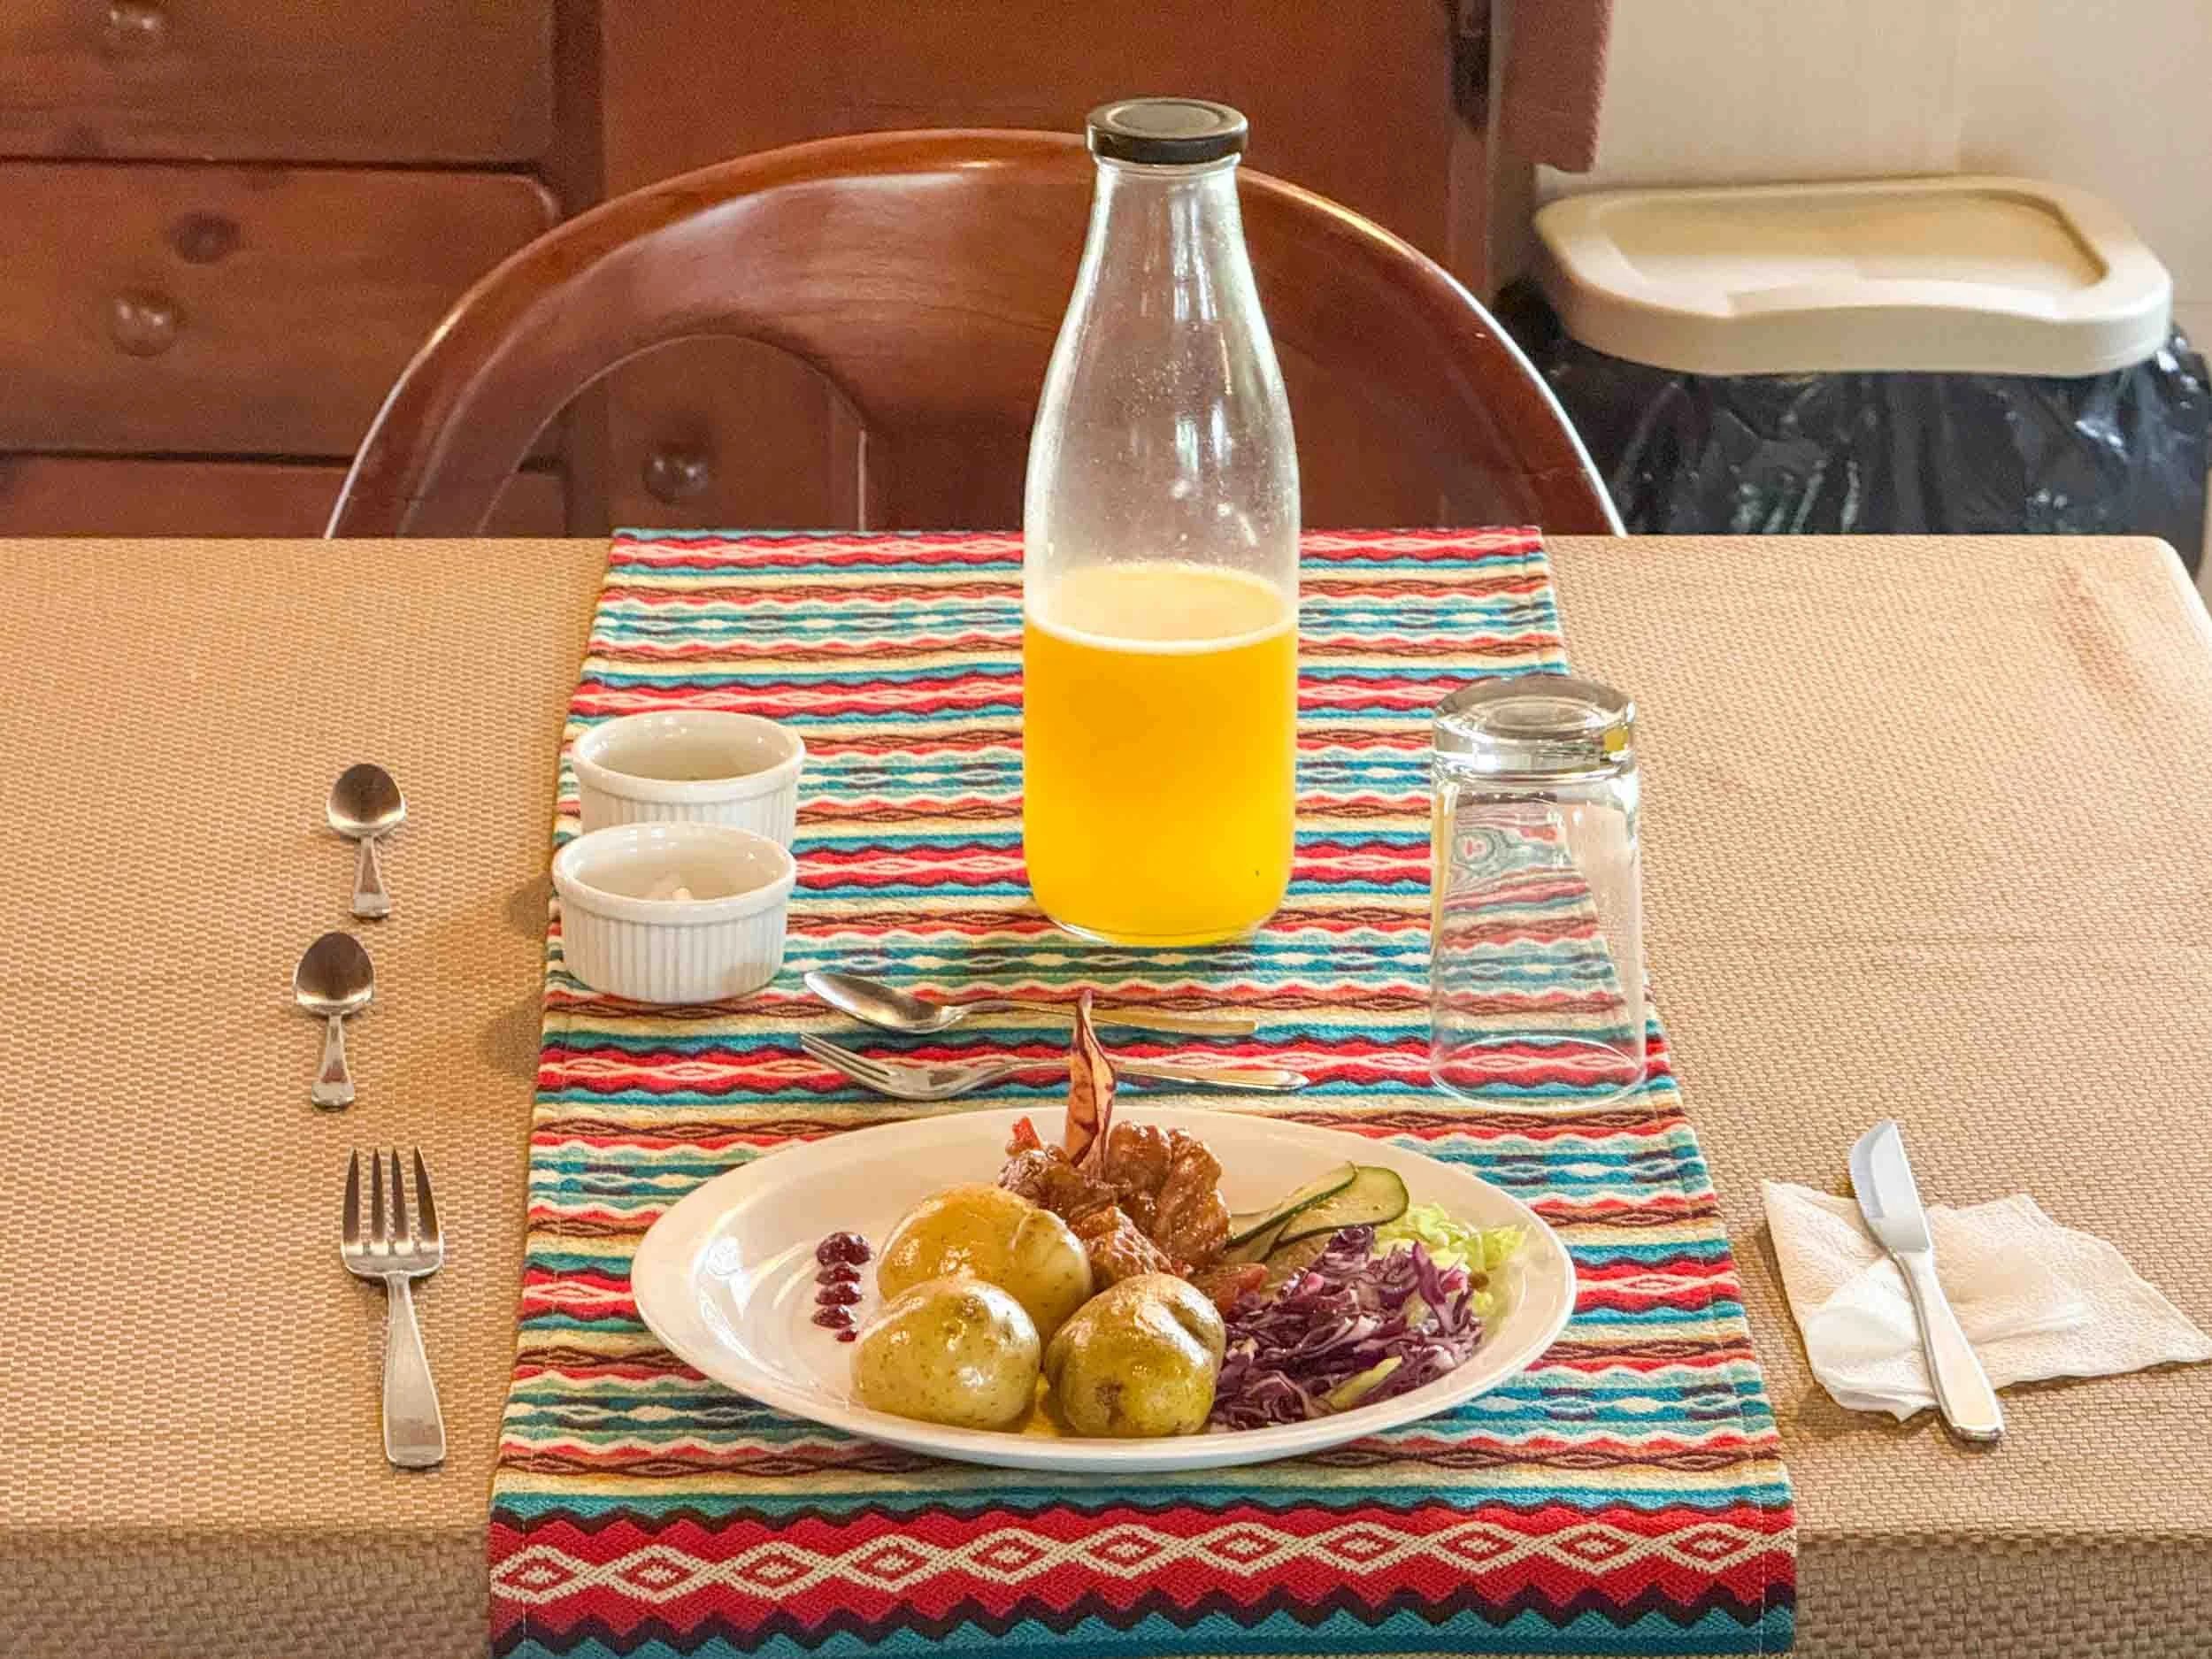
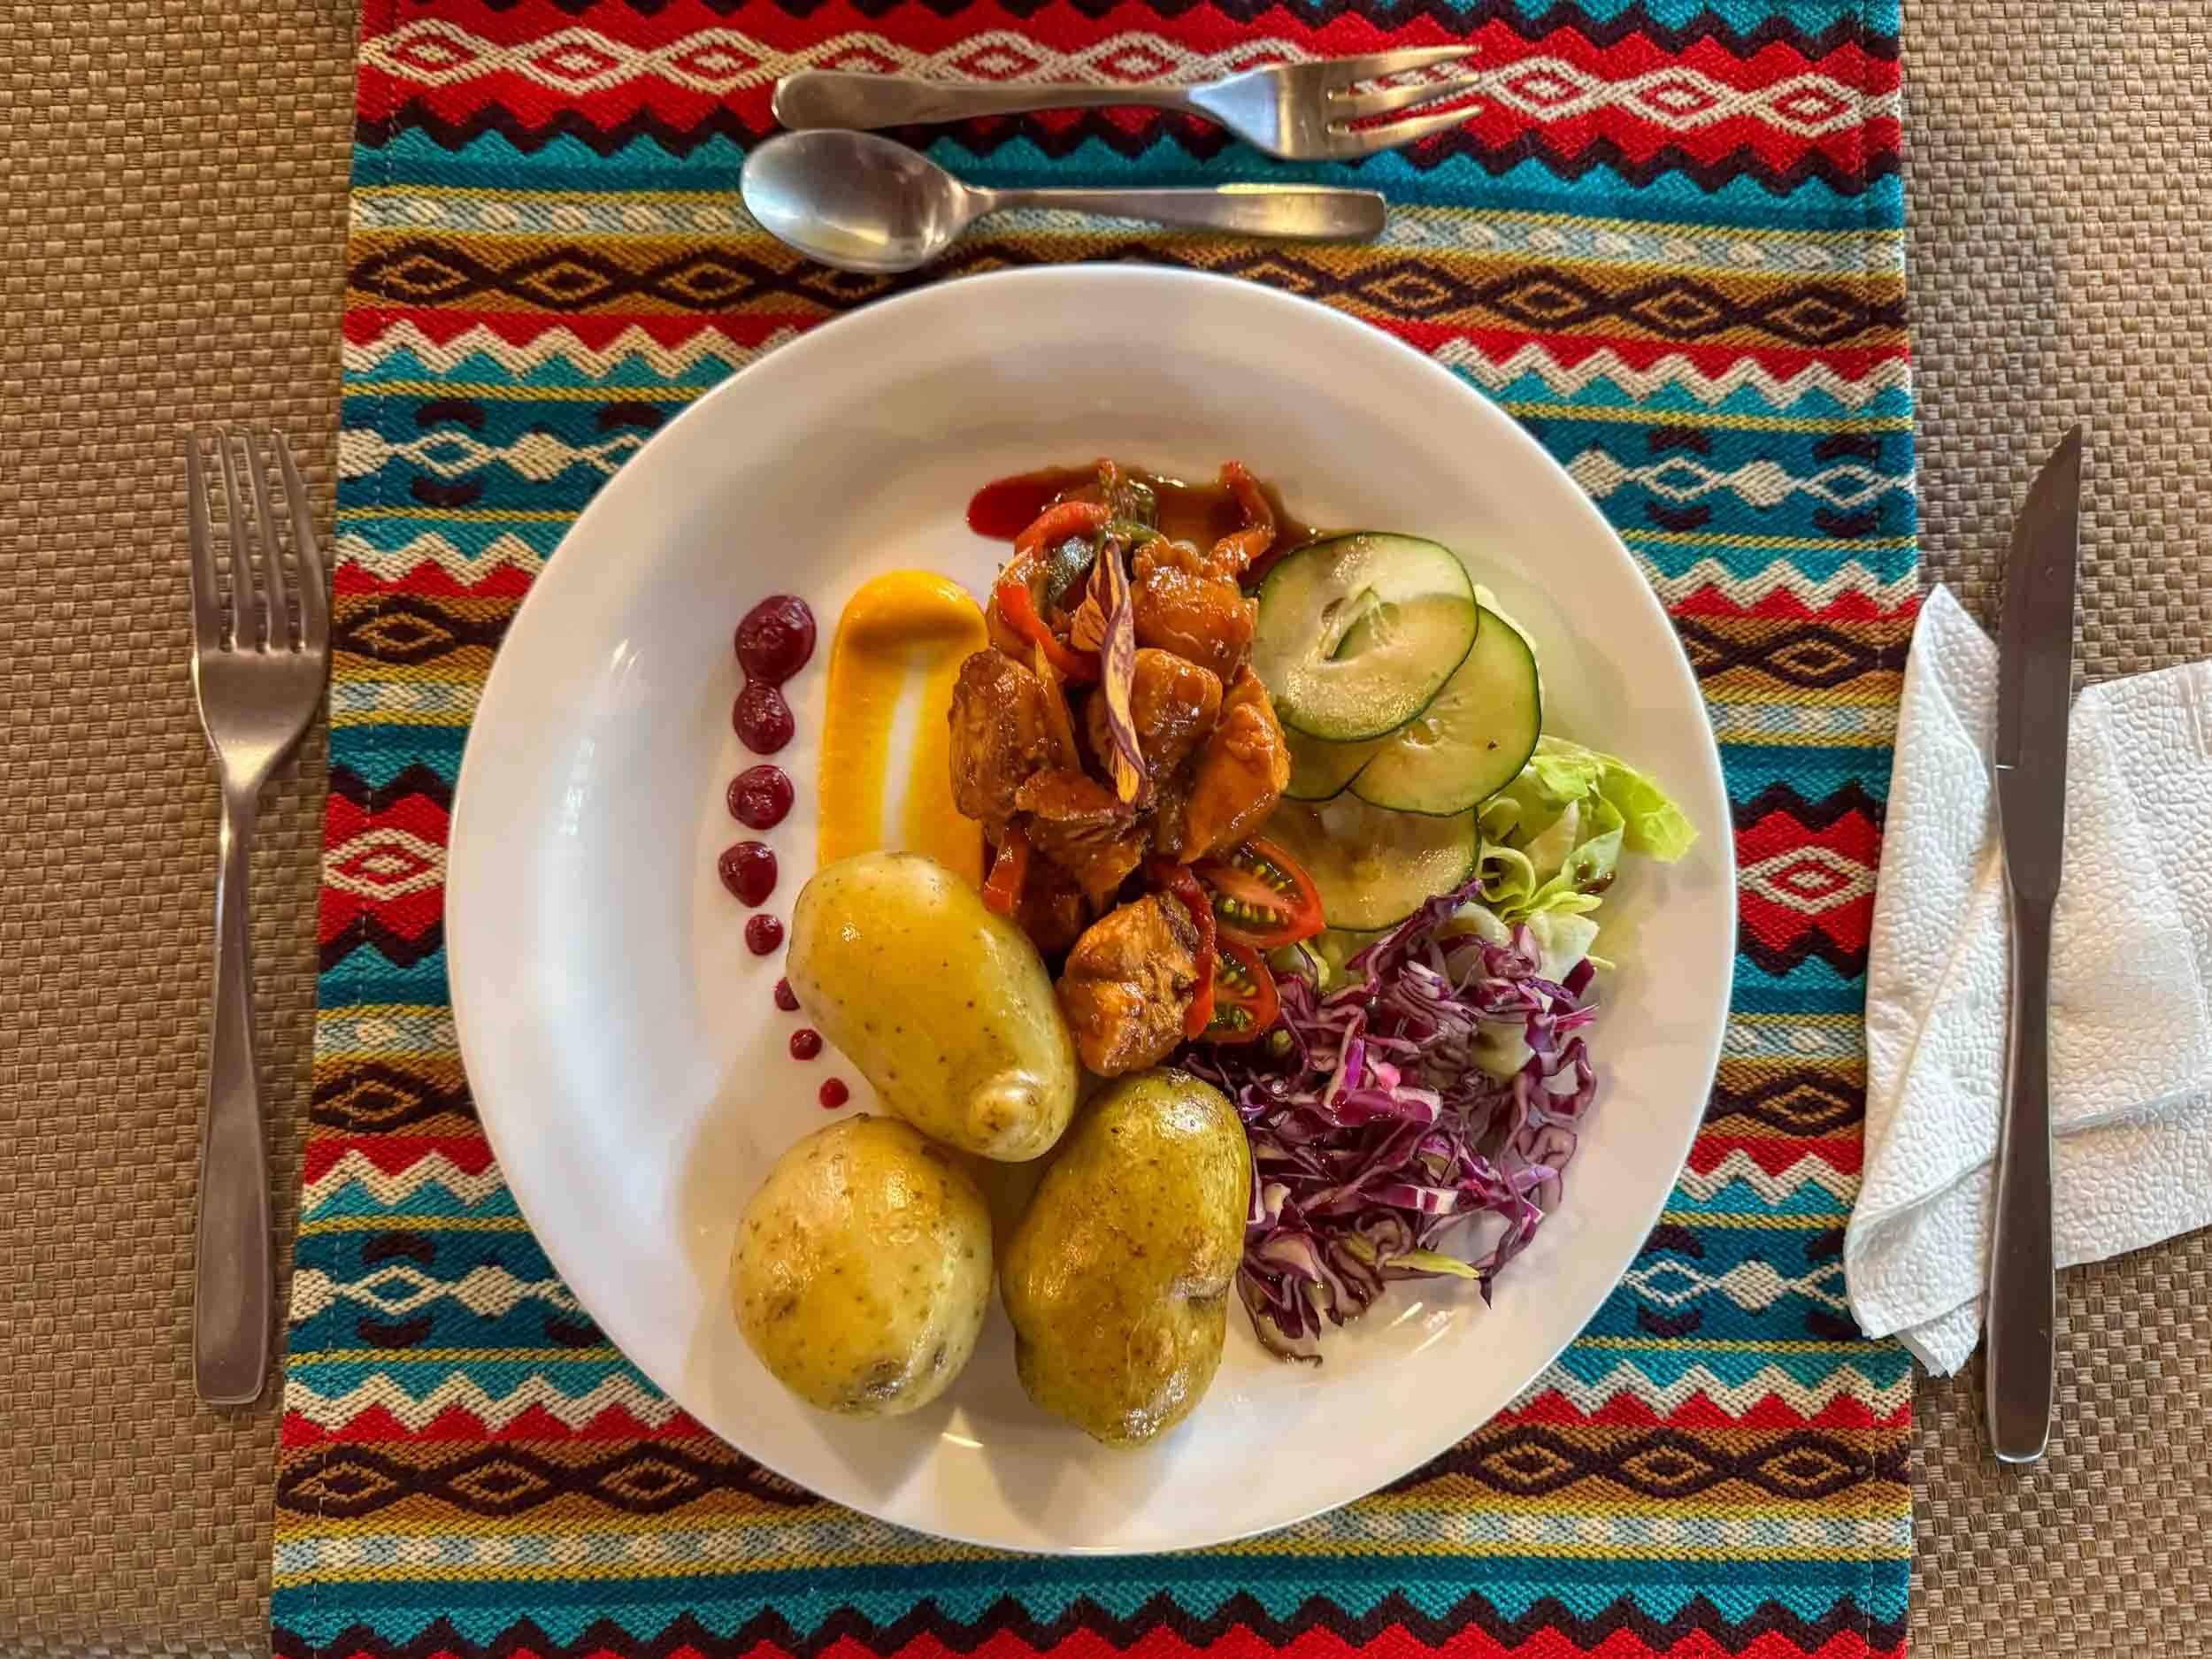
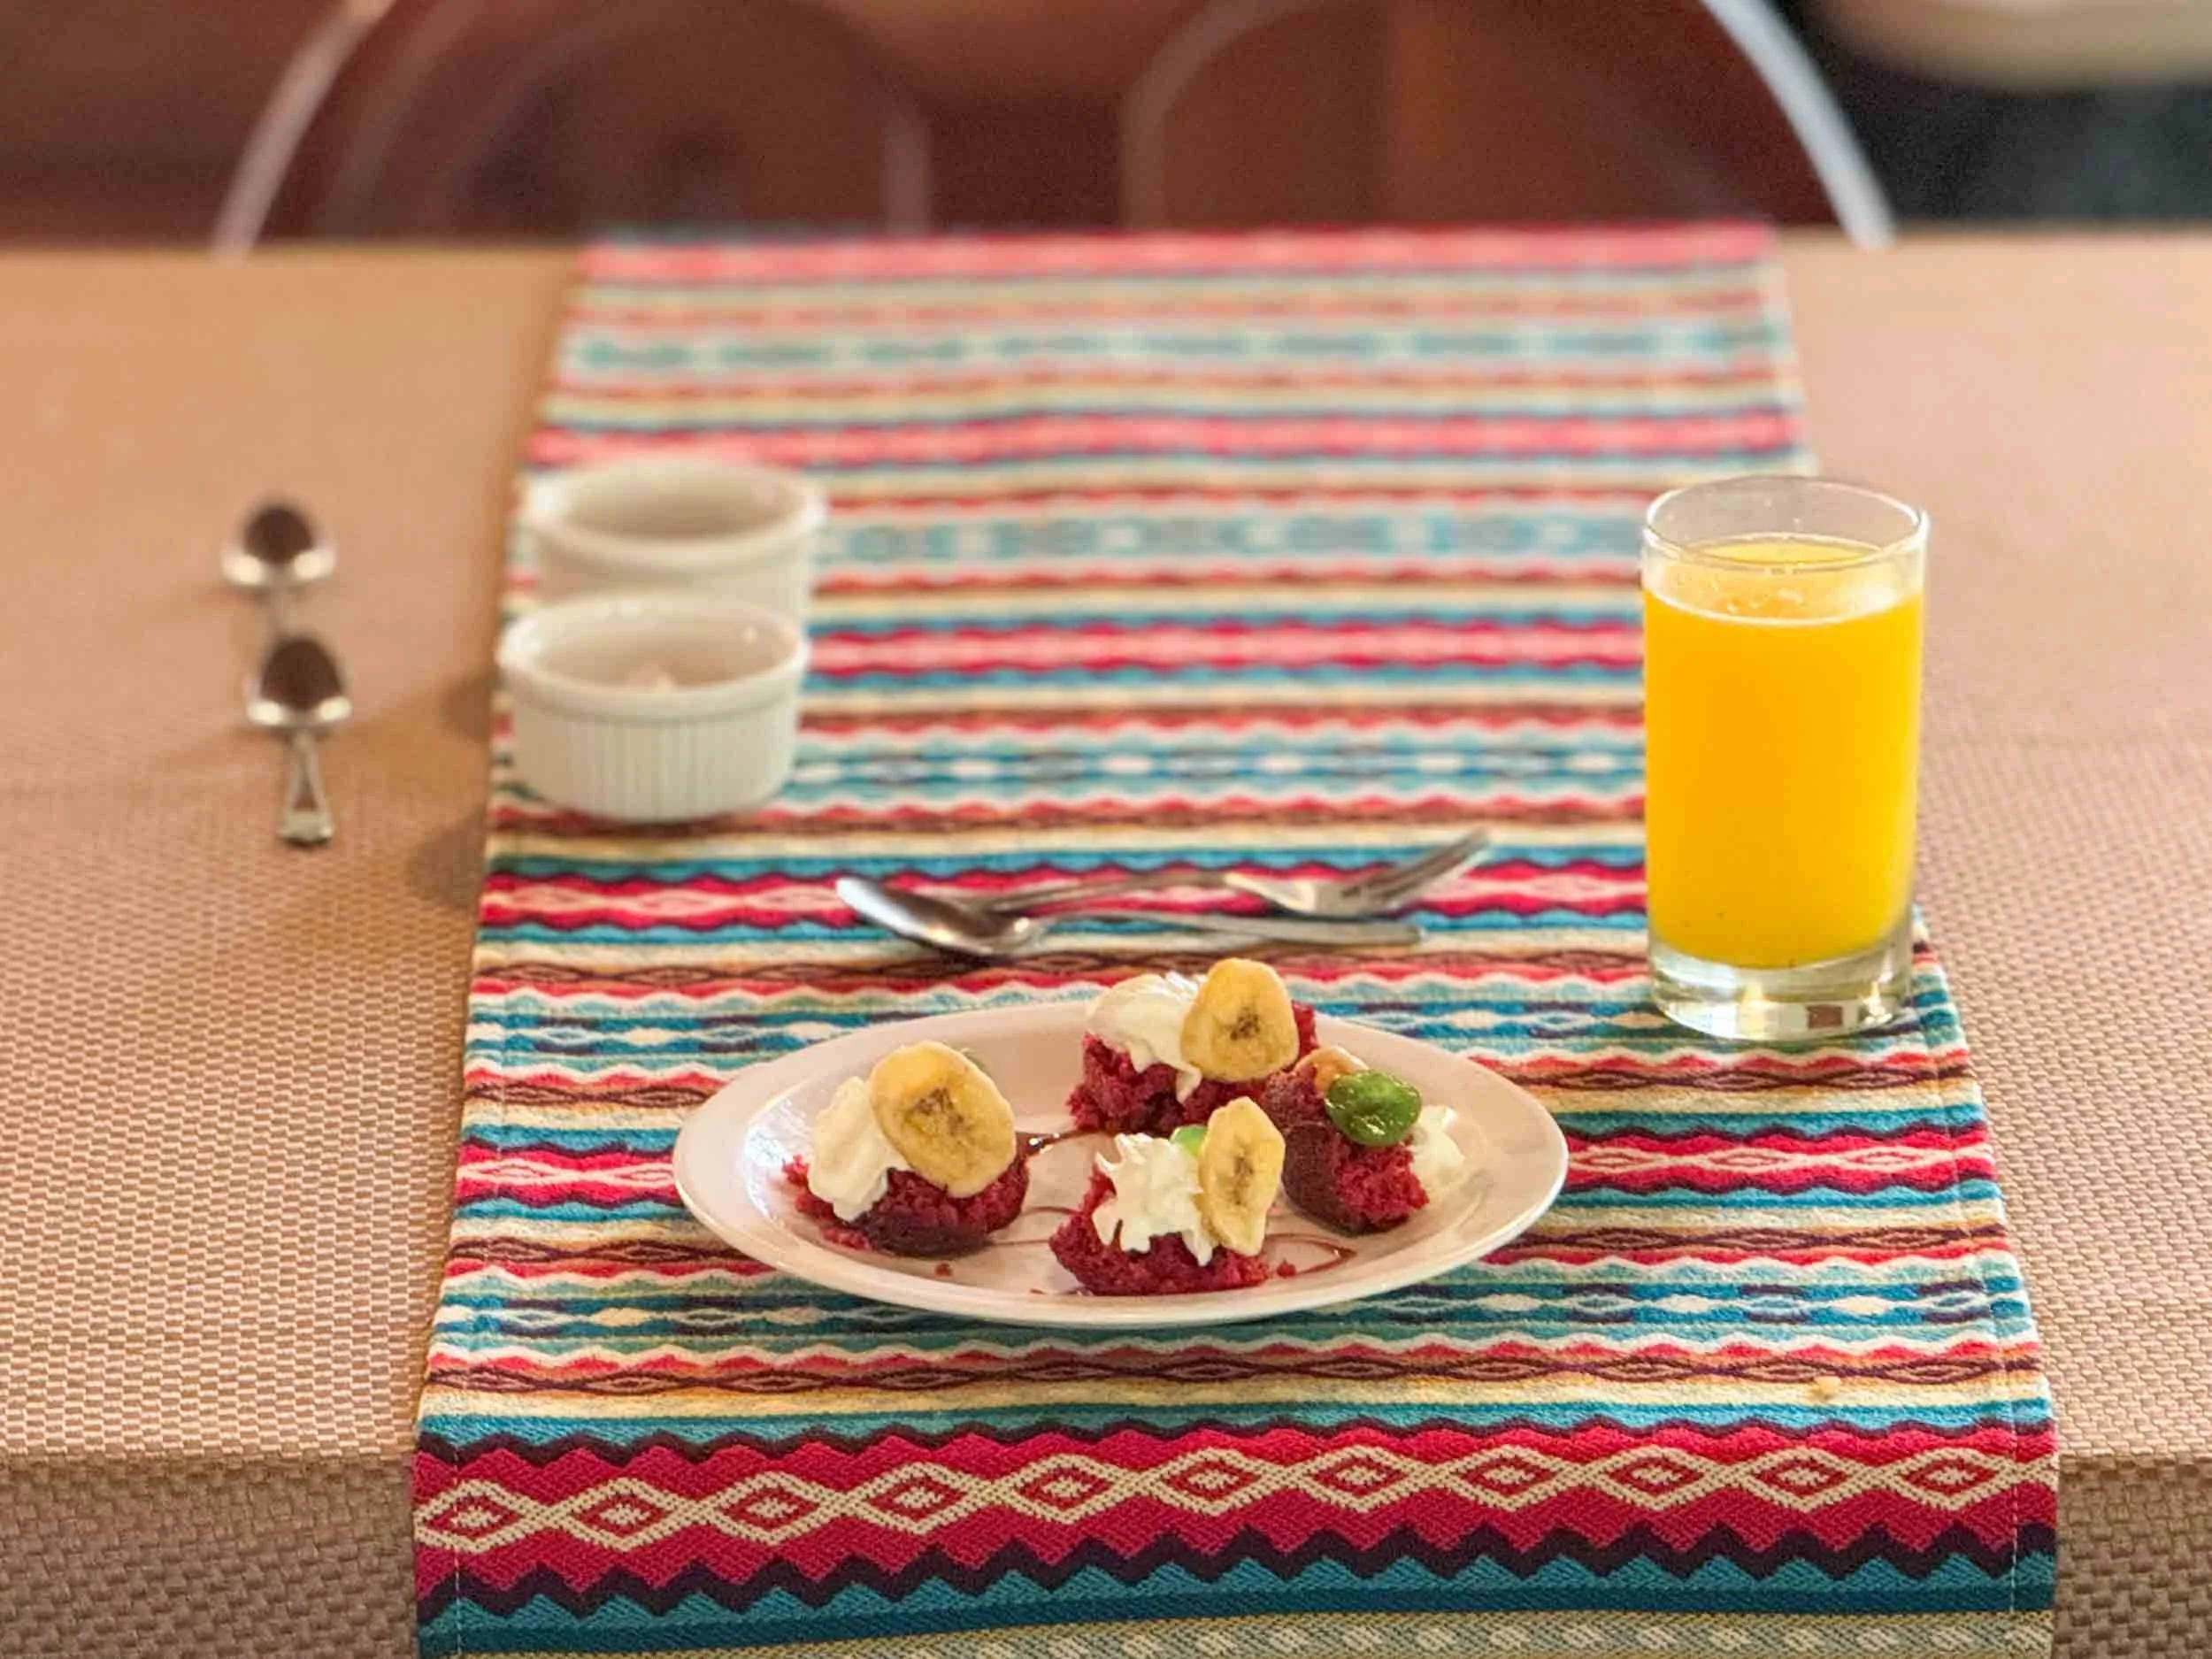
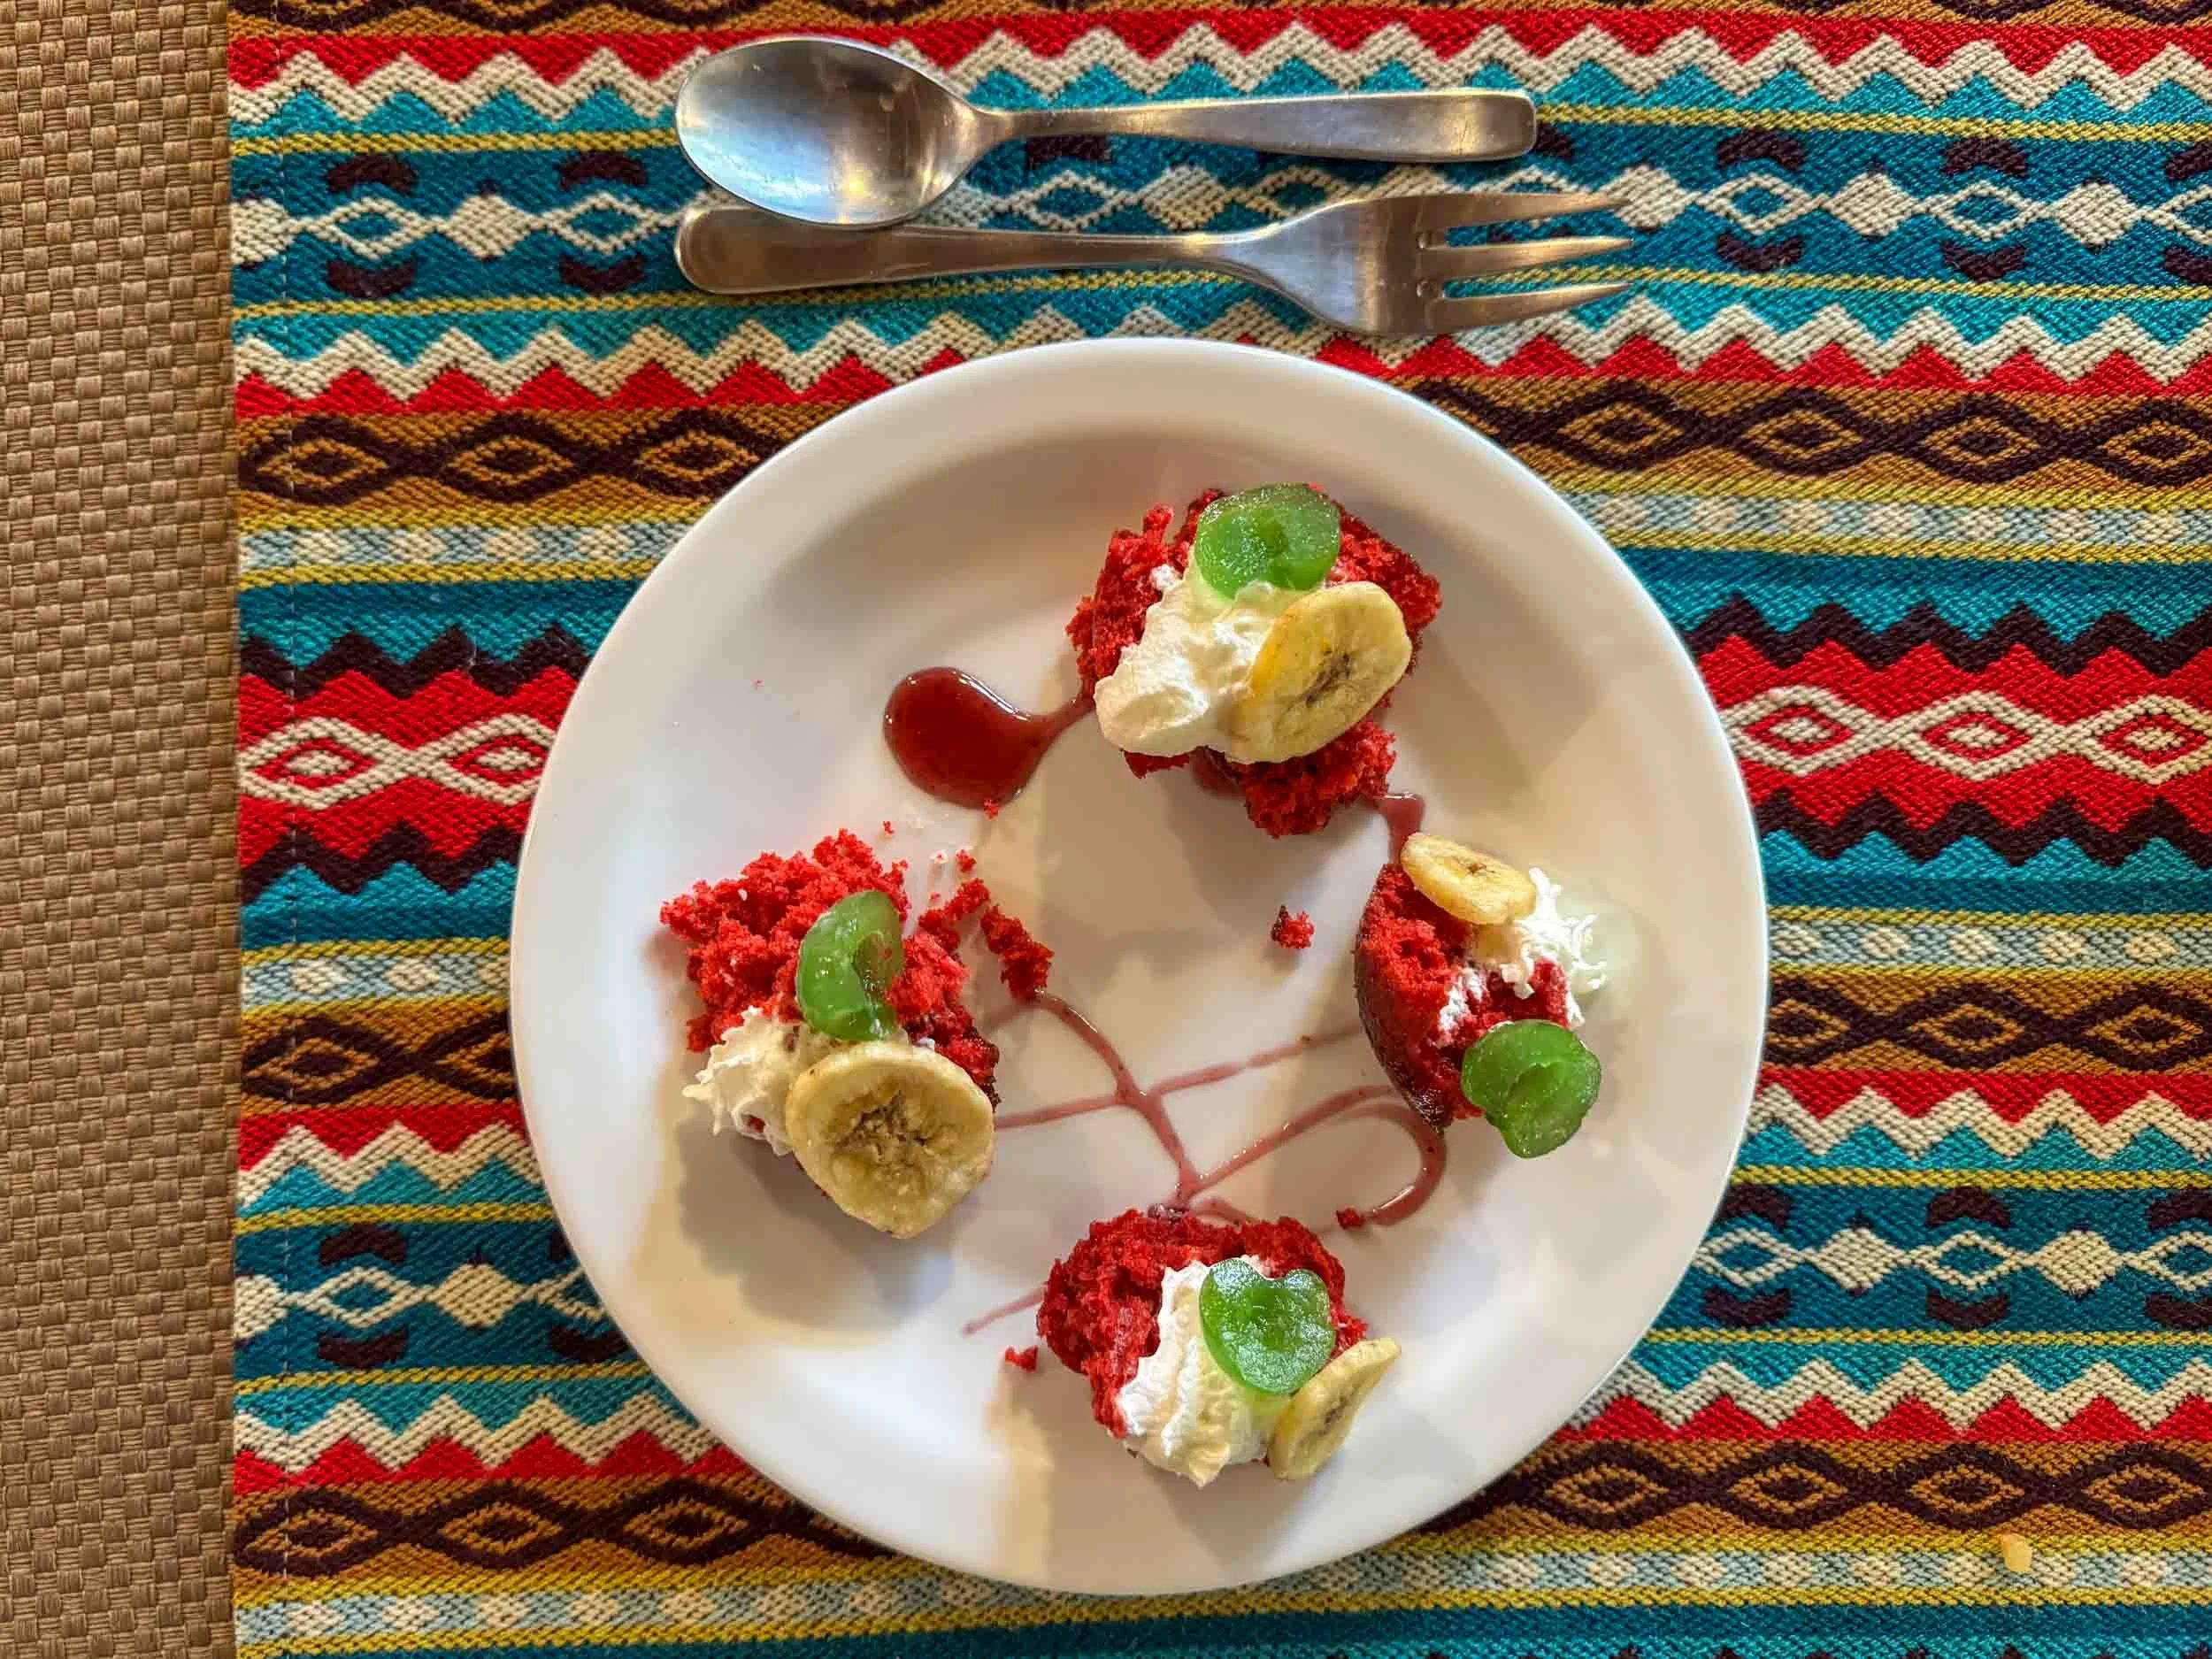
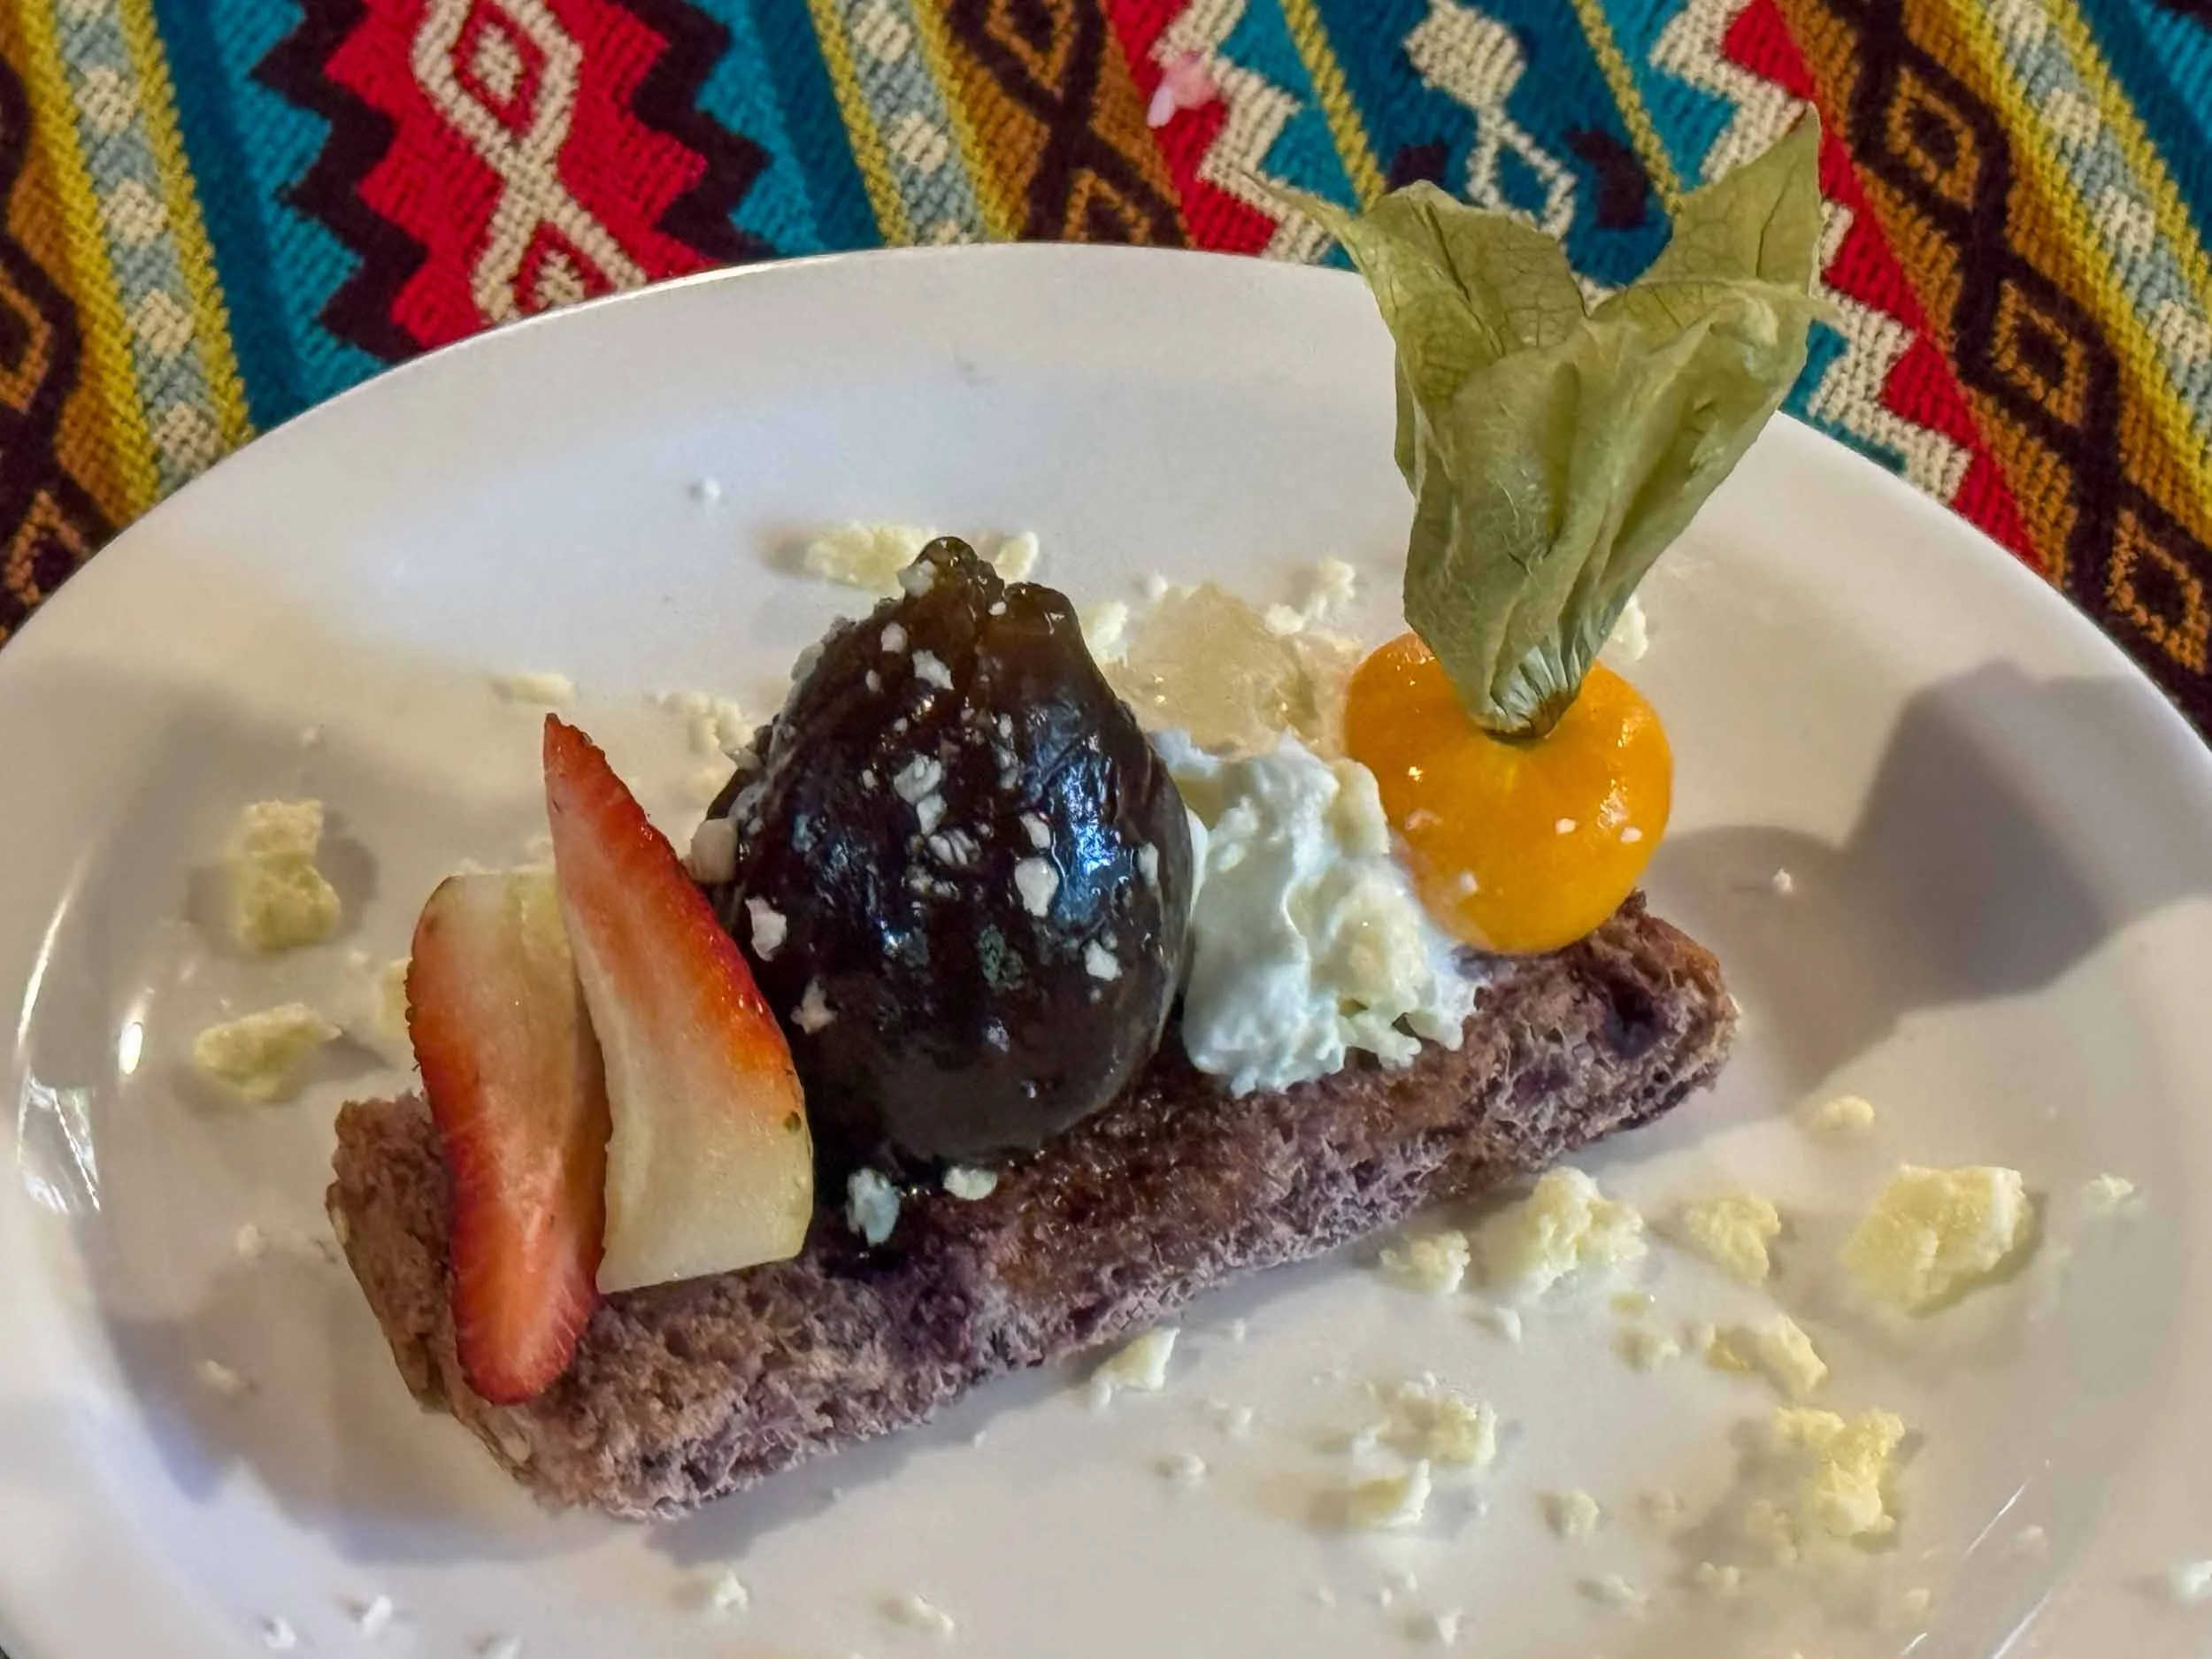
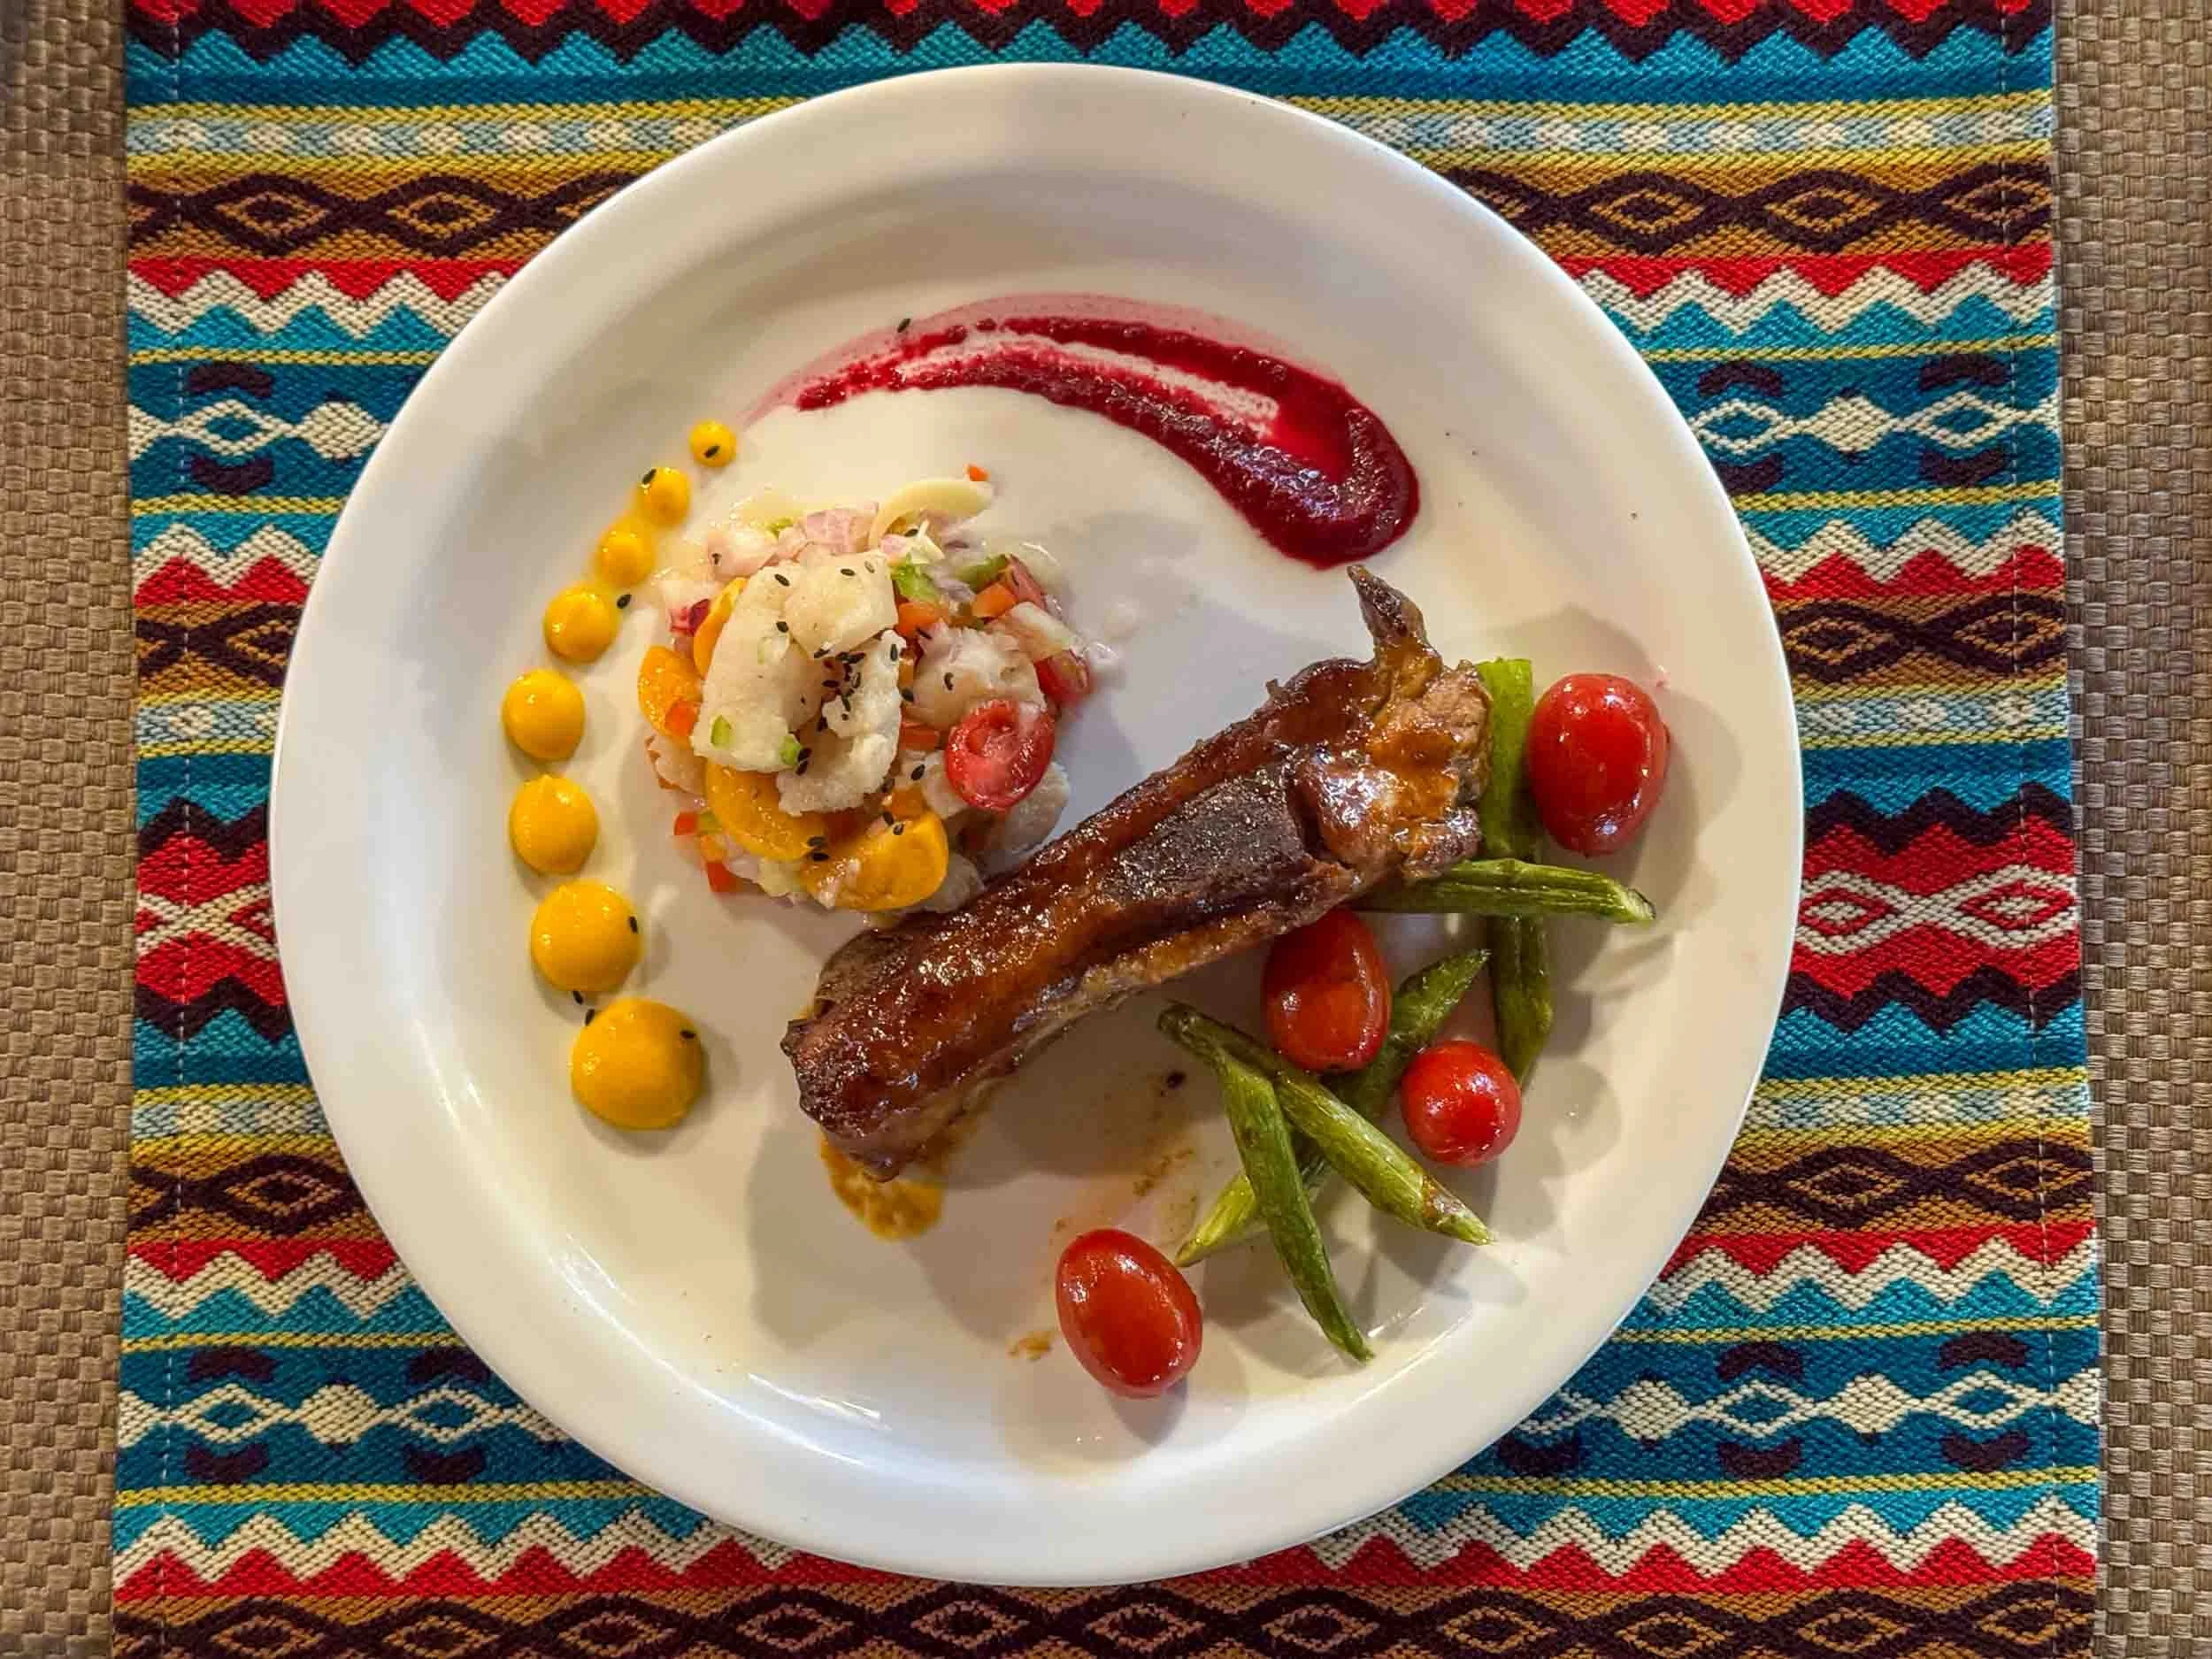
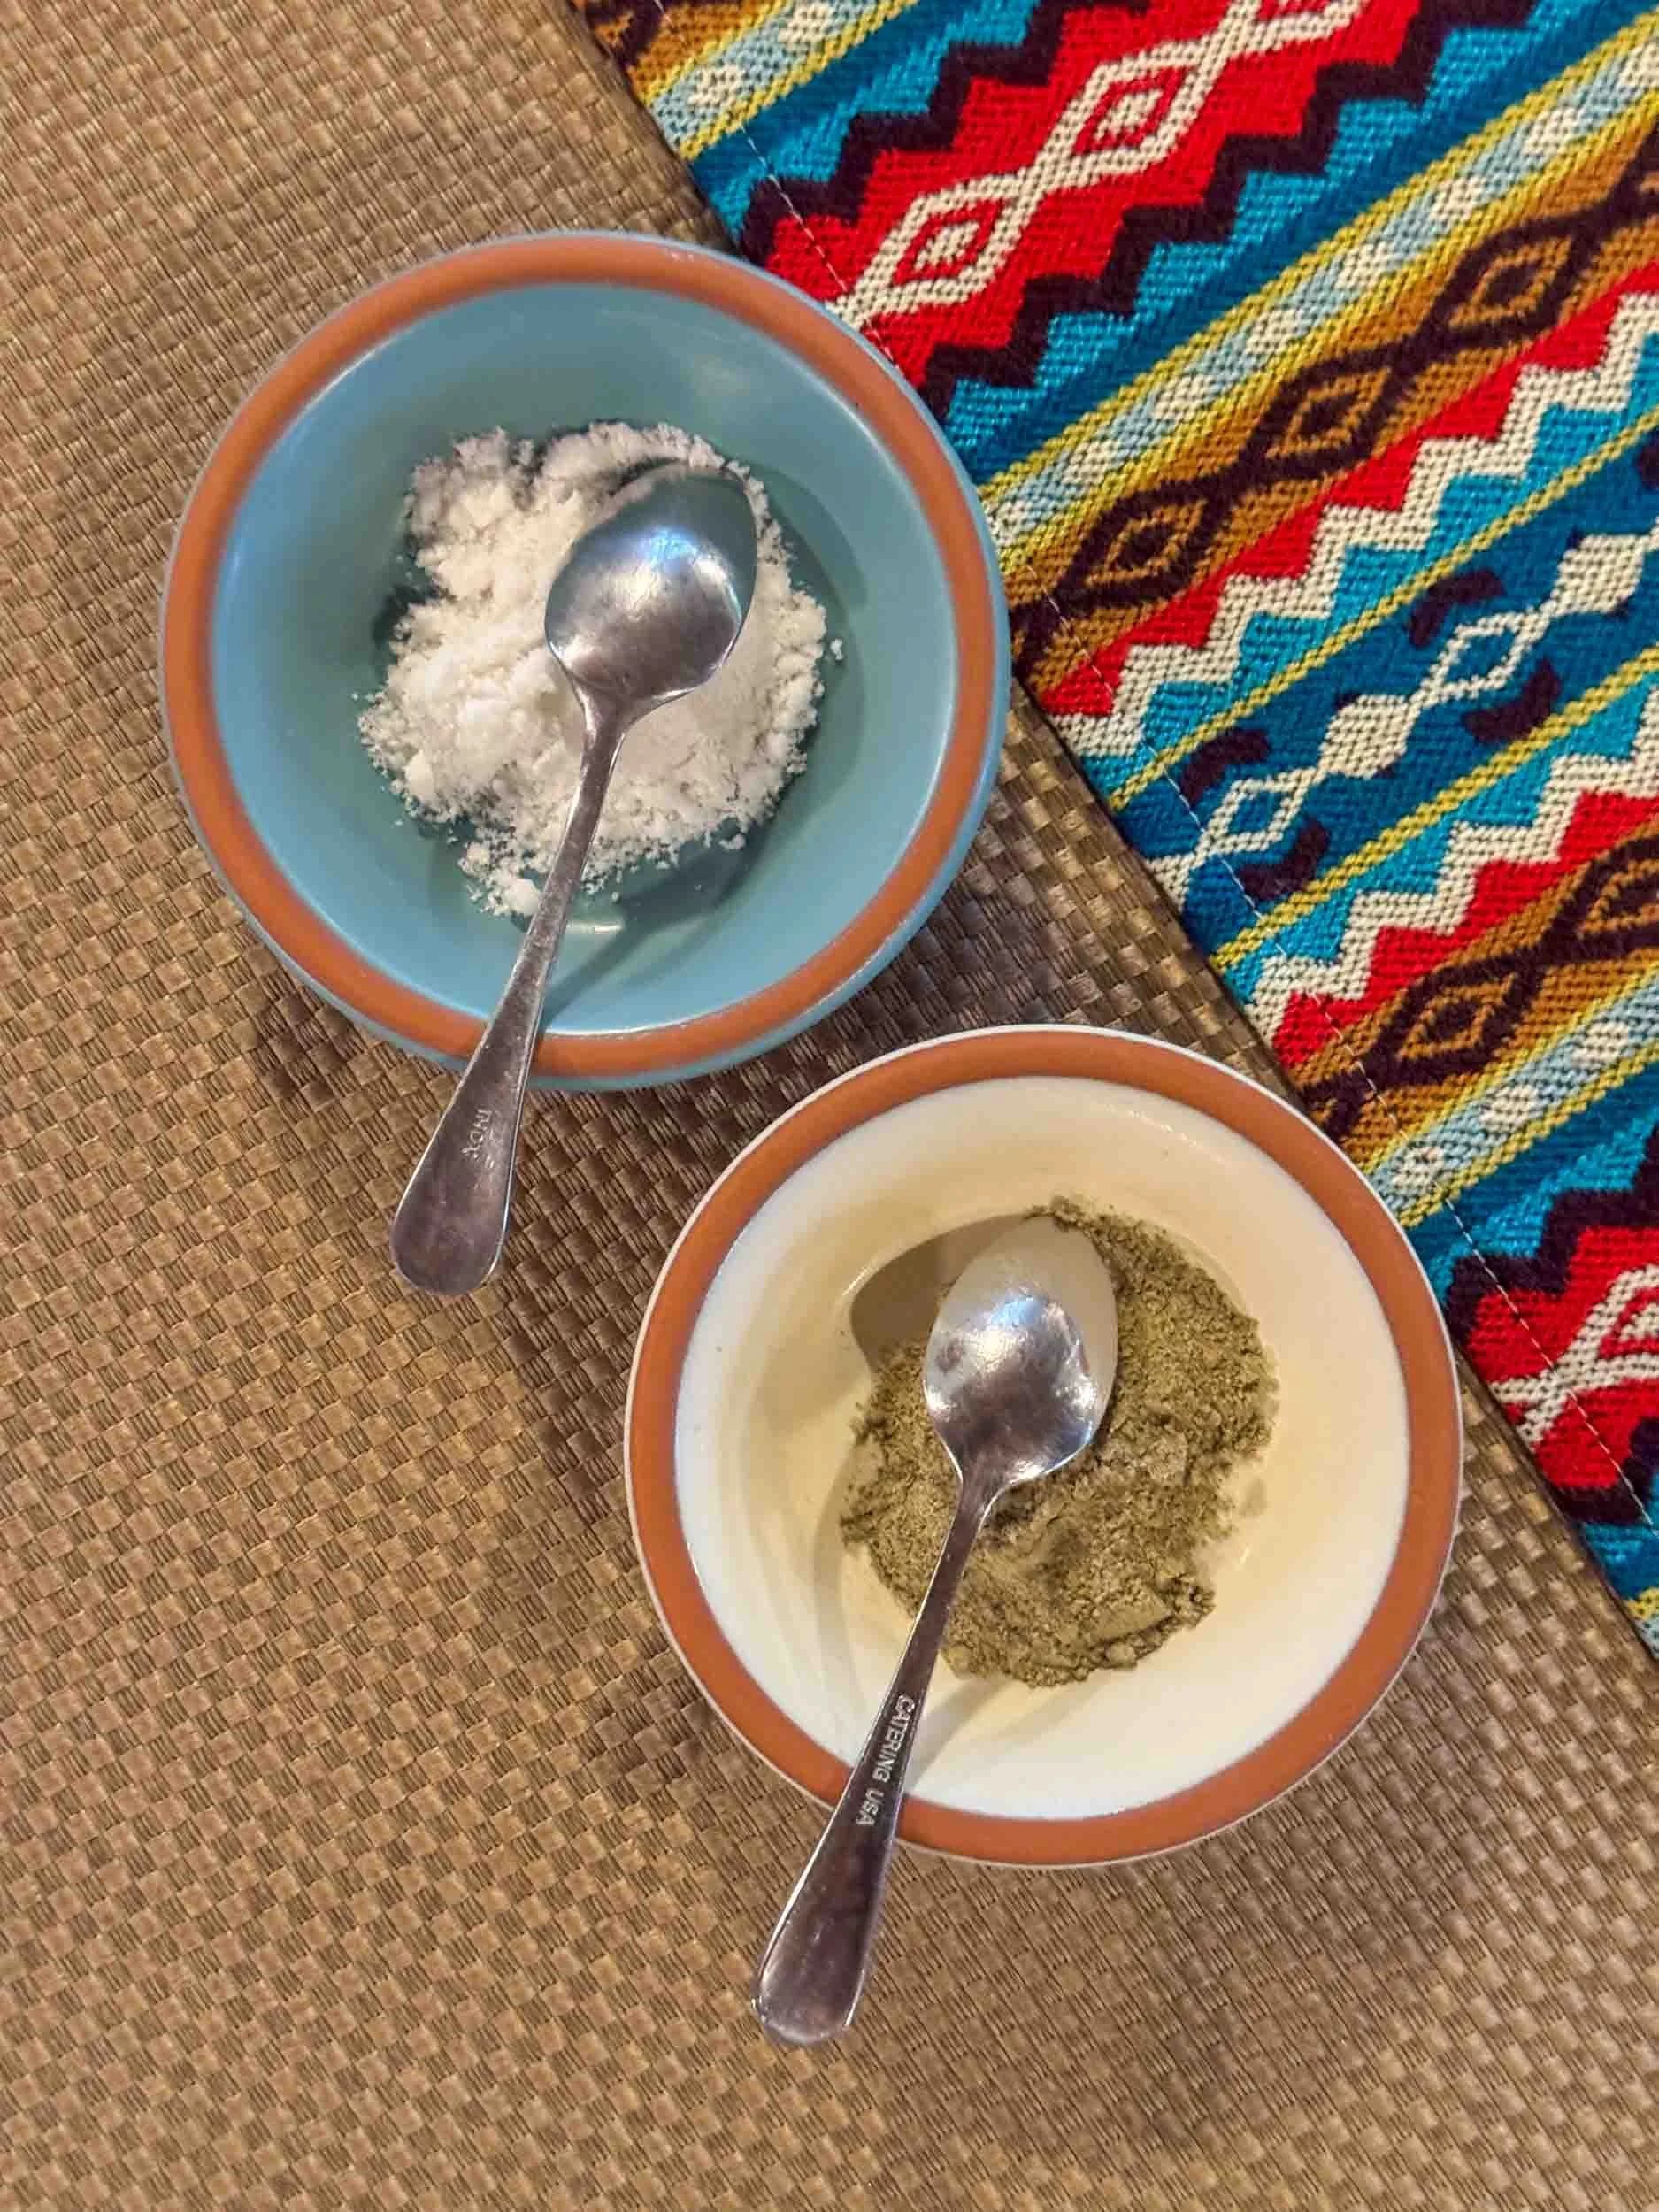
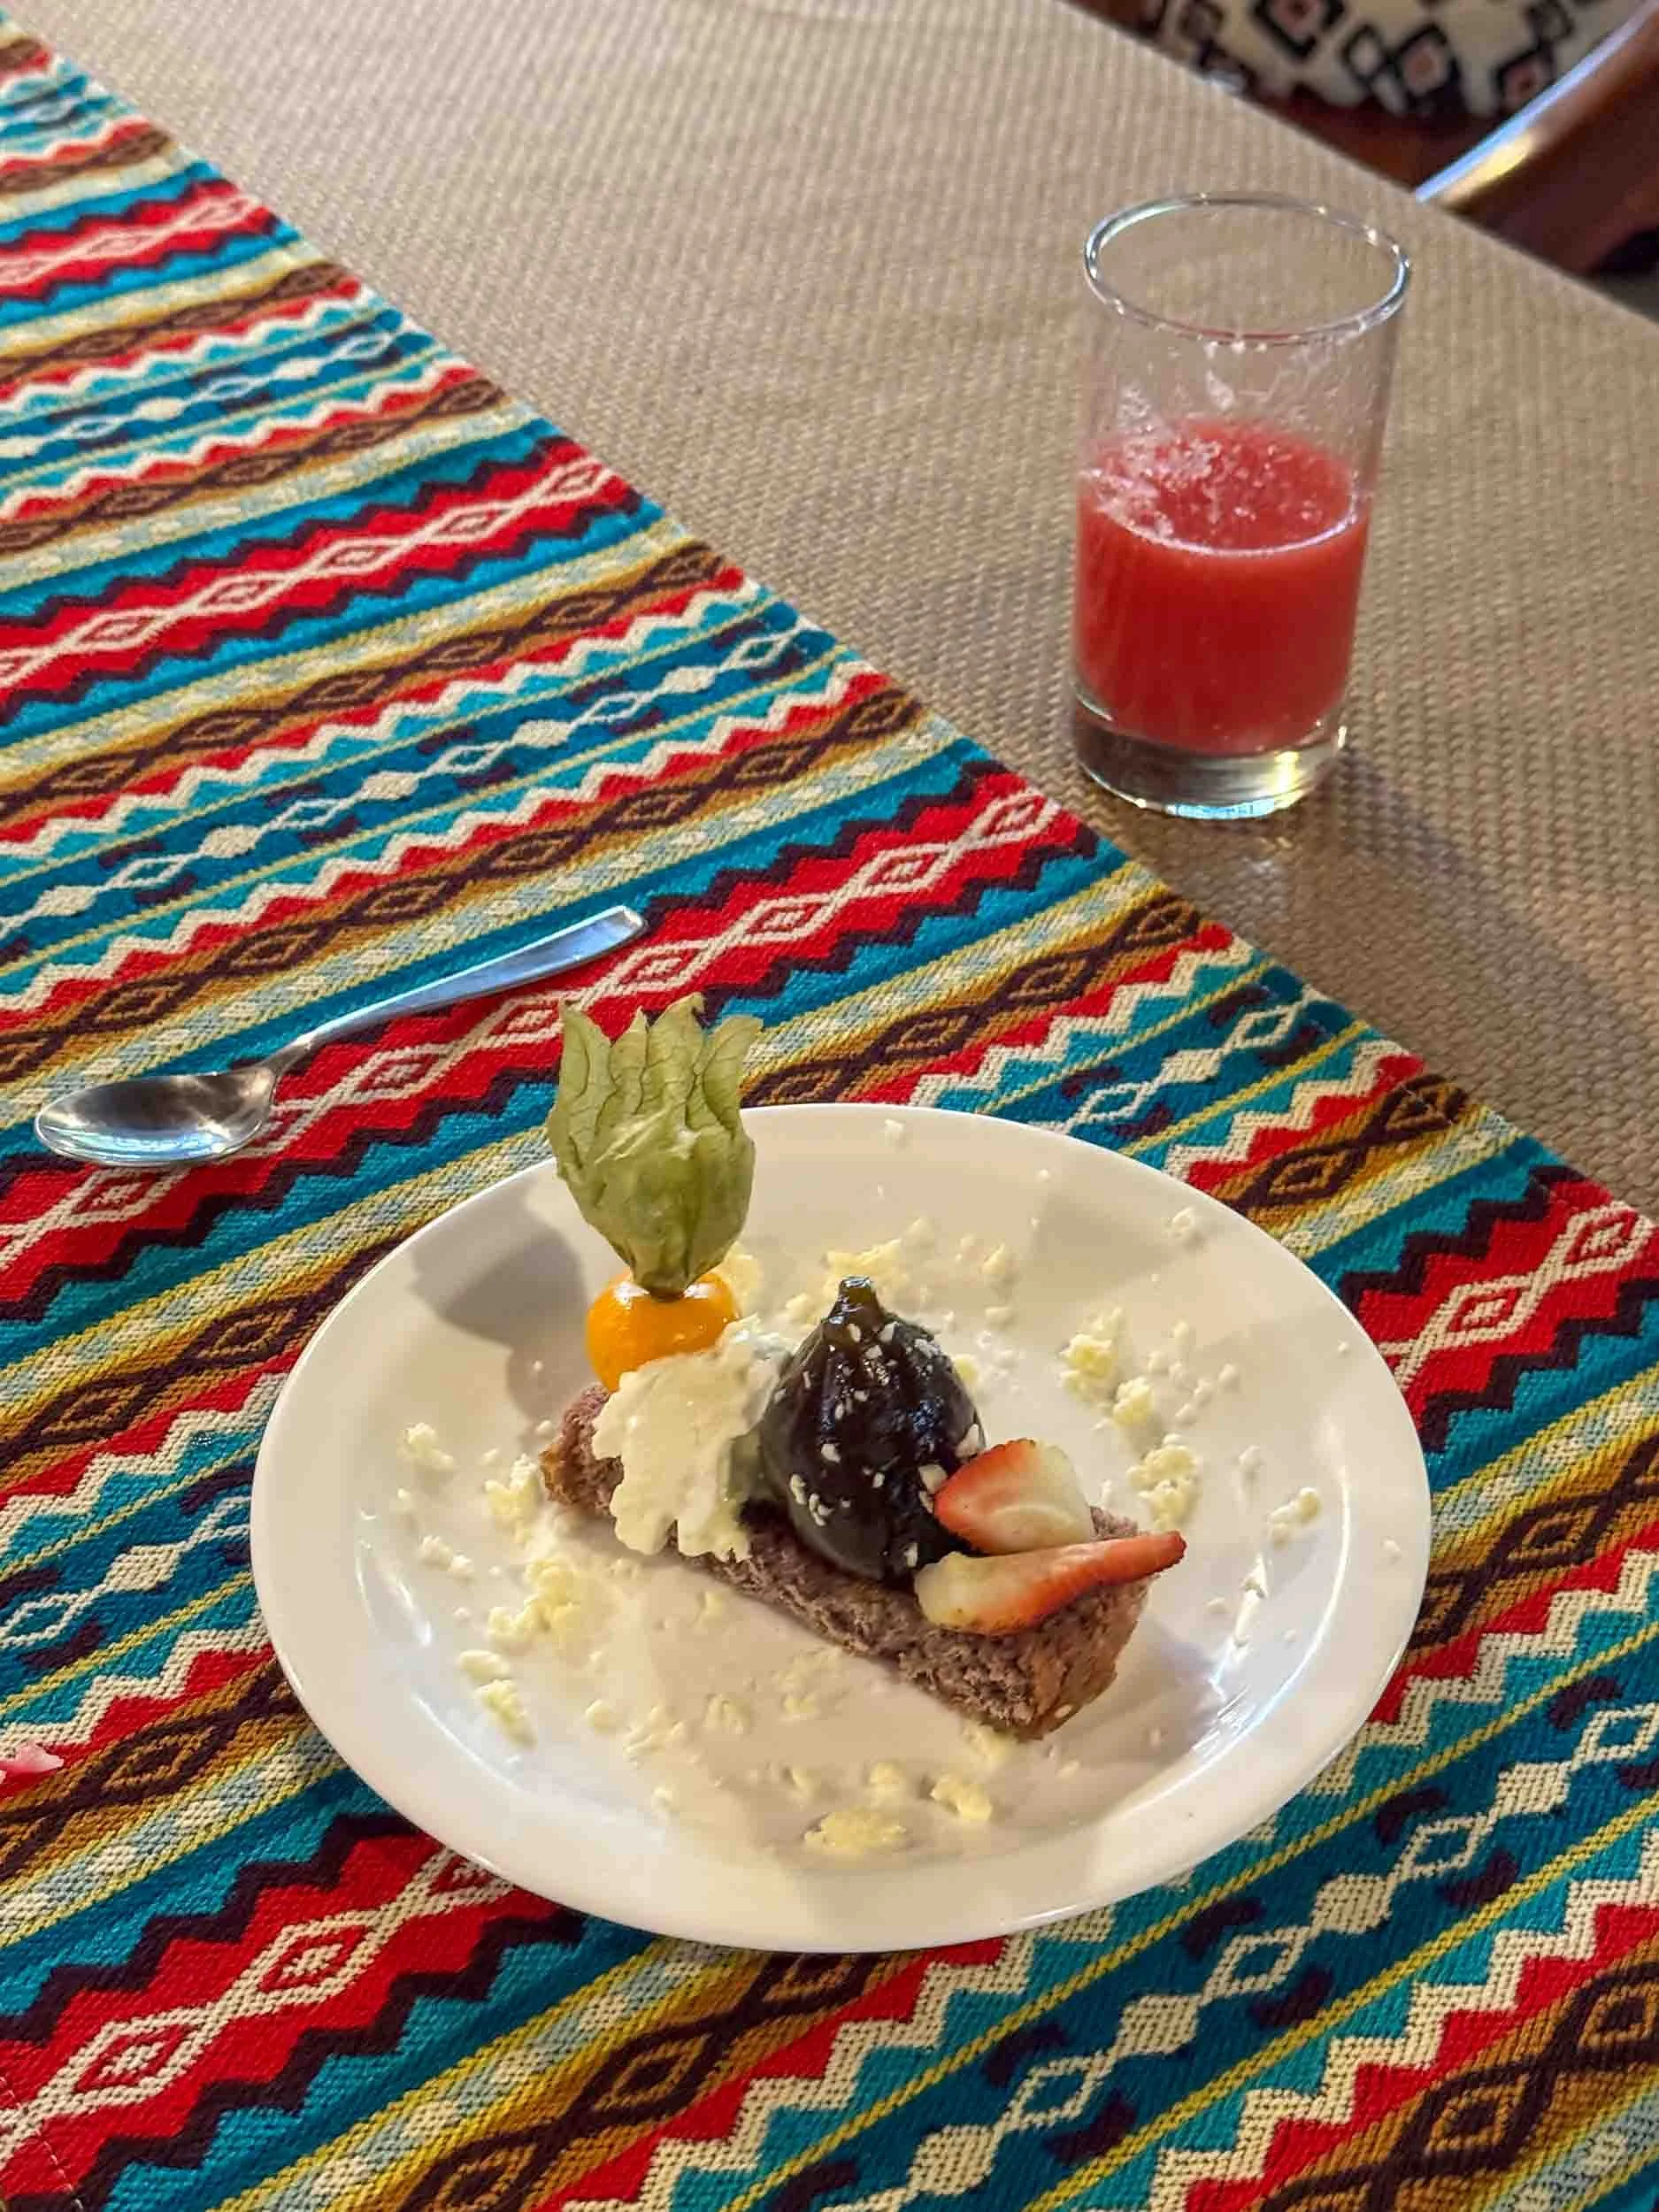
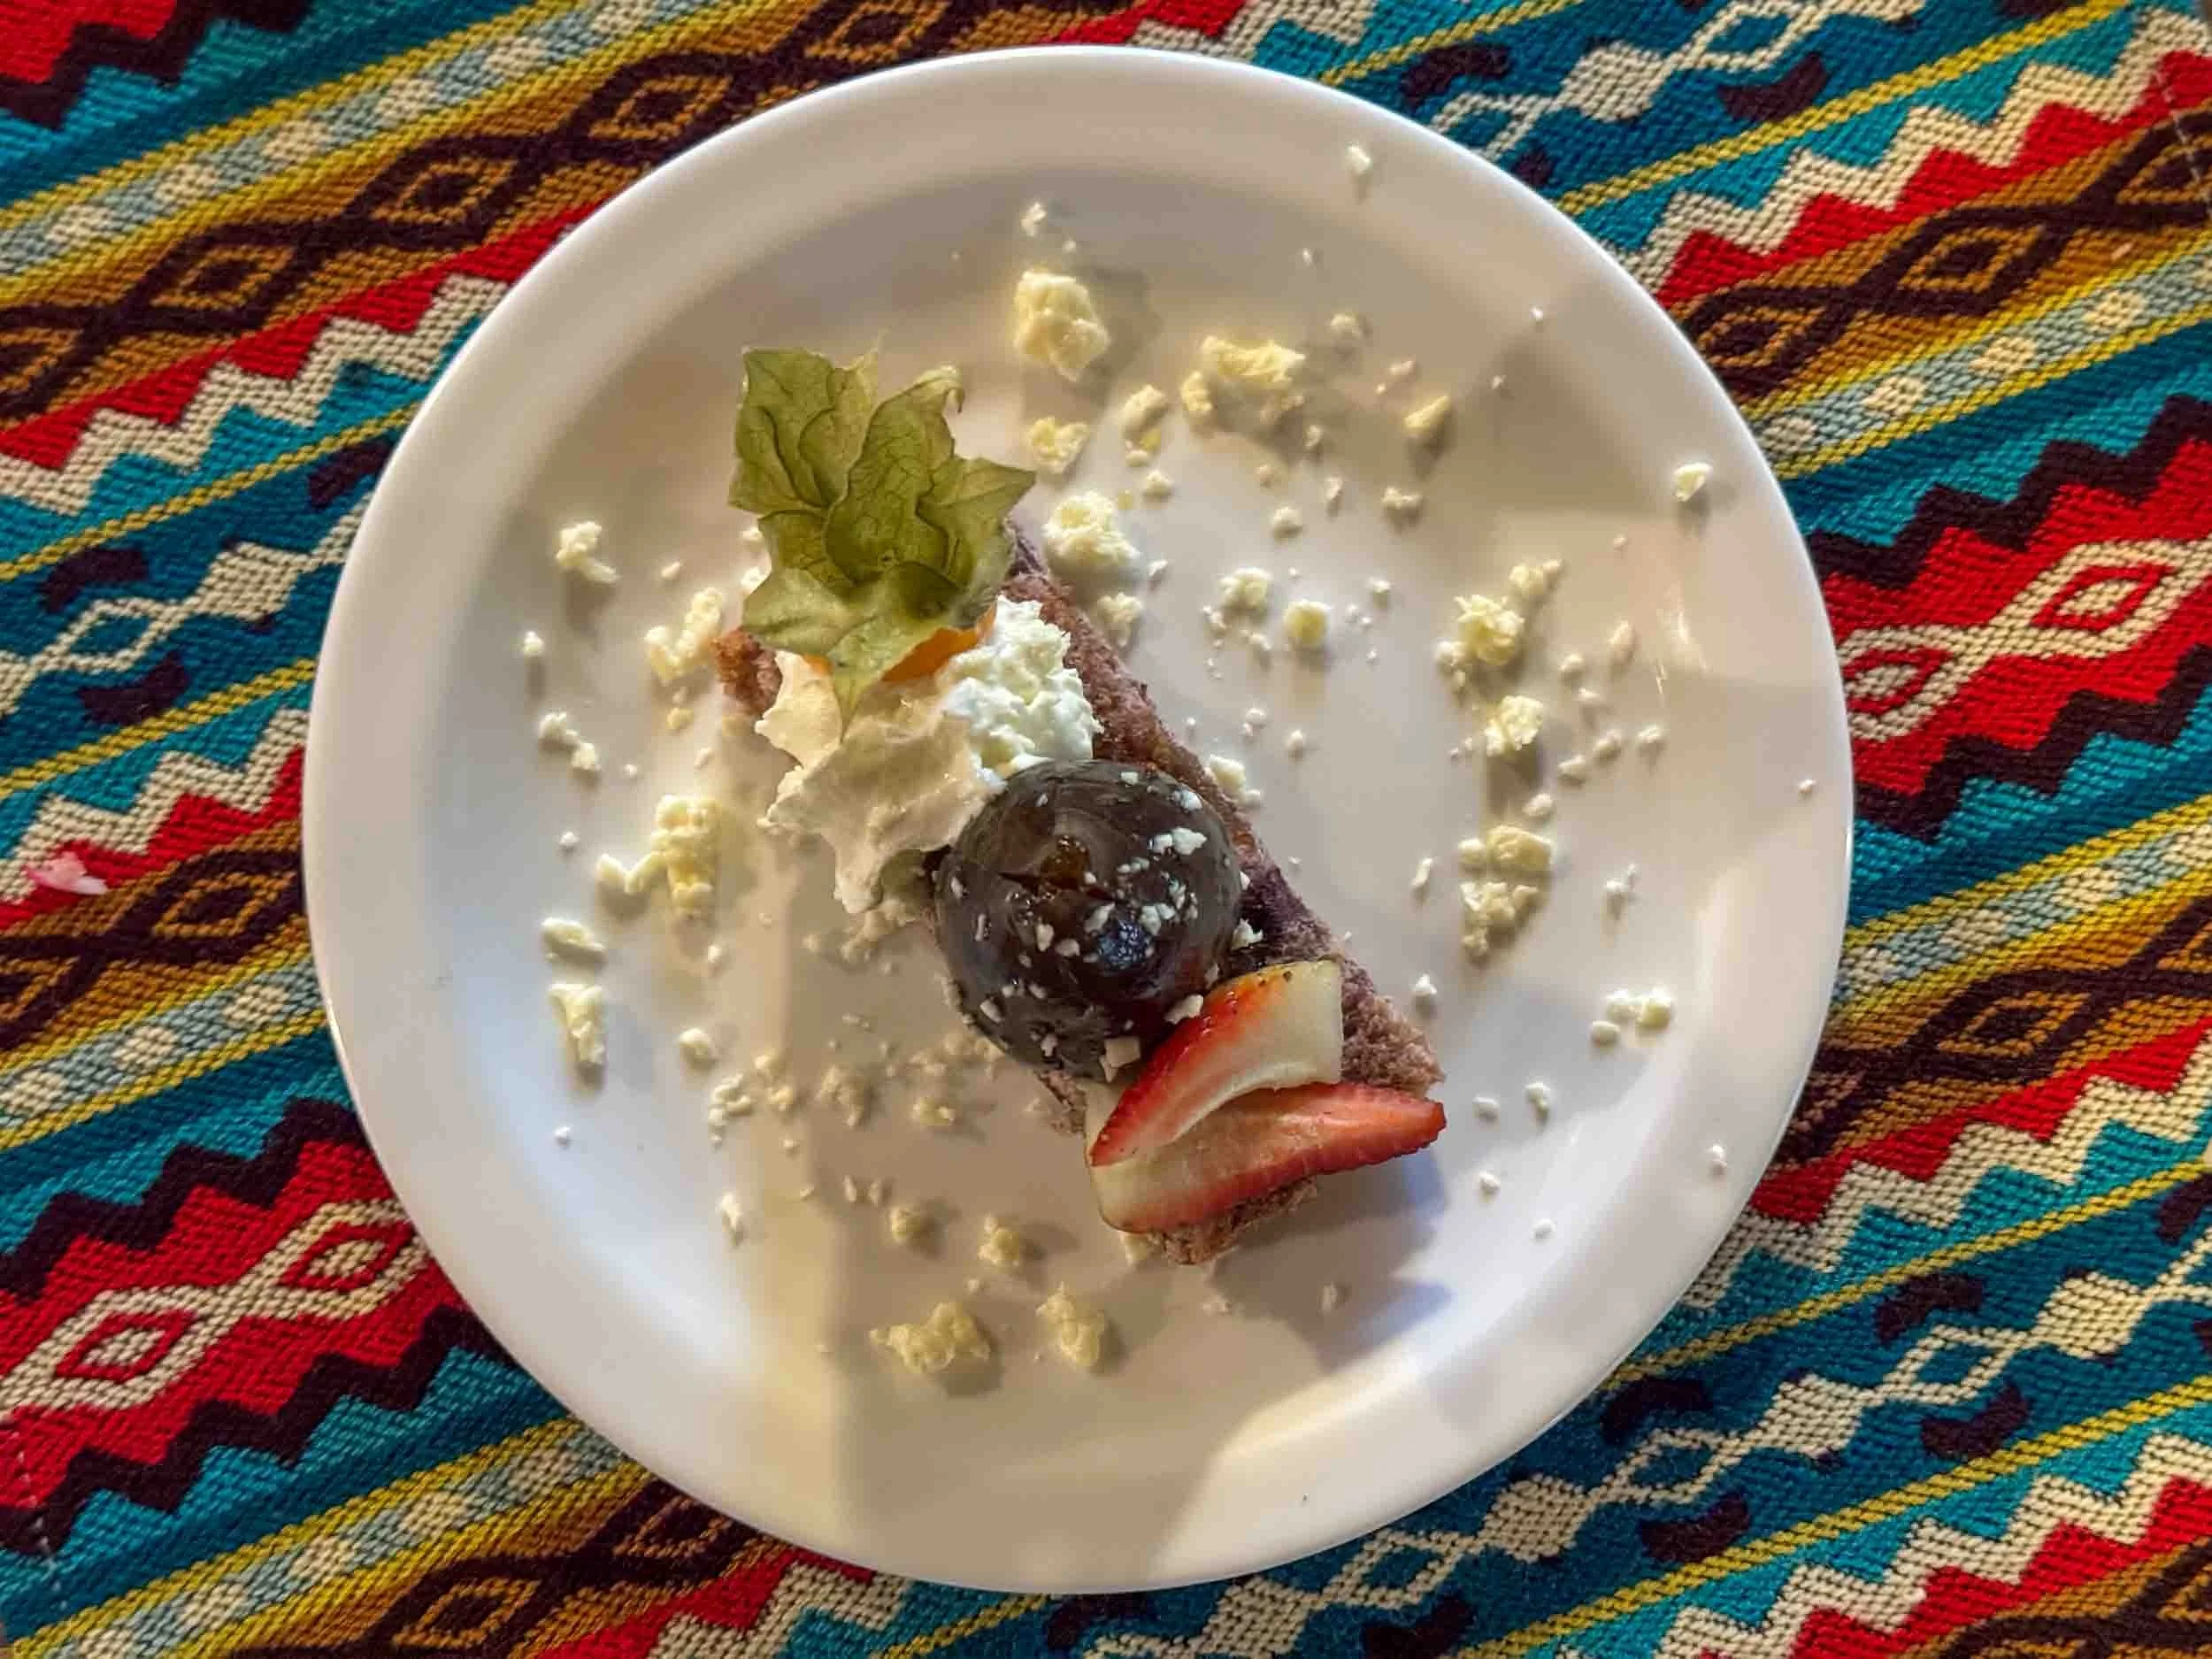
At Tandayapa, the food was certainly well presented (see above), and the muesli, desserts, juices and drinking yoghurts were pretty good, but, to be fair, that’s not what it’s all about. Yes, it’s supposed to be a ‘four-star first-class cloudforest lodge’, but people go there for the birdlife, not what they have for dinner!
It was an all-inclusive price (apart from drinks from the fridge), so I was just grateful for what I was given.
Staff
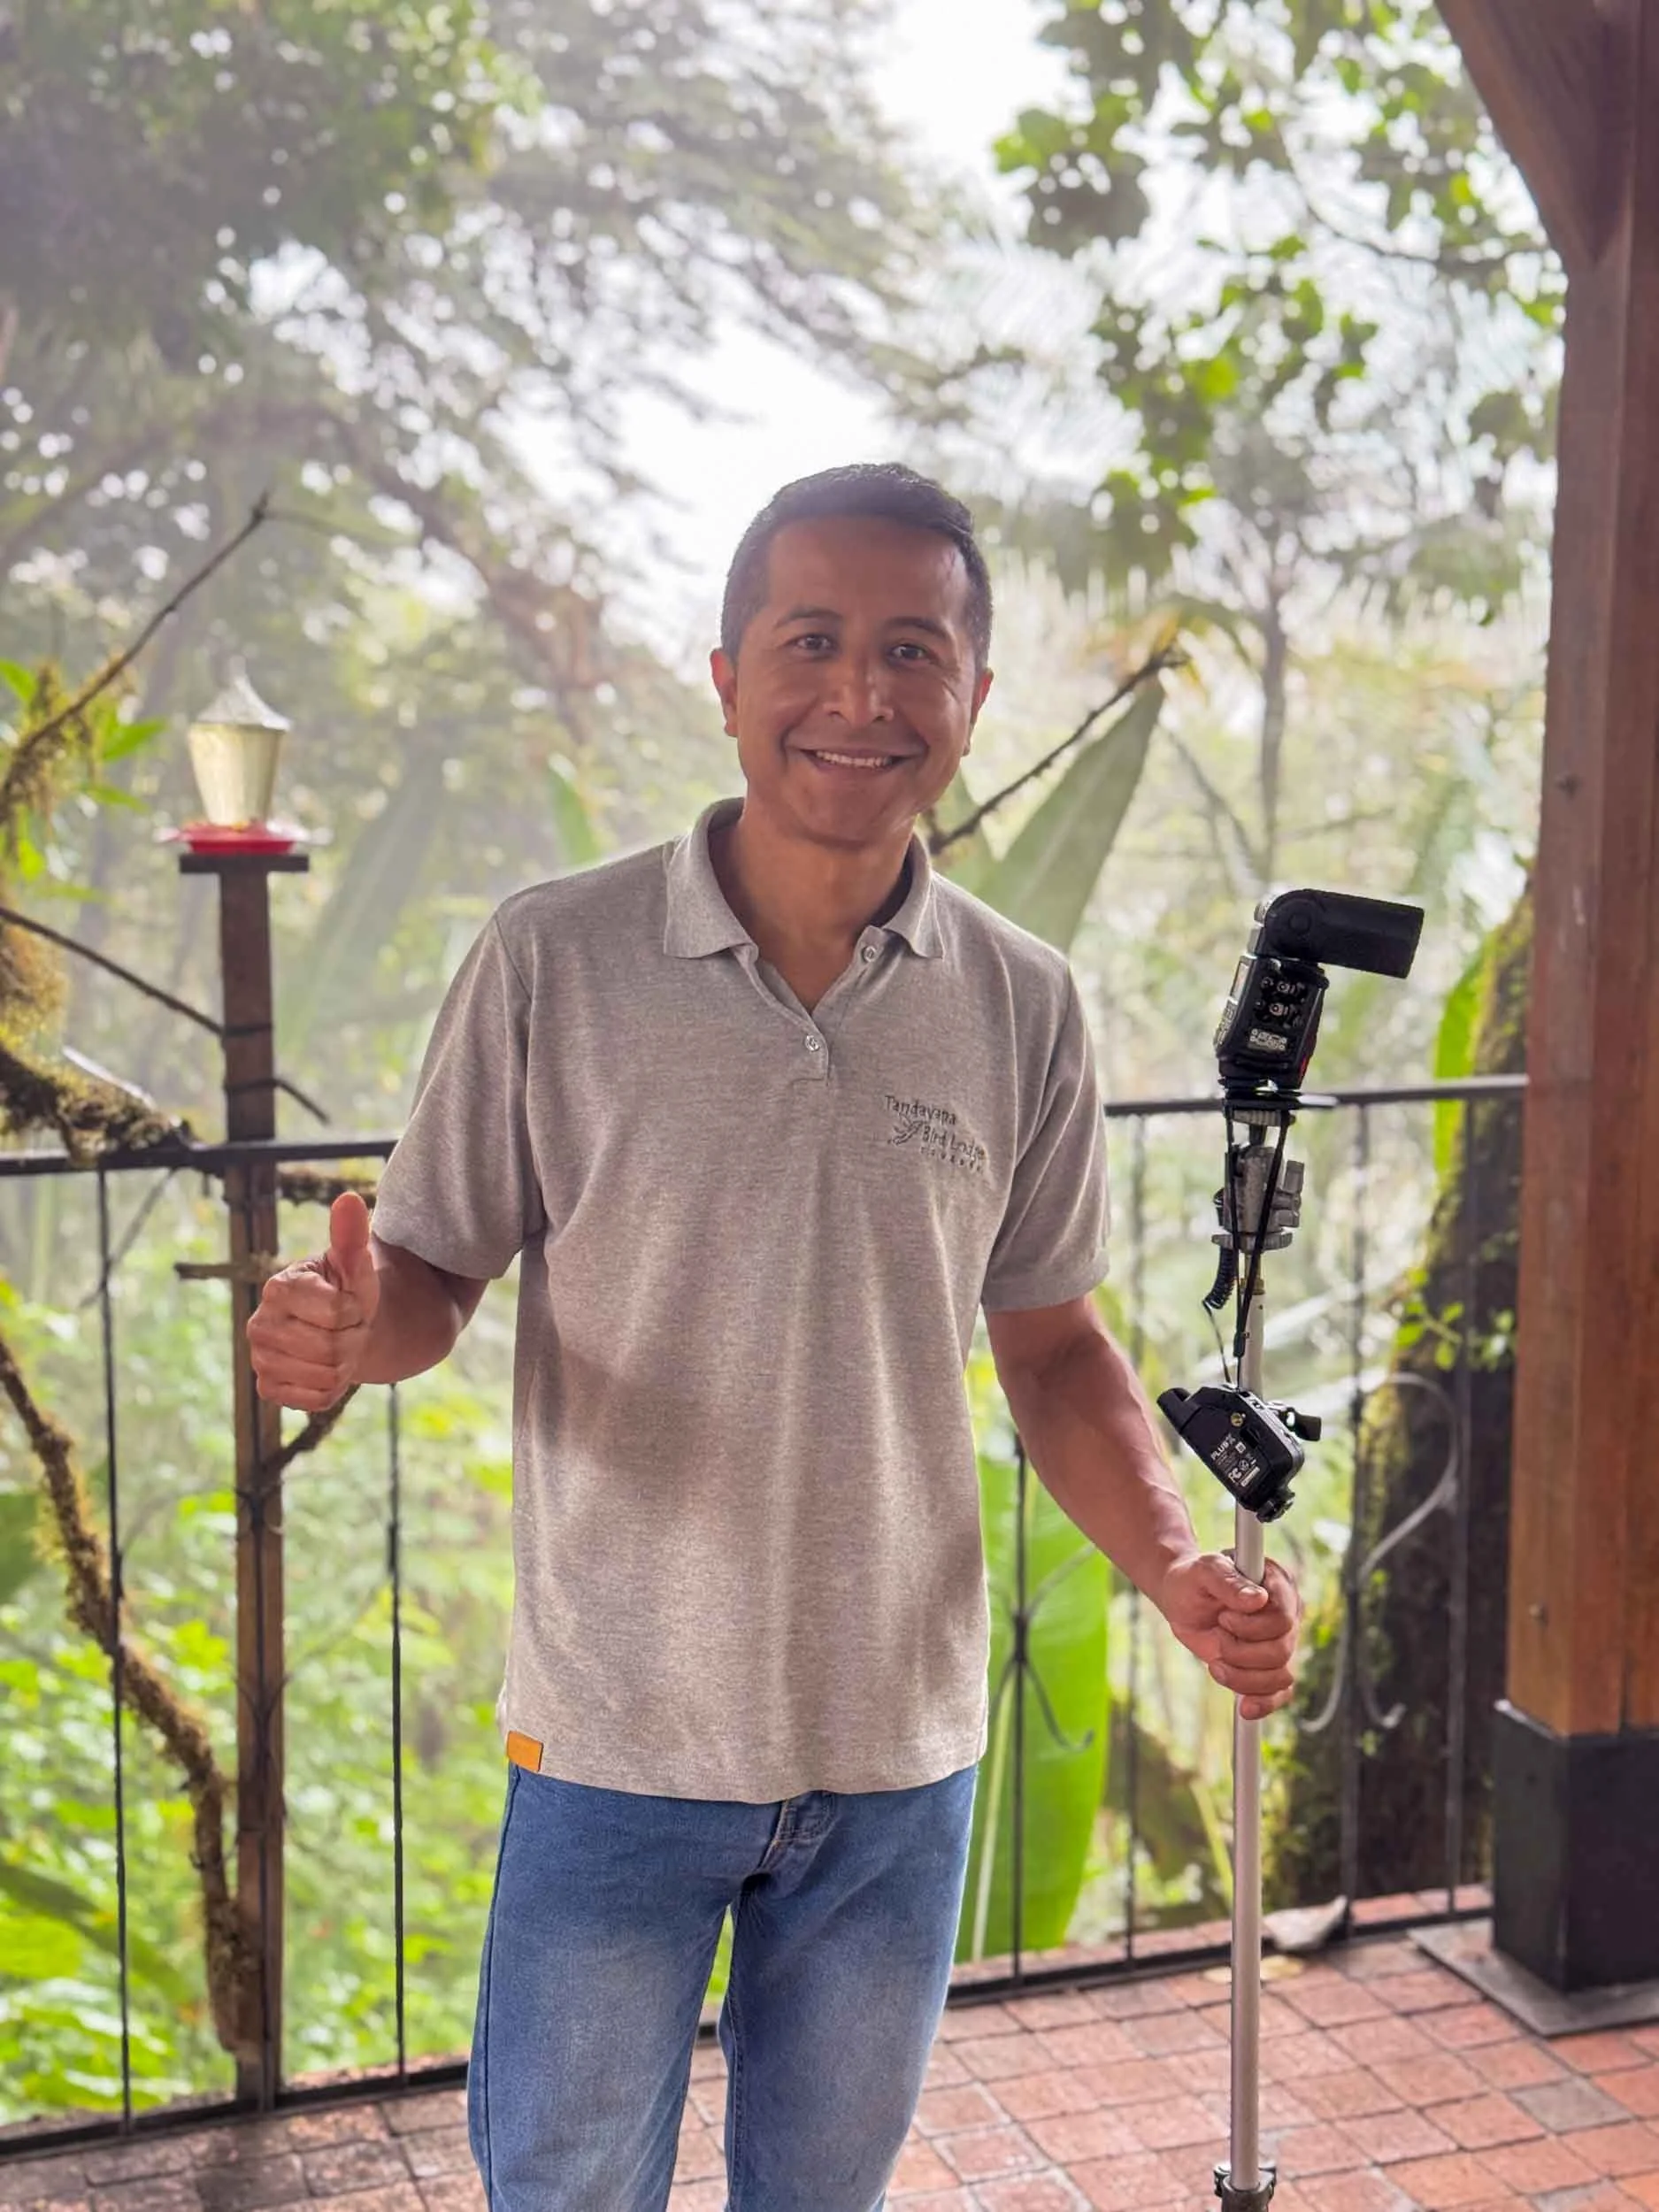

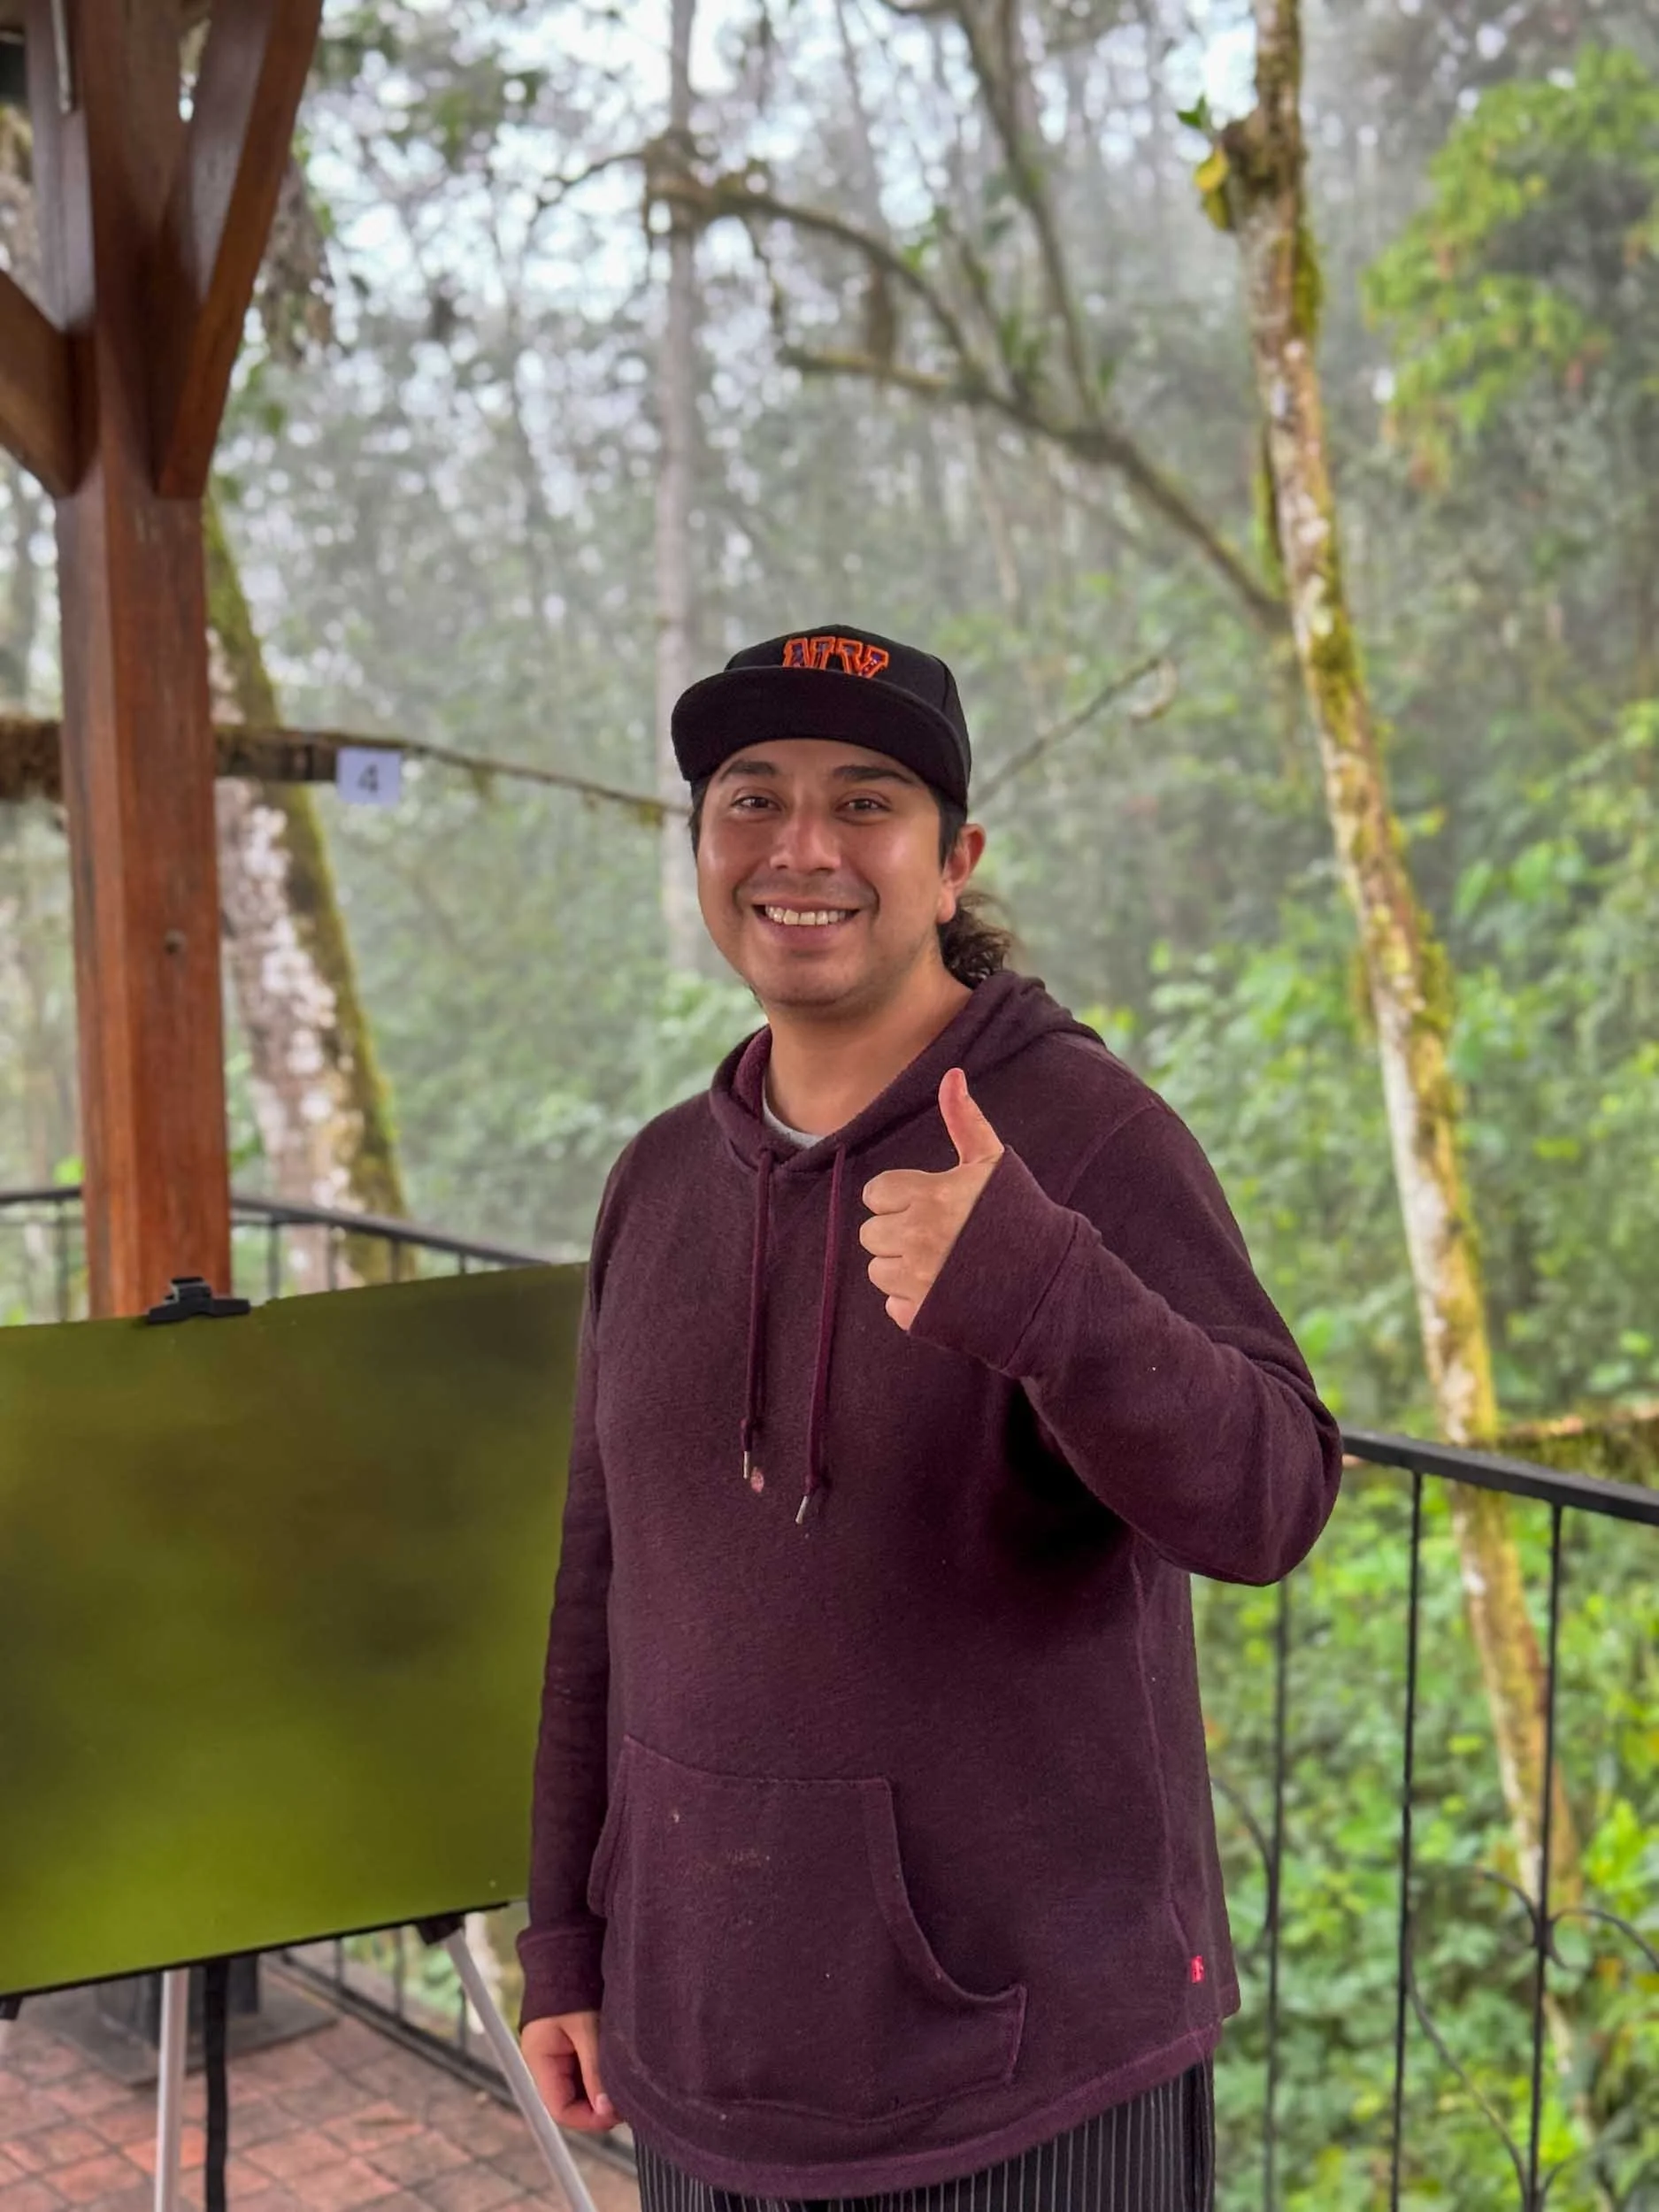

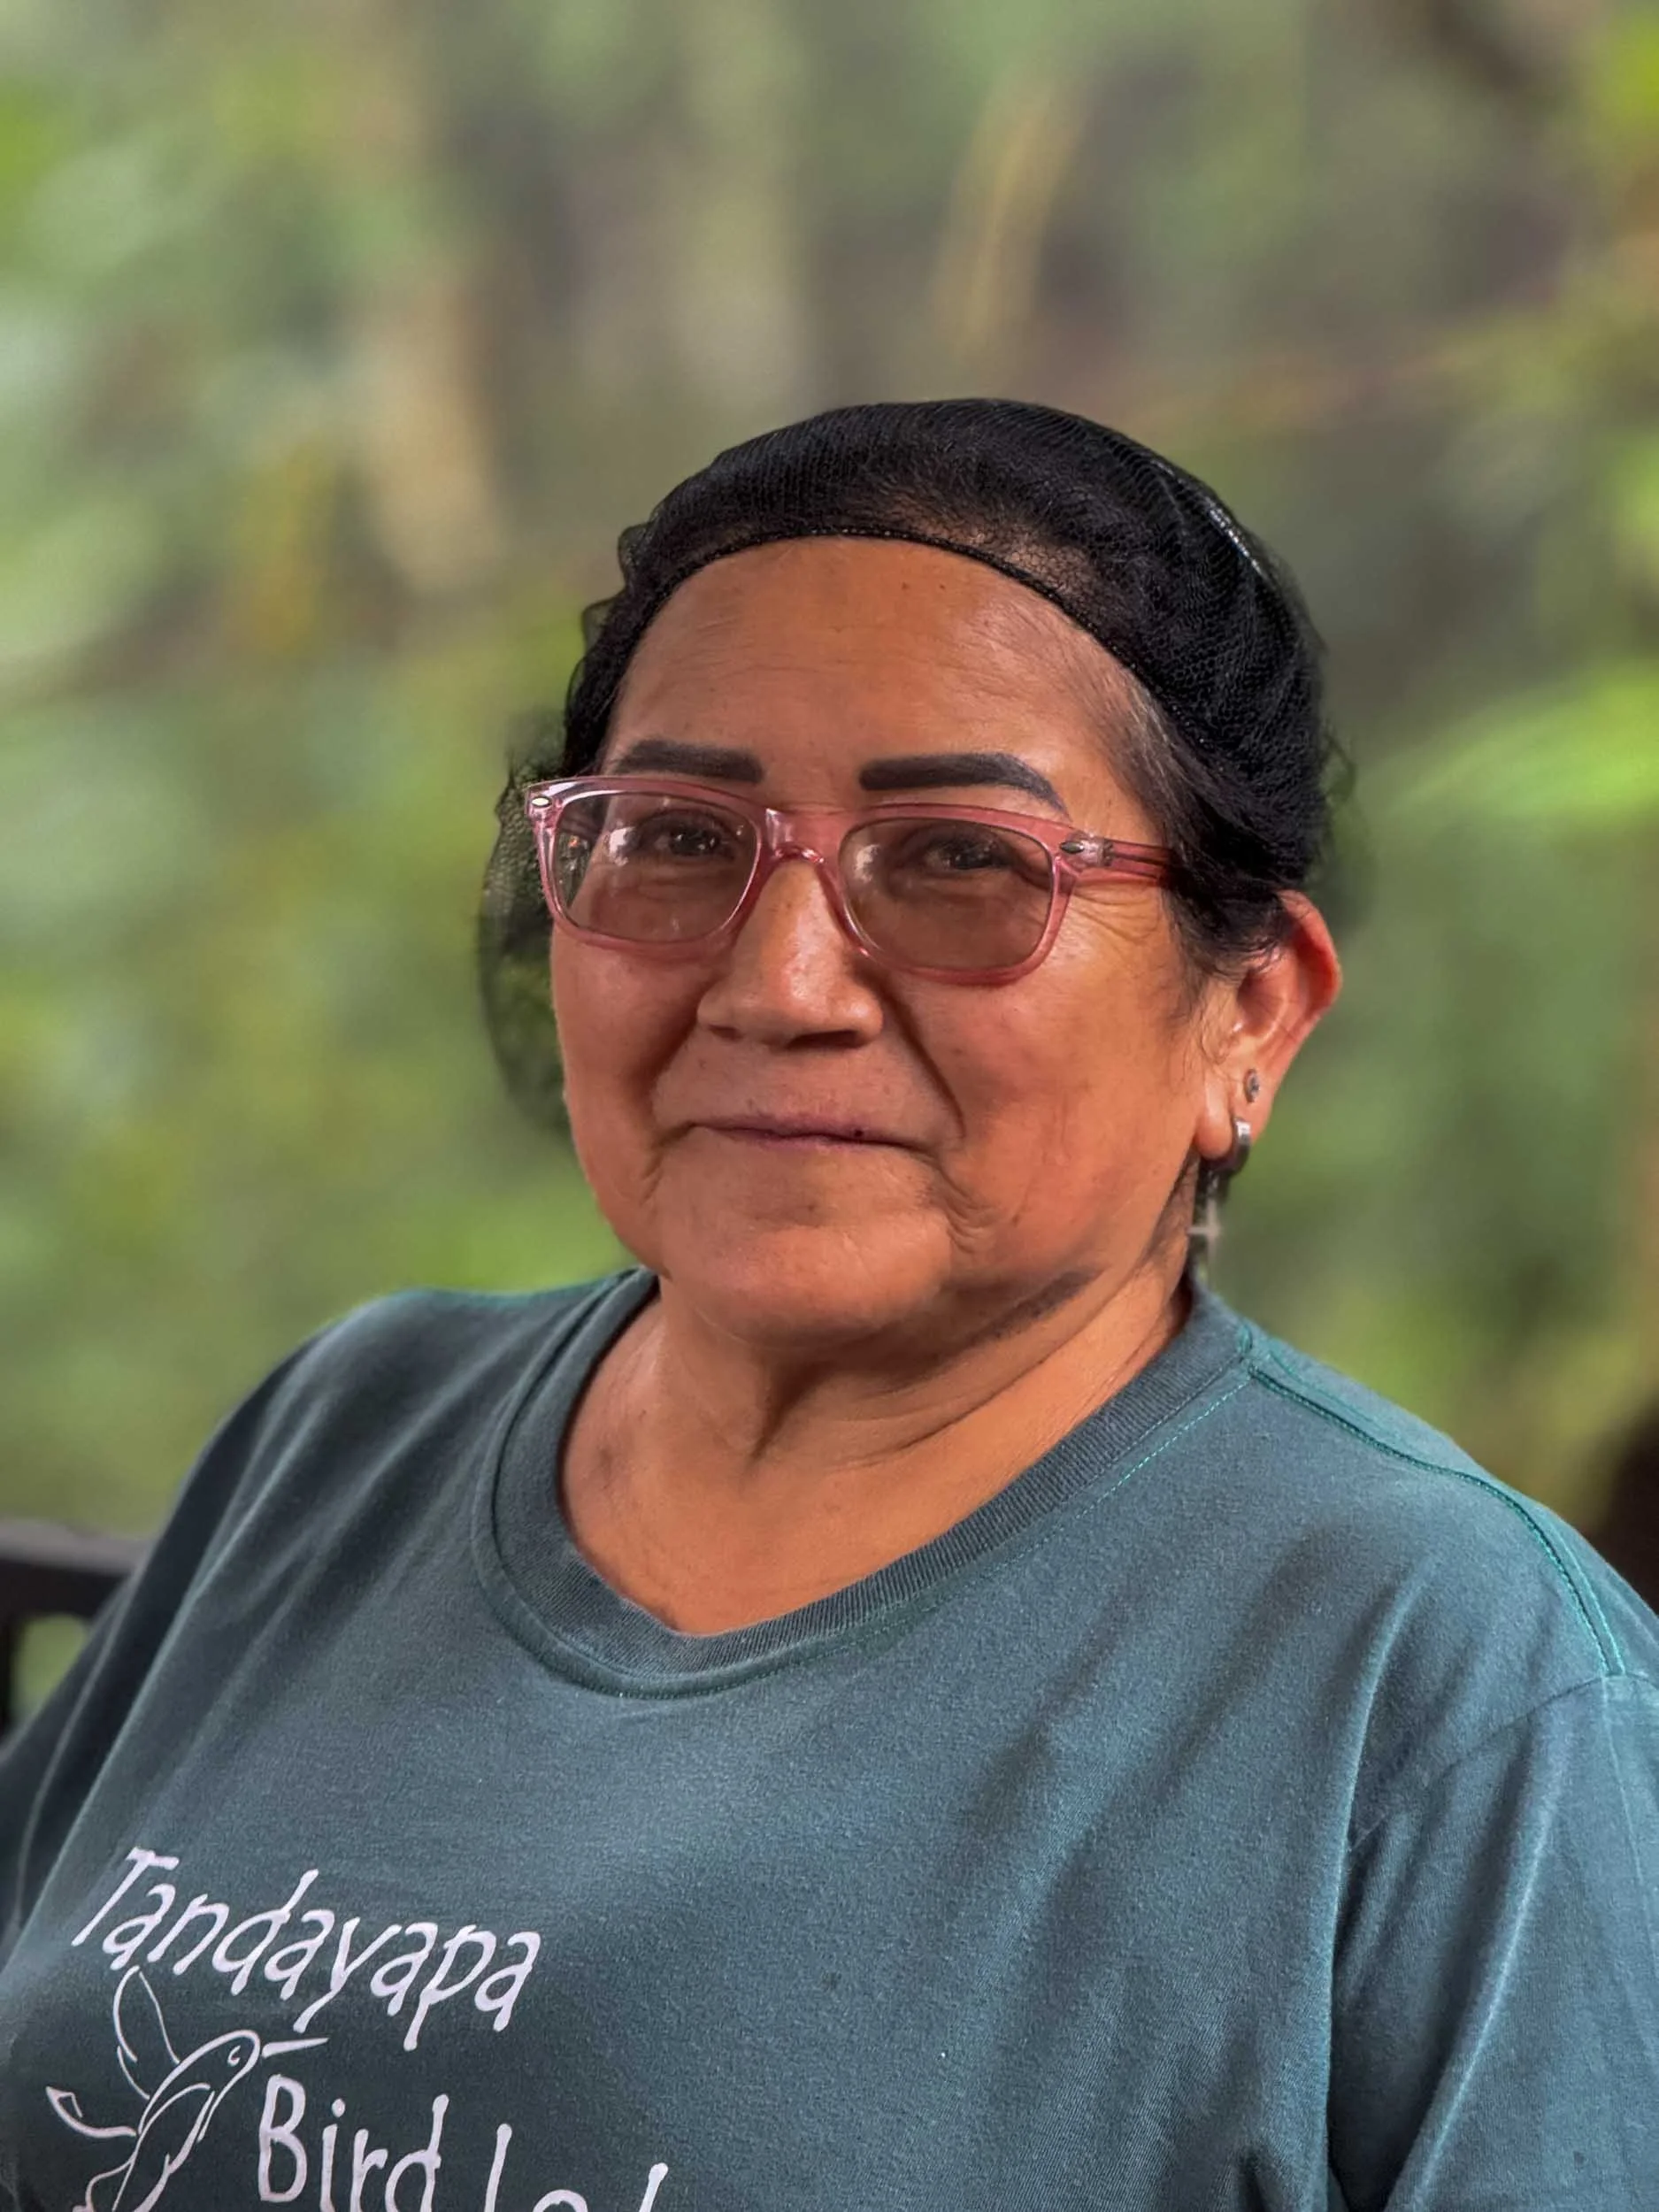
Martina was my main point of contact when I was planning my trip, but while I was there, I mainly dealt with Richard. He was one of the few staff who spoke English, and he was the one who helped set up the multi-flash for me. He was always calm and relaxed, and he did his best to explain what was going on even though his English wasn’t great.
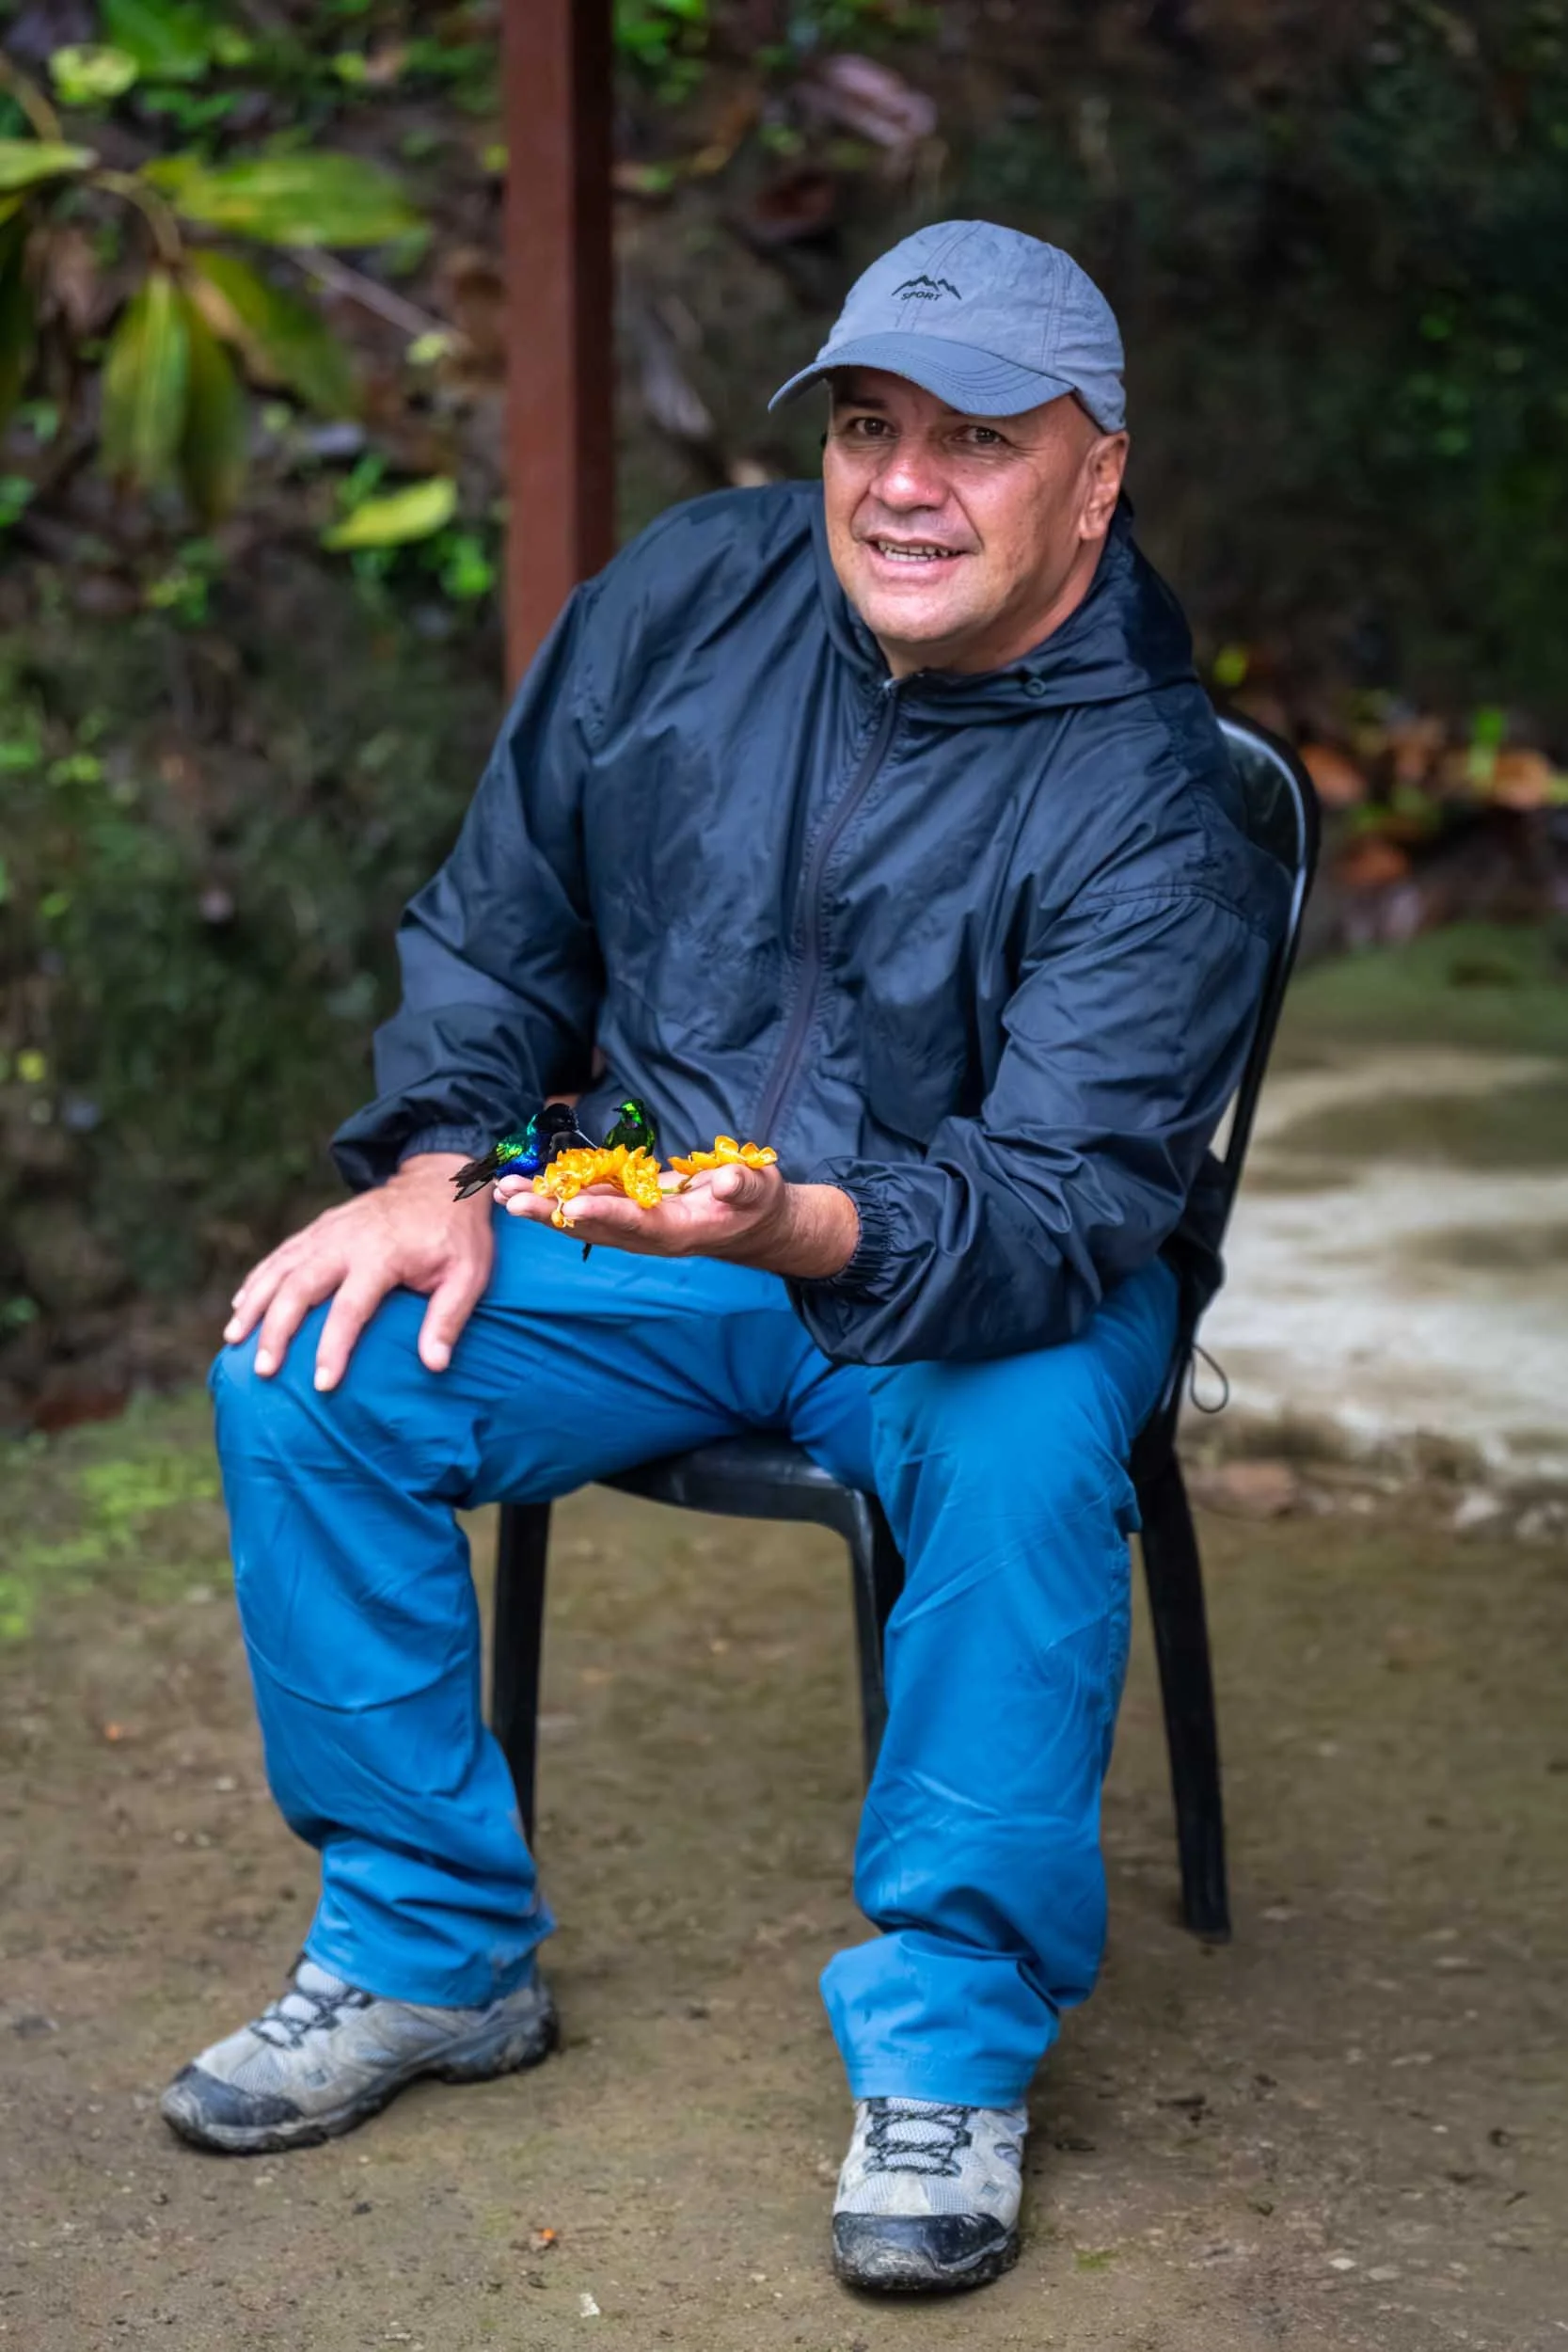
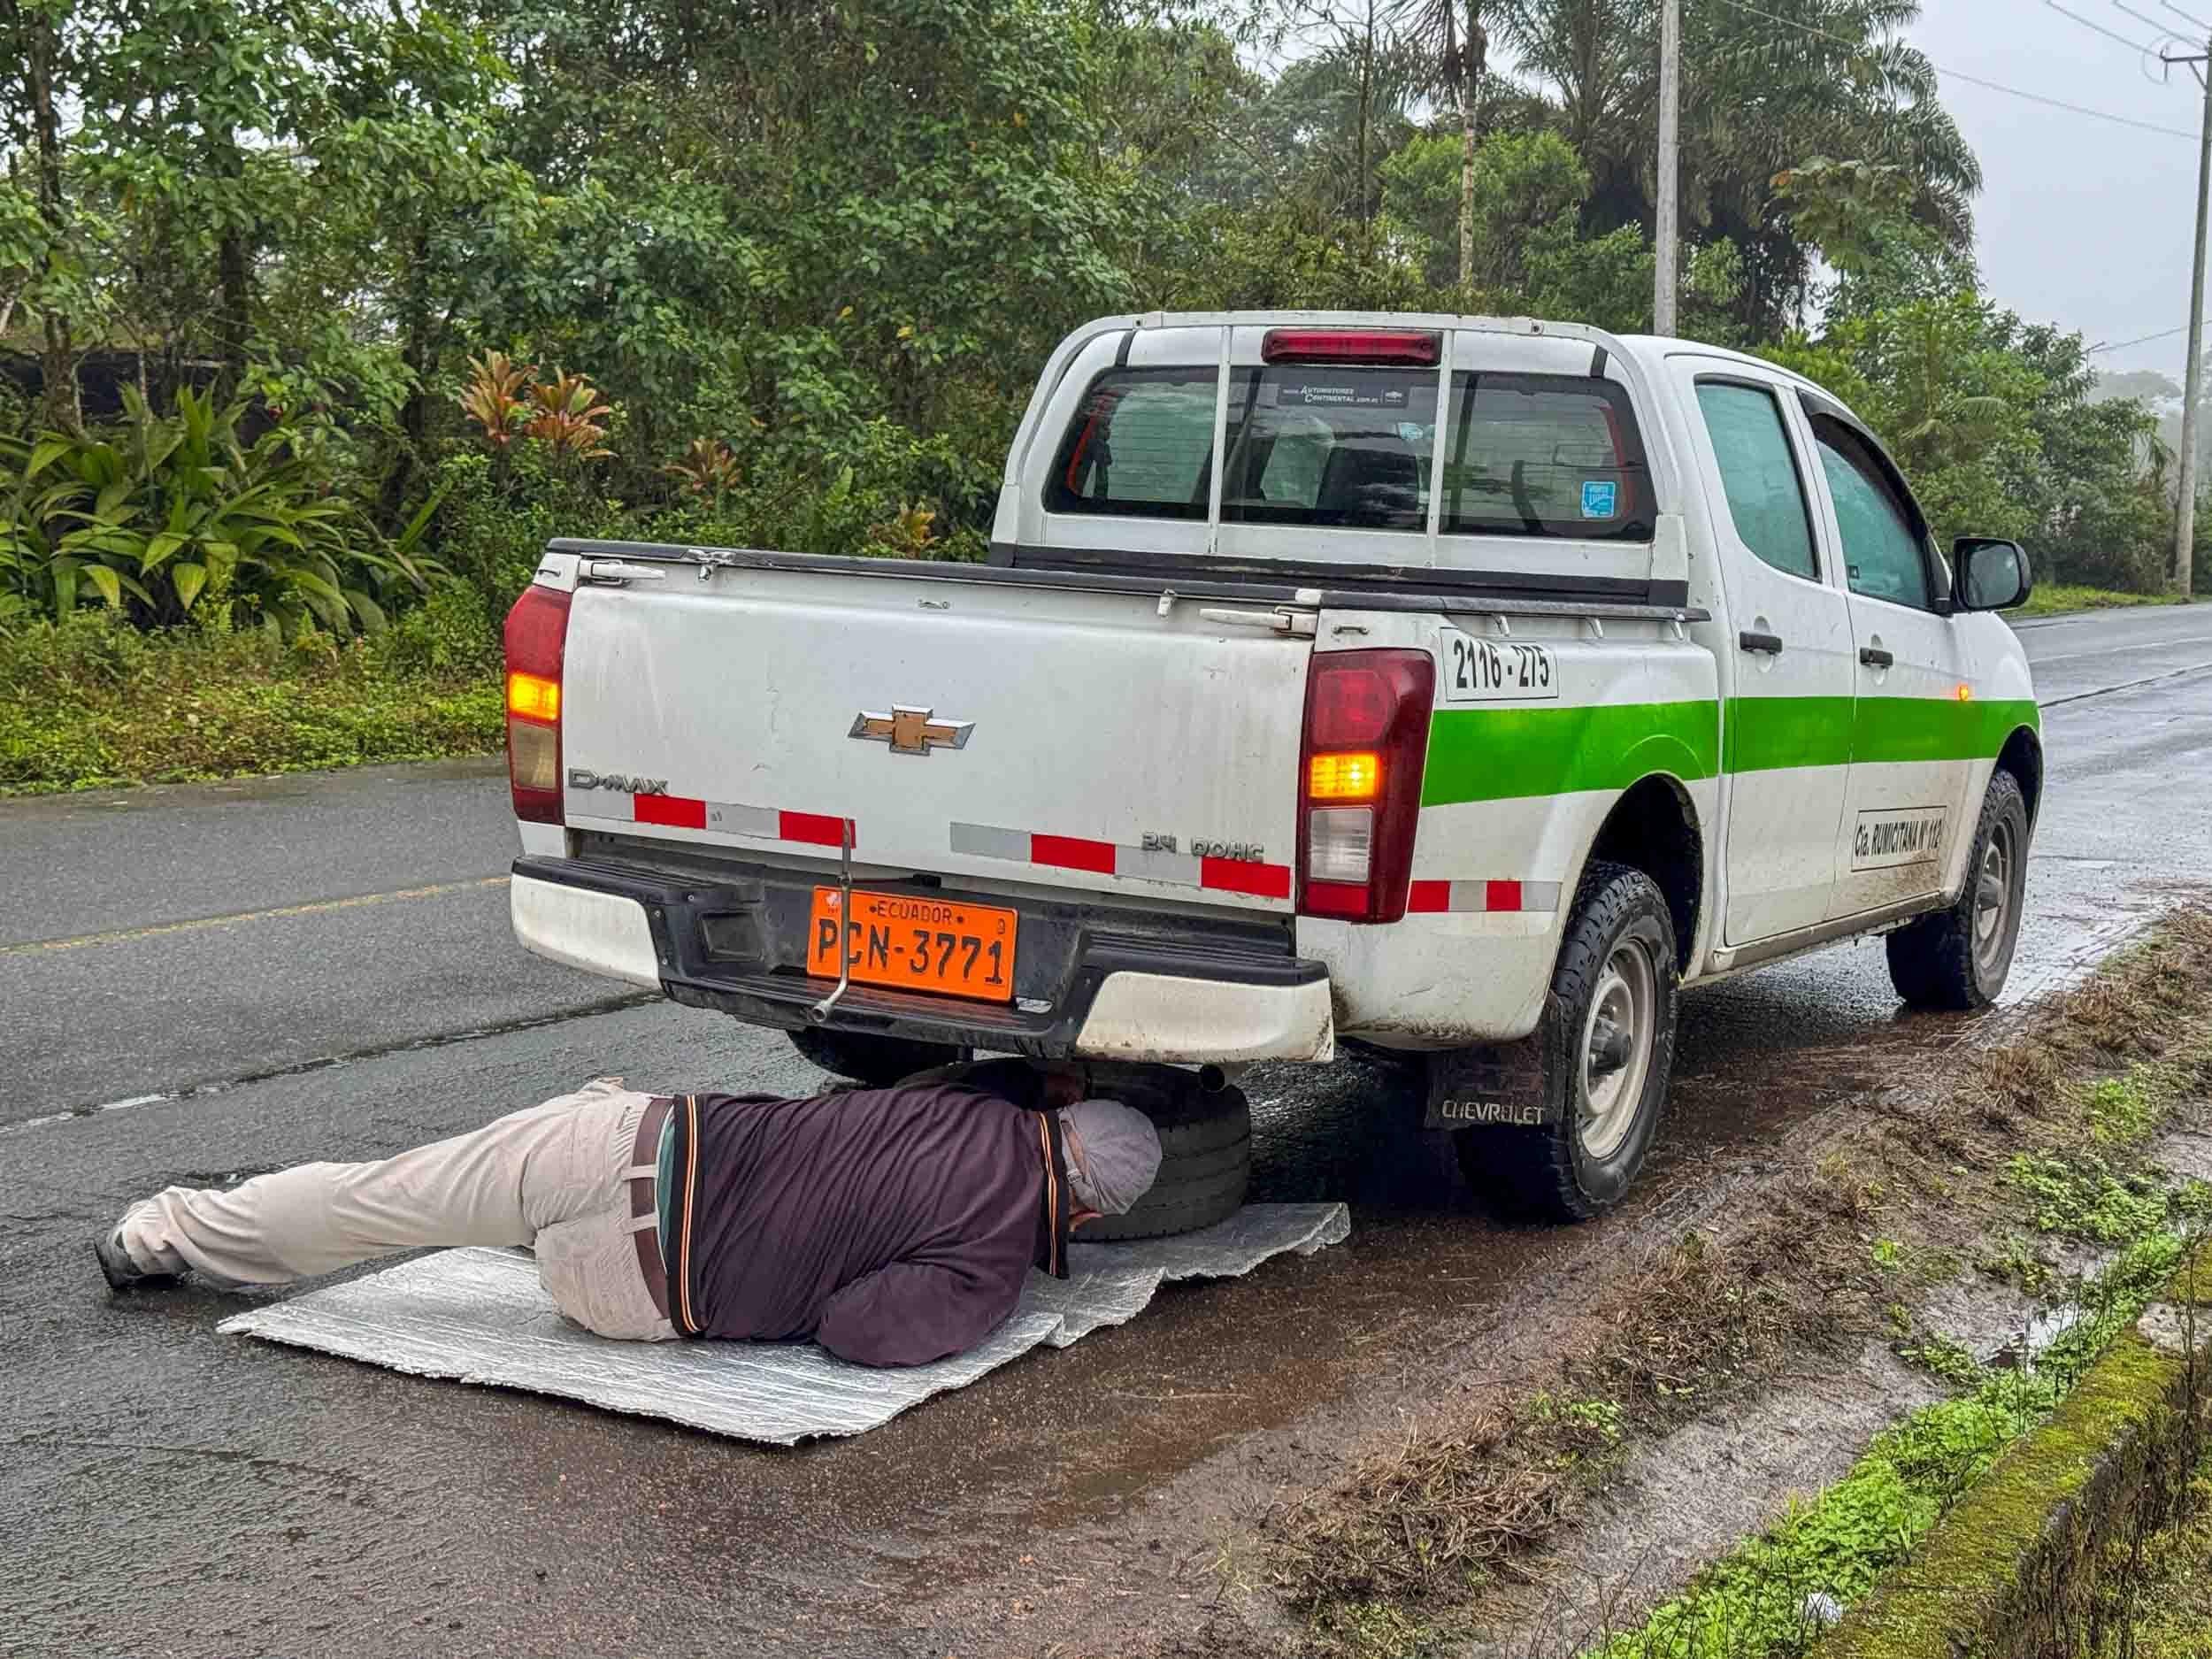
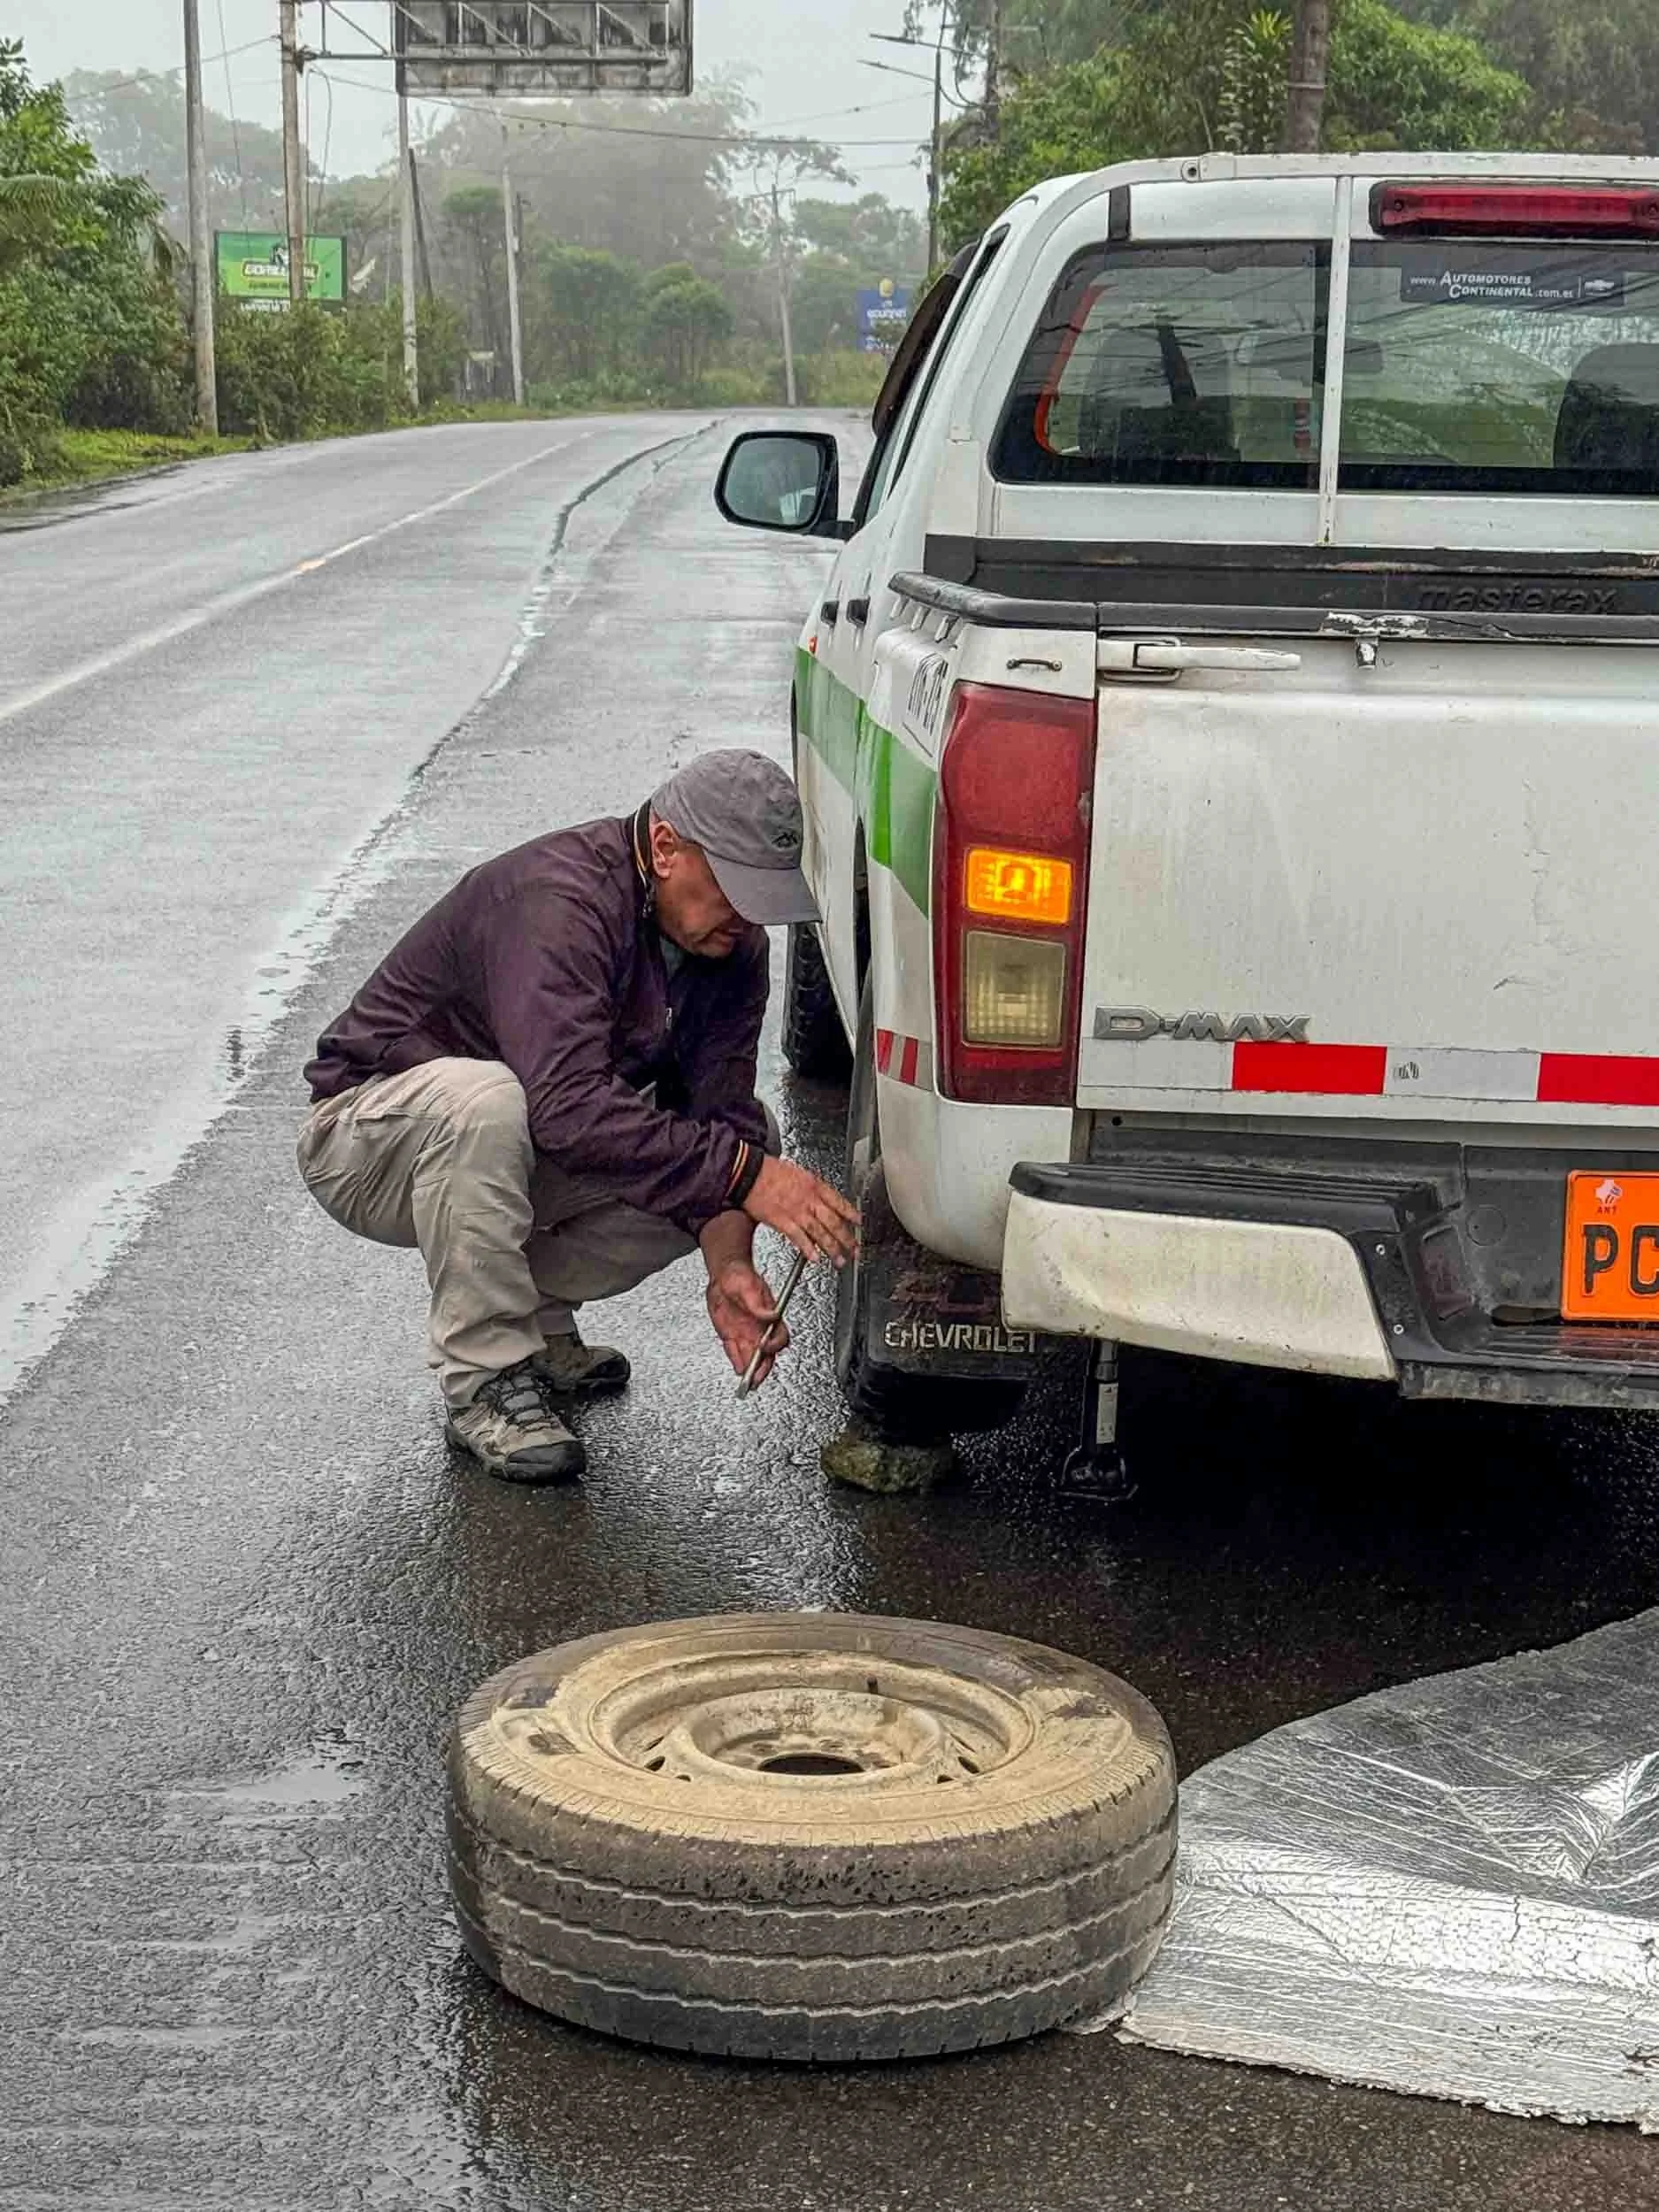
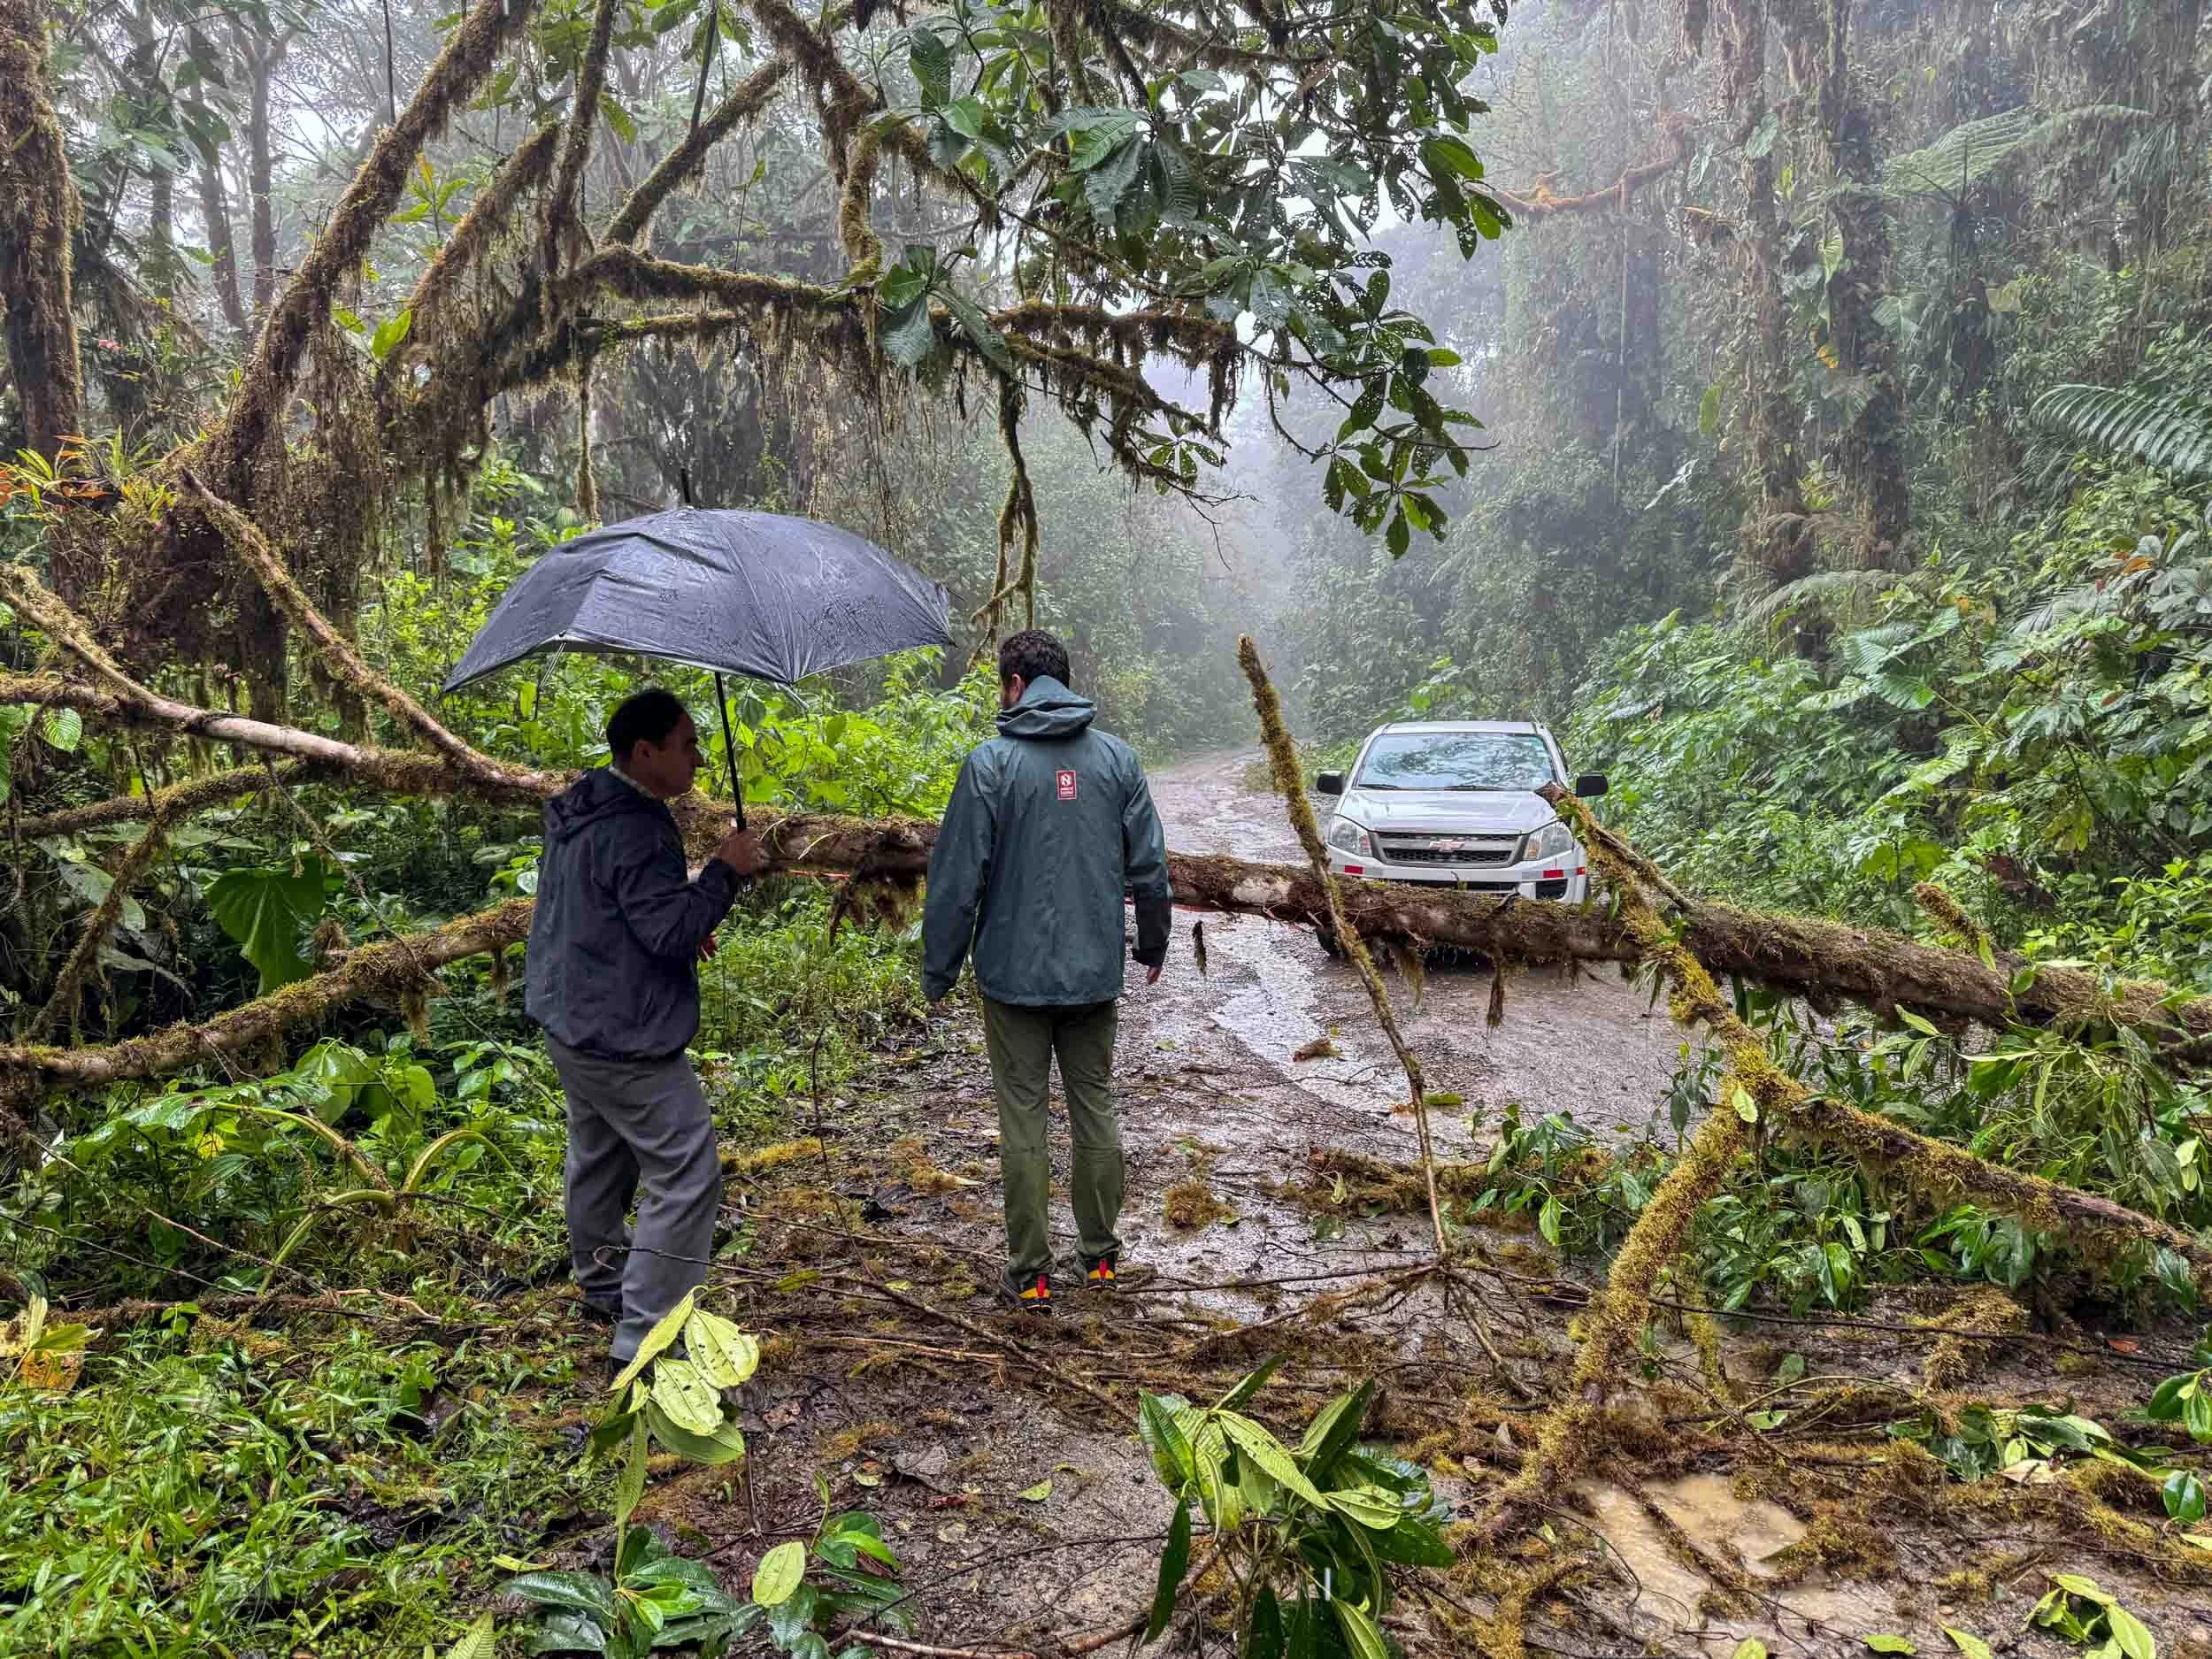
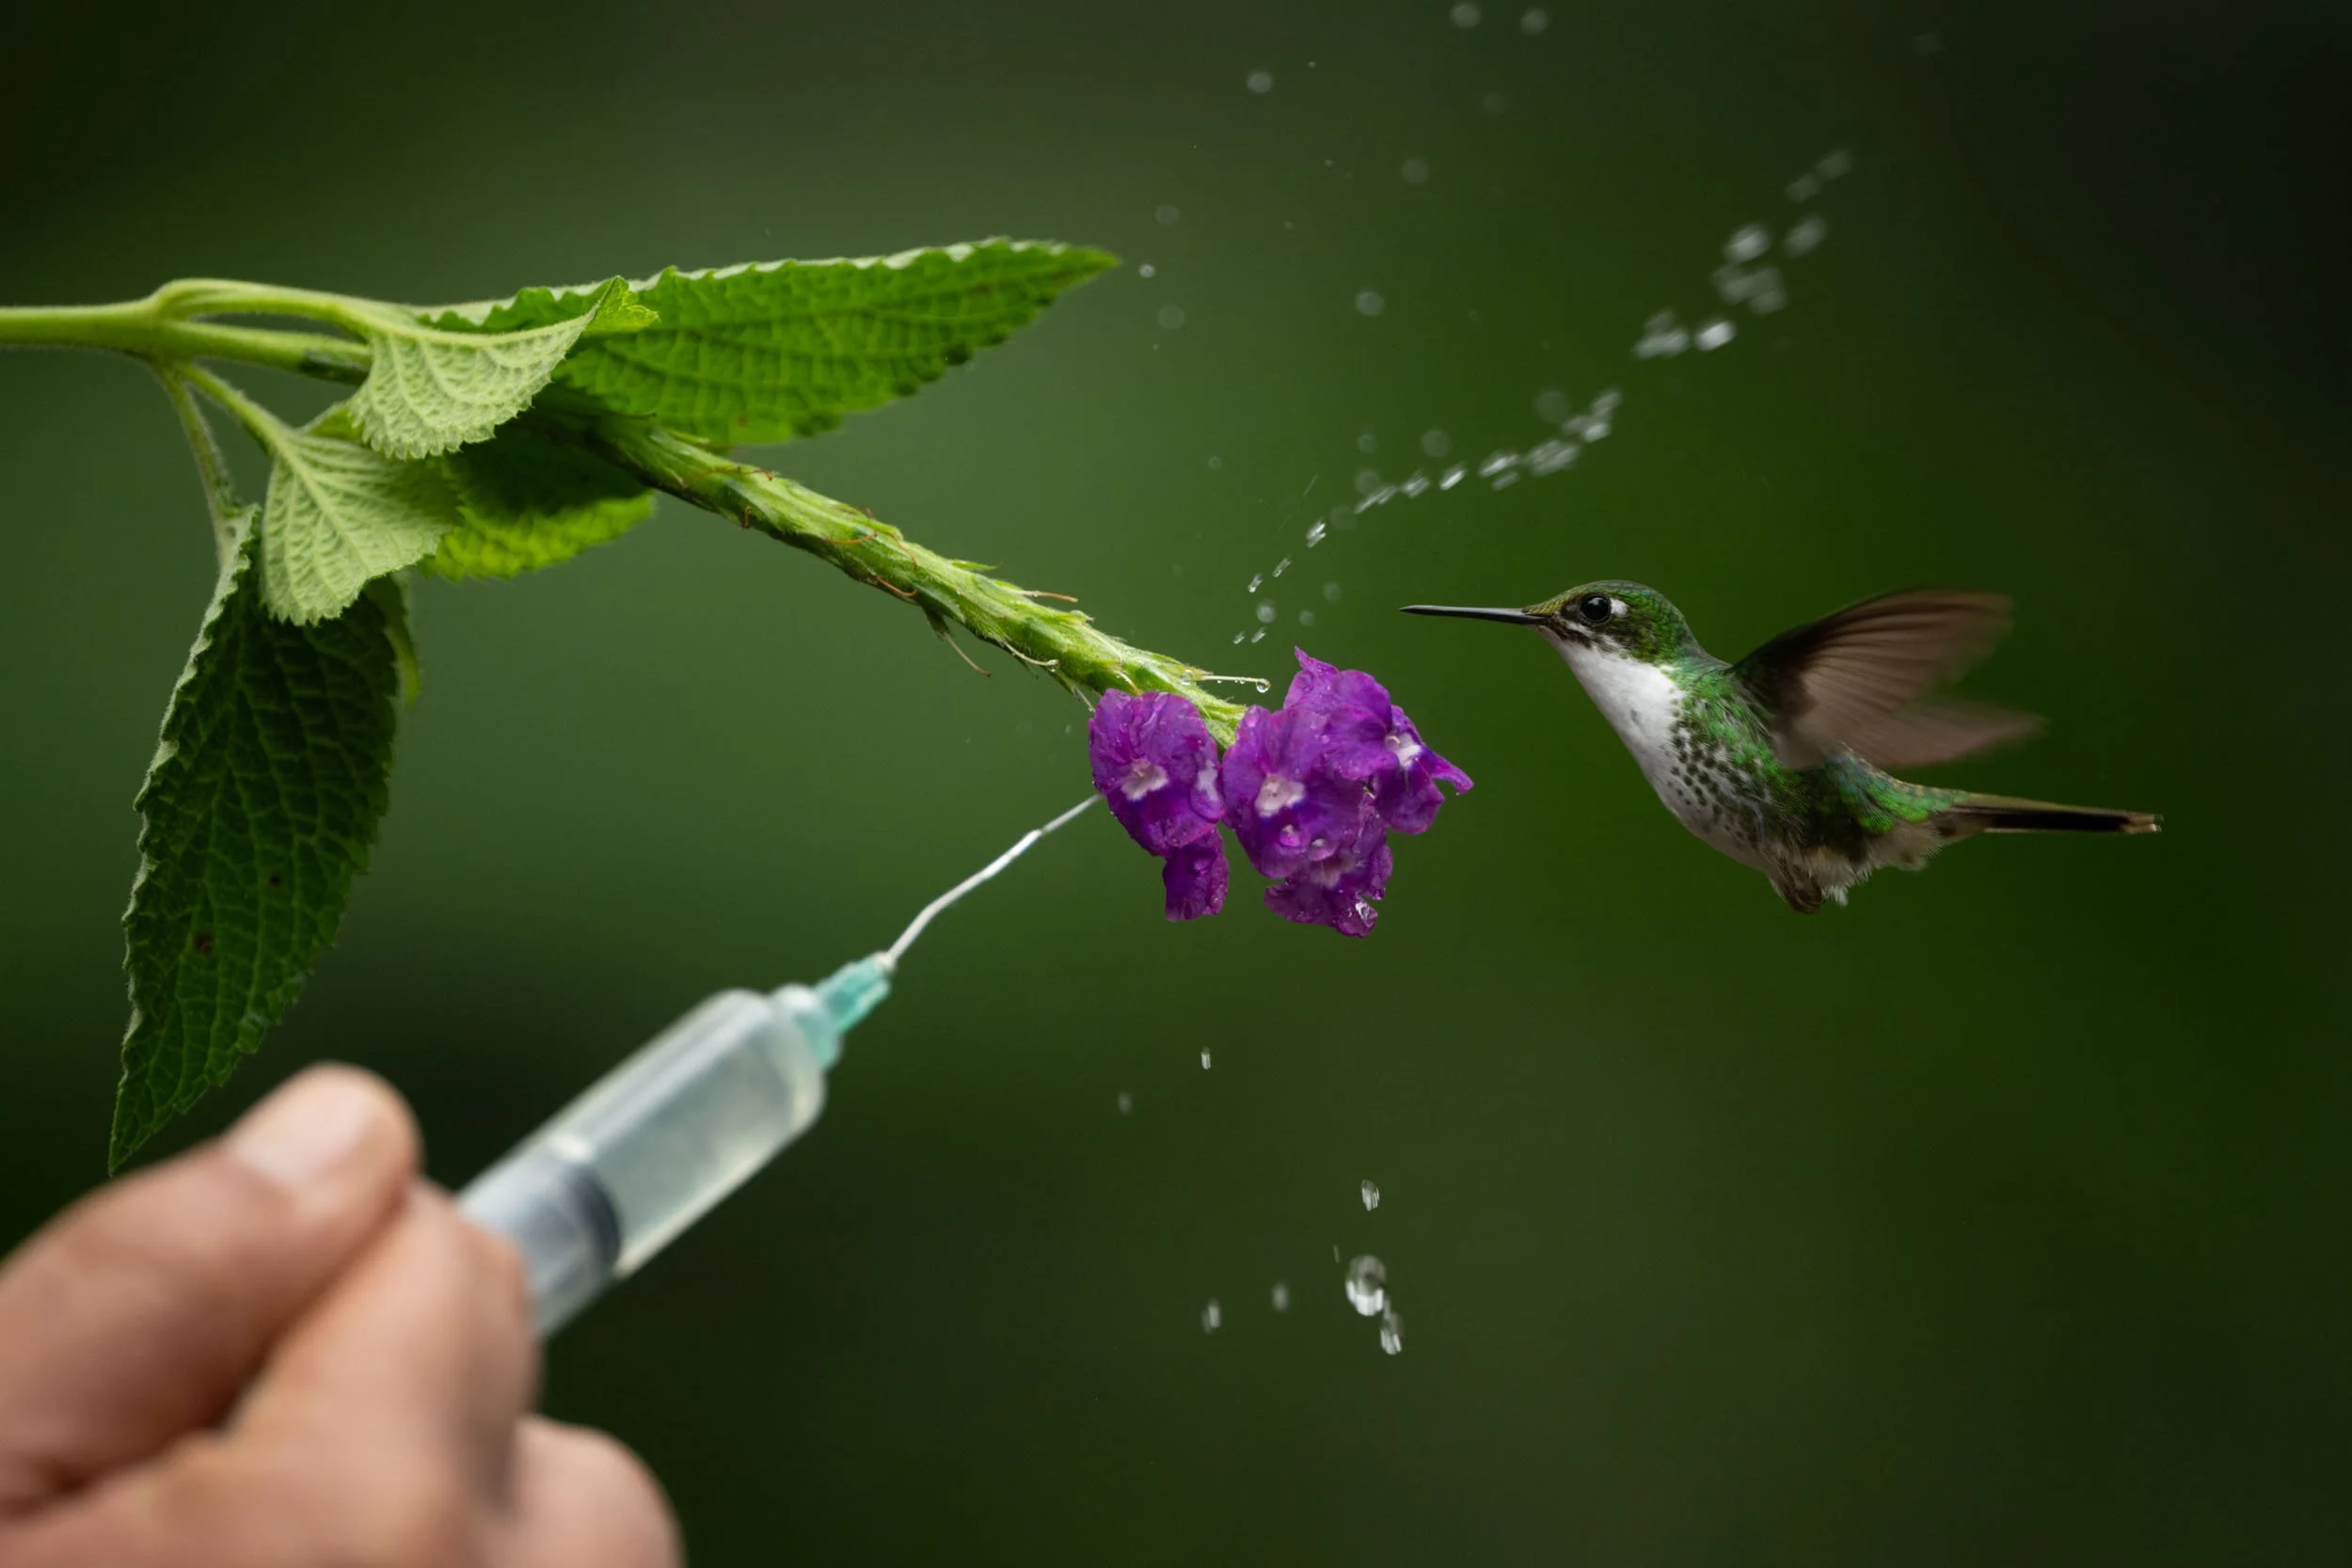
Nelson was my driver, and I spent more time with him than anyone else. He drove me to all the nearby reserves and helped attract the hummingbirds by using a syringe or spray gun to cover the flowers in sugar water (see above). He was also a considerate and cautious driver, always slowing down before any bends and potholes in the road—and he even had to mend a puncture and tow away a fallen tree (see above)! Unfortunately, he didn’t speak any English, so we spent a lot of ‘quiet time’ together!
Apart from that, I only met a couple of the other staff. I said ‘Buenos días’ to the cook every morning and occasionally to another young assistant.
Guests
A brown violetear on Rylie’s palm
I didn’t meet many of the other guests at the lodge, apart from one nice American couple called Elaine and Sam, but I was lucky enough to bump into two nice people at Zuro Loma. Theo was a guest, and Heike was a biologist specialising in hummingbirds. She really knew her stuff and kept calling out the names of the species she saw. I can honestly say I’ve never heard anybody use the words ‘Superciliaried hemispingus’ before!
In addition, I met a very enthusiastic American girl at Alambi. They like to hand out feeders to their guests so that they can hold them in their hands and take videos of the hummingbirds. I took a few stills and videos of one particular girl called Rylie [sic] and offered to send them to her. I gave her my card, and she later sent me a very sweet message.
Wildlife
Simply Red
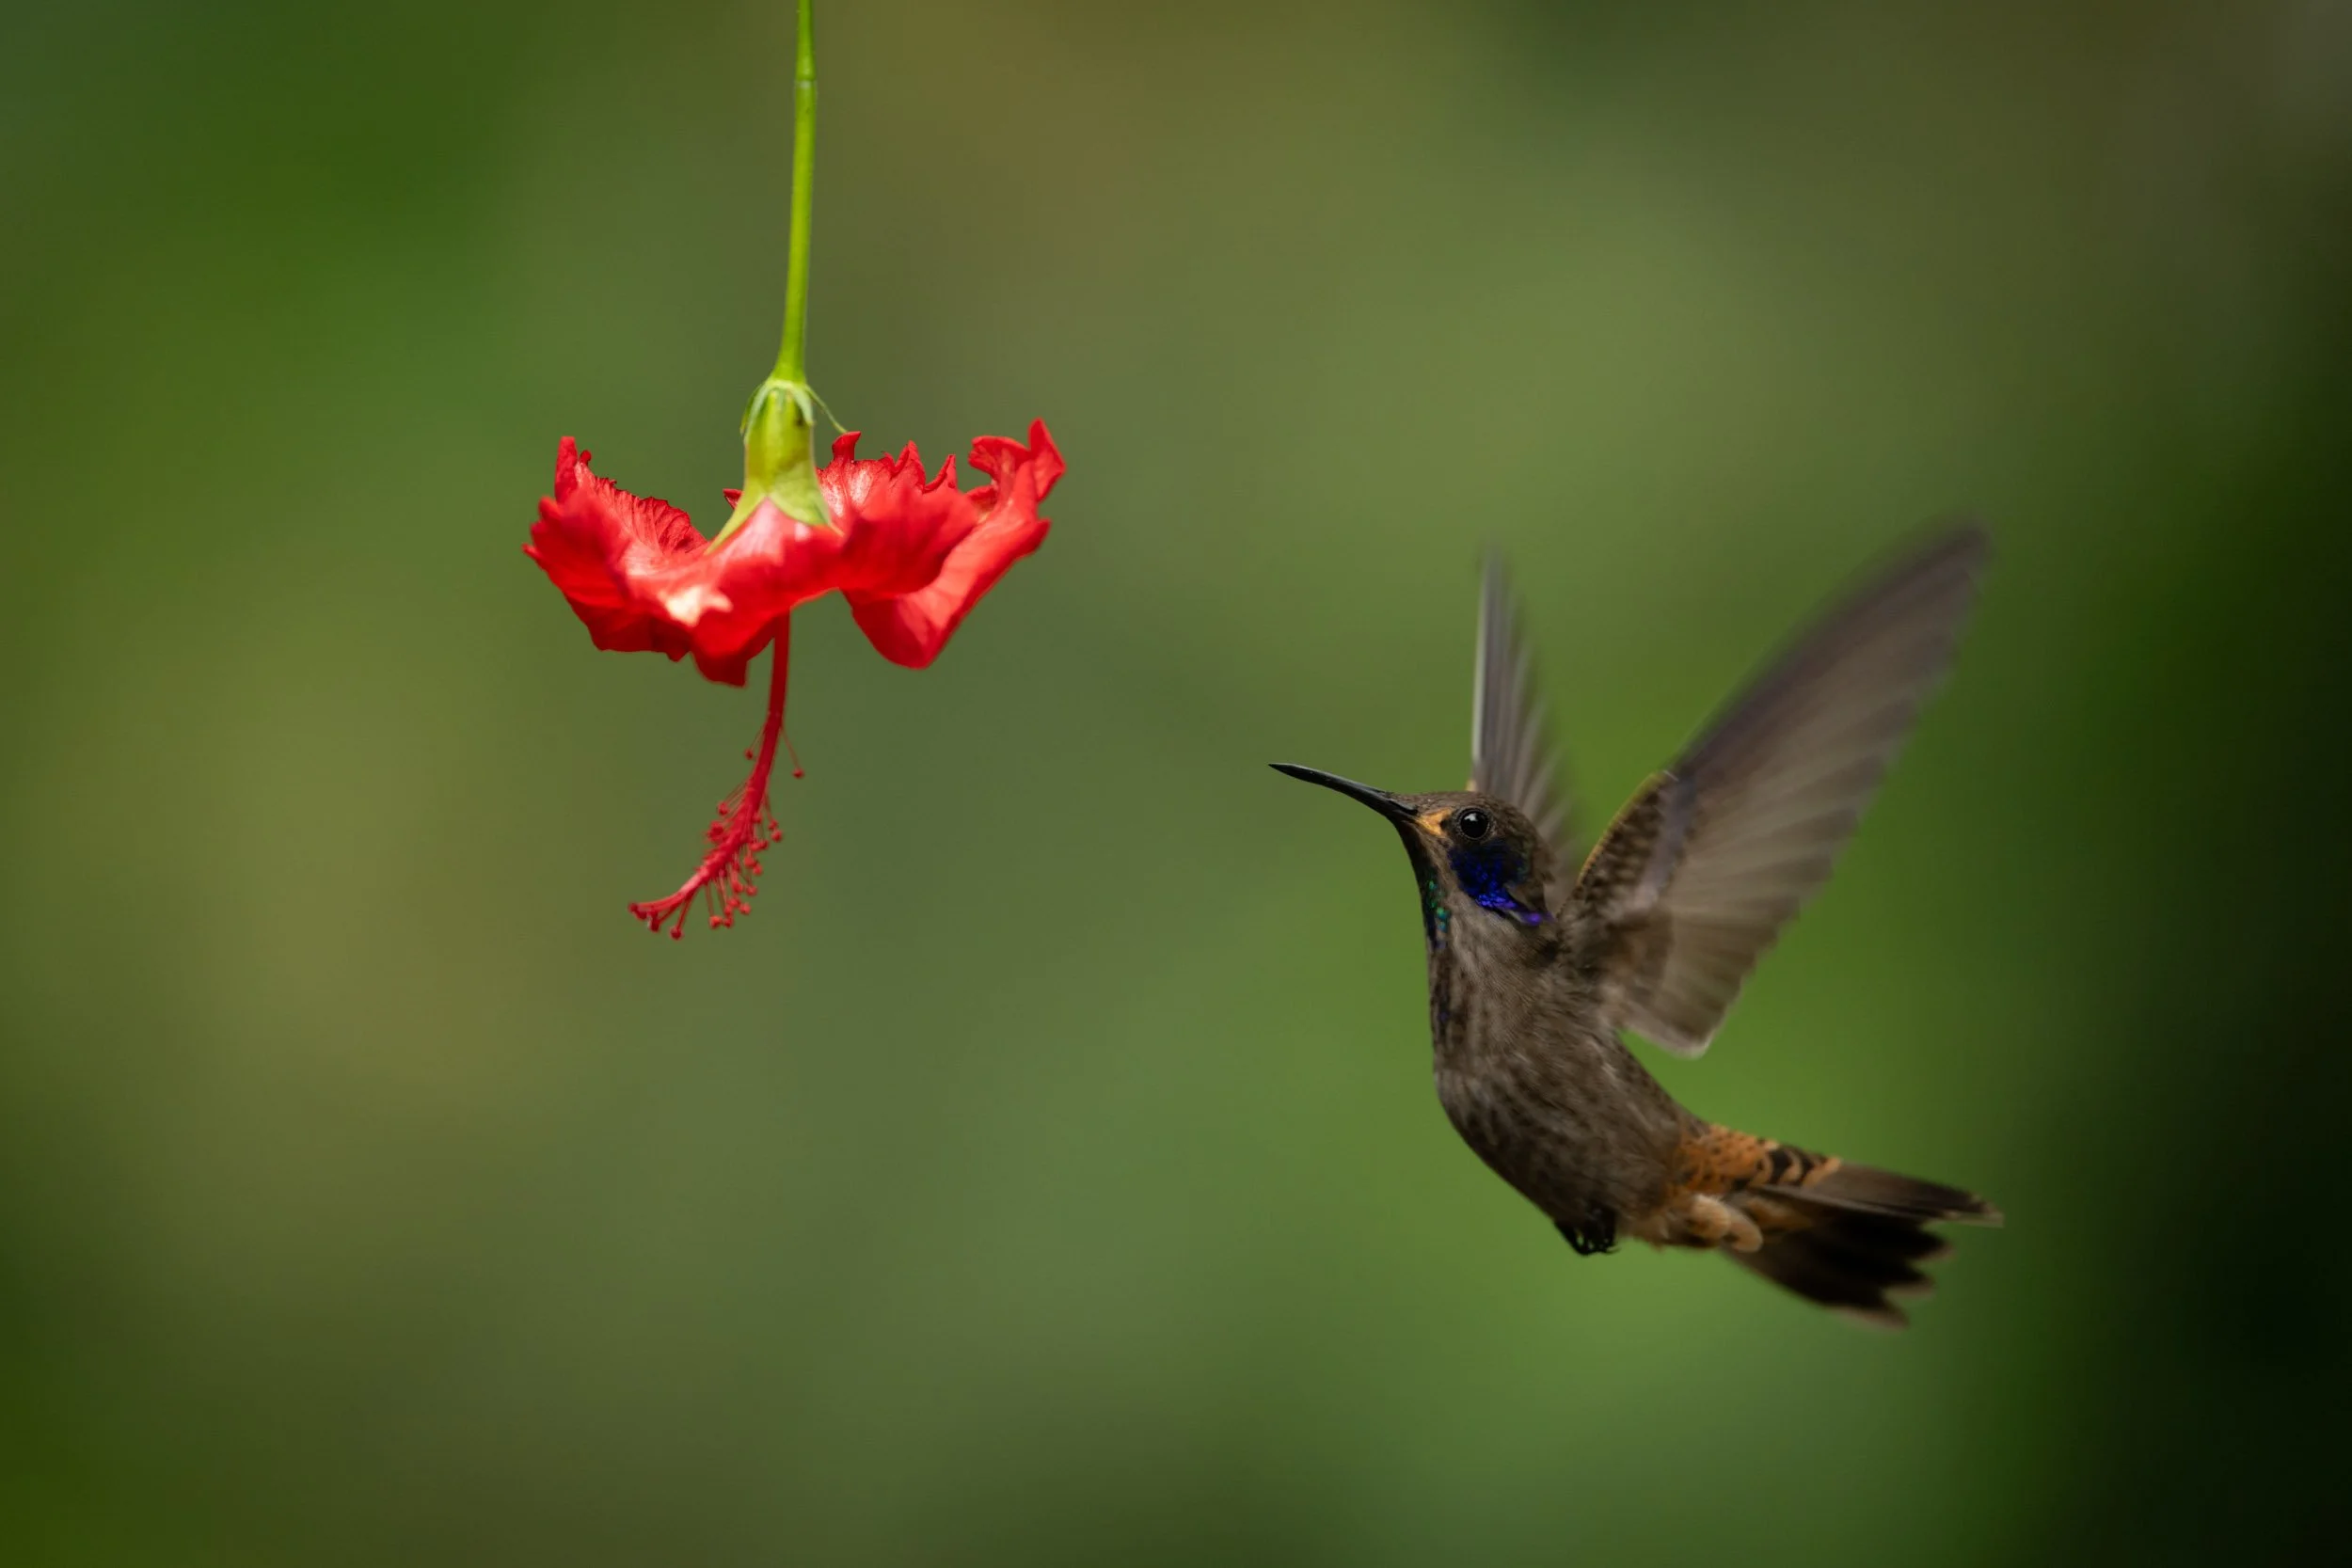
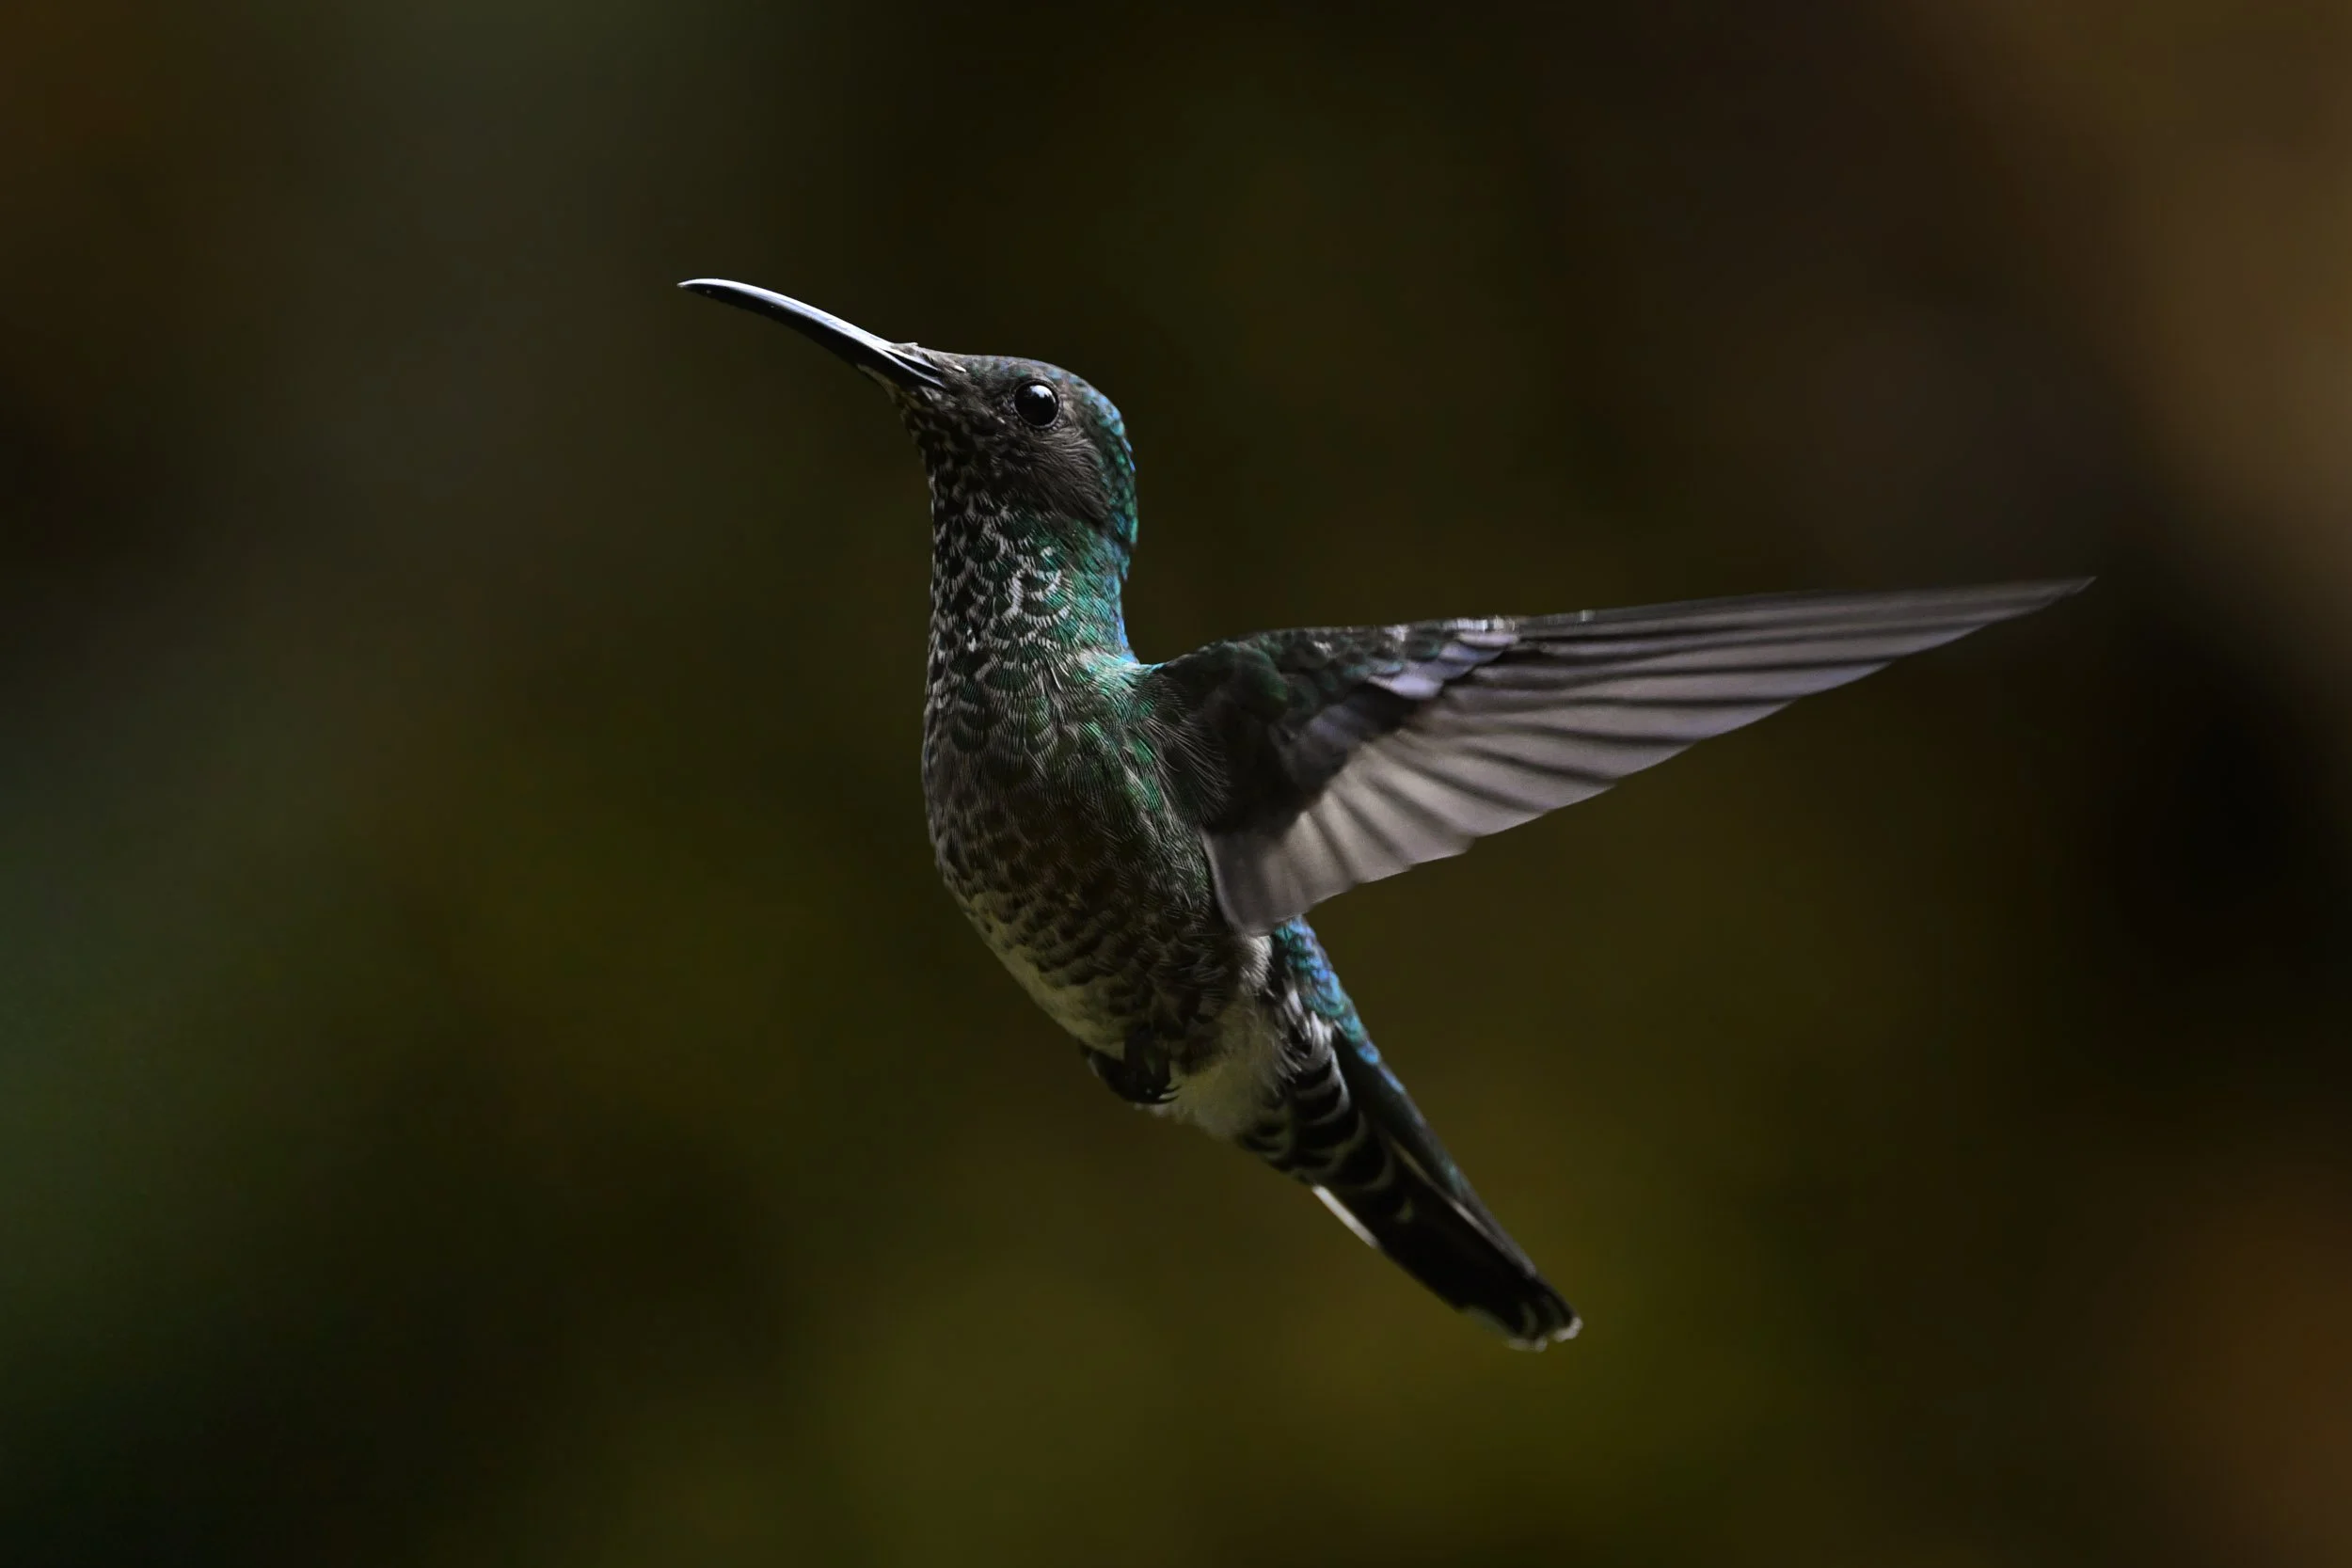
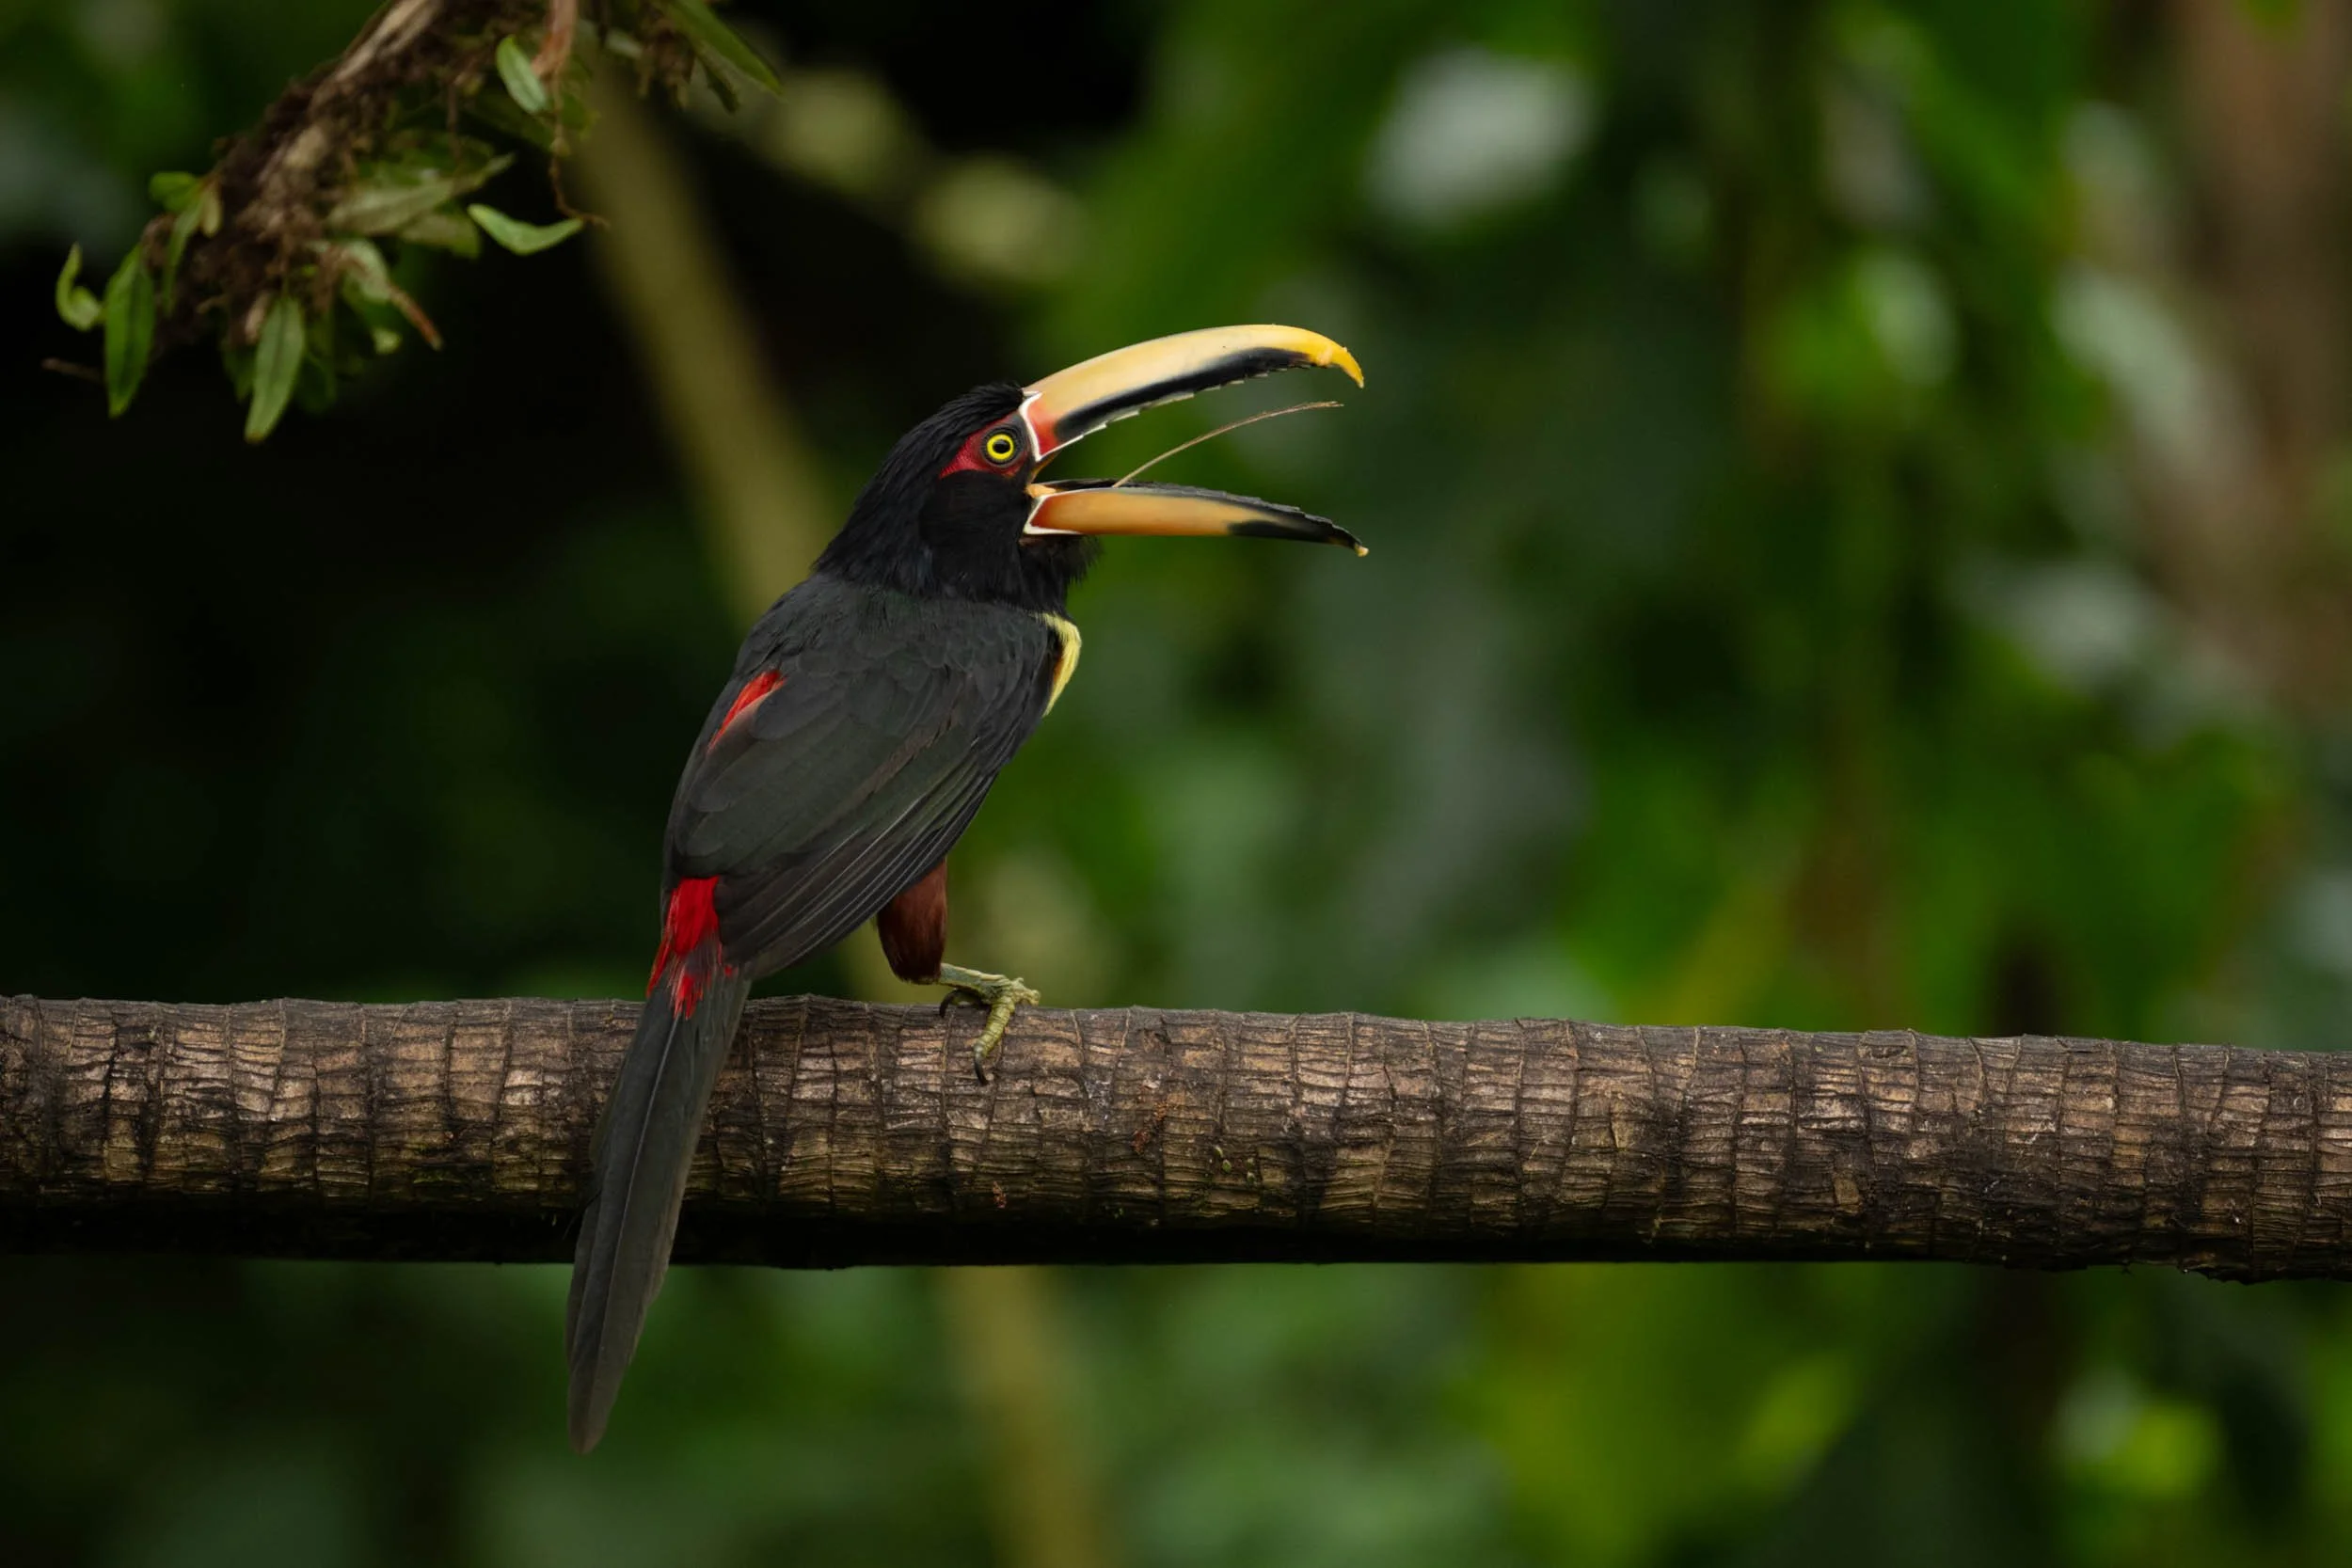
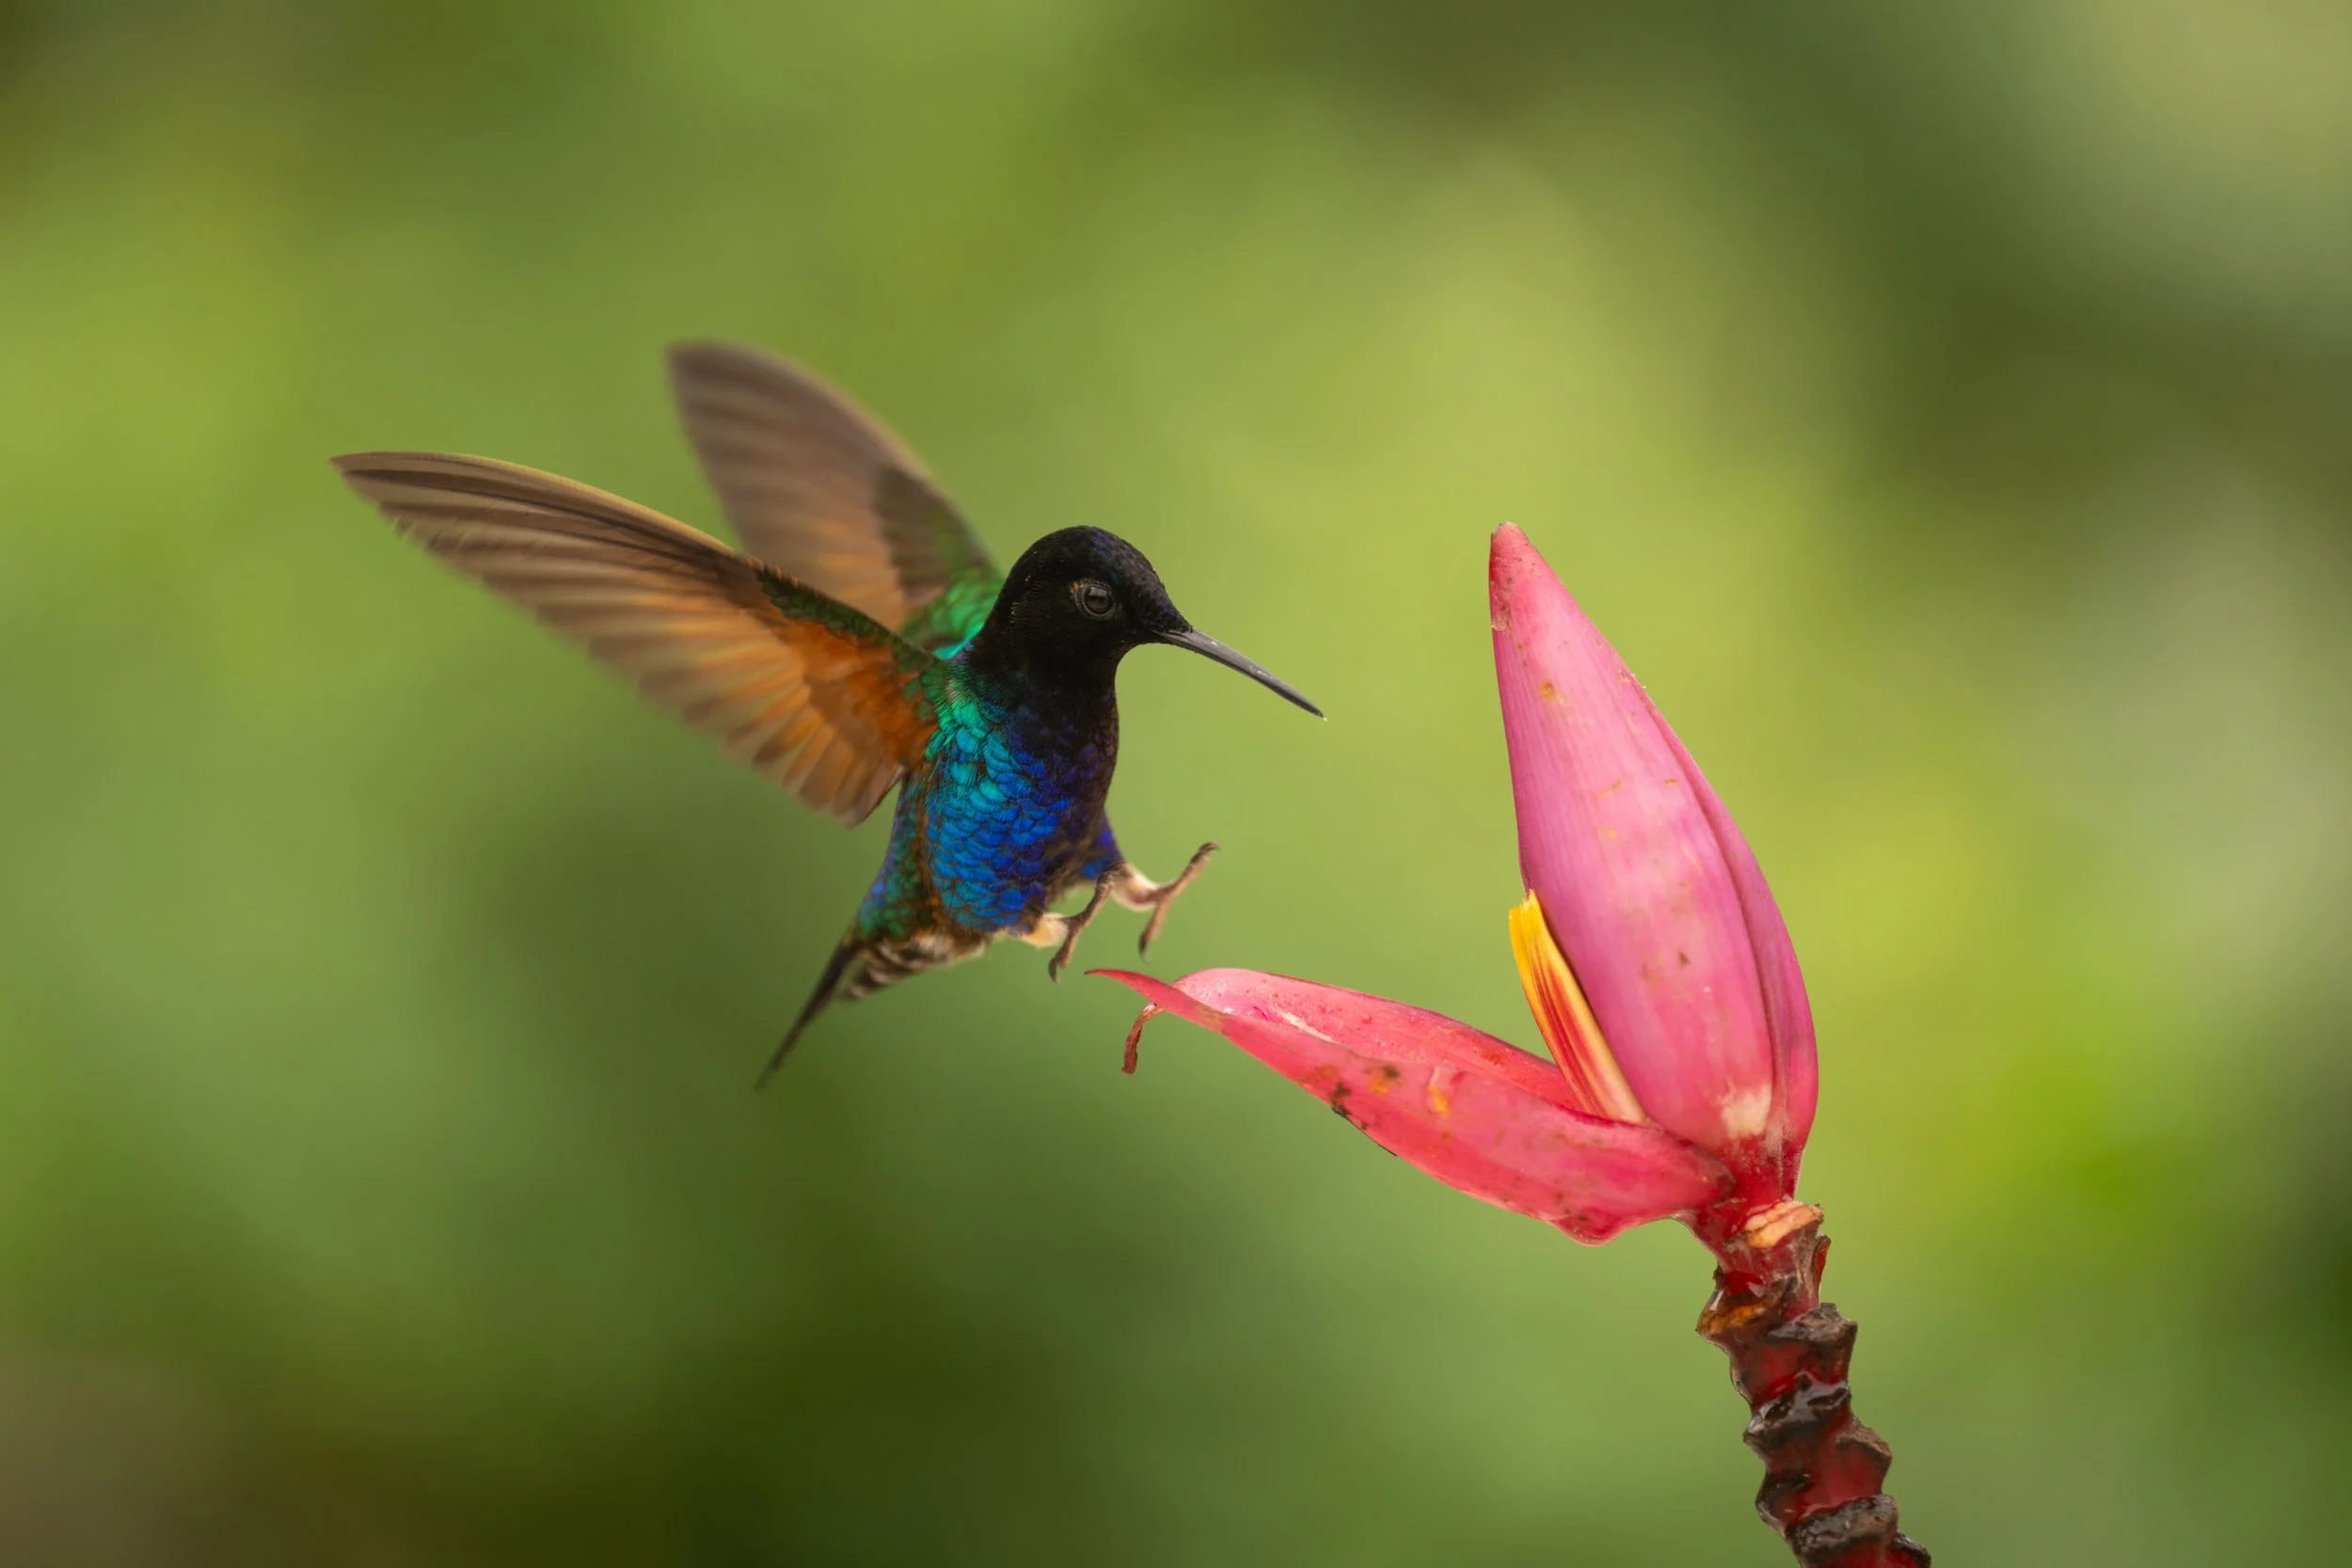
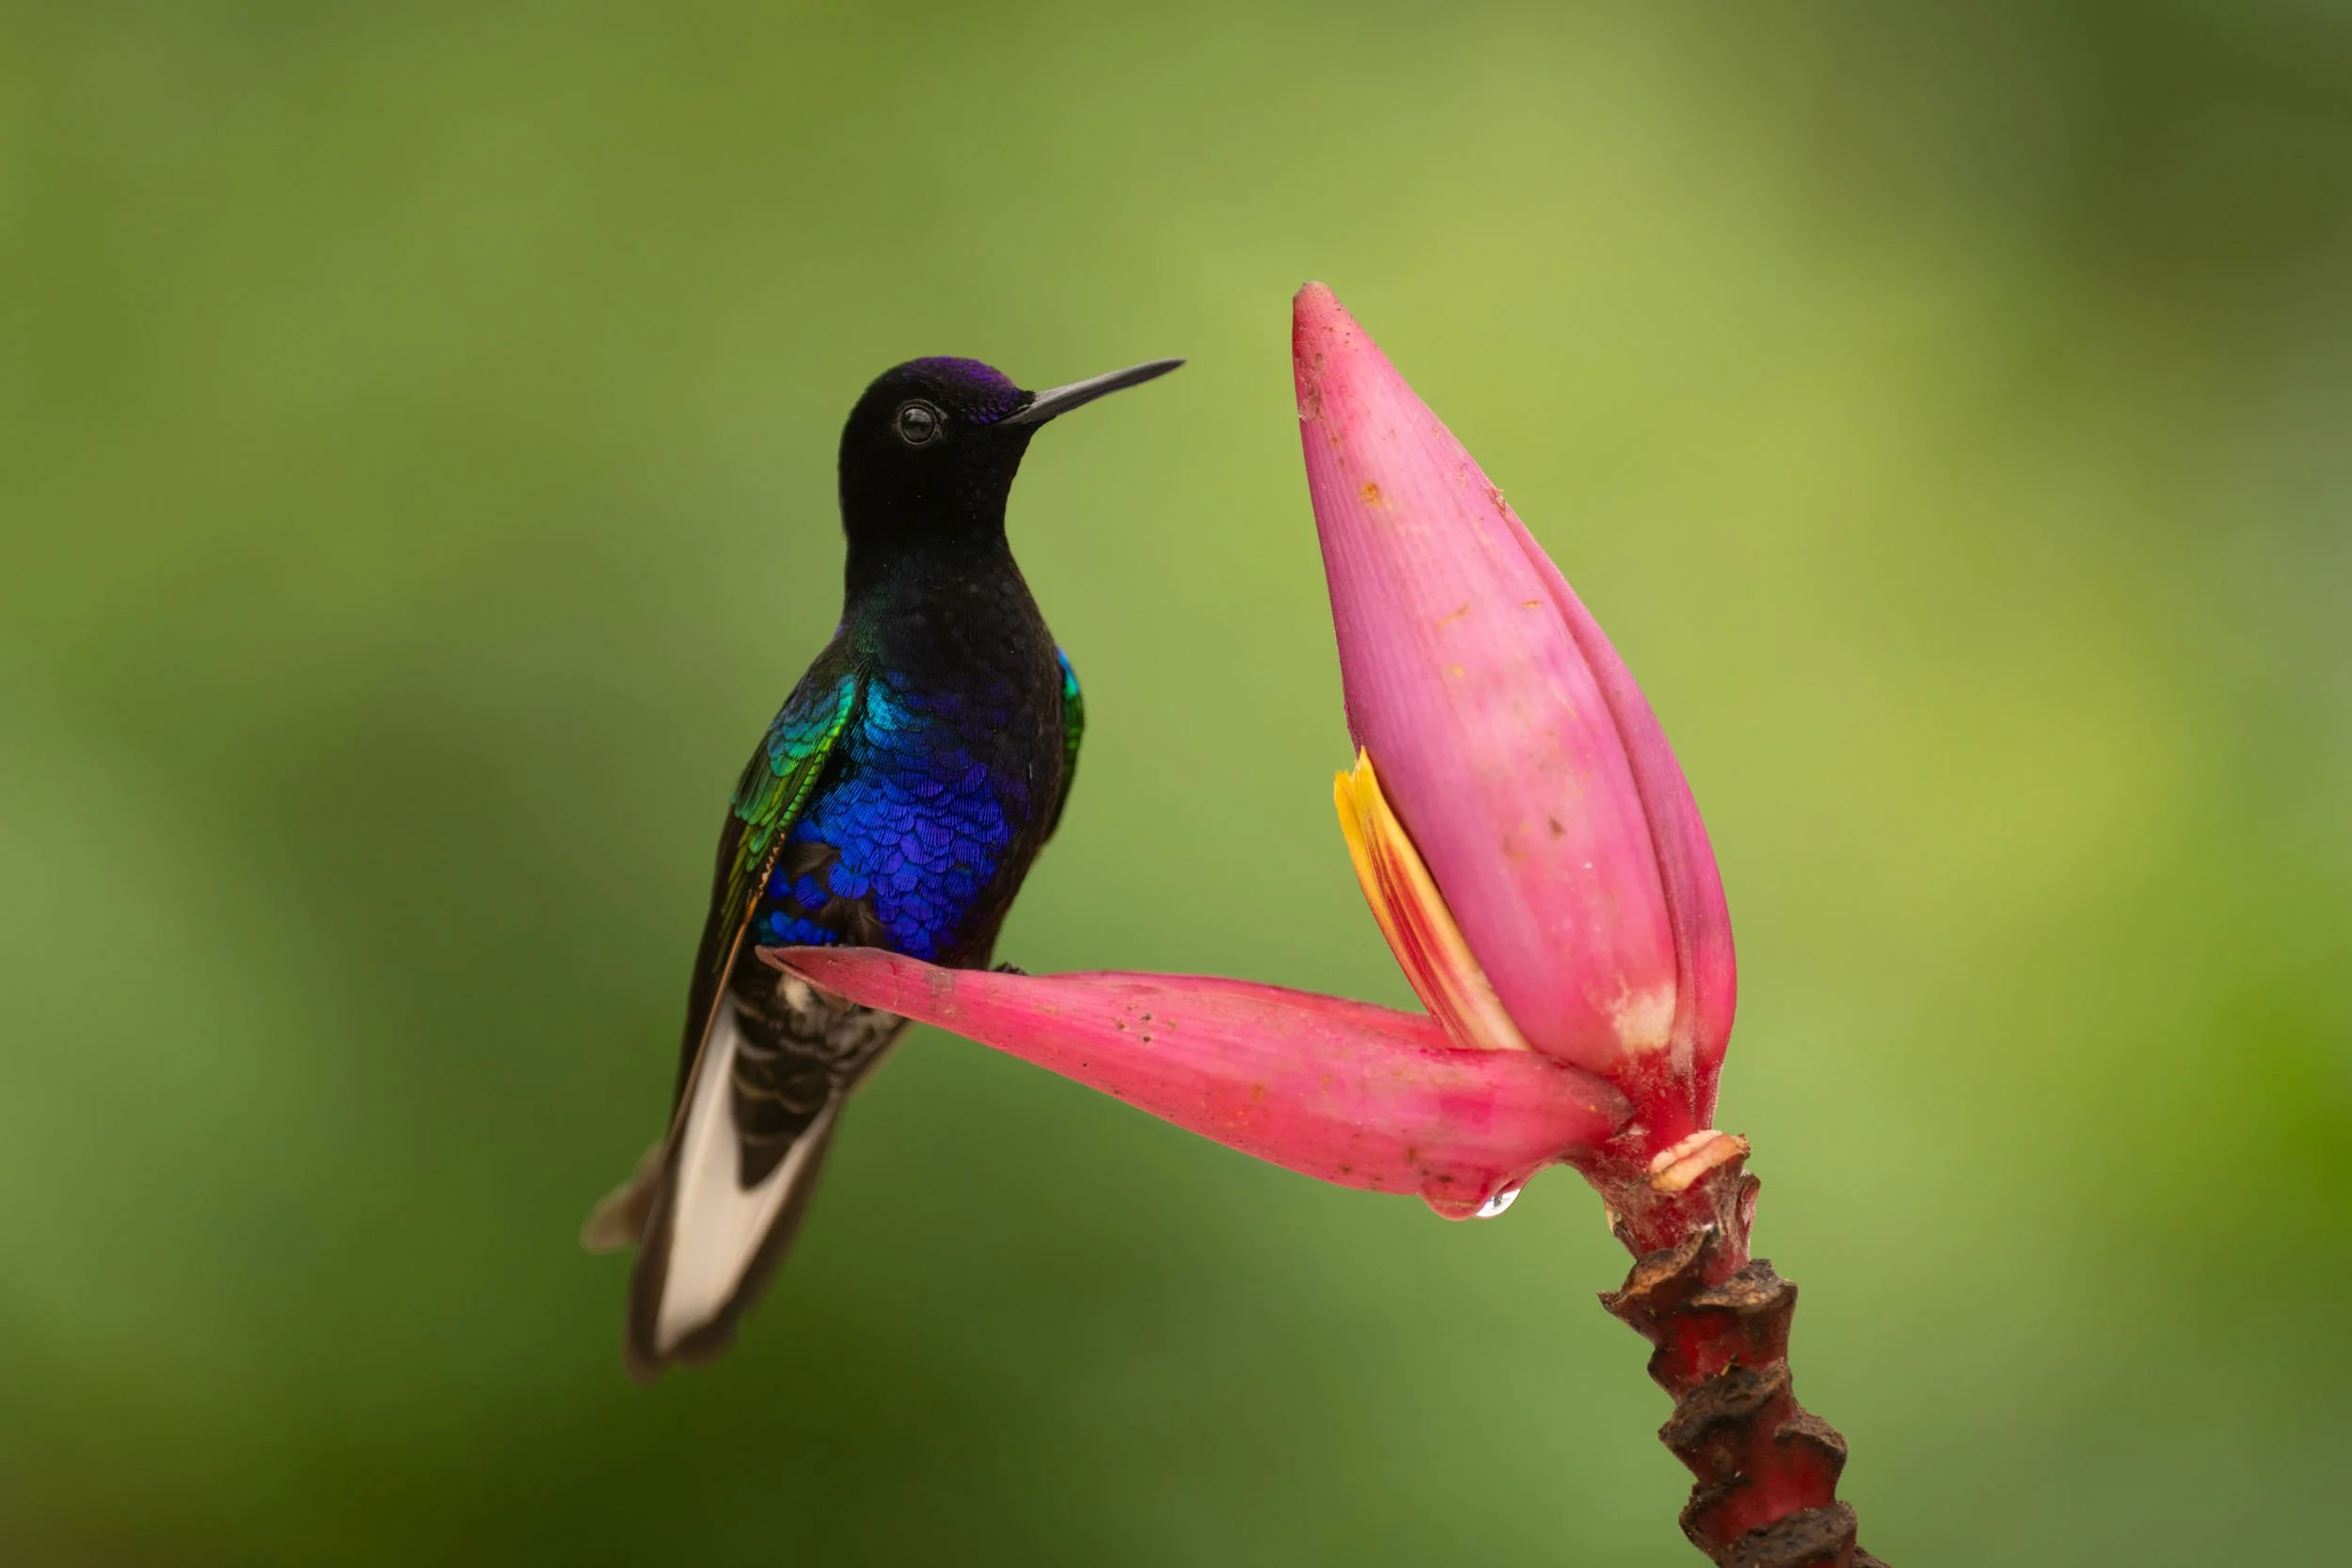
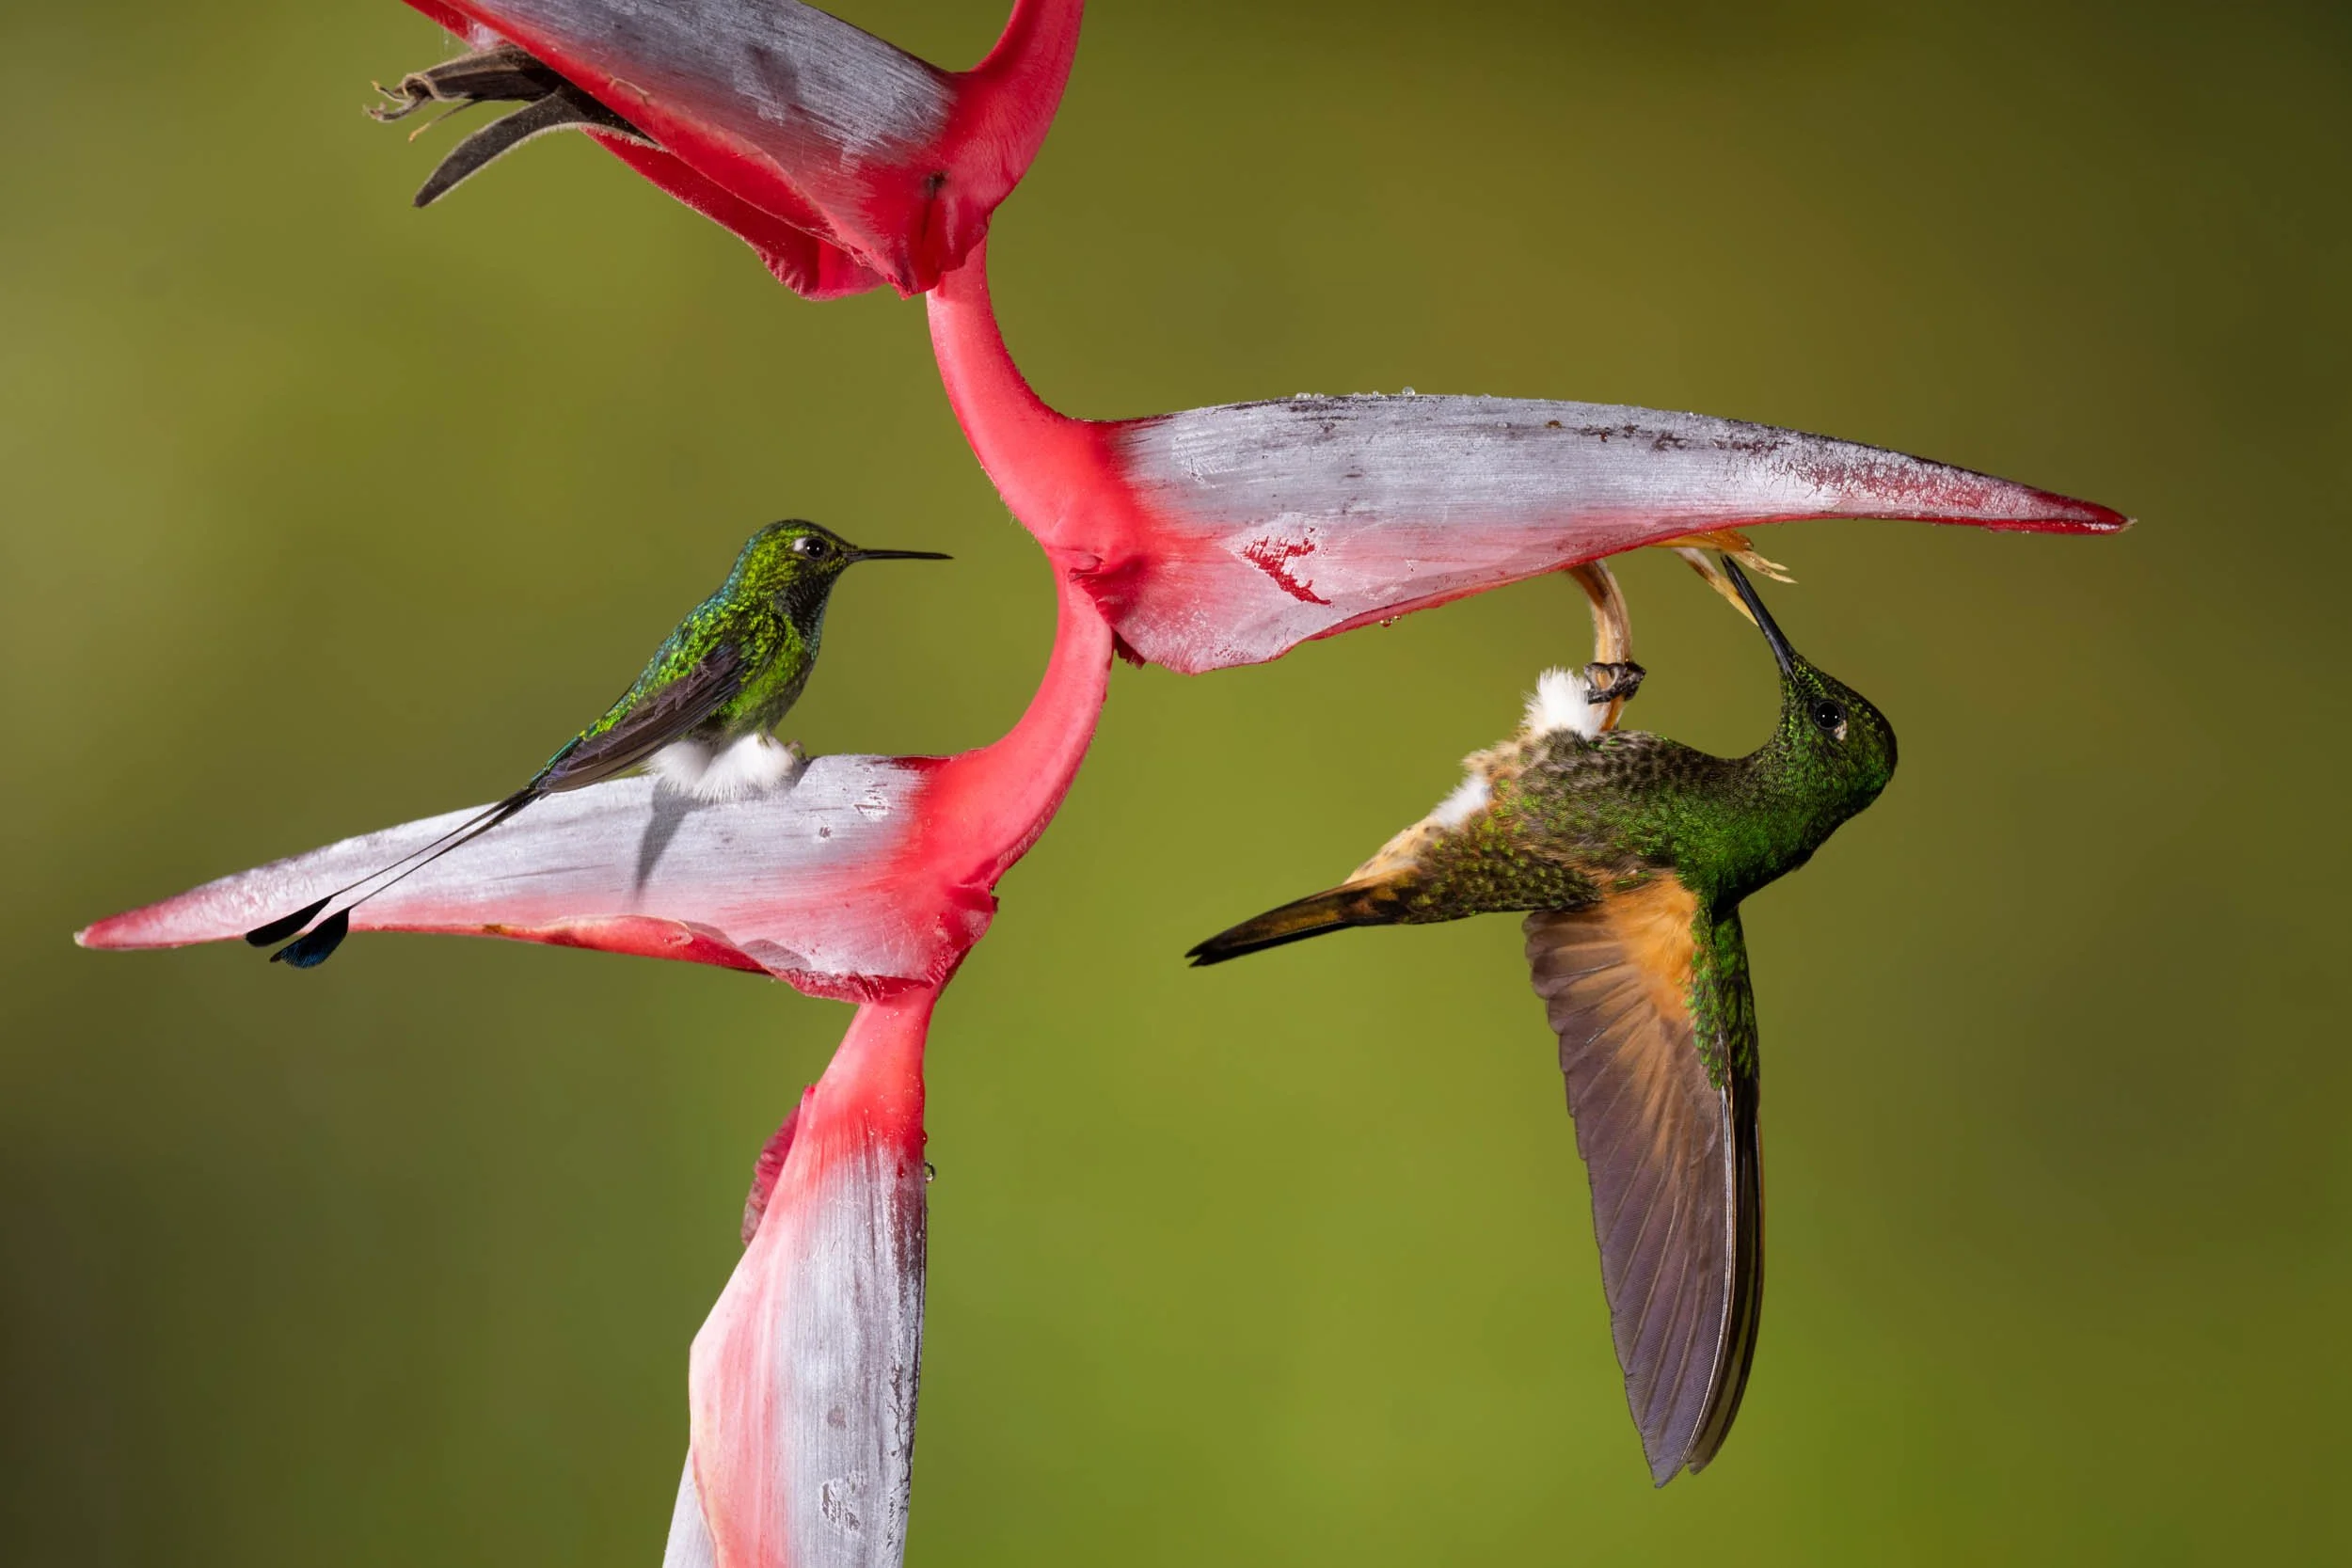
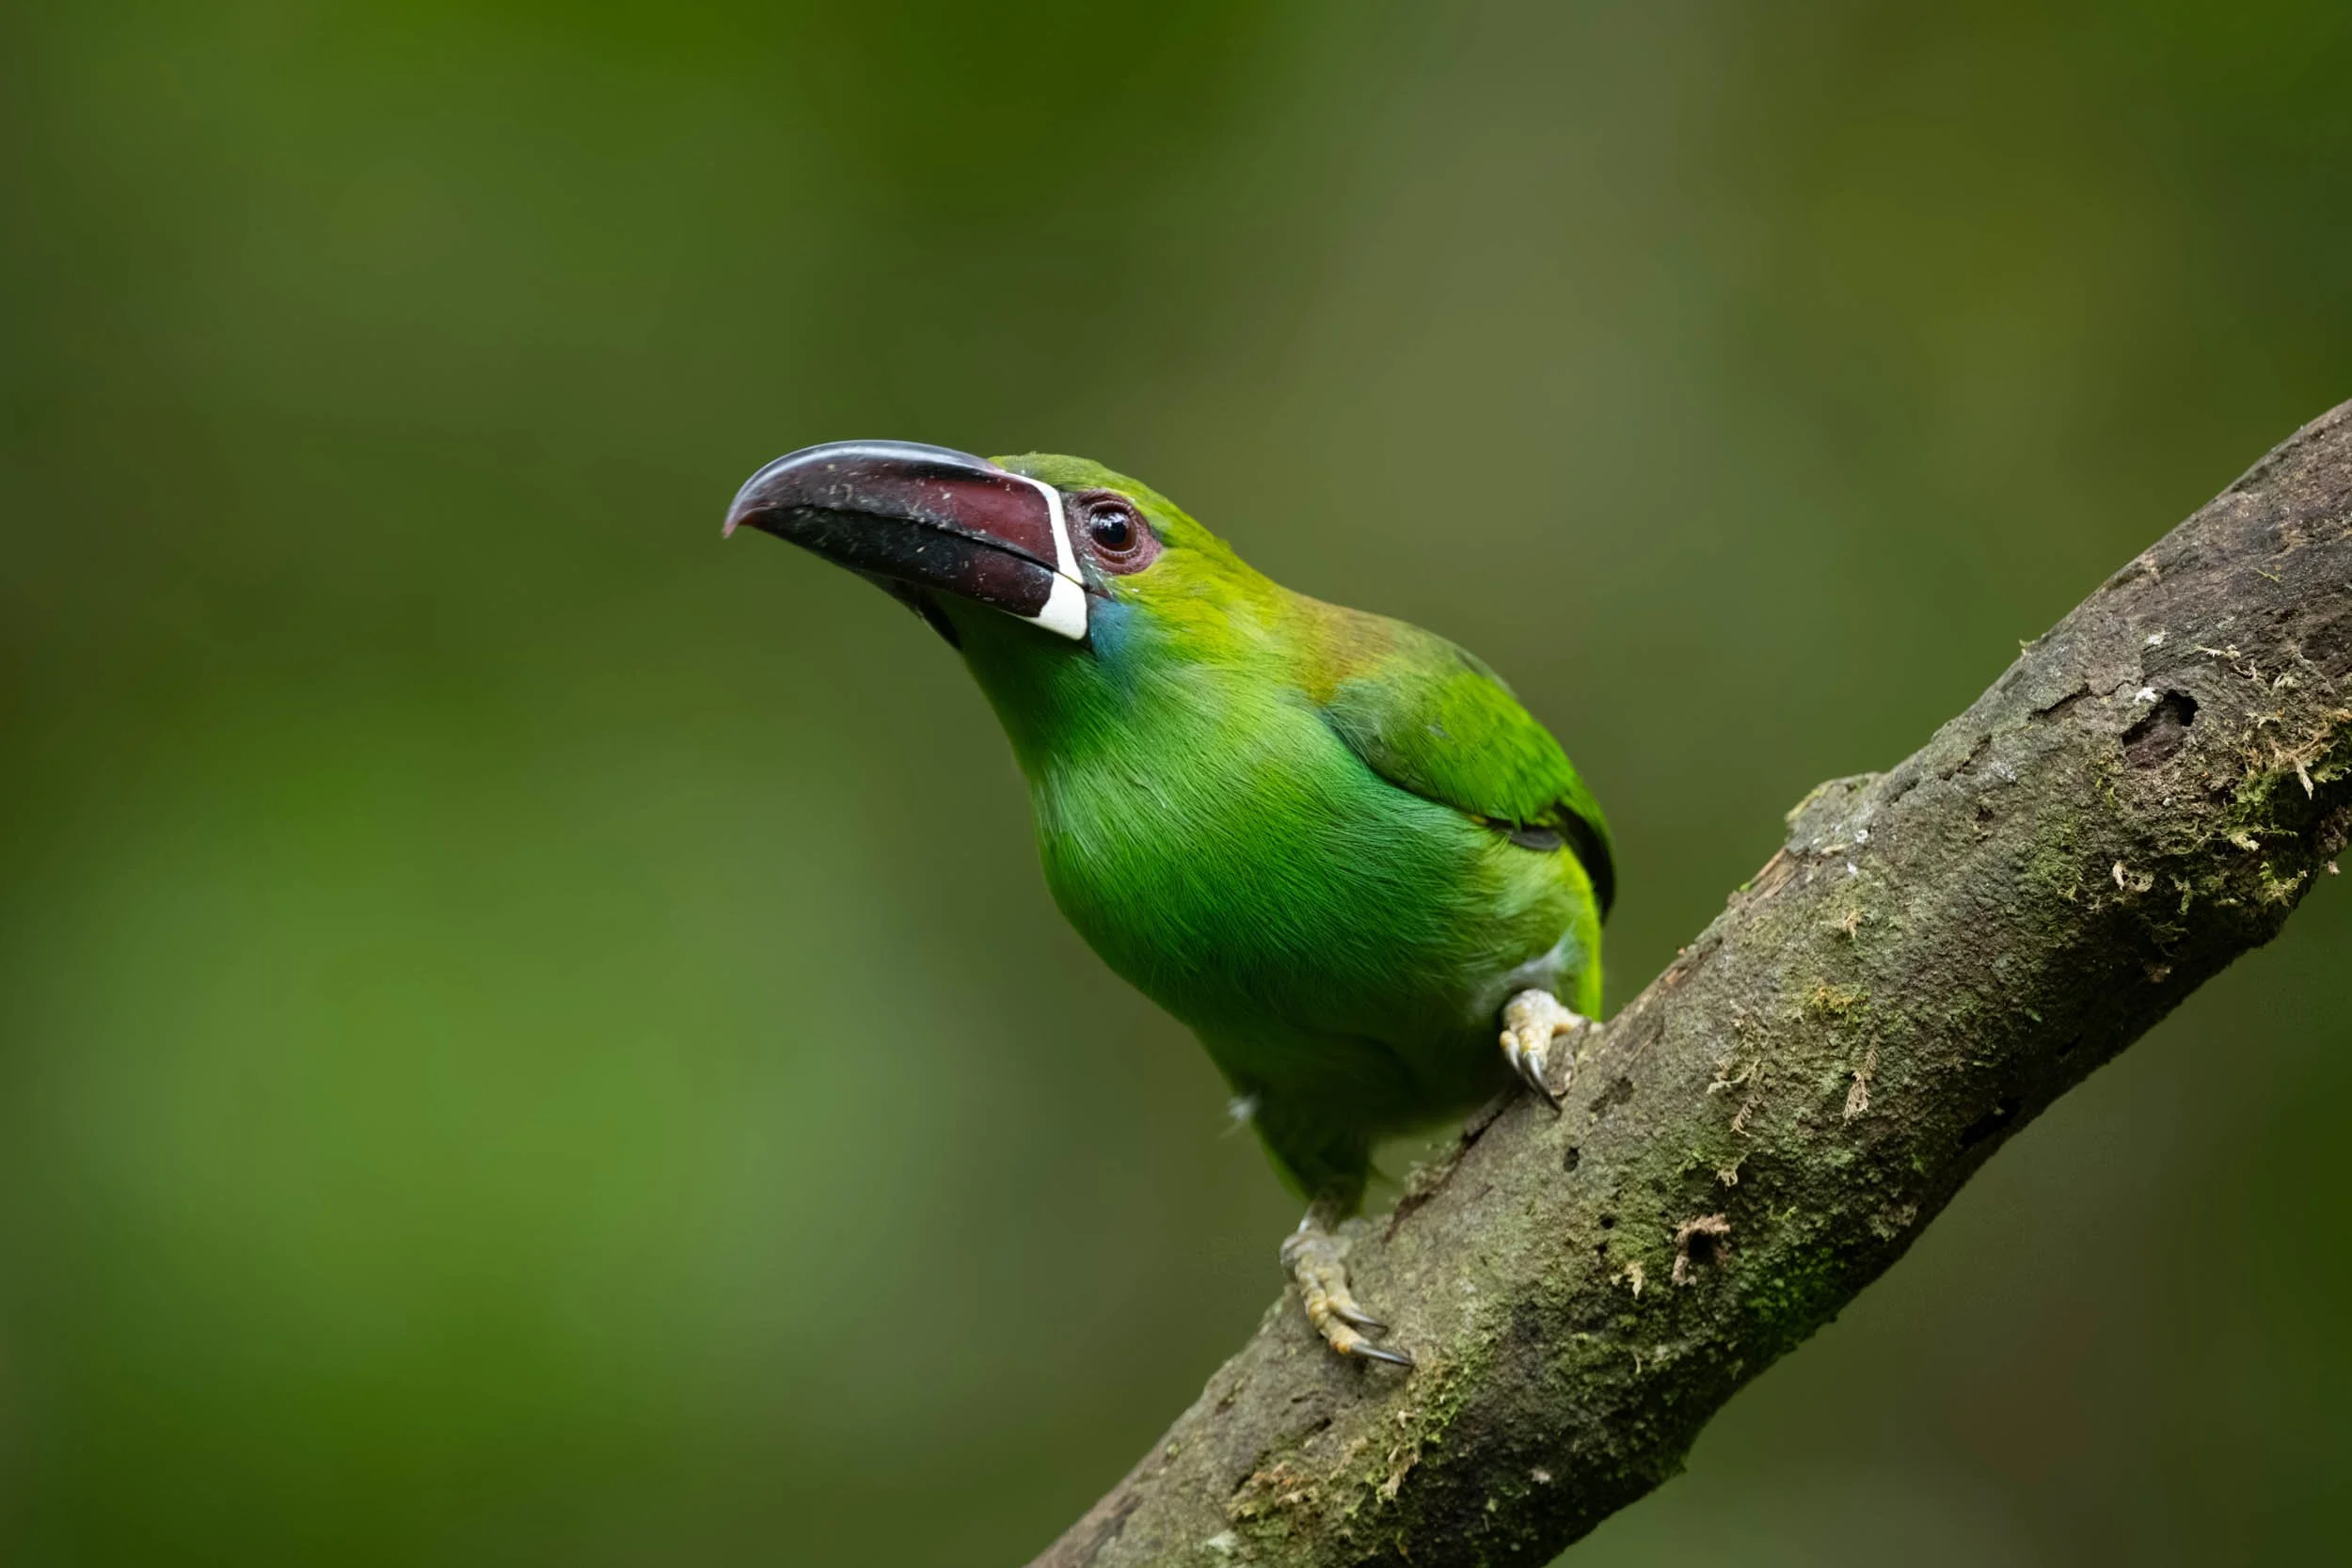
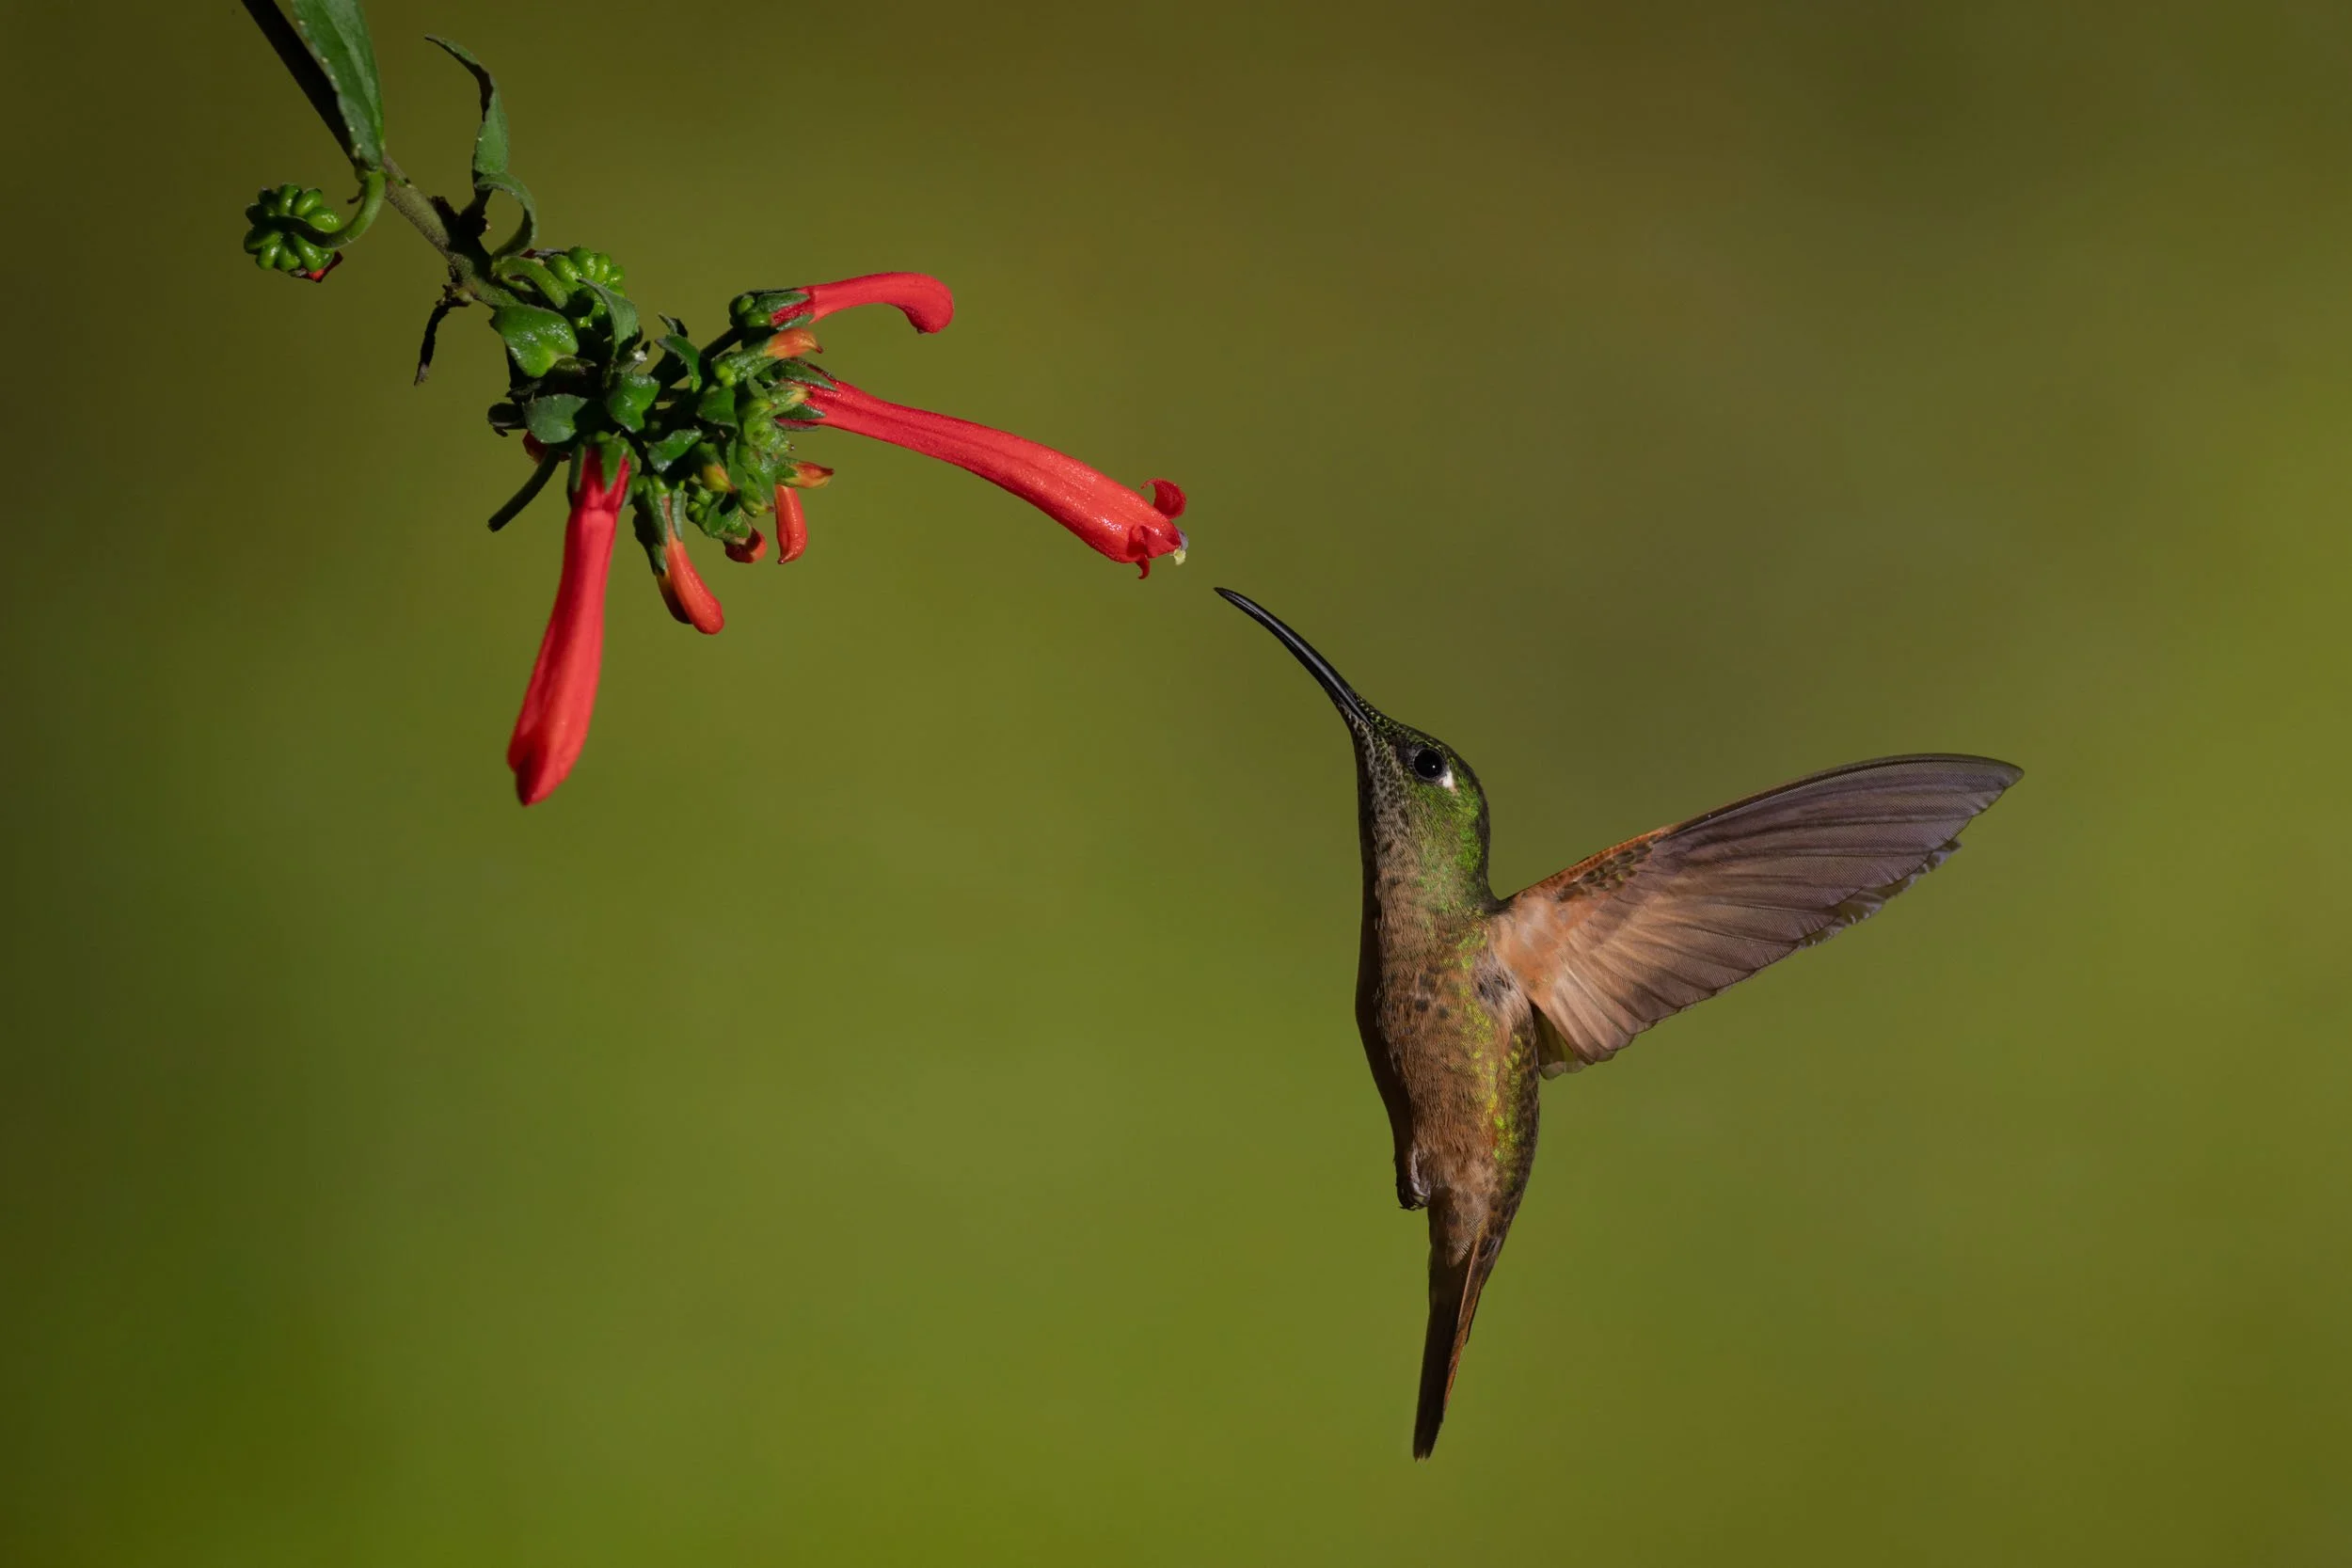
Apart from the odd red-tailed squirrel (see above), the only wildlife I saw on my trip to Tandayapa was the birds. I mostly photographed hummingbirds, but I also saw the occasional toucan, tanager or equatorial antpitta! I must say, I had no idea what most of the birds were, but I soon became familiar with the most common ones.
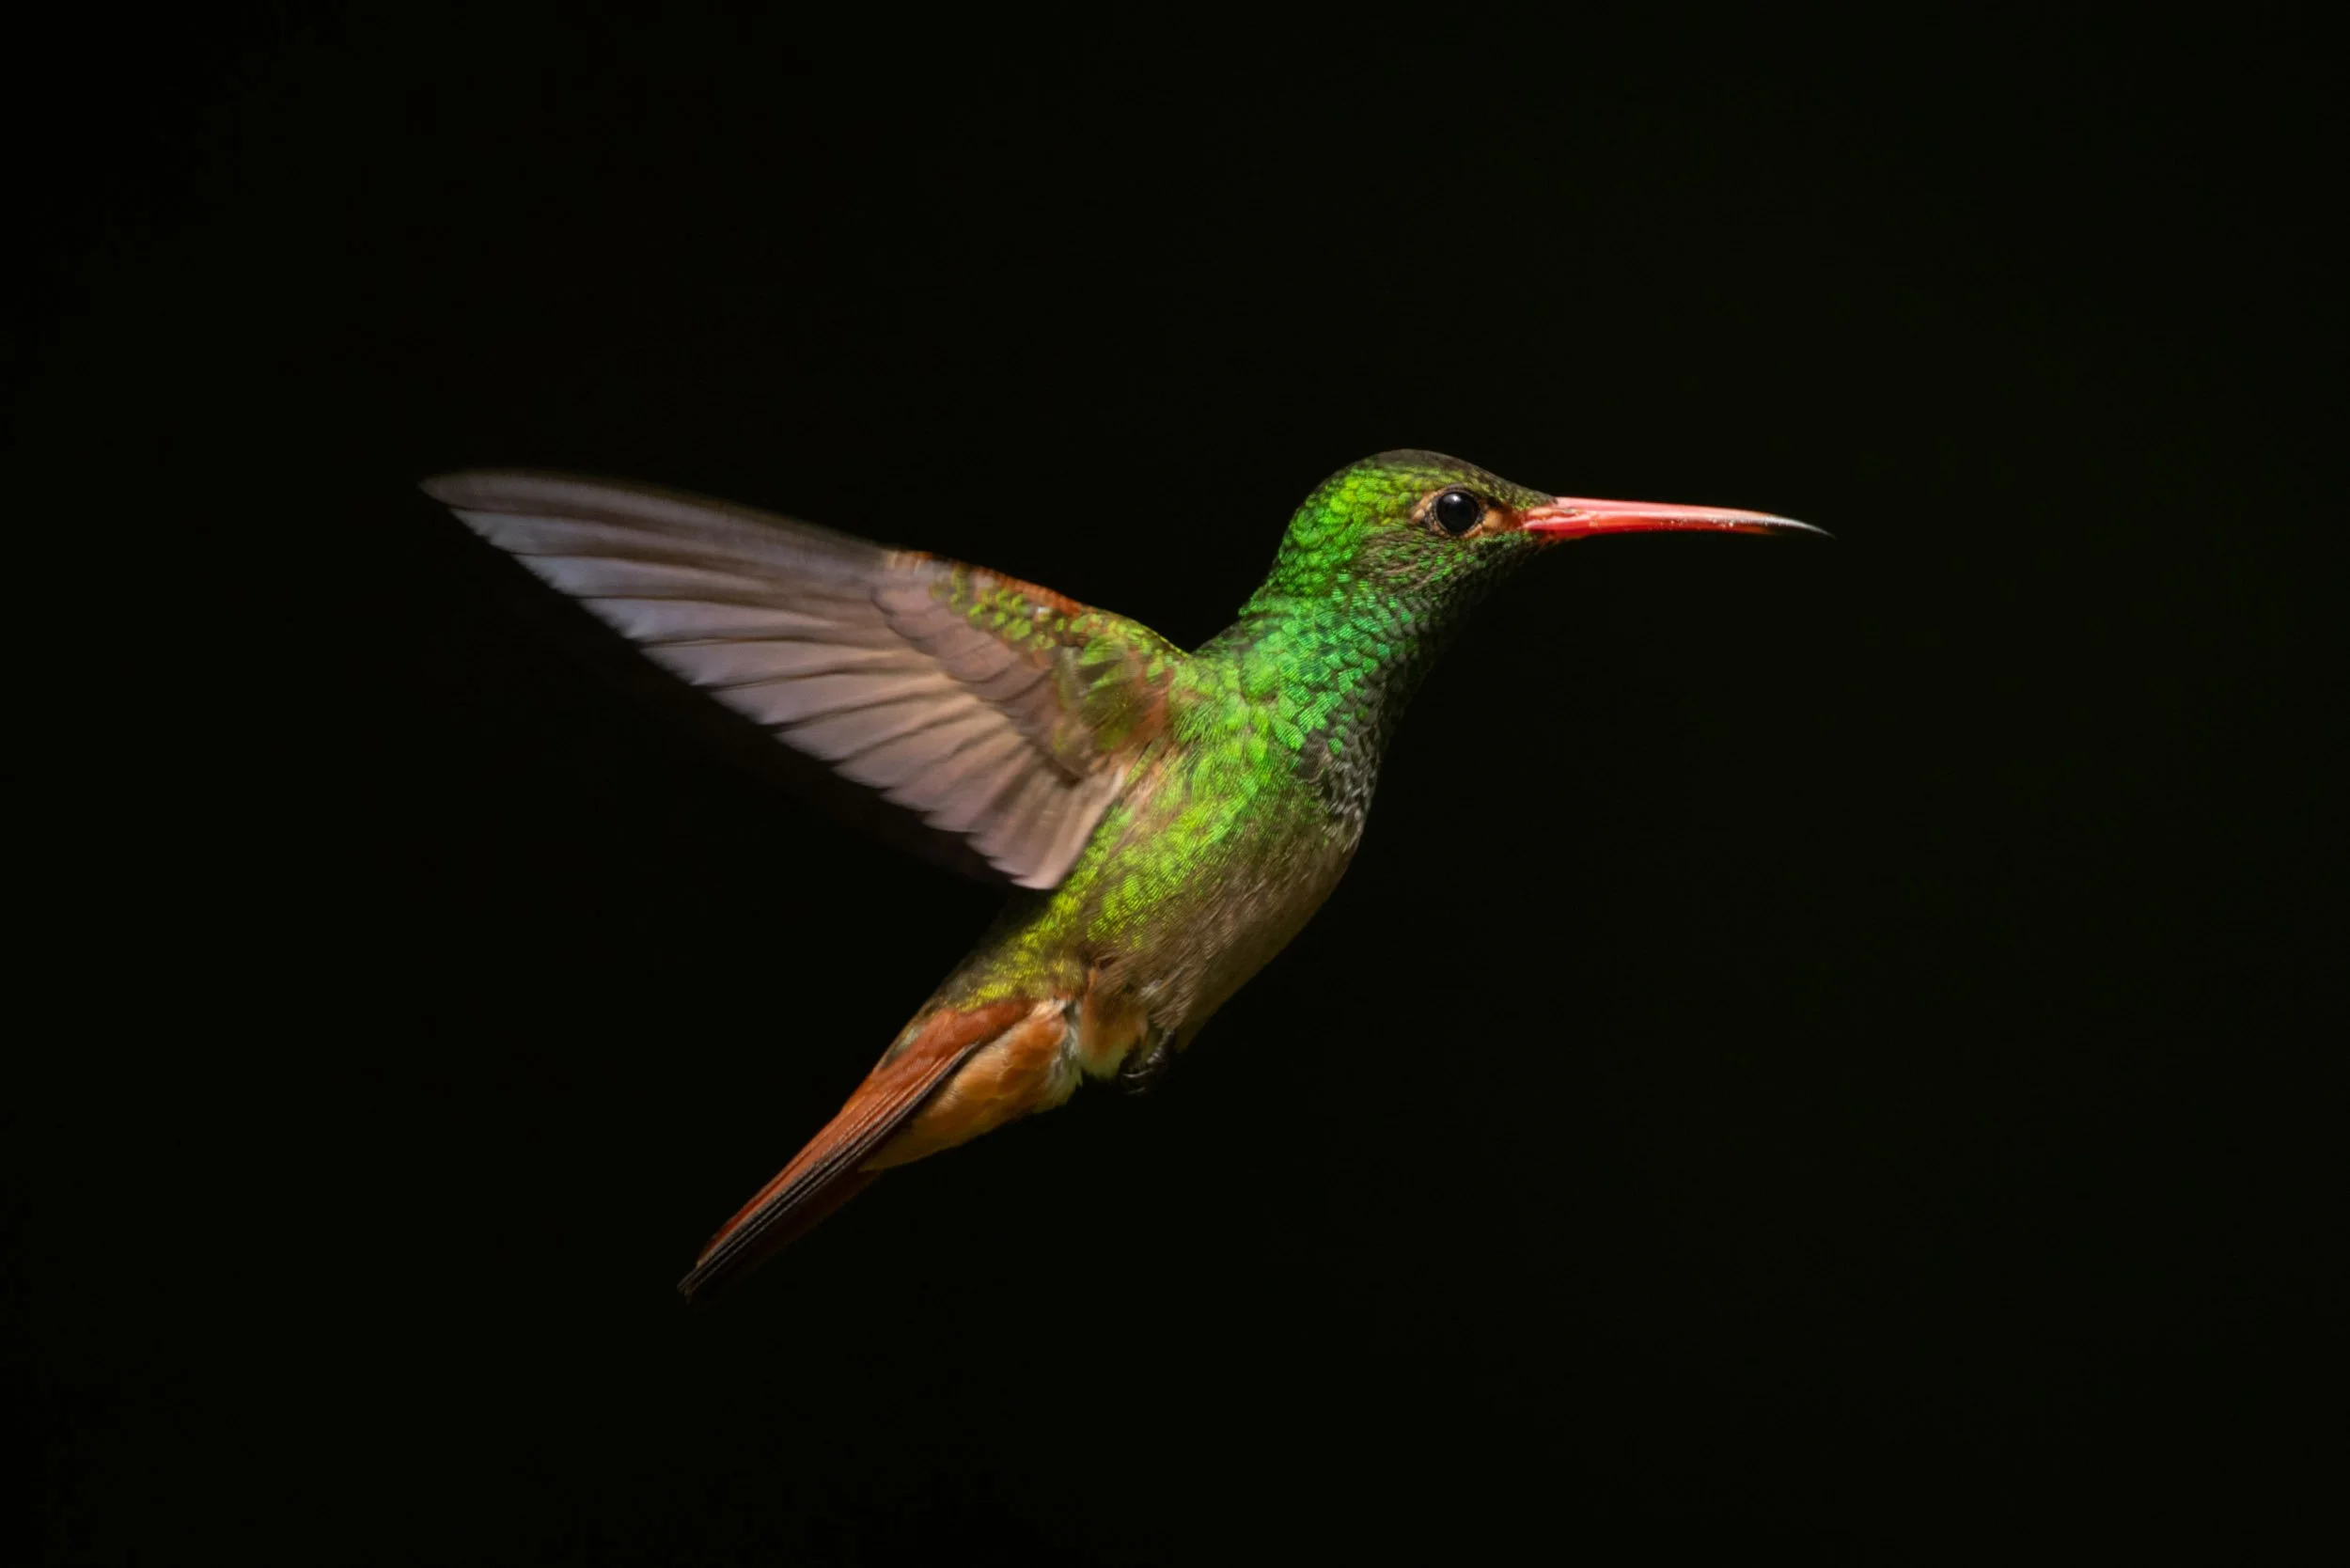
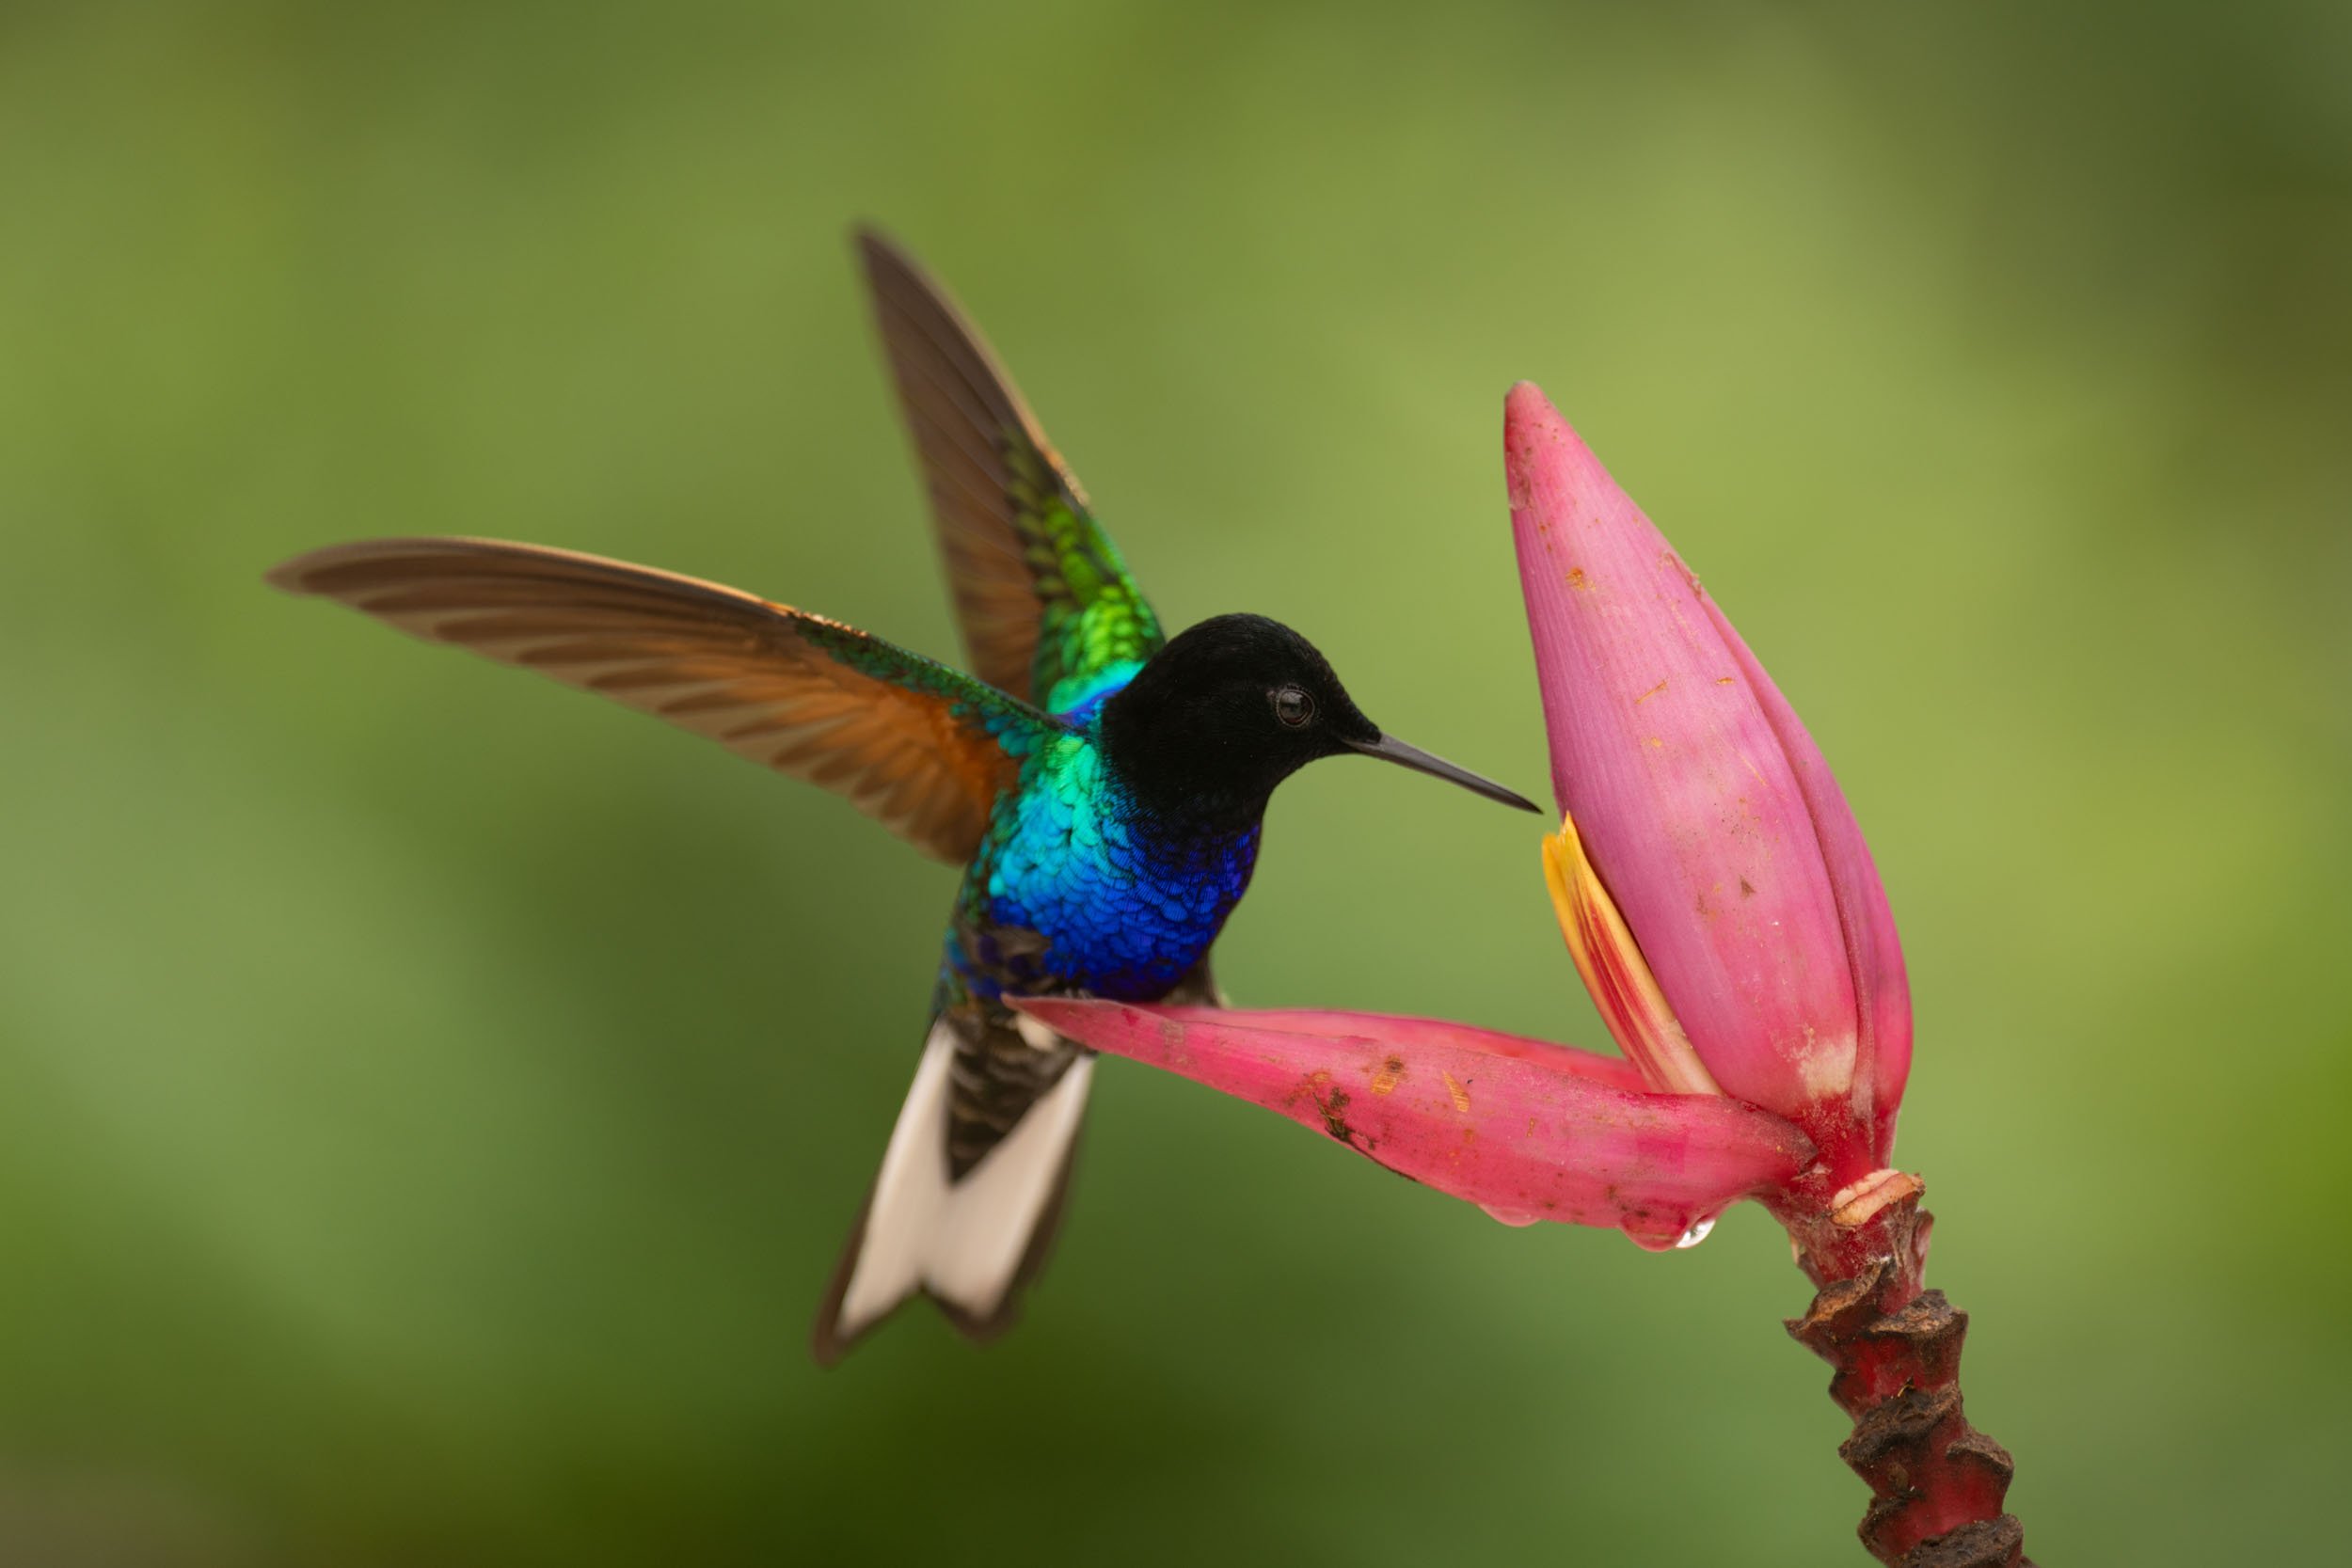
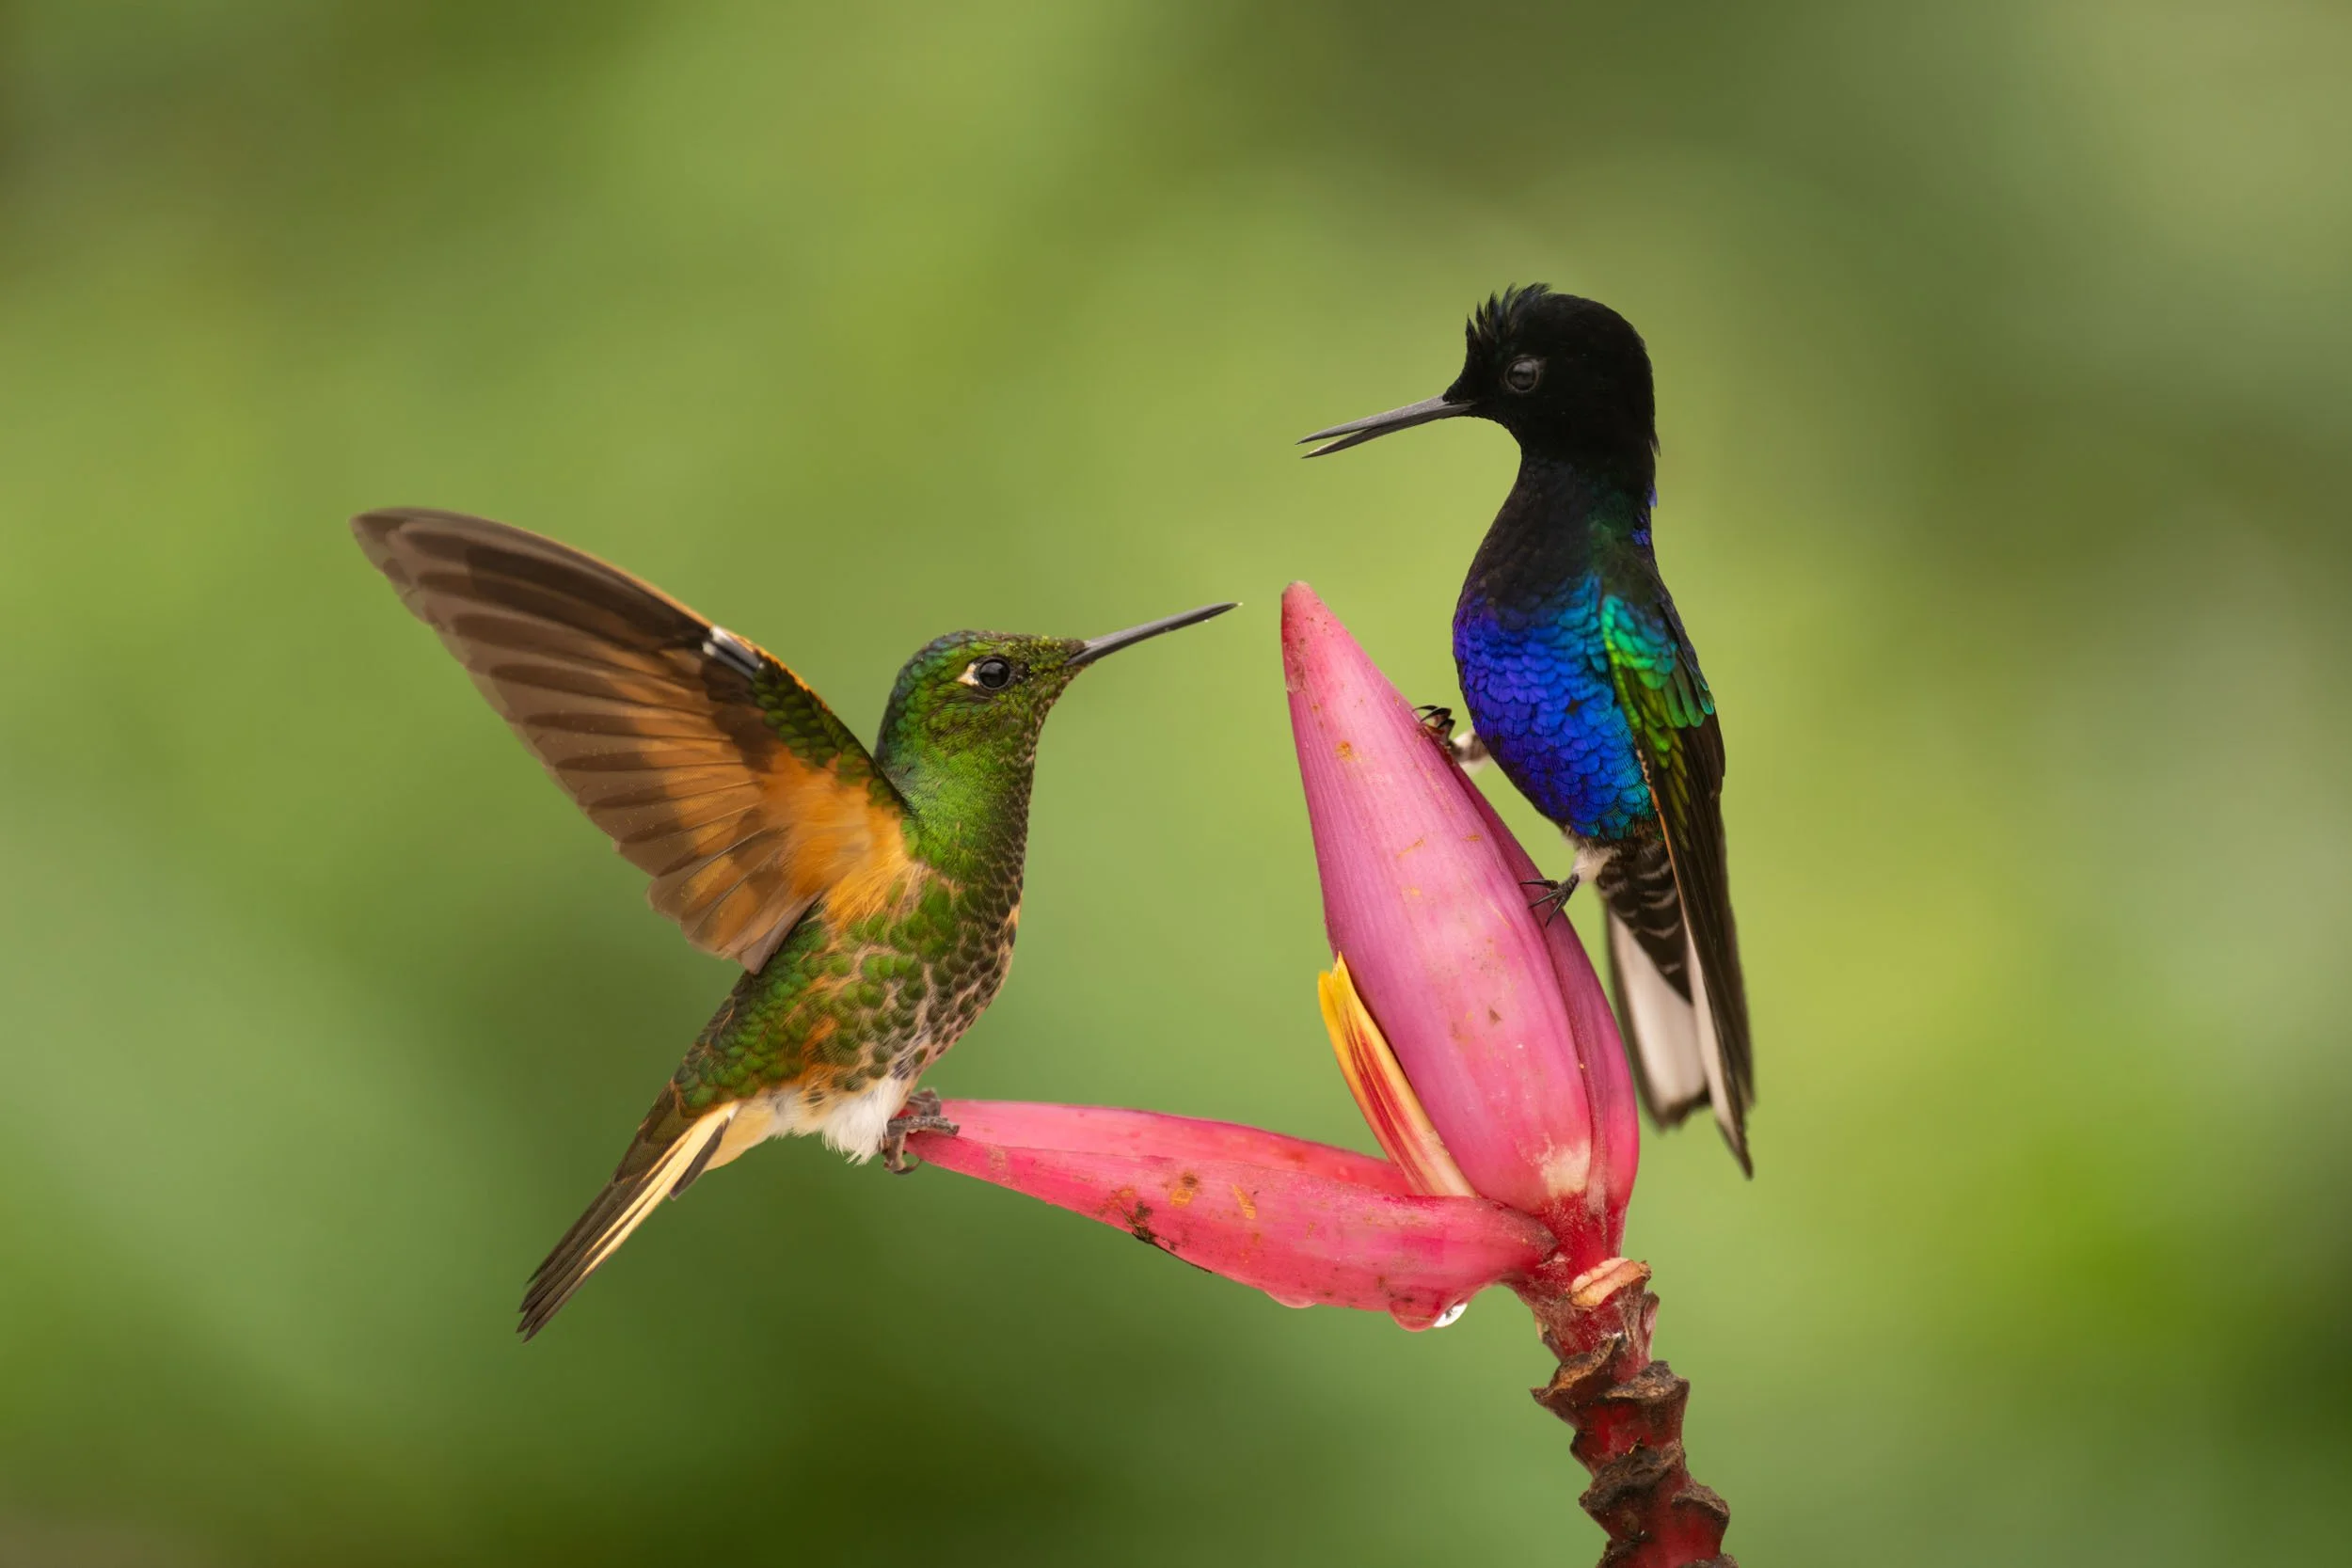
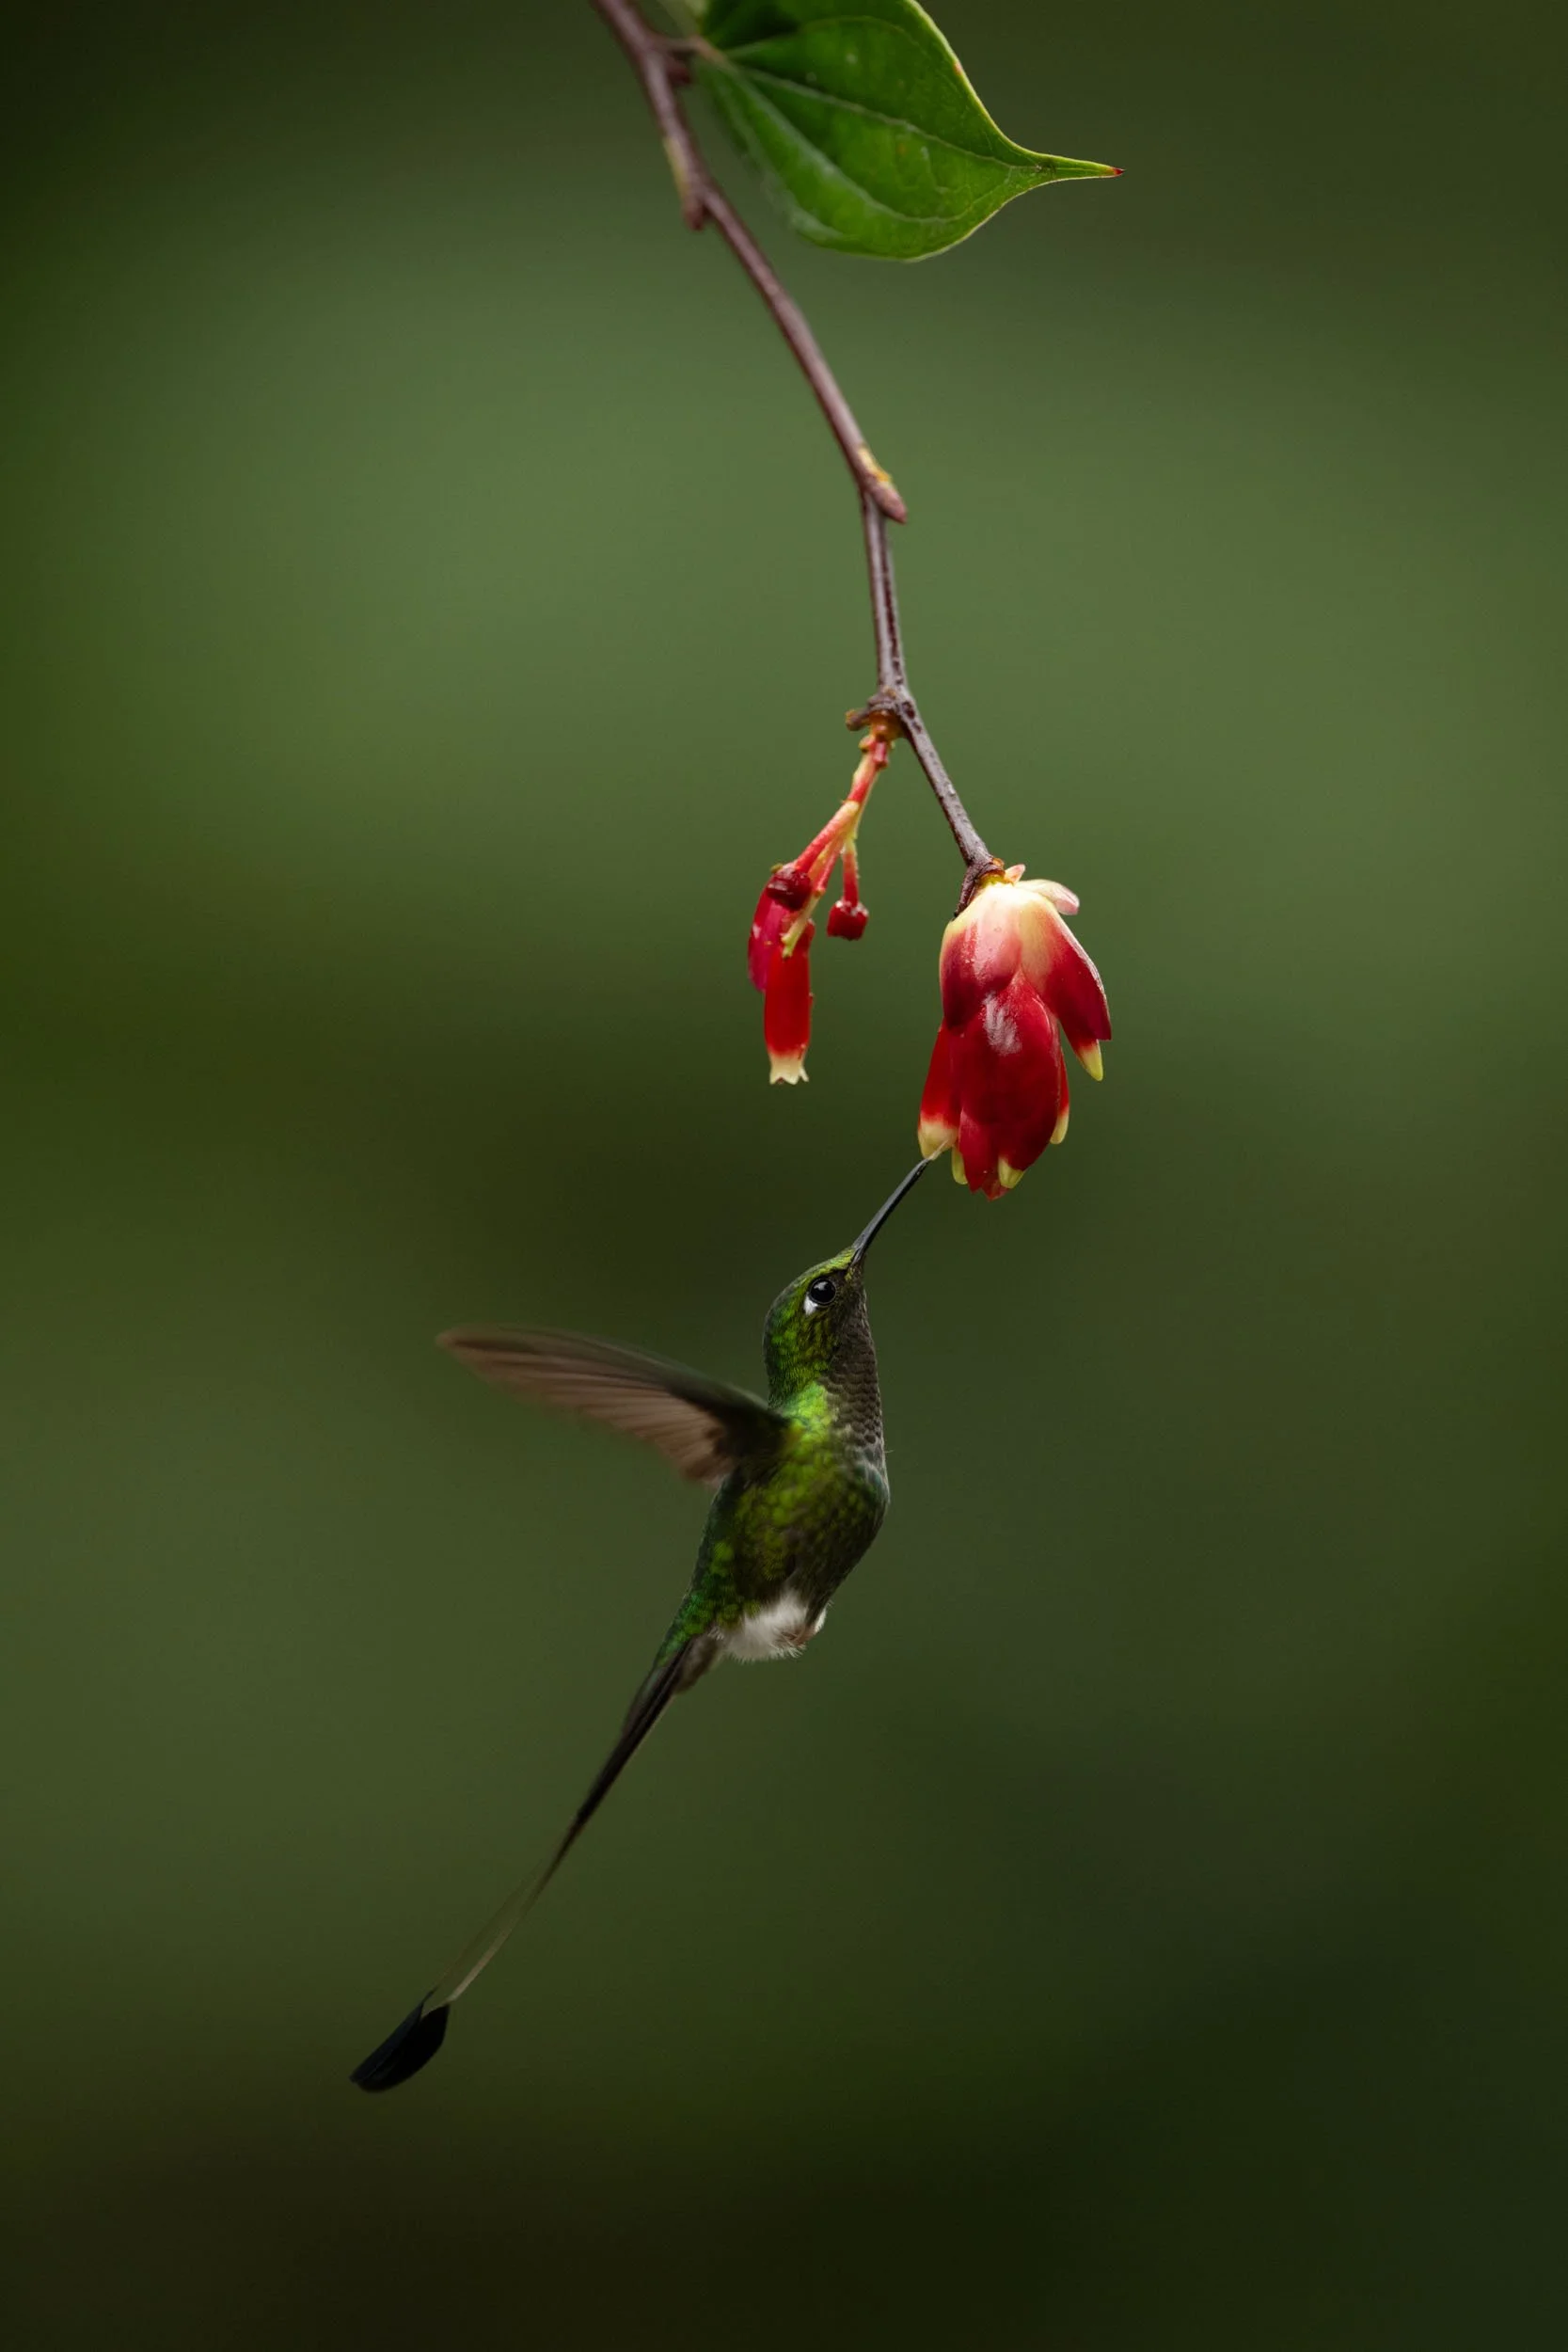
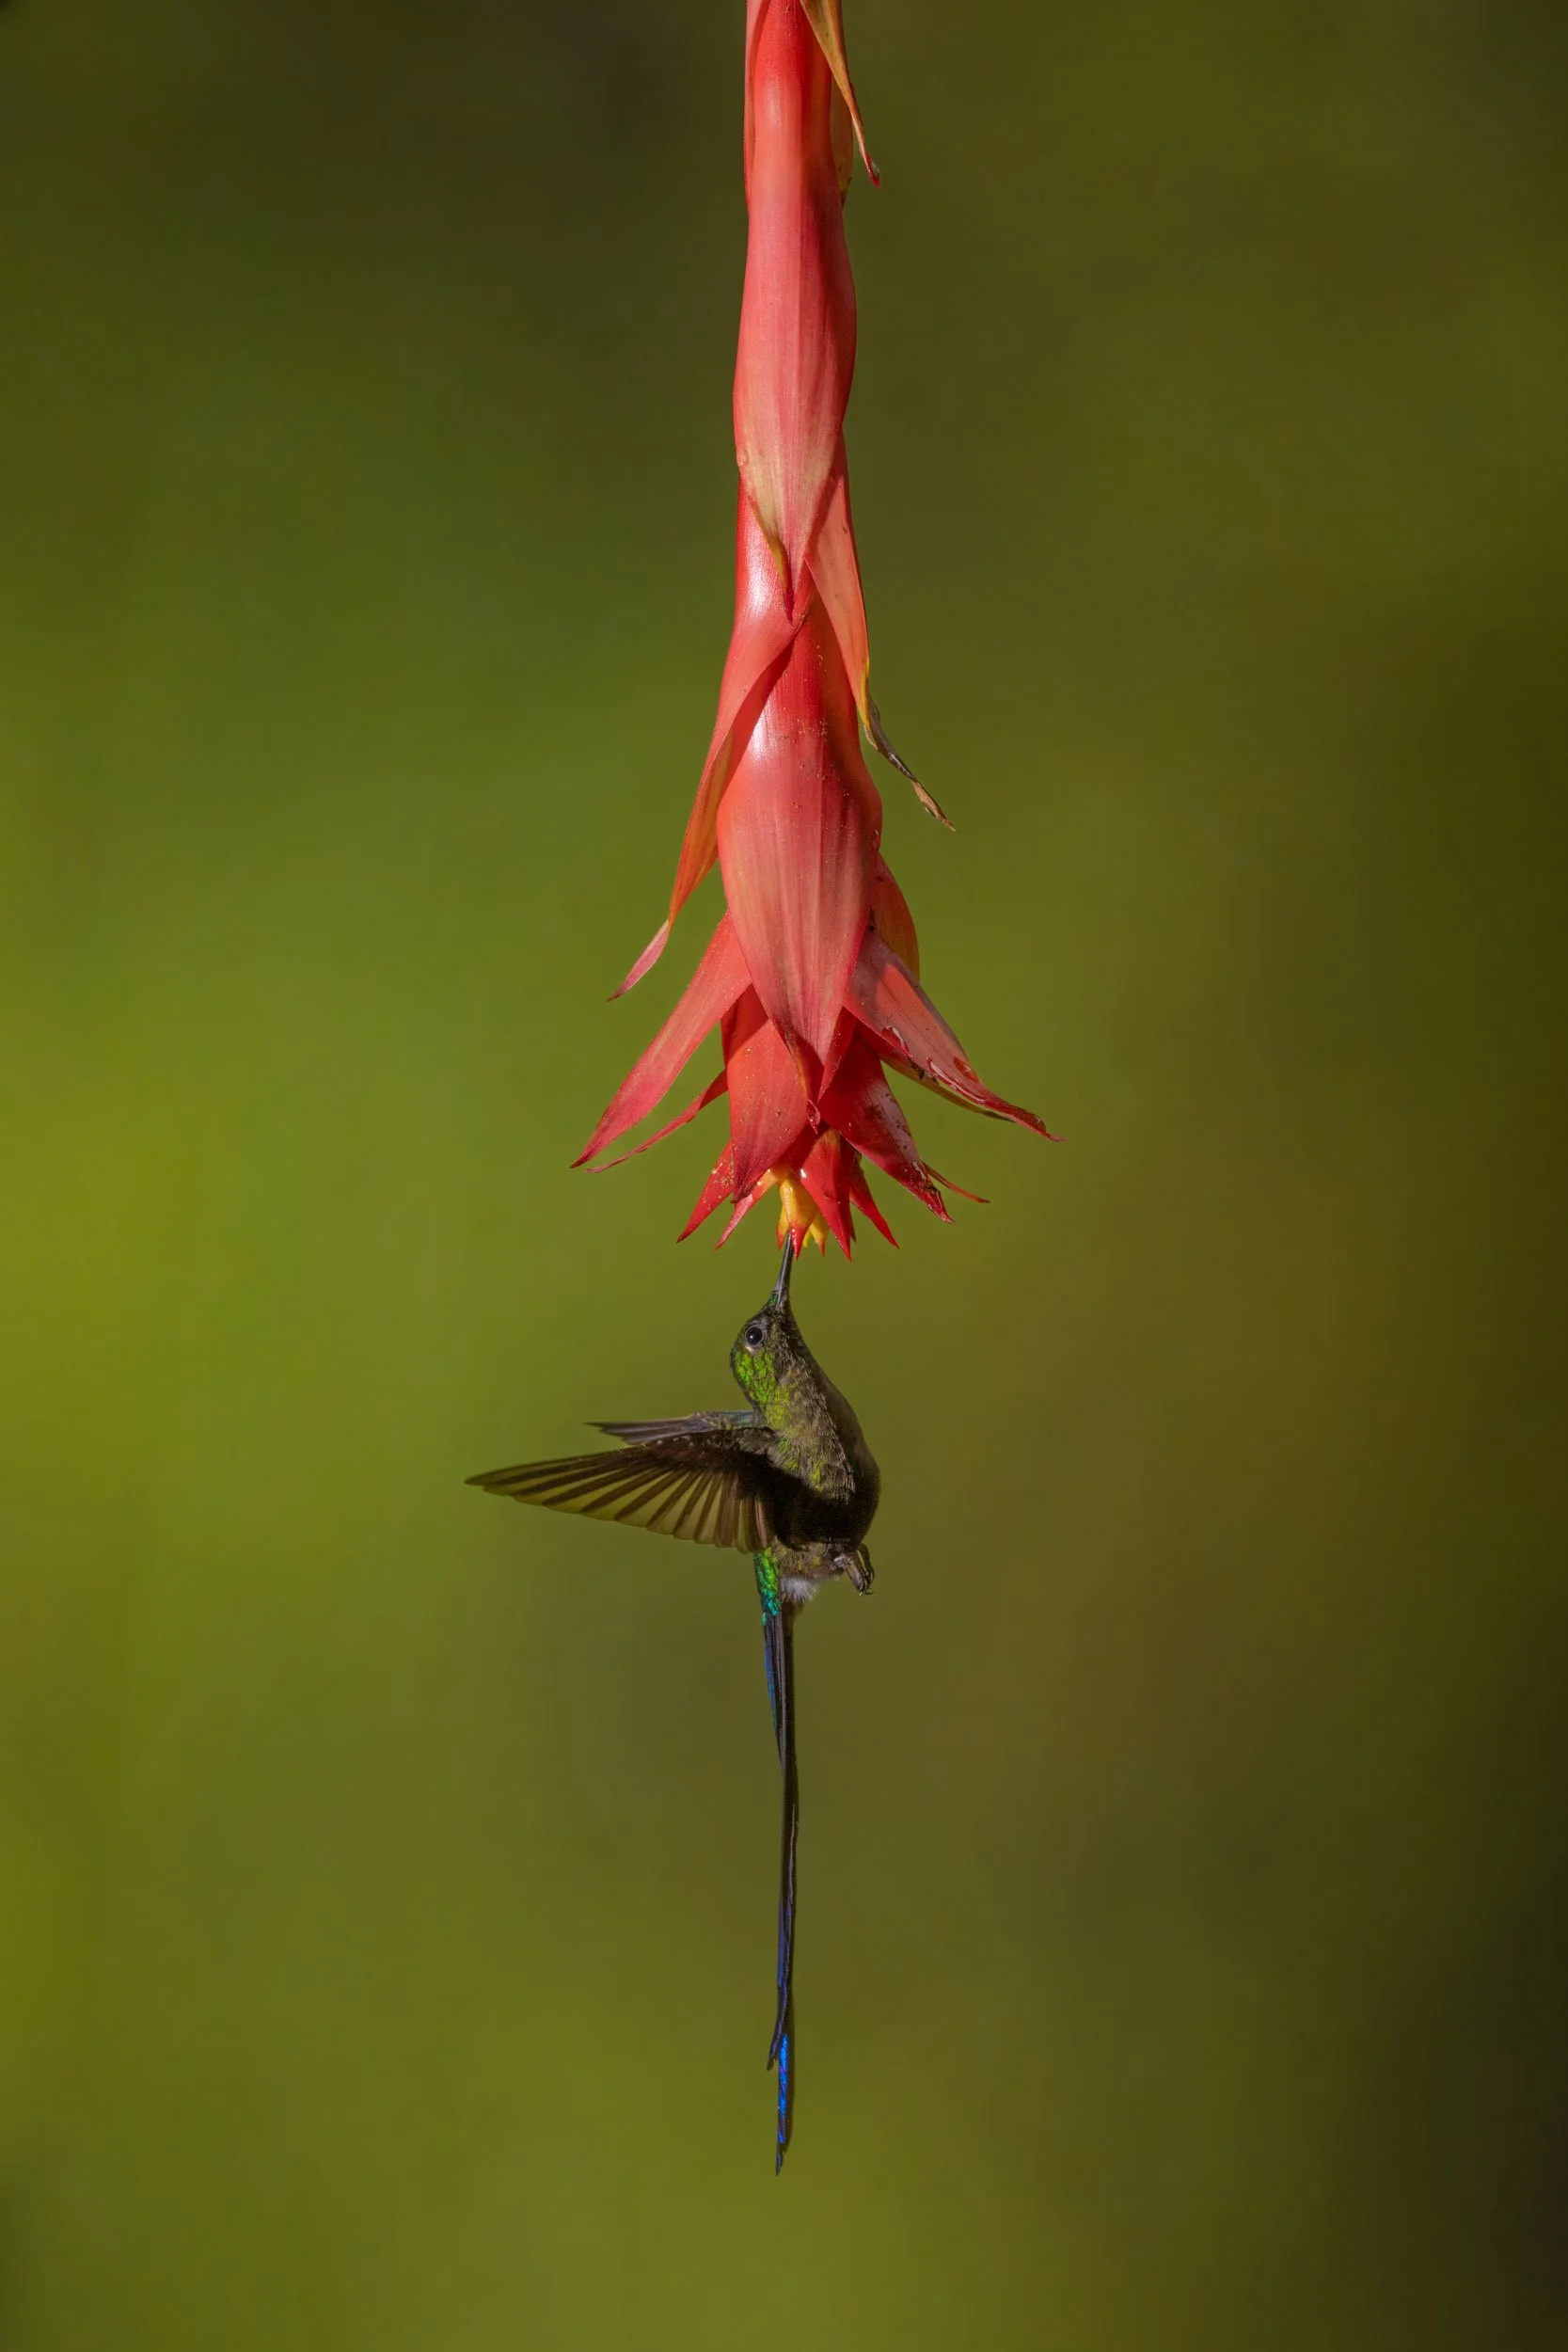
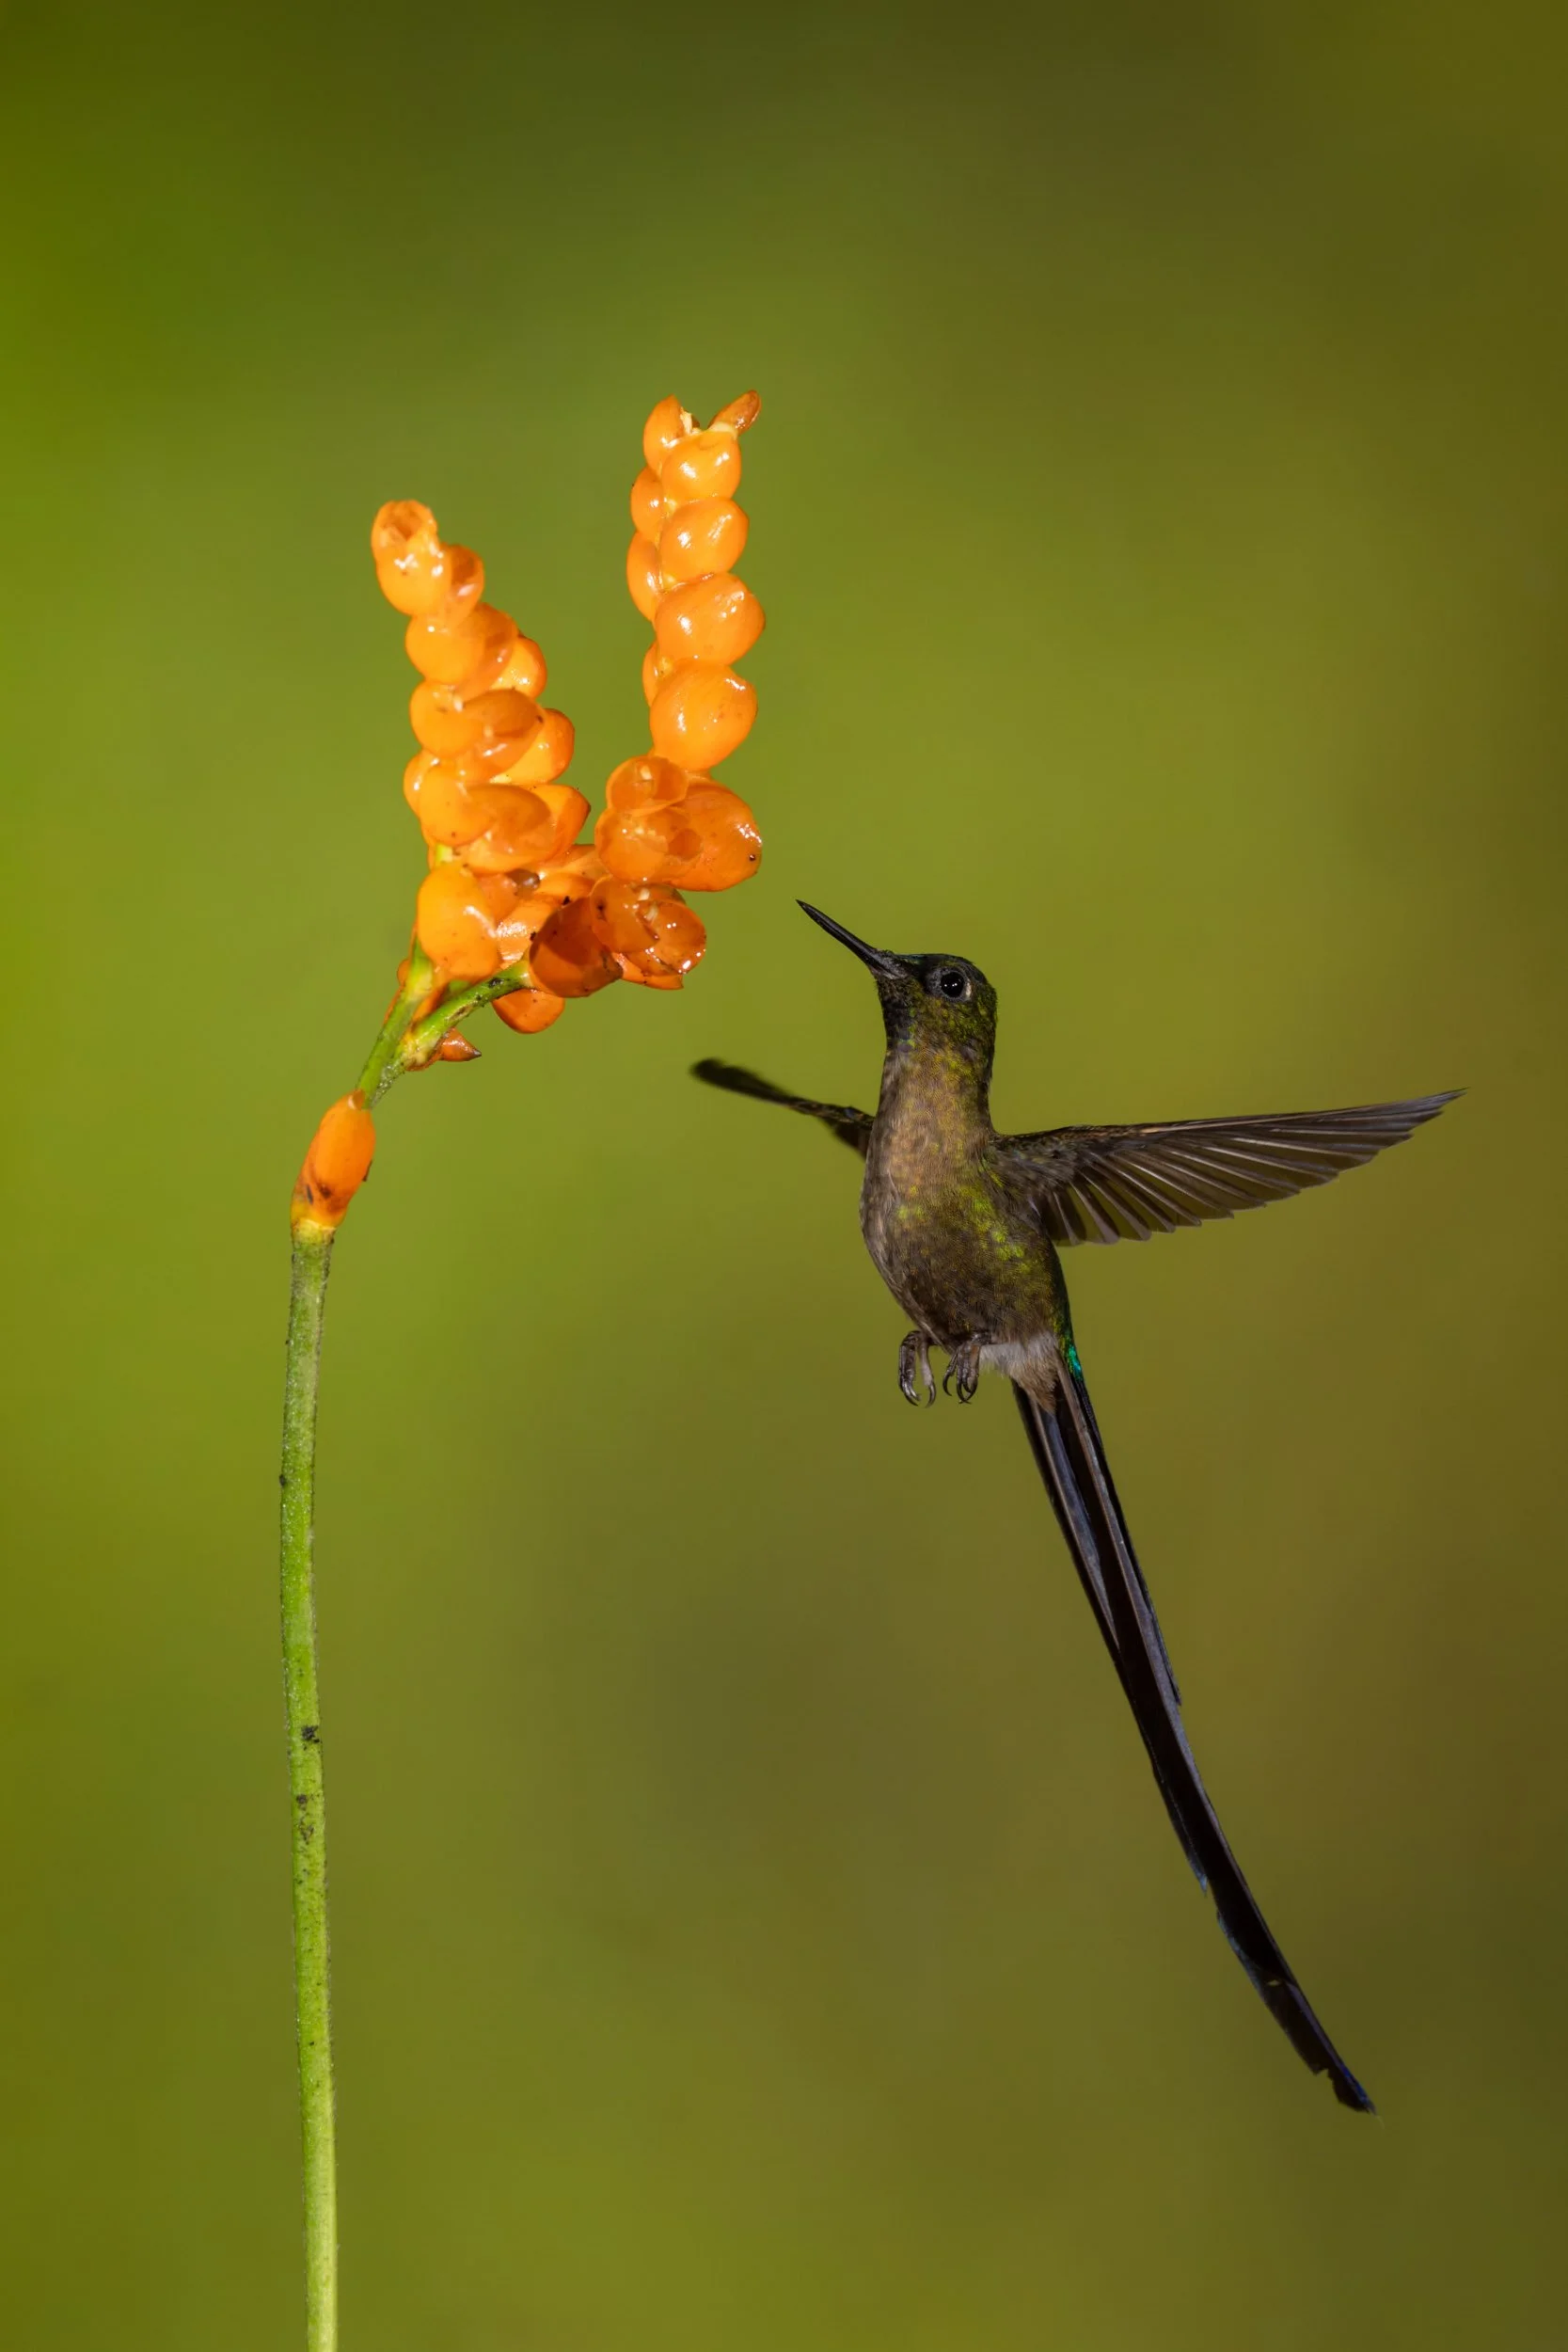
Hummingbirds are very colourful, but they also have the most fantastic two-part names. In Britain, we have to make do with starlings and blackbirds, but in Ecuador, they have violet-tailed sylphs, fawn-breasted brilliants and white-booted racket-tails! You can see a full list of all the species at the bottom of this article (and all my favourite shots in this gallery), but these three were the most common—either in the reserves or back at the lodge.
Reserves
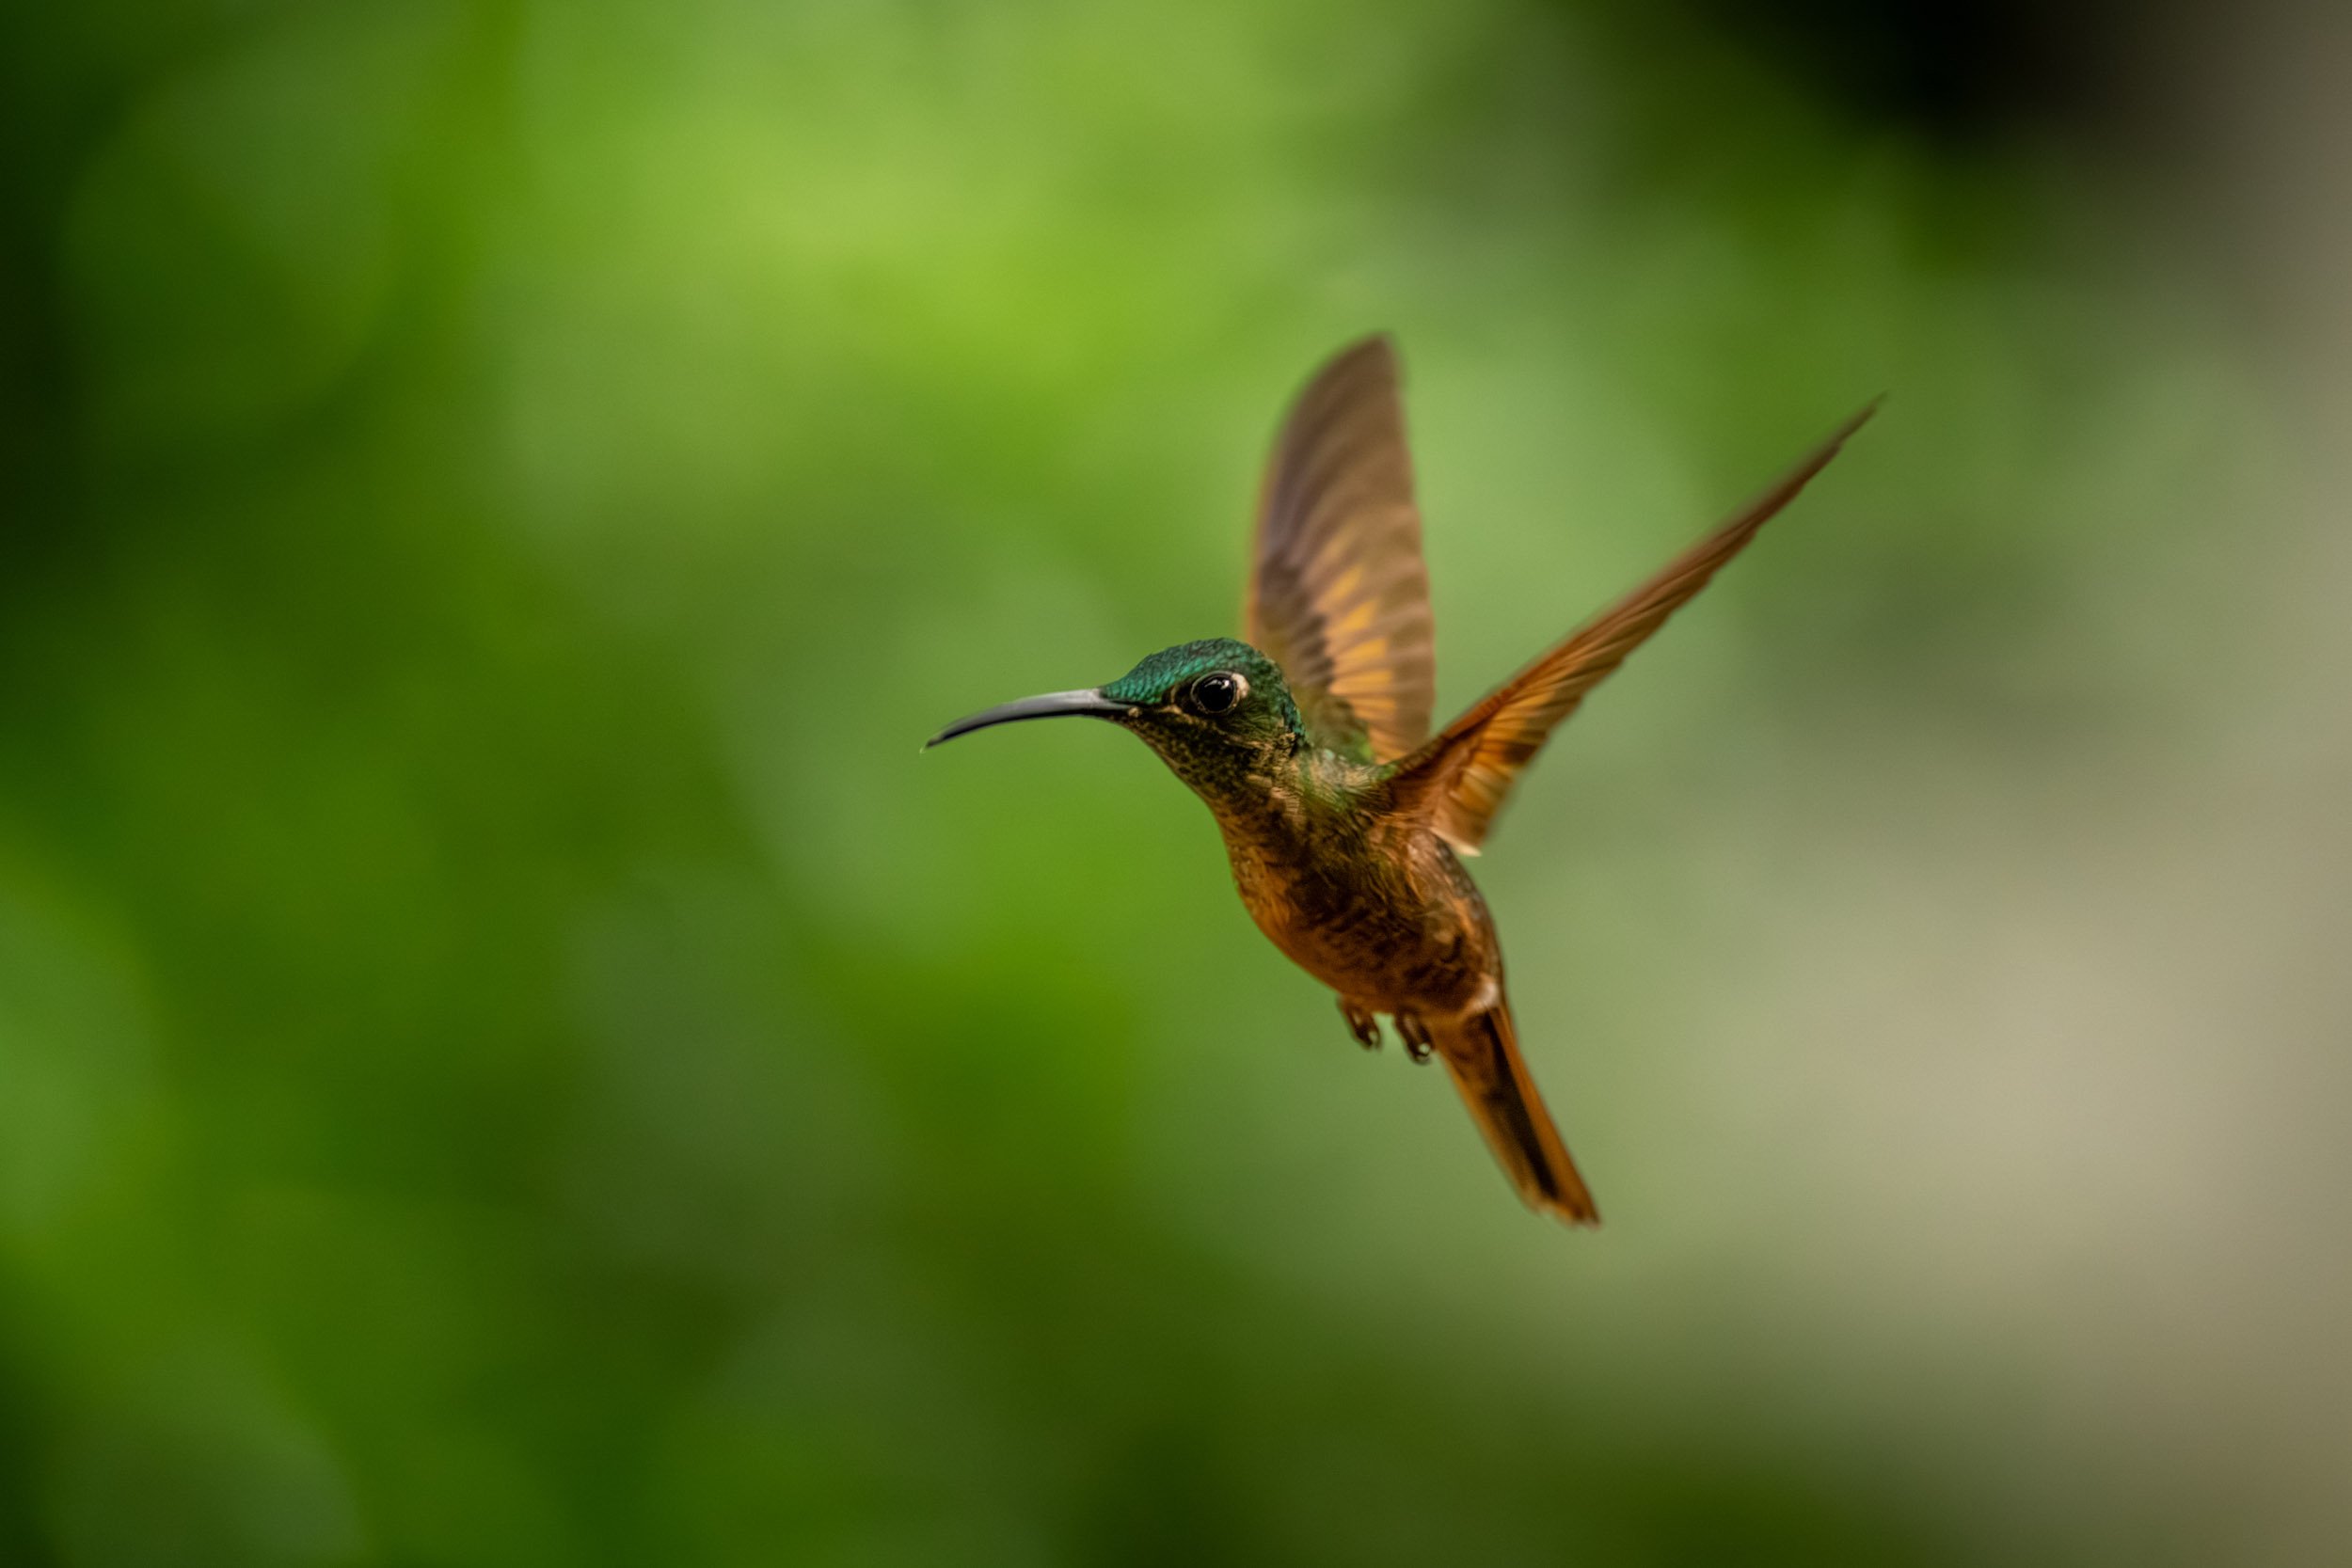

When it comes to hummingbirds, altitude is important. Tandayapa was at around 2,000 metres above sea level, but Zuro Loma was at around 3,000 metres. That difference meant I could see different species of hummers, including the spectacular sword-billed hummingbird (see above). The other difference between shooting at the lodge and the reserves was that I couldn't use flash in the reserves. As a result, I had to use a faster shutter speed and be a bit more careful about my ISO!
You have to remember that I was in the cloud forest, which meant that light levels were always pretty low. I almost never had the chance of shooting in full daylight as there were always trees or hills in the way or the weather was too poor. It was cloudy almost every day, and it drizzled about half the time. This wasn't really a problem as all the reserves had covered areas where I could take shelter from the rain and set up my tripod without worrying about my equipment getting wet.
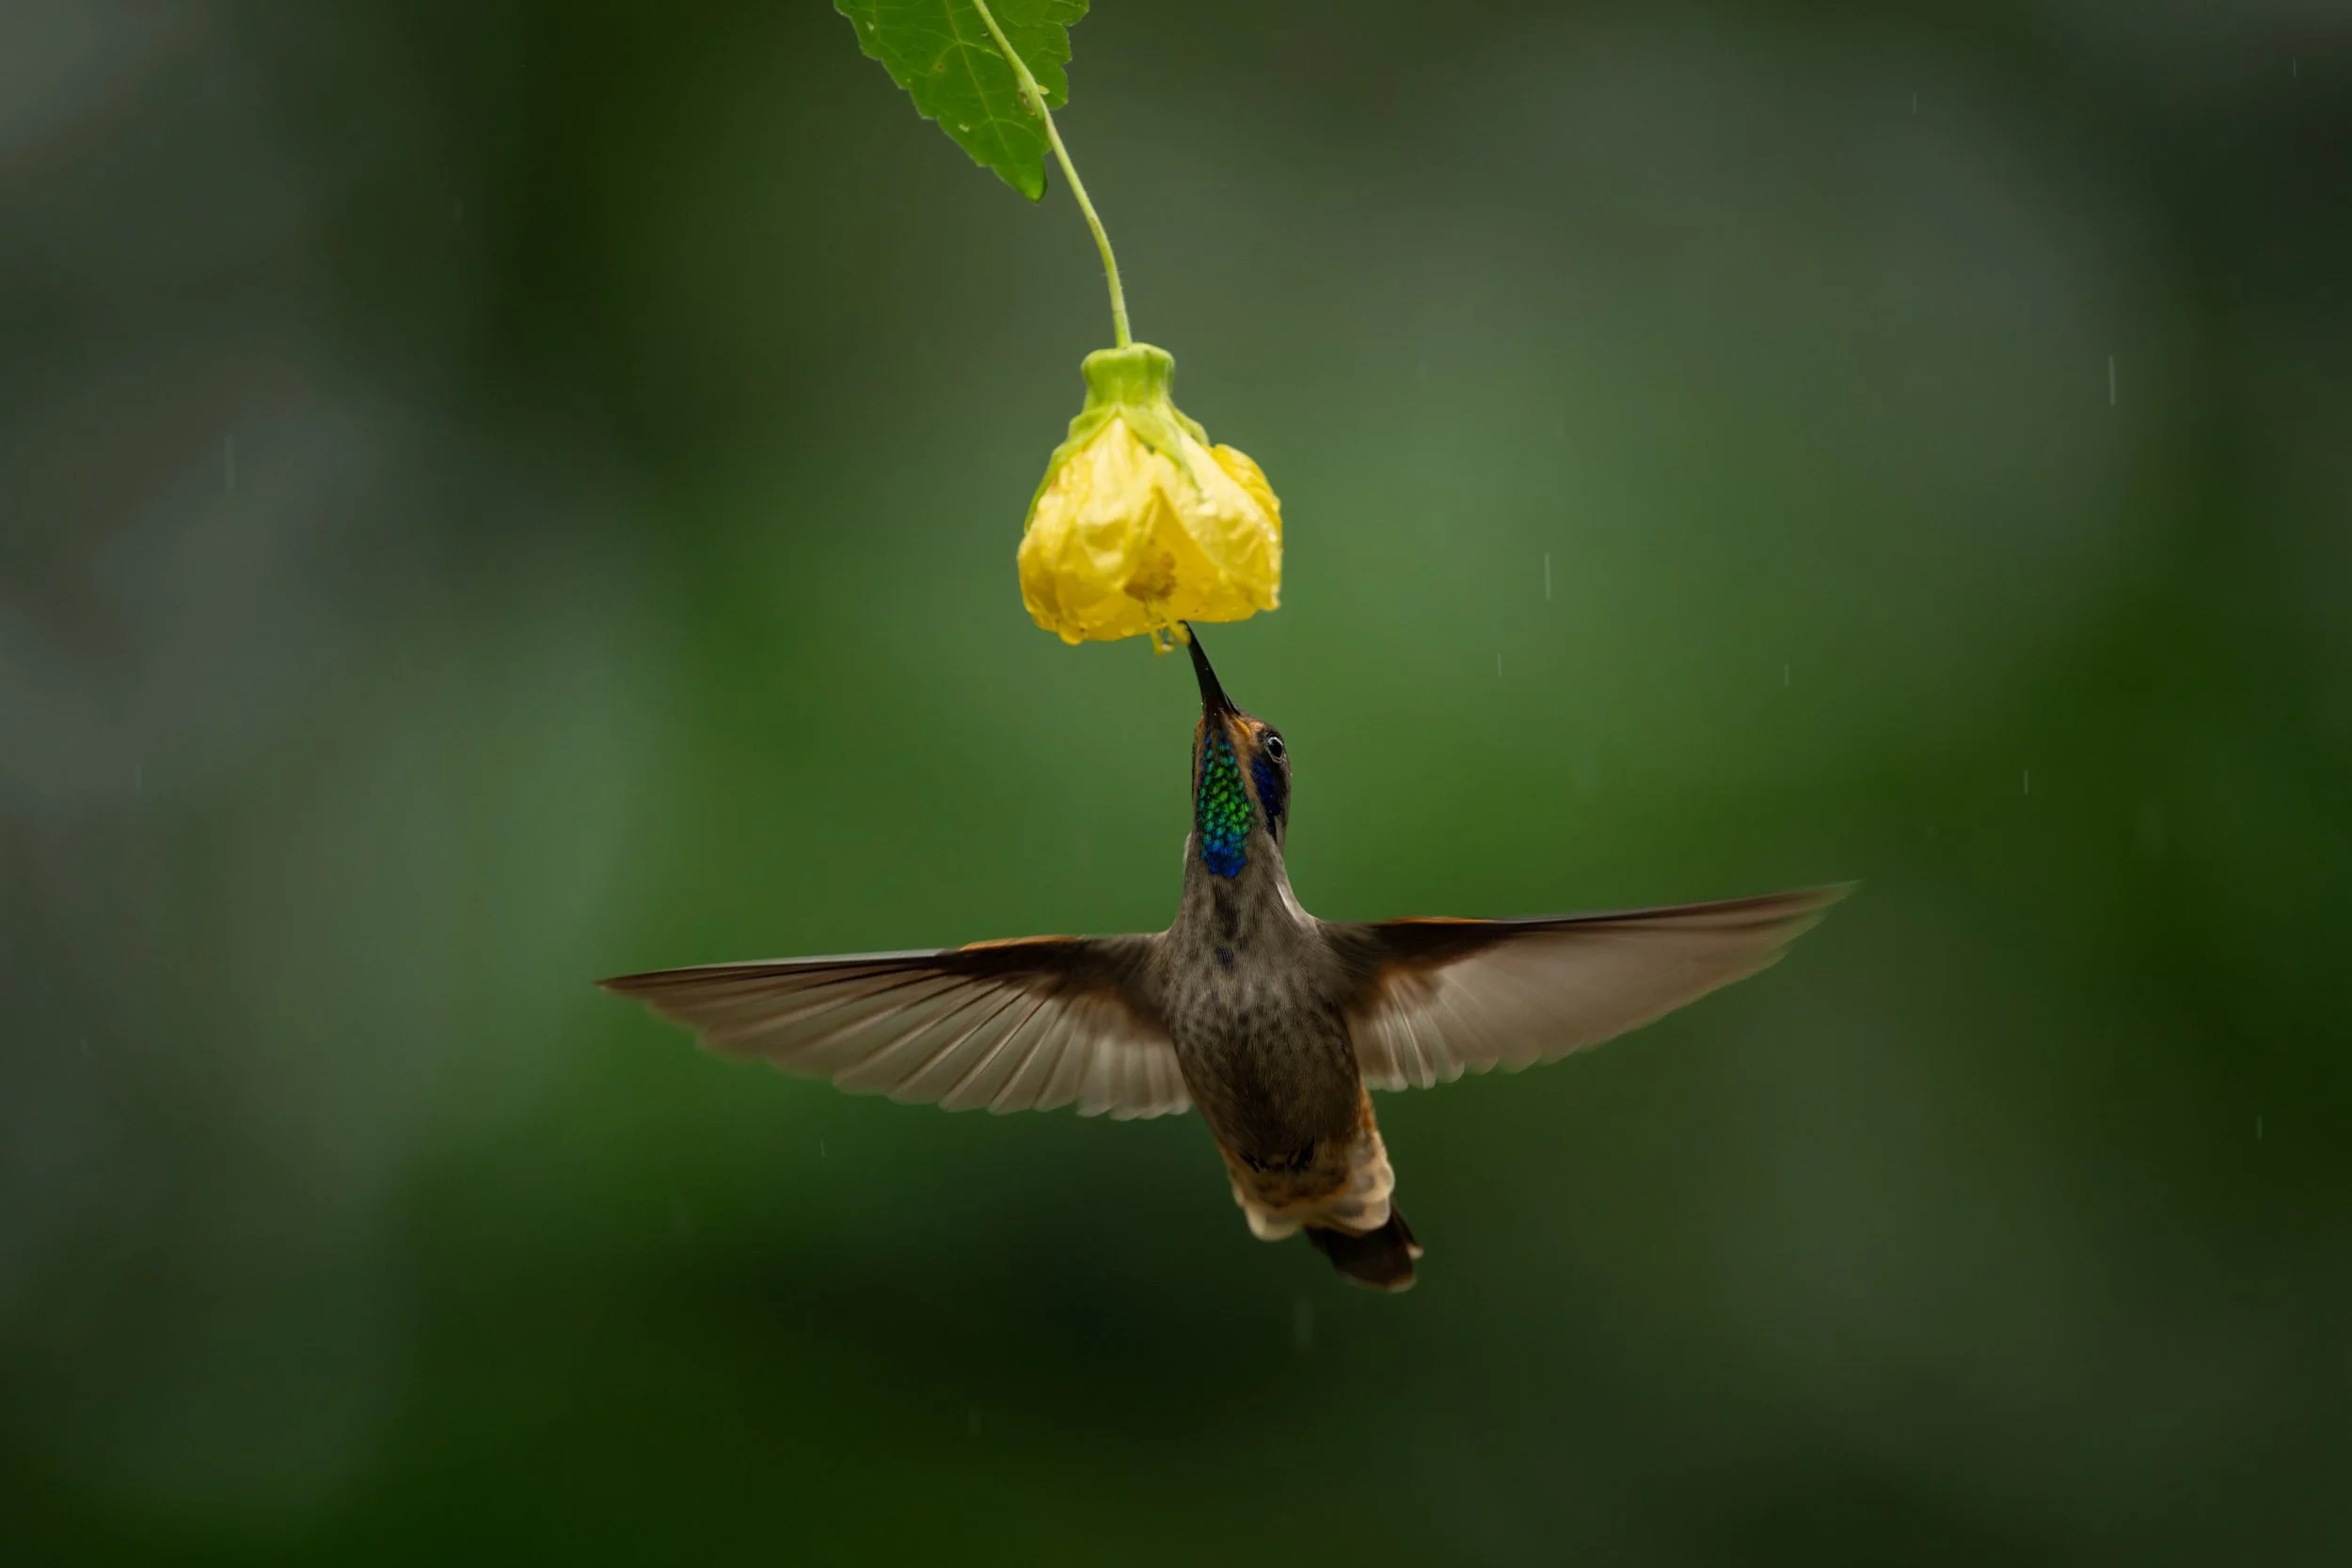
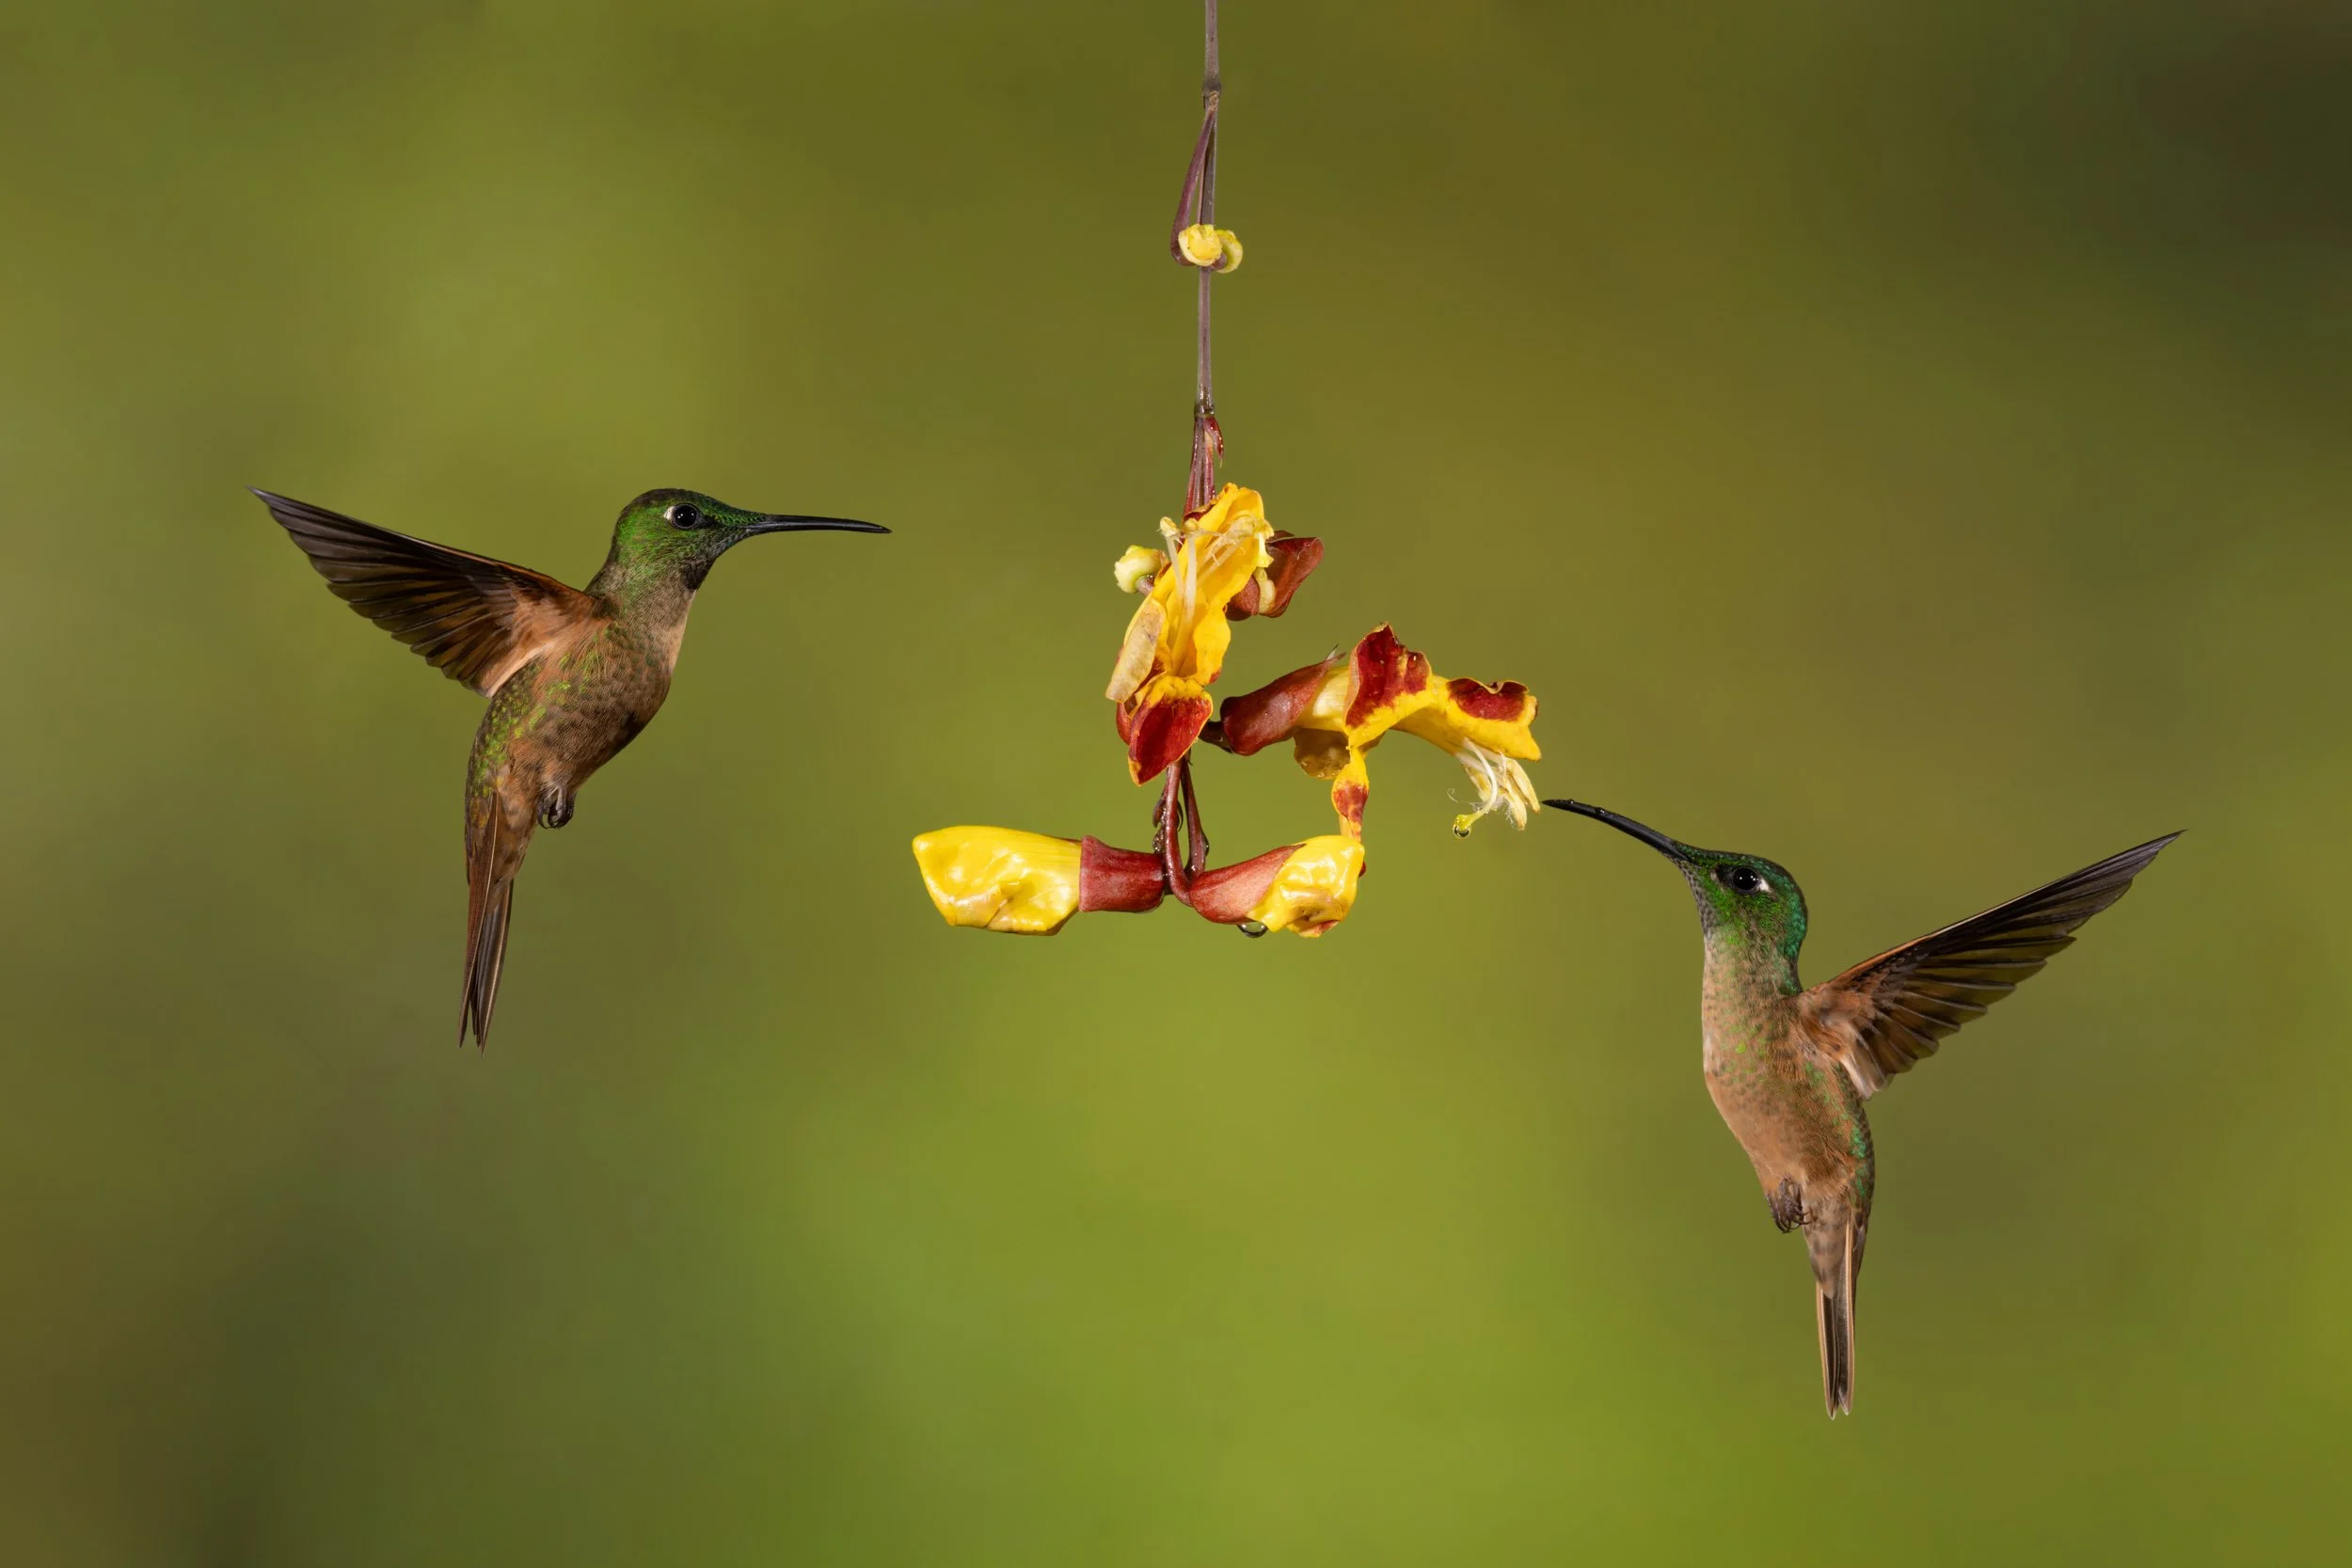
In other respects, the set-up was fairly similar. By default, the reserves had rows of plastic feeders filled with sugar water, and there were always plenty of hummingbirds circling around them and drinking from them. During my research back in London, I’d read that you could usually ask the staff to set up flowers to attract the birds. This was obviously much more natural (even though it wasn't perfect), and they were happy to do that for me wherever I went.
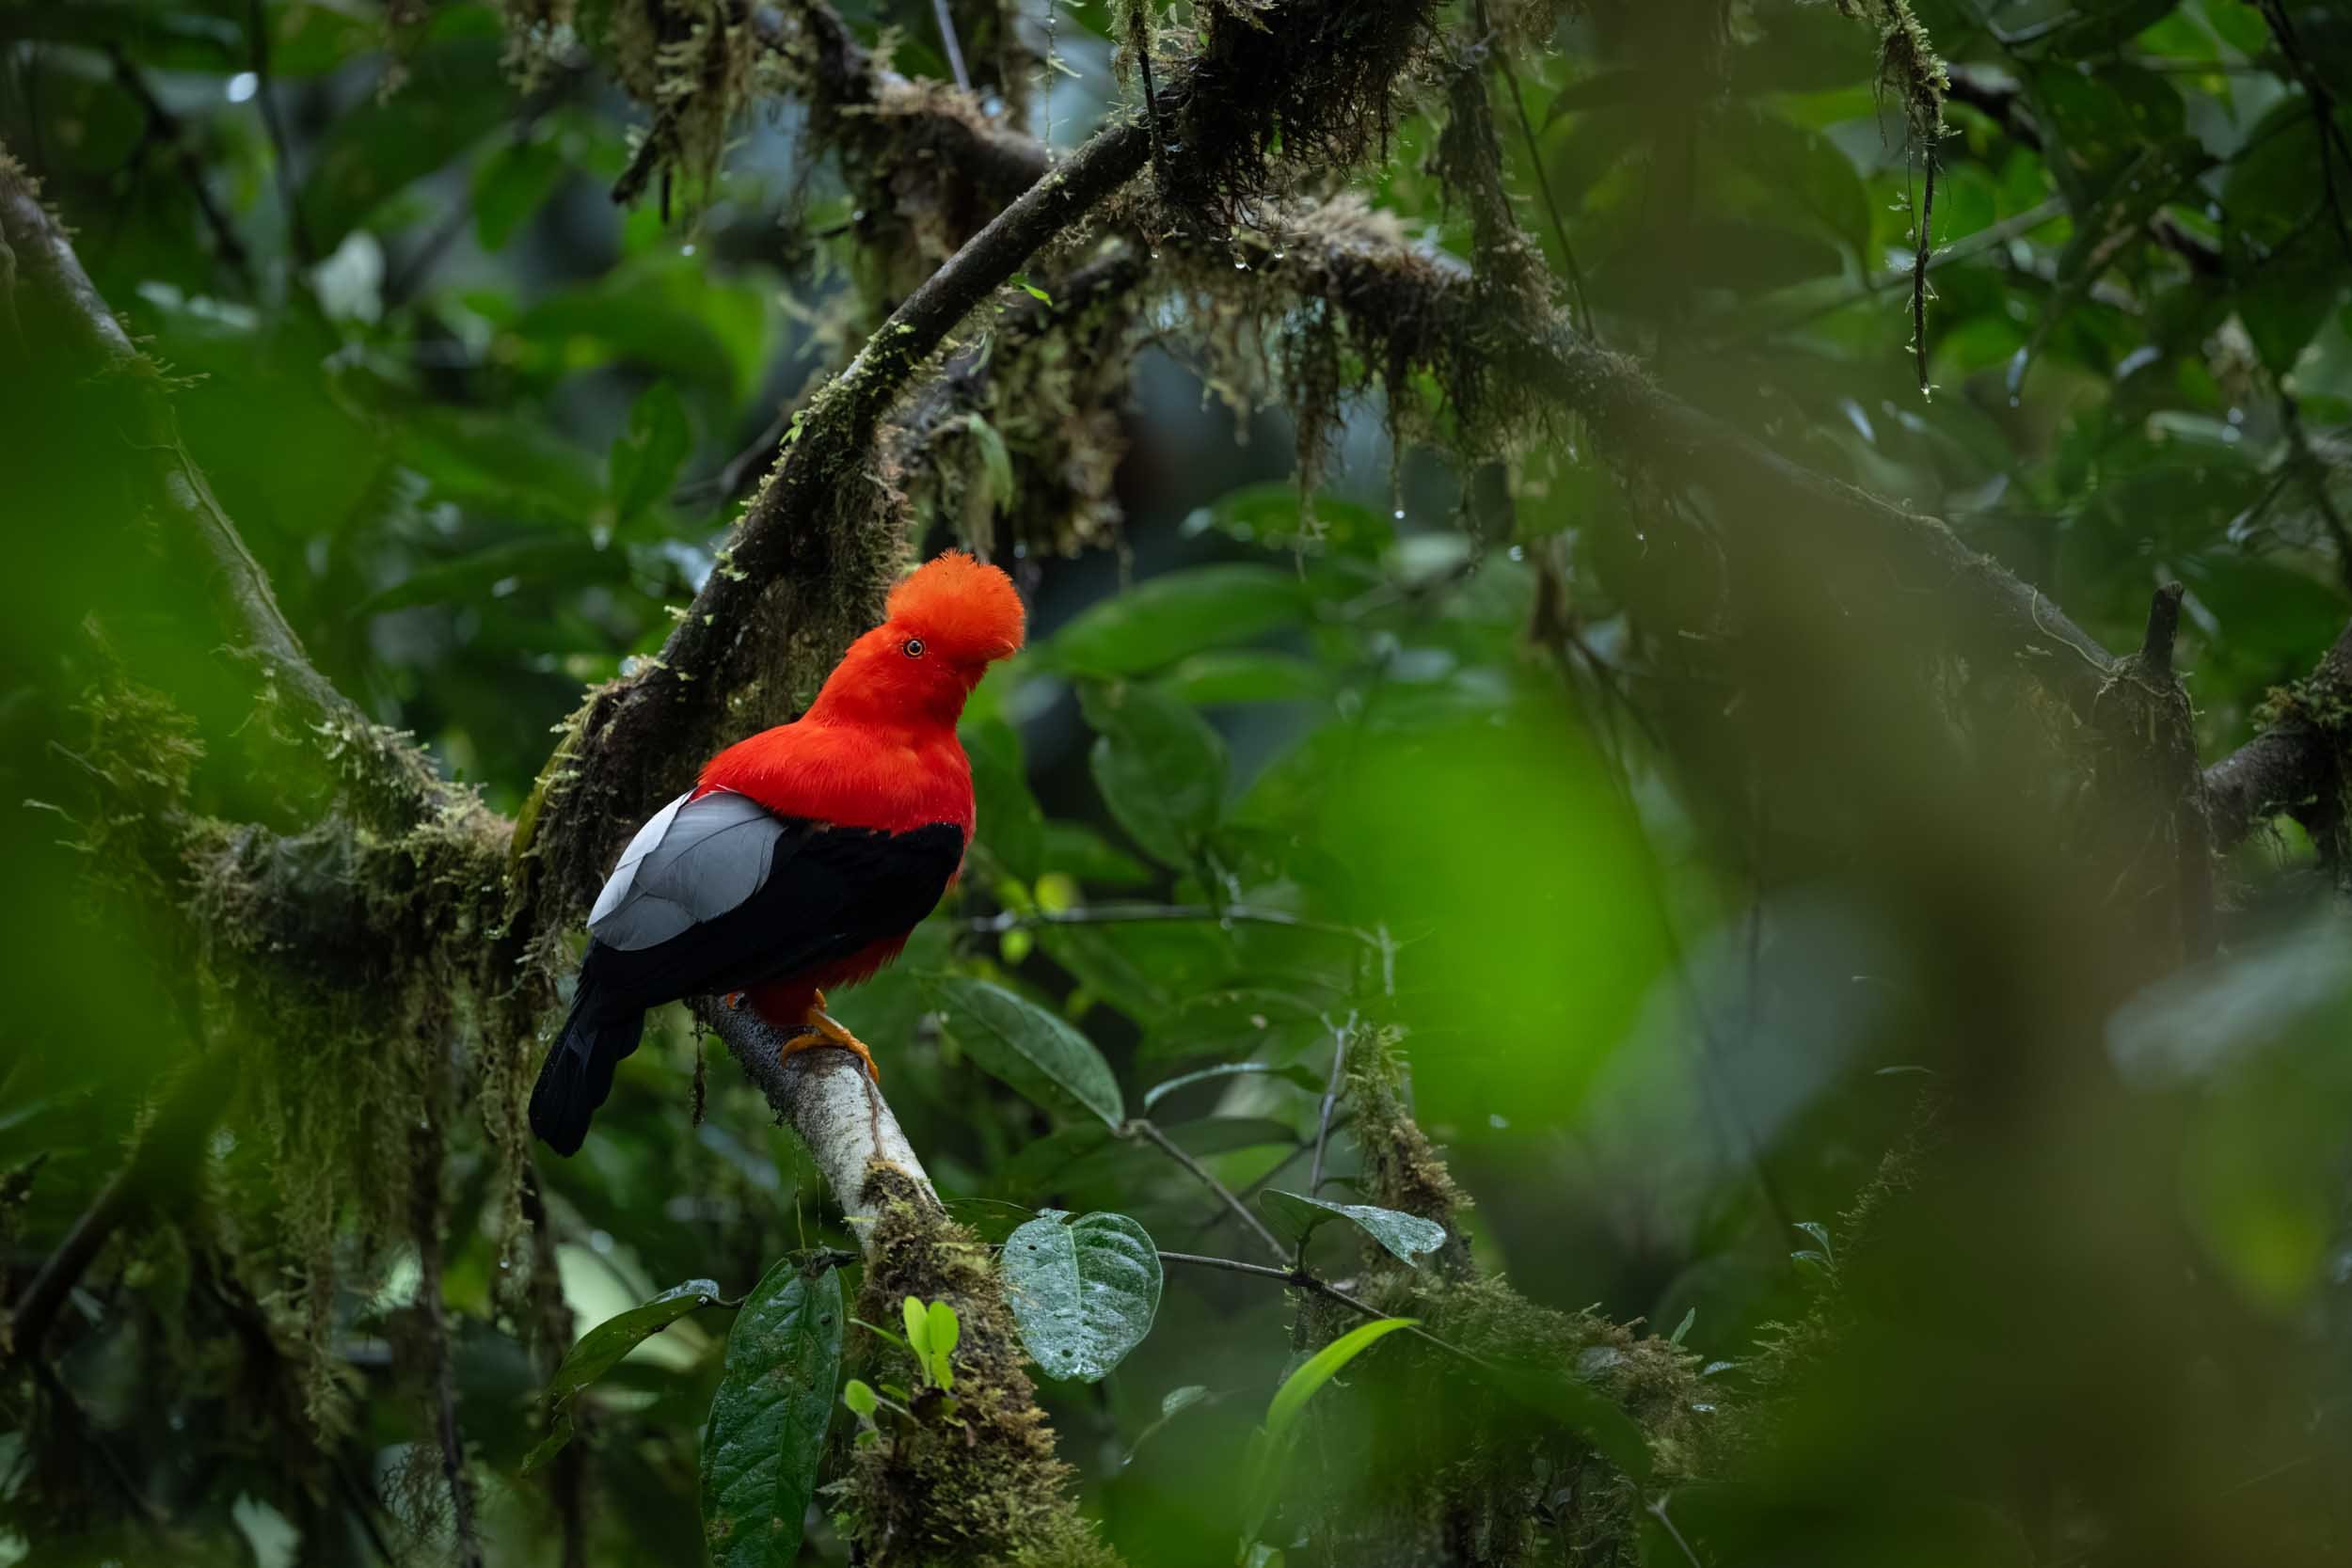
Most of the reserves had a similar set-up, often with separate sections for tanagers and hummingbirds. The exception was the Angel Paz reserve. I had to leave with Nelson at 0445 to get there in time, but I had no idea why! The mystery continued as we drove to a clearing in the middle of the jungle, walked for 10 minutes and stopped in the dark. I didn’t know why, but we then saw an owl in a tree just above us, so I could take a few pictures. We then walked on to a viewing platform, where we waited in silence and darkness until there was enough light to see the star of the show: the bright orange Andean cock-of-the-rock. Spectacular!
Settings
When it comes to camera settings, I normally shoot wildlife wide open in manual mode with auto ISO, and I did the same with the hummingbirds. The main difference was that I could usually use a tripod. That meant I could experiment with my shutter speed.
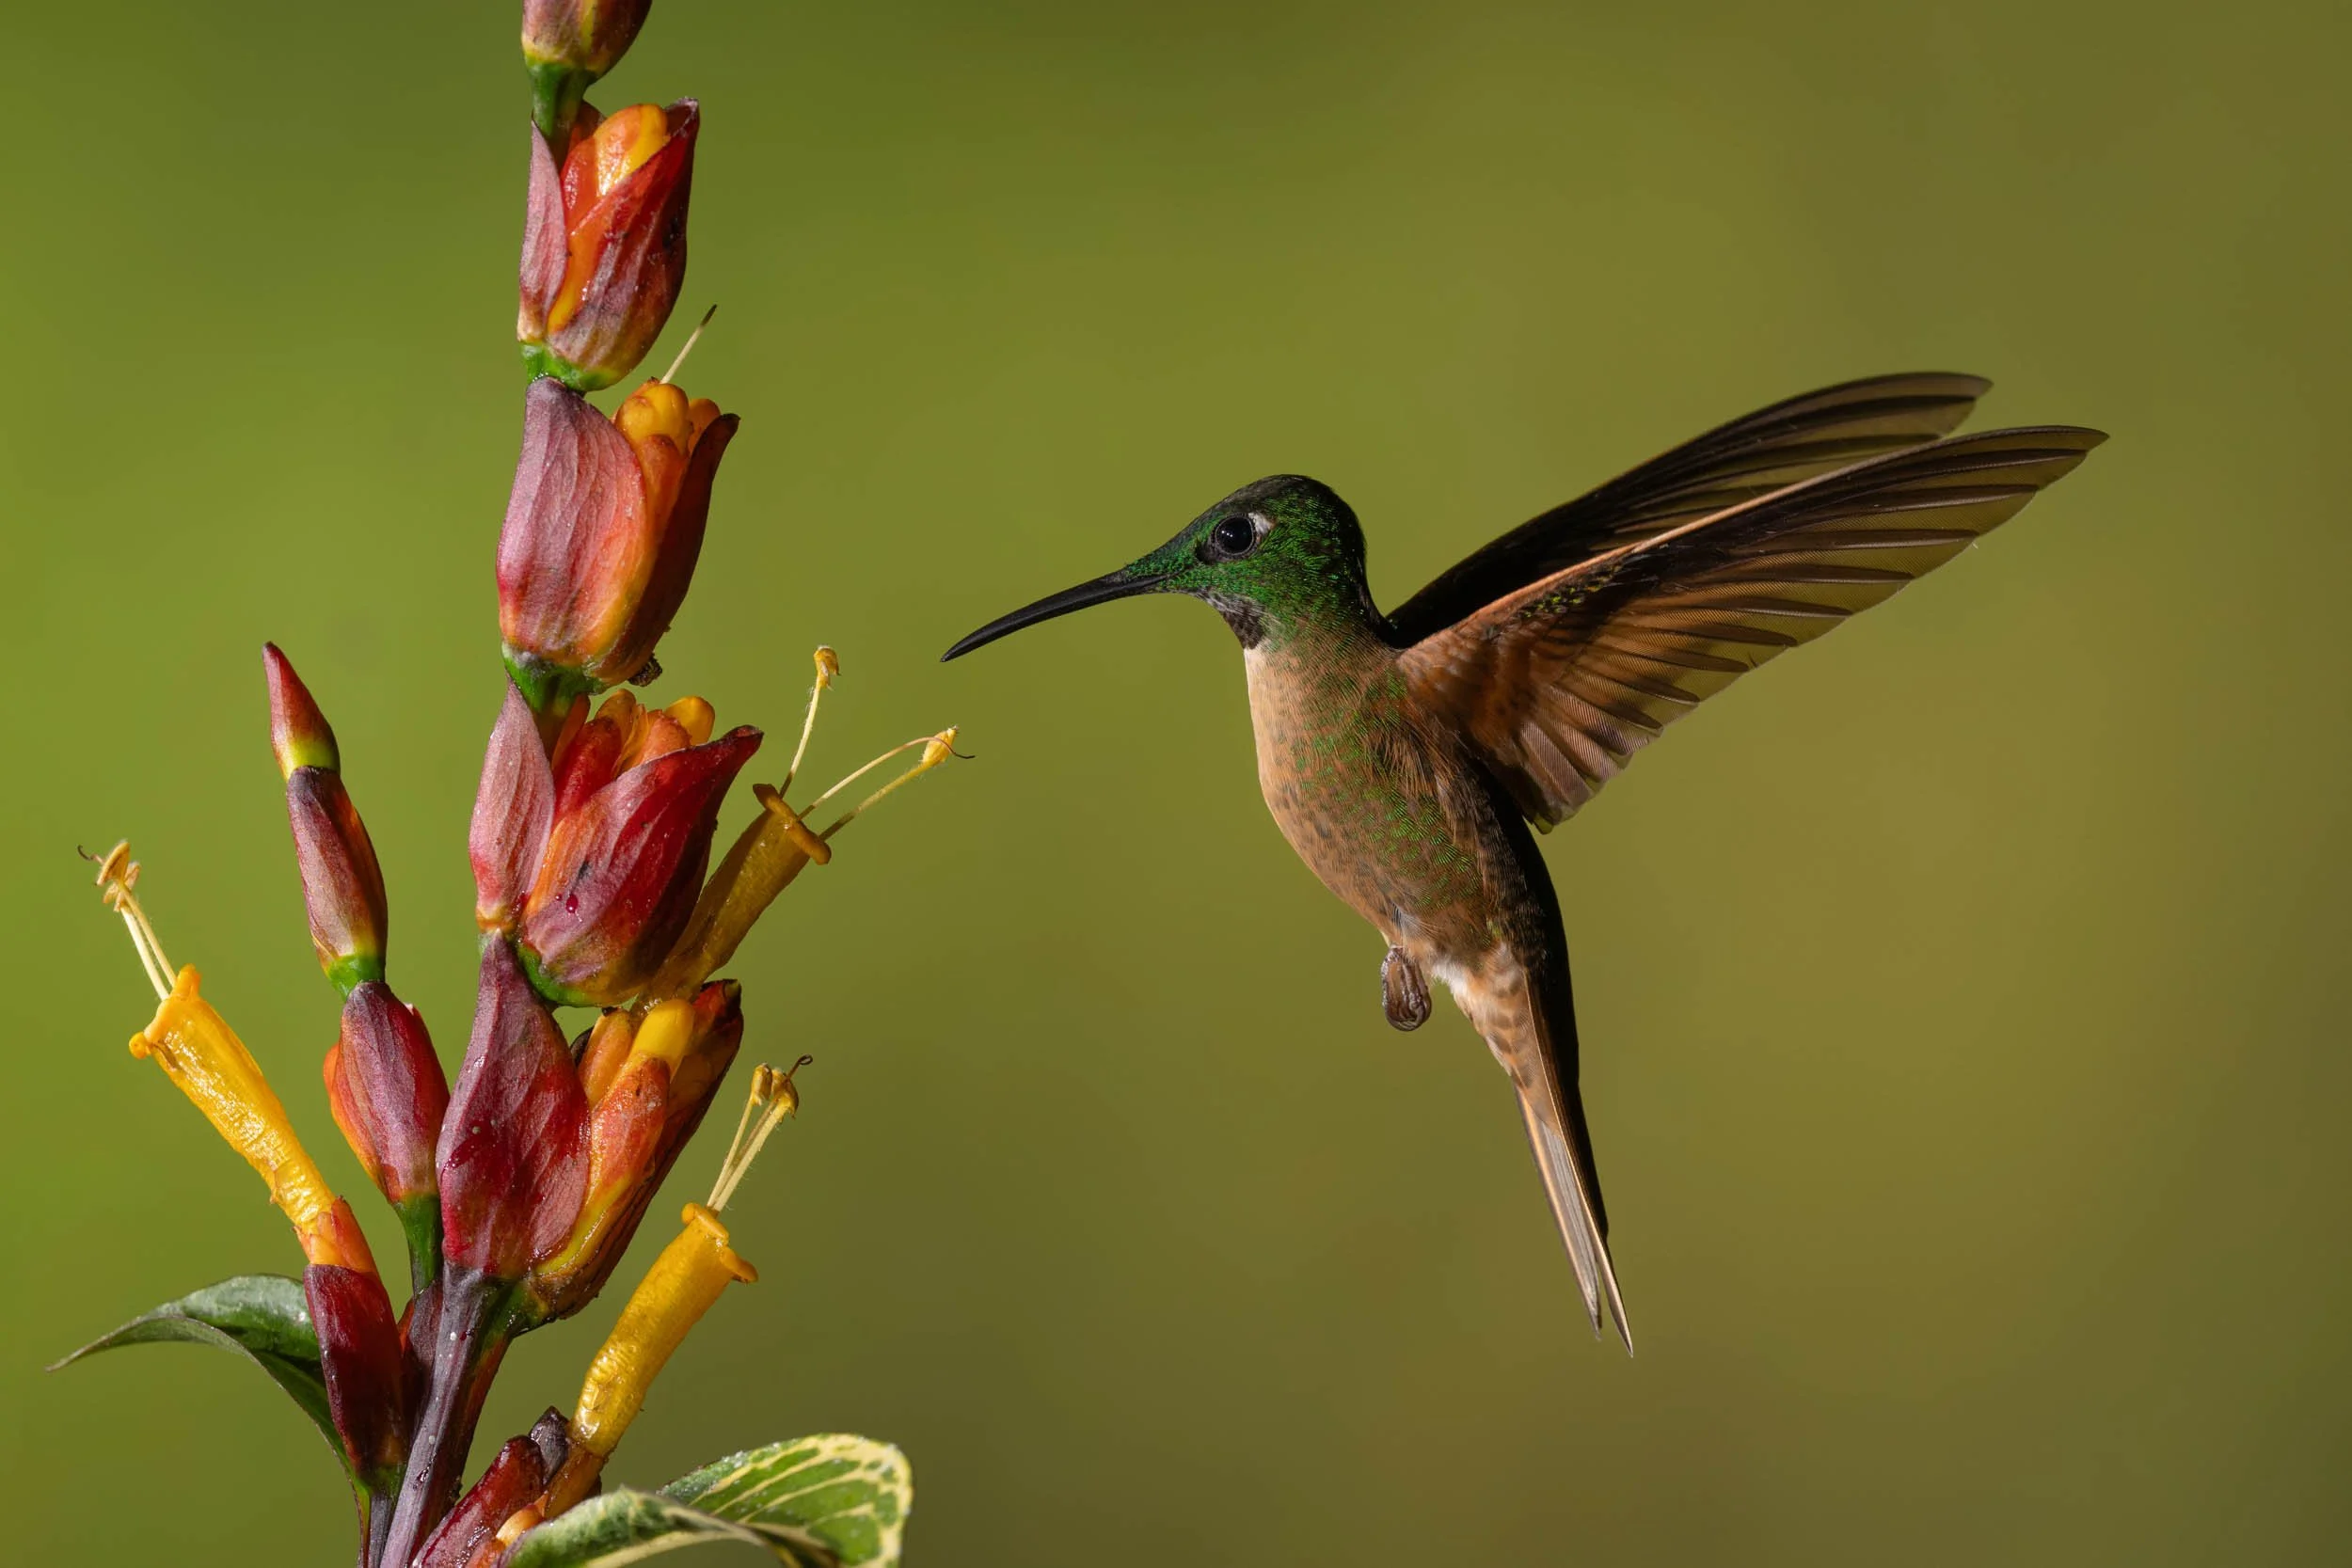
Normally, I shoot birds in flight at 1/3200th of a second. However, hummingbirds beat their wings at 80 BPM, and I wanted to show that rapid movement by blurring them slightly. I tried out various shutter speeds from 1/160th (to capture raindrops as white streaks) all the way up to 1/2000th (to freeze the motion of the birds themselves), and I eventually settled on 1/500th. At that setting, I could get a bit of creative motion blur while keeping the bodies of the hummingbirds sharp as they hovered.
It was hard to be creative because of the constraints of the locations. I couldn't really shoot backlit because there was almost never a low sun in the sky, and I couldn't perform my usual trick of shooting birds taking off because they were almost always hovering around the flowers or the feeders. Even if I did manage to get a takeoff shot, it was usually just a tanager or a toucan dropping down to grab some food, which meant it didn't usually flap its wings.
Paul Nicklen has what he calls his 20:60:20 rule, which means taking record shots for the first 20% of a sighting, then trying to be more creative for the next 60% and finally doing things he’s never done before for the final 20%. It’s a good theory, but I’m afraid Paul’s 20:60:20 rule quickly became a 98:1:1 rule! The only creative thing I did at the reserves was to lie on my back and photograph the hummingbirds from below. It was an interesting idea, but I didn’t end up keeping a single frame…
The Lodge

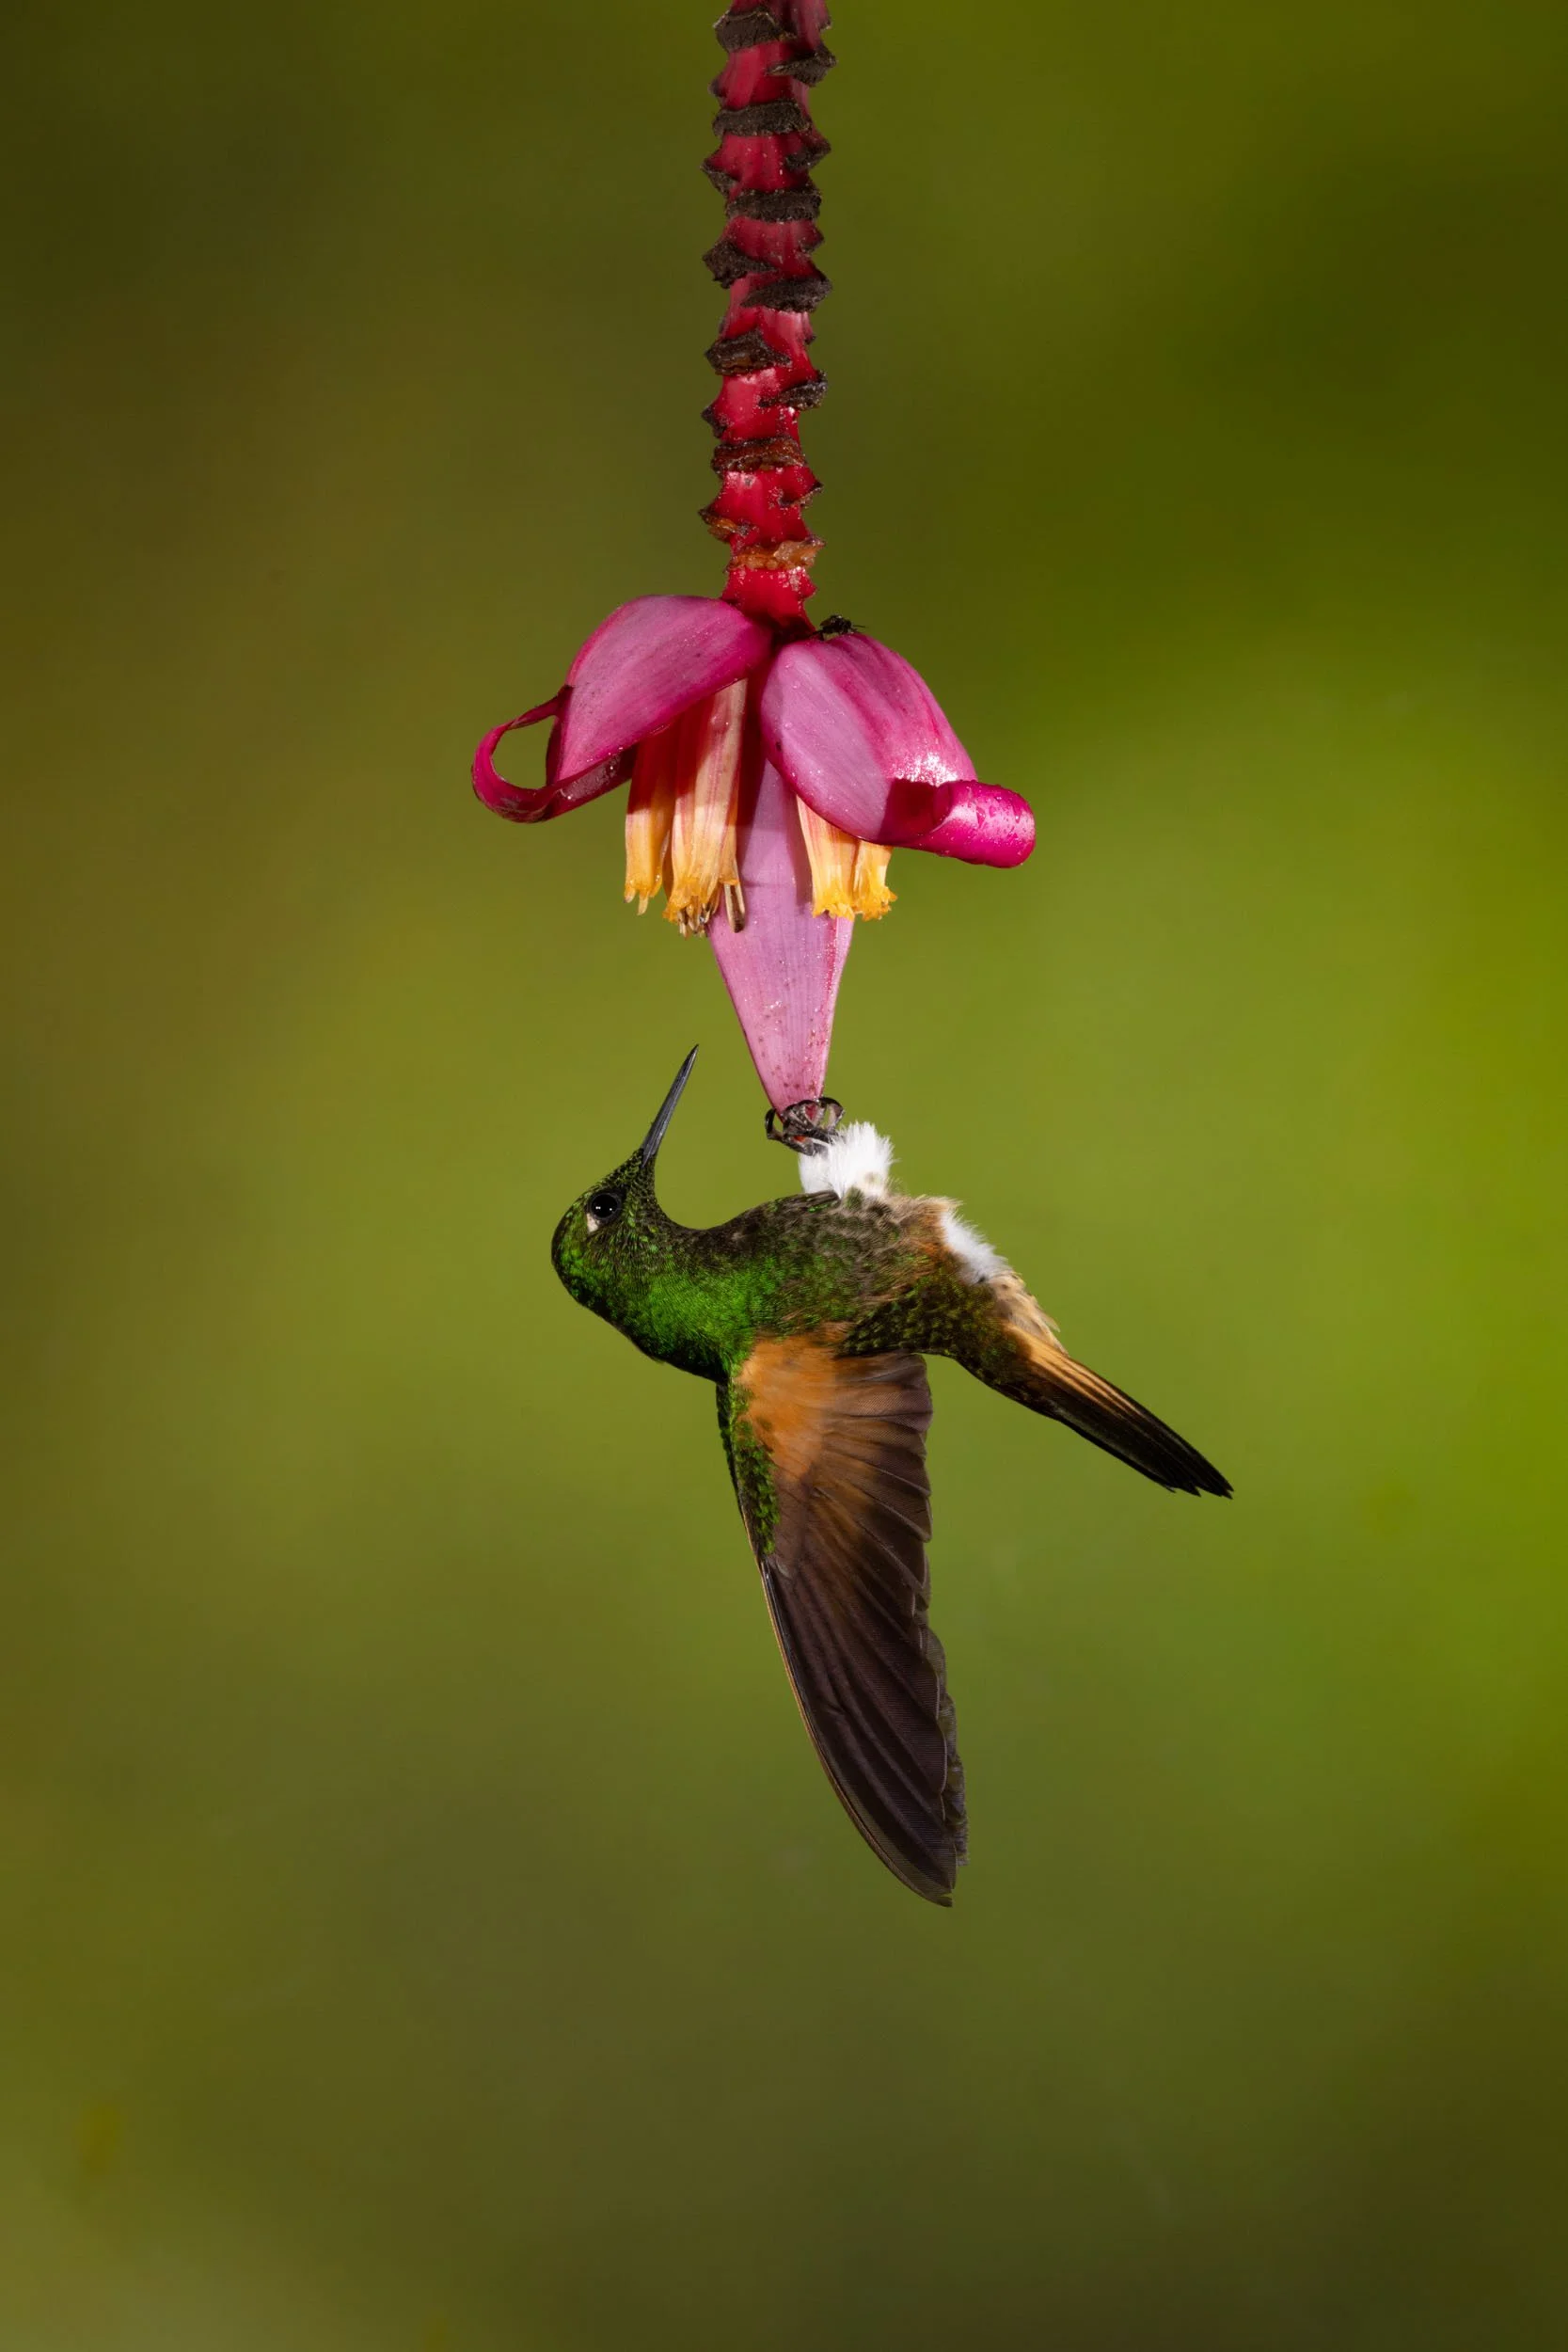

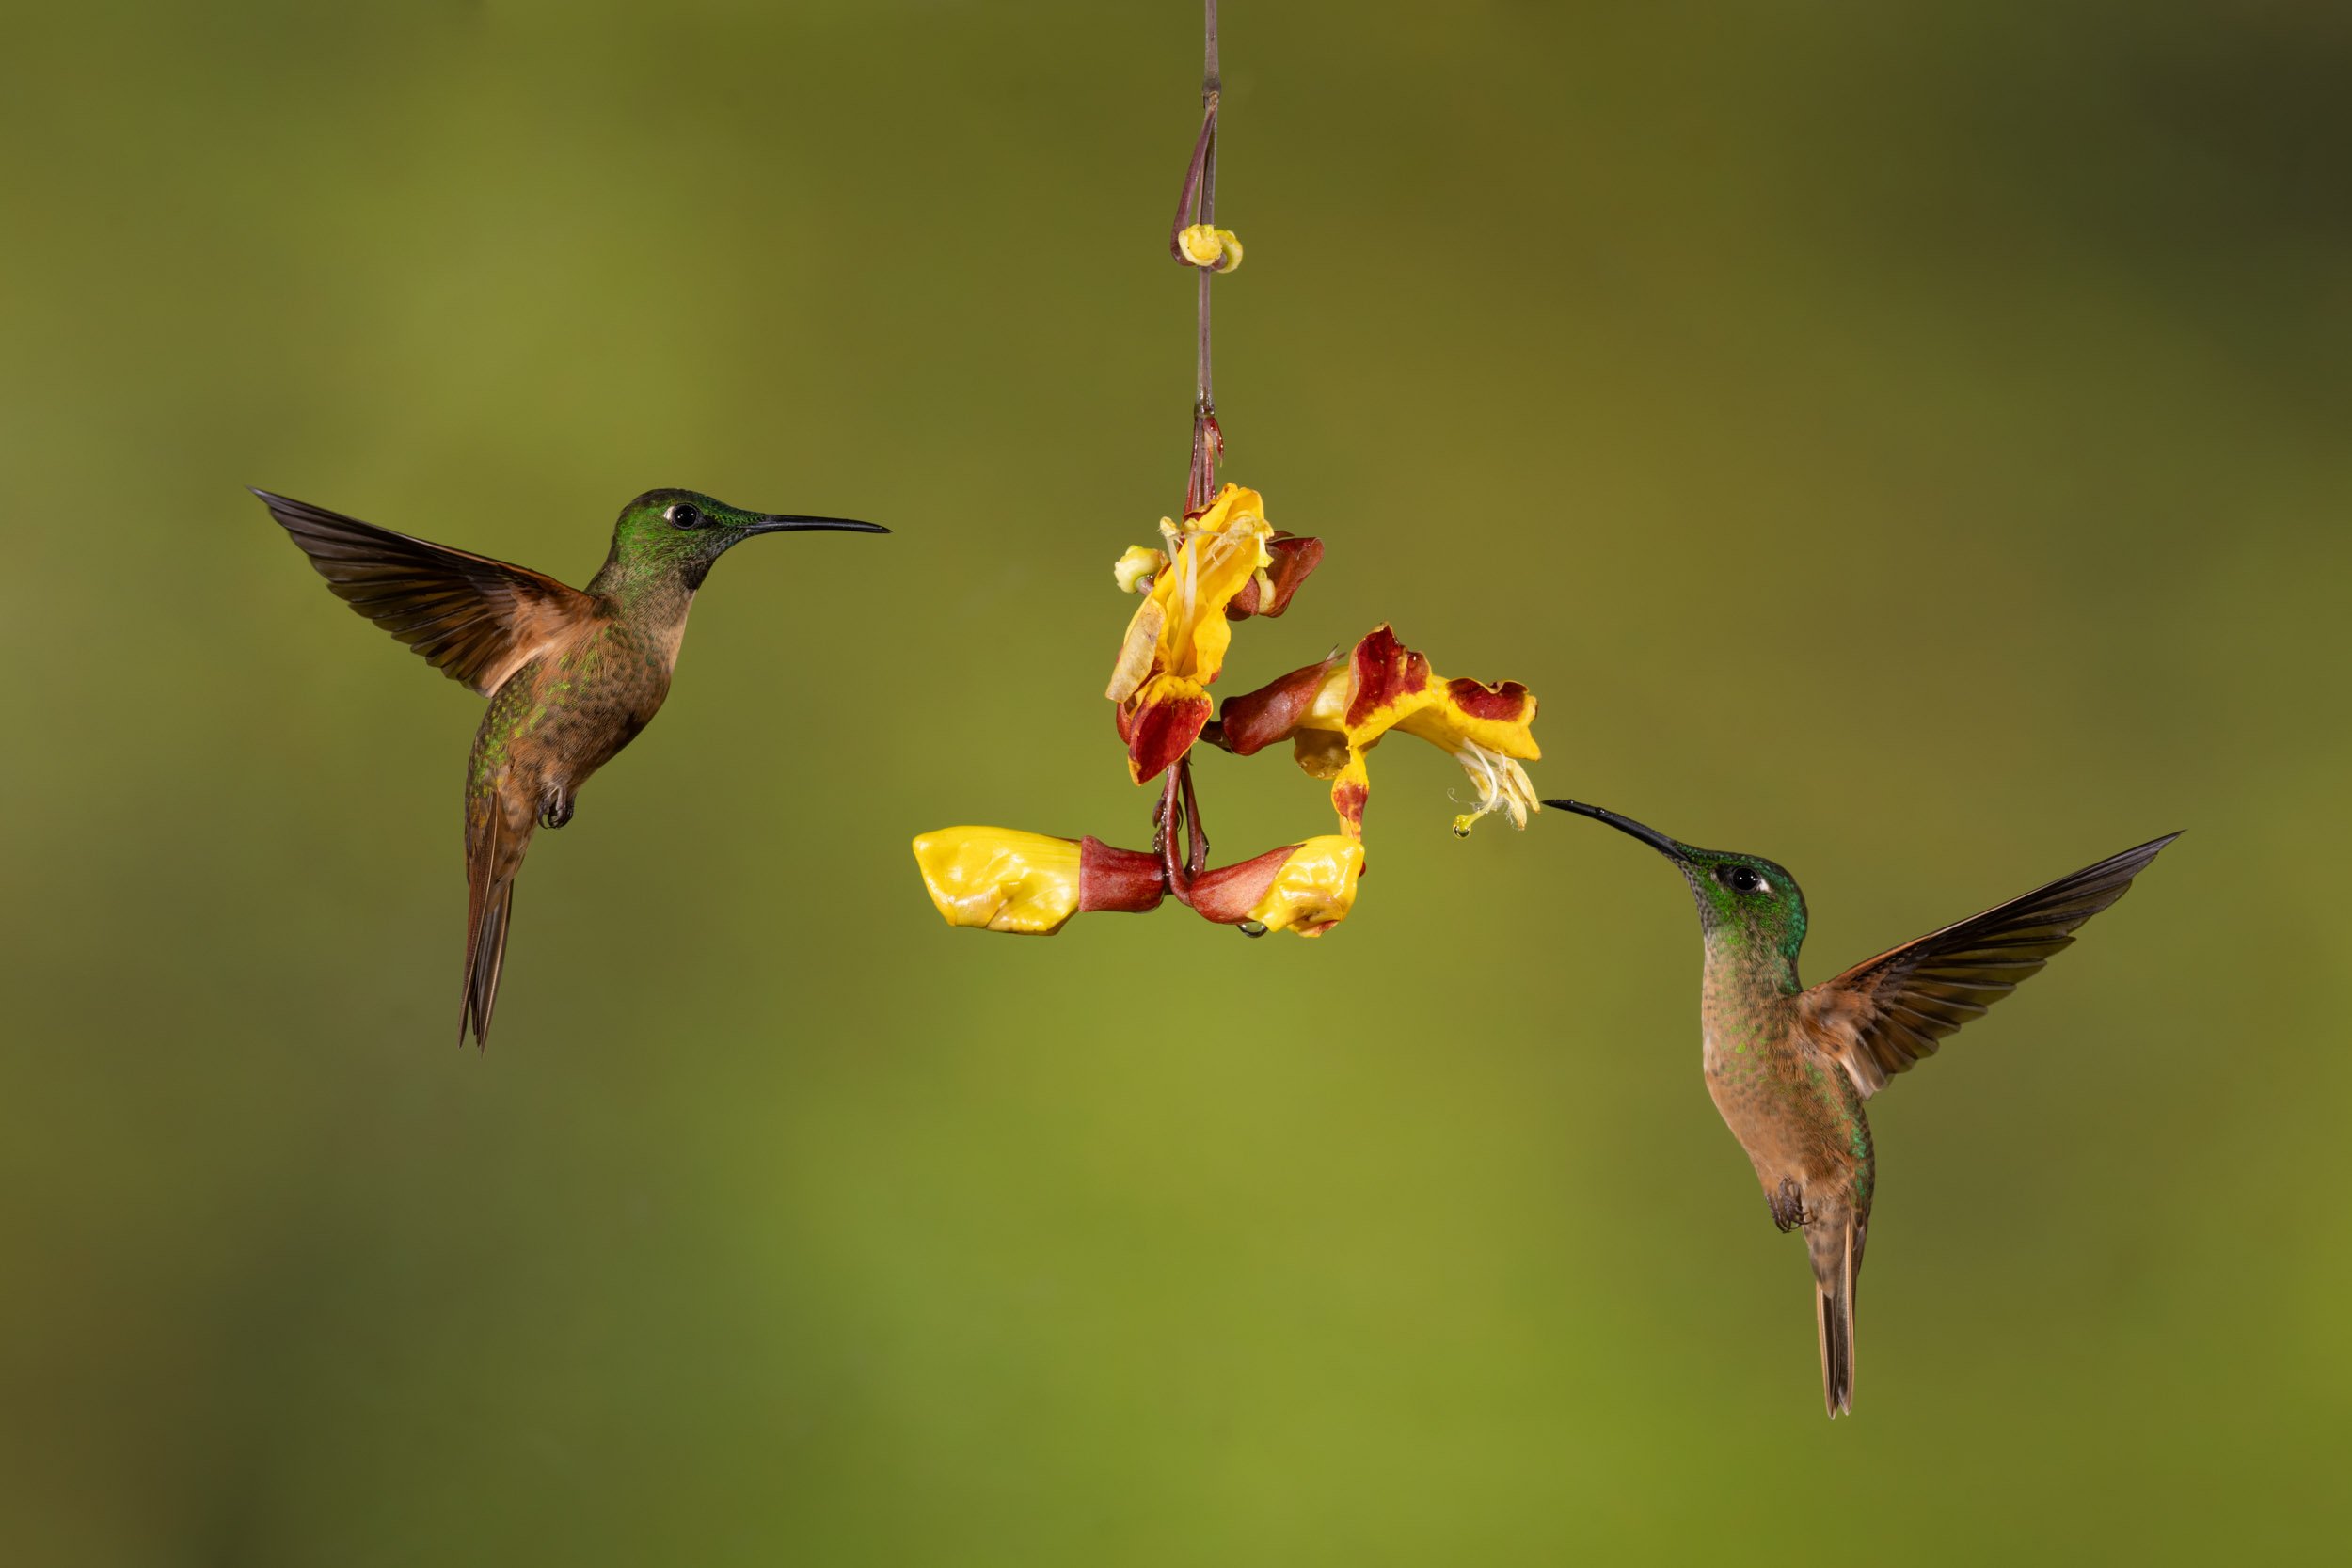
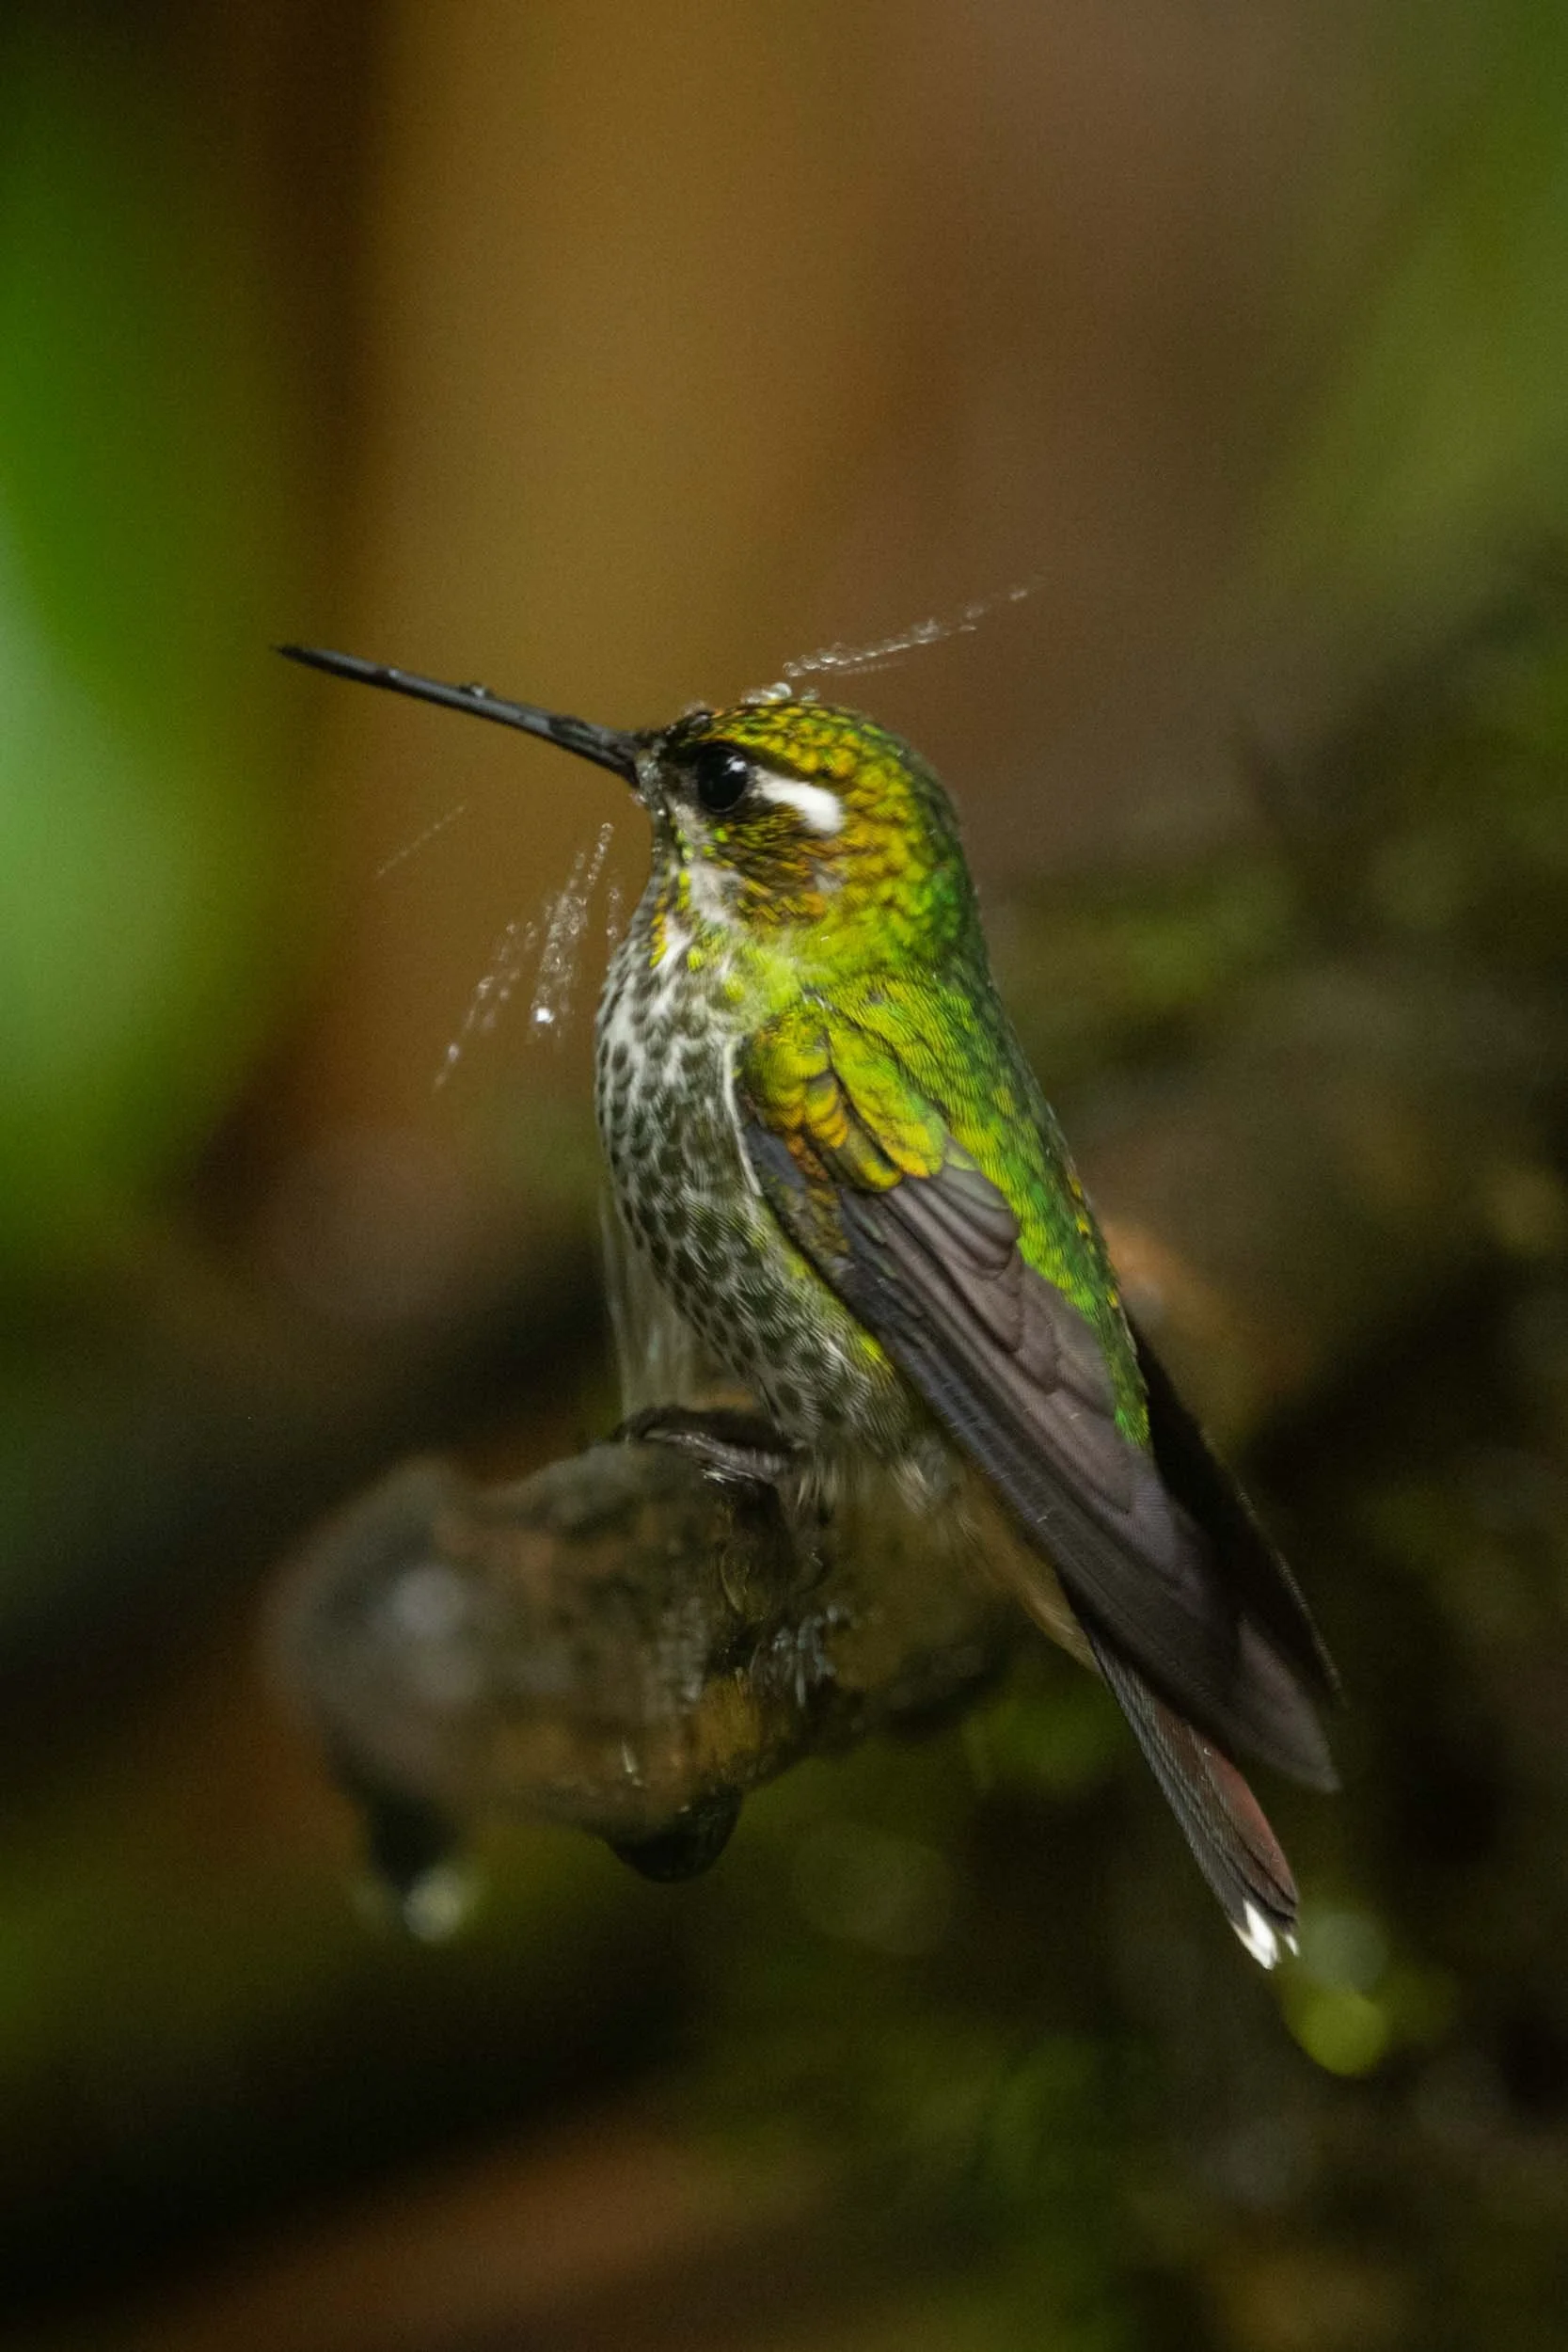
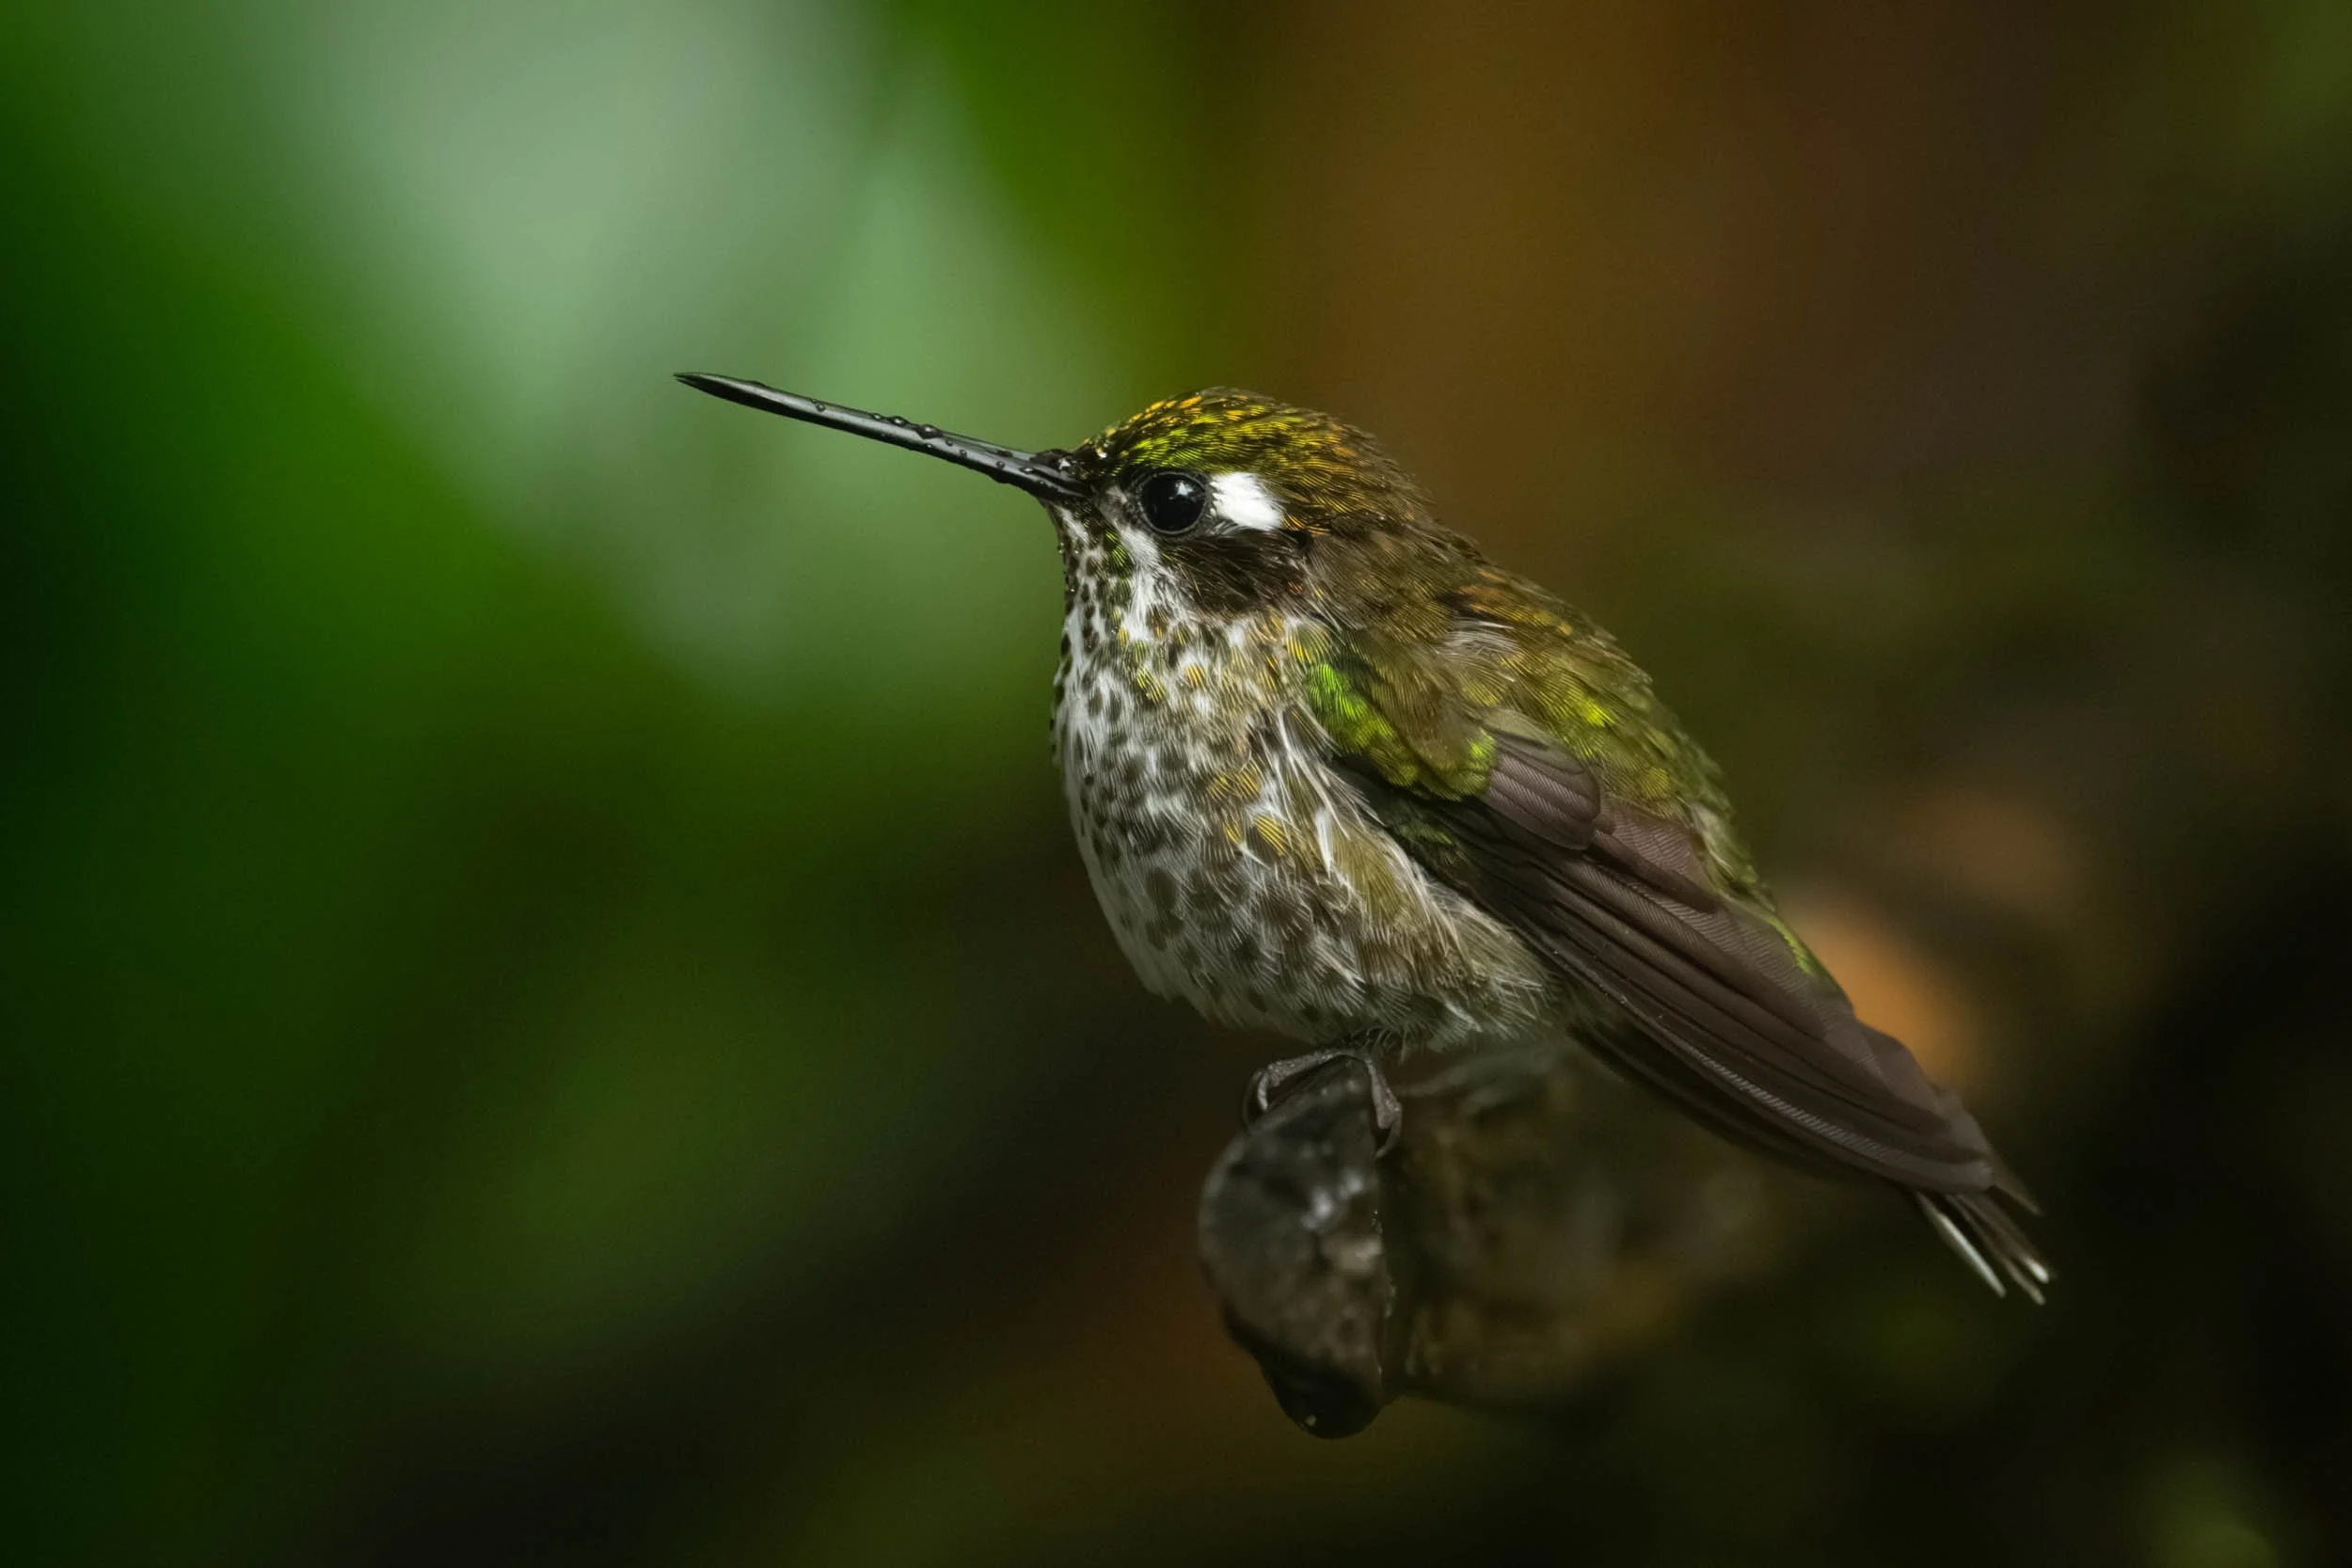
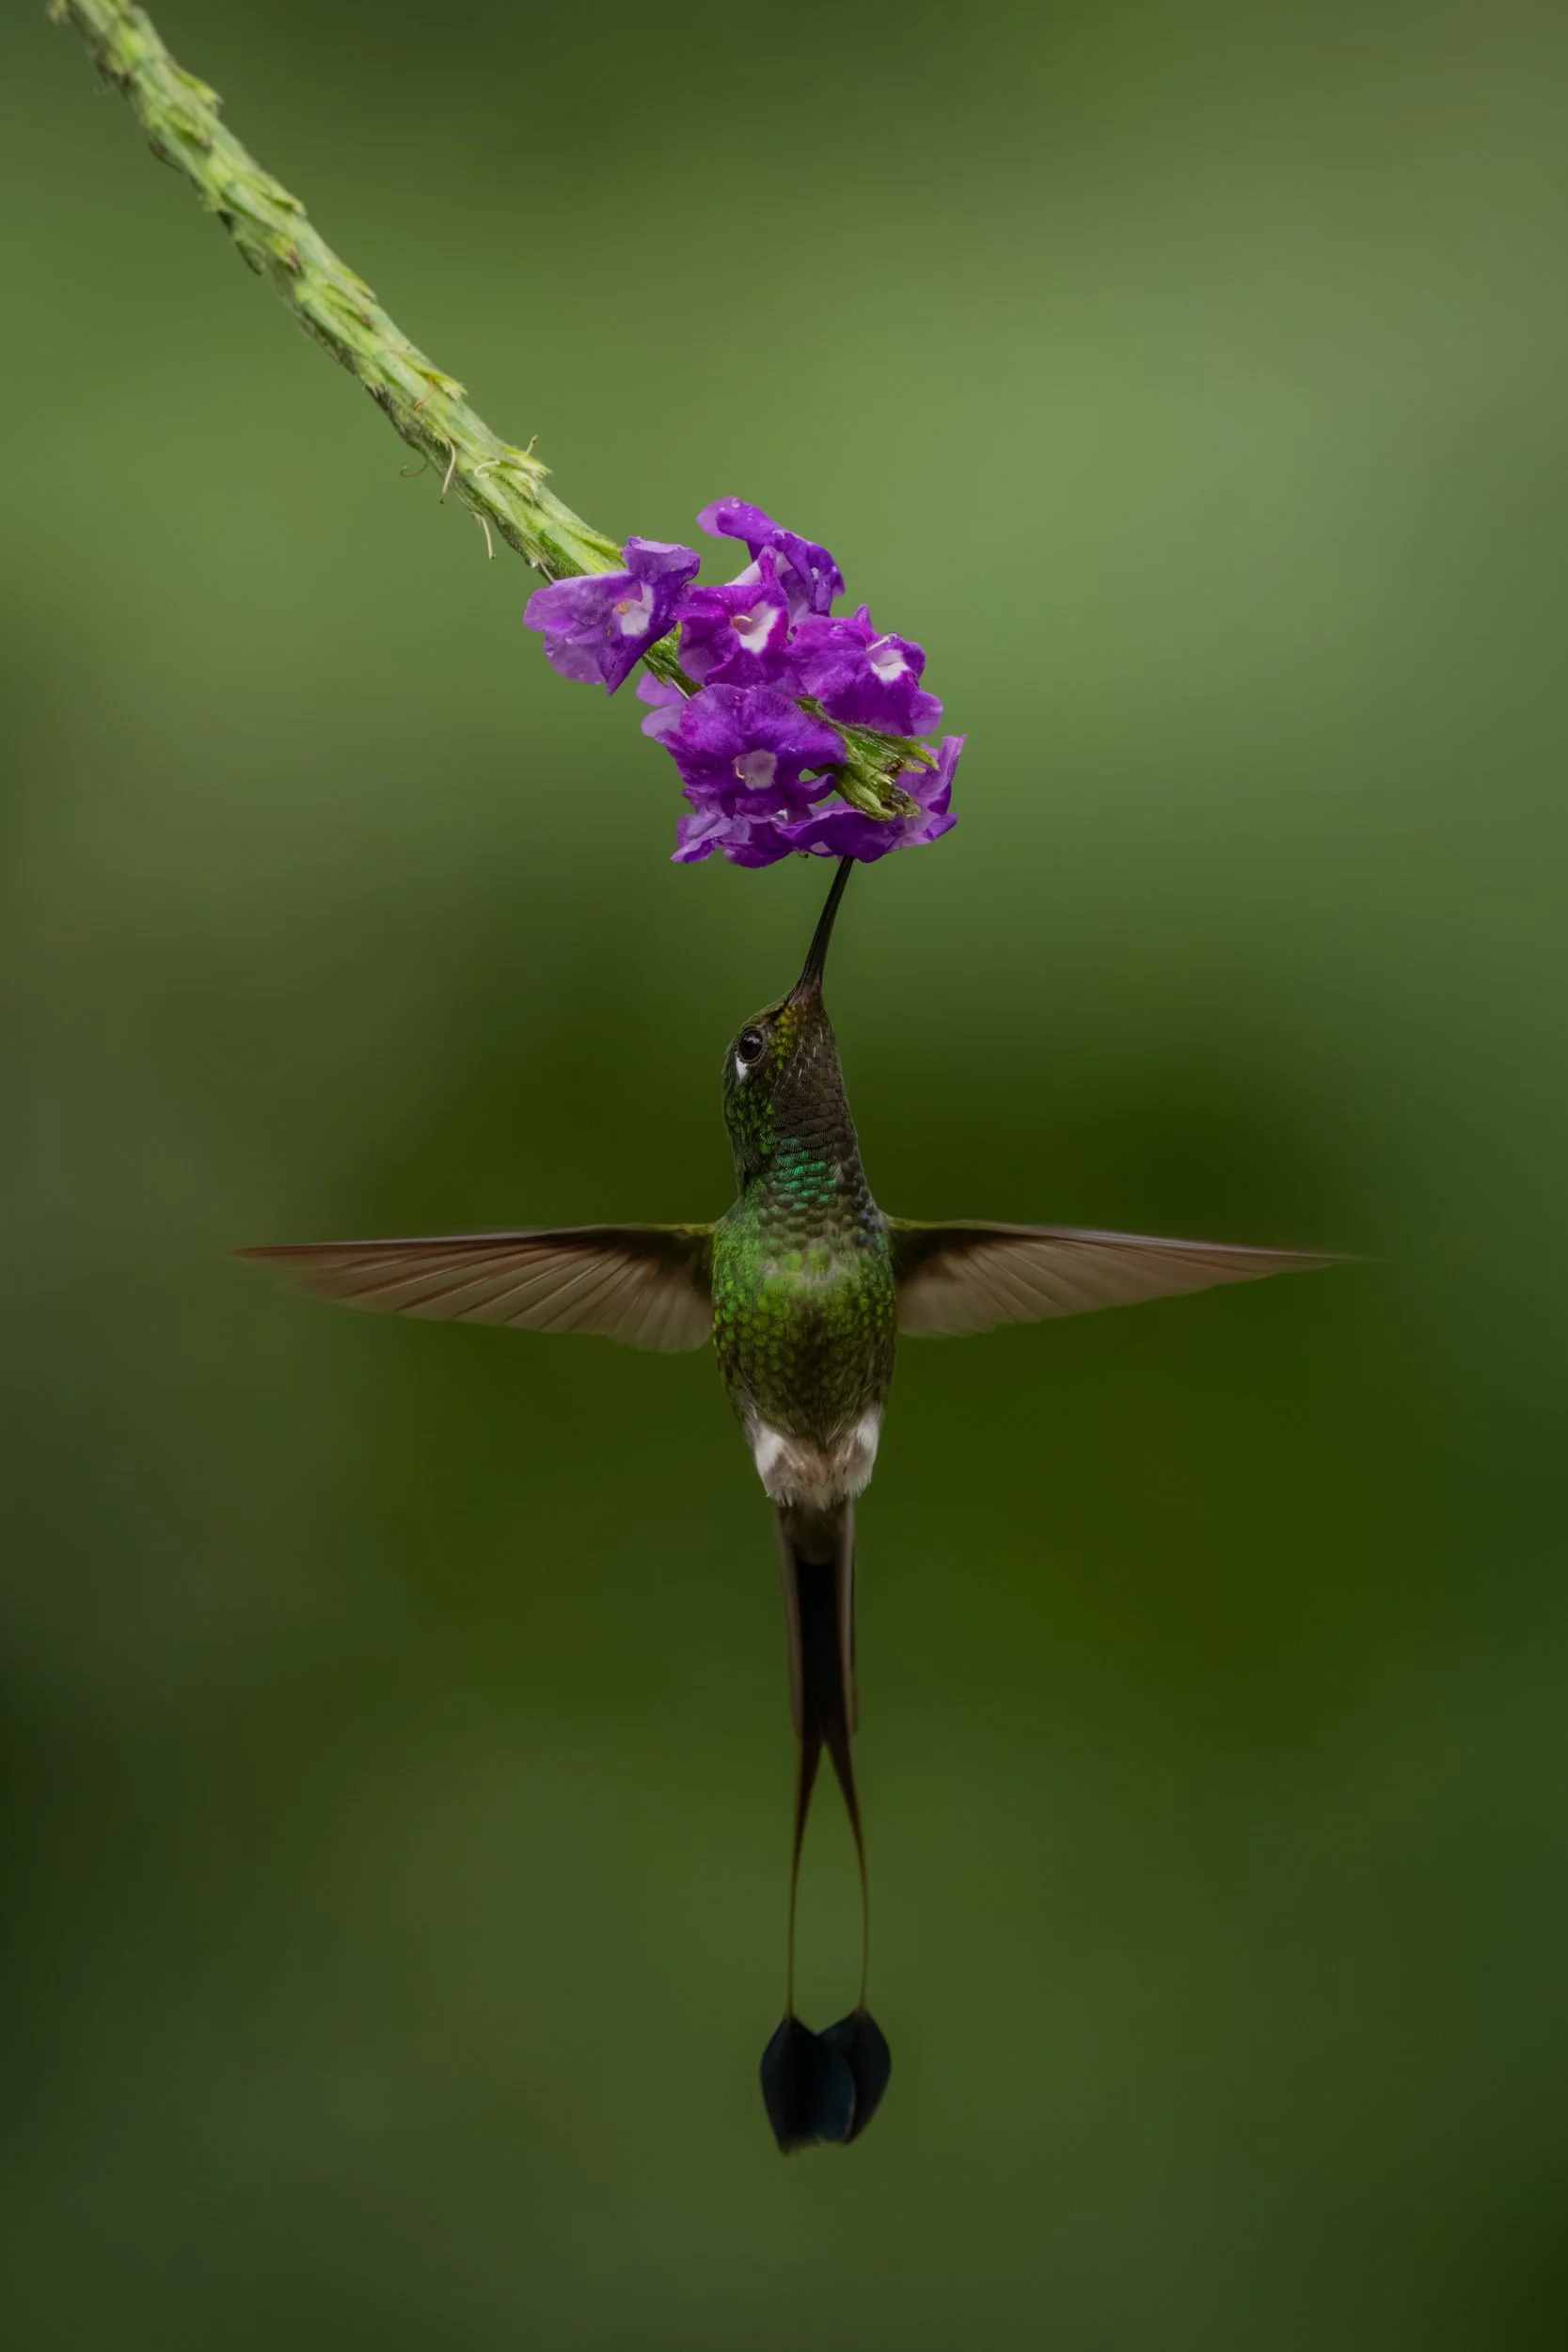
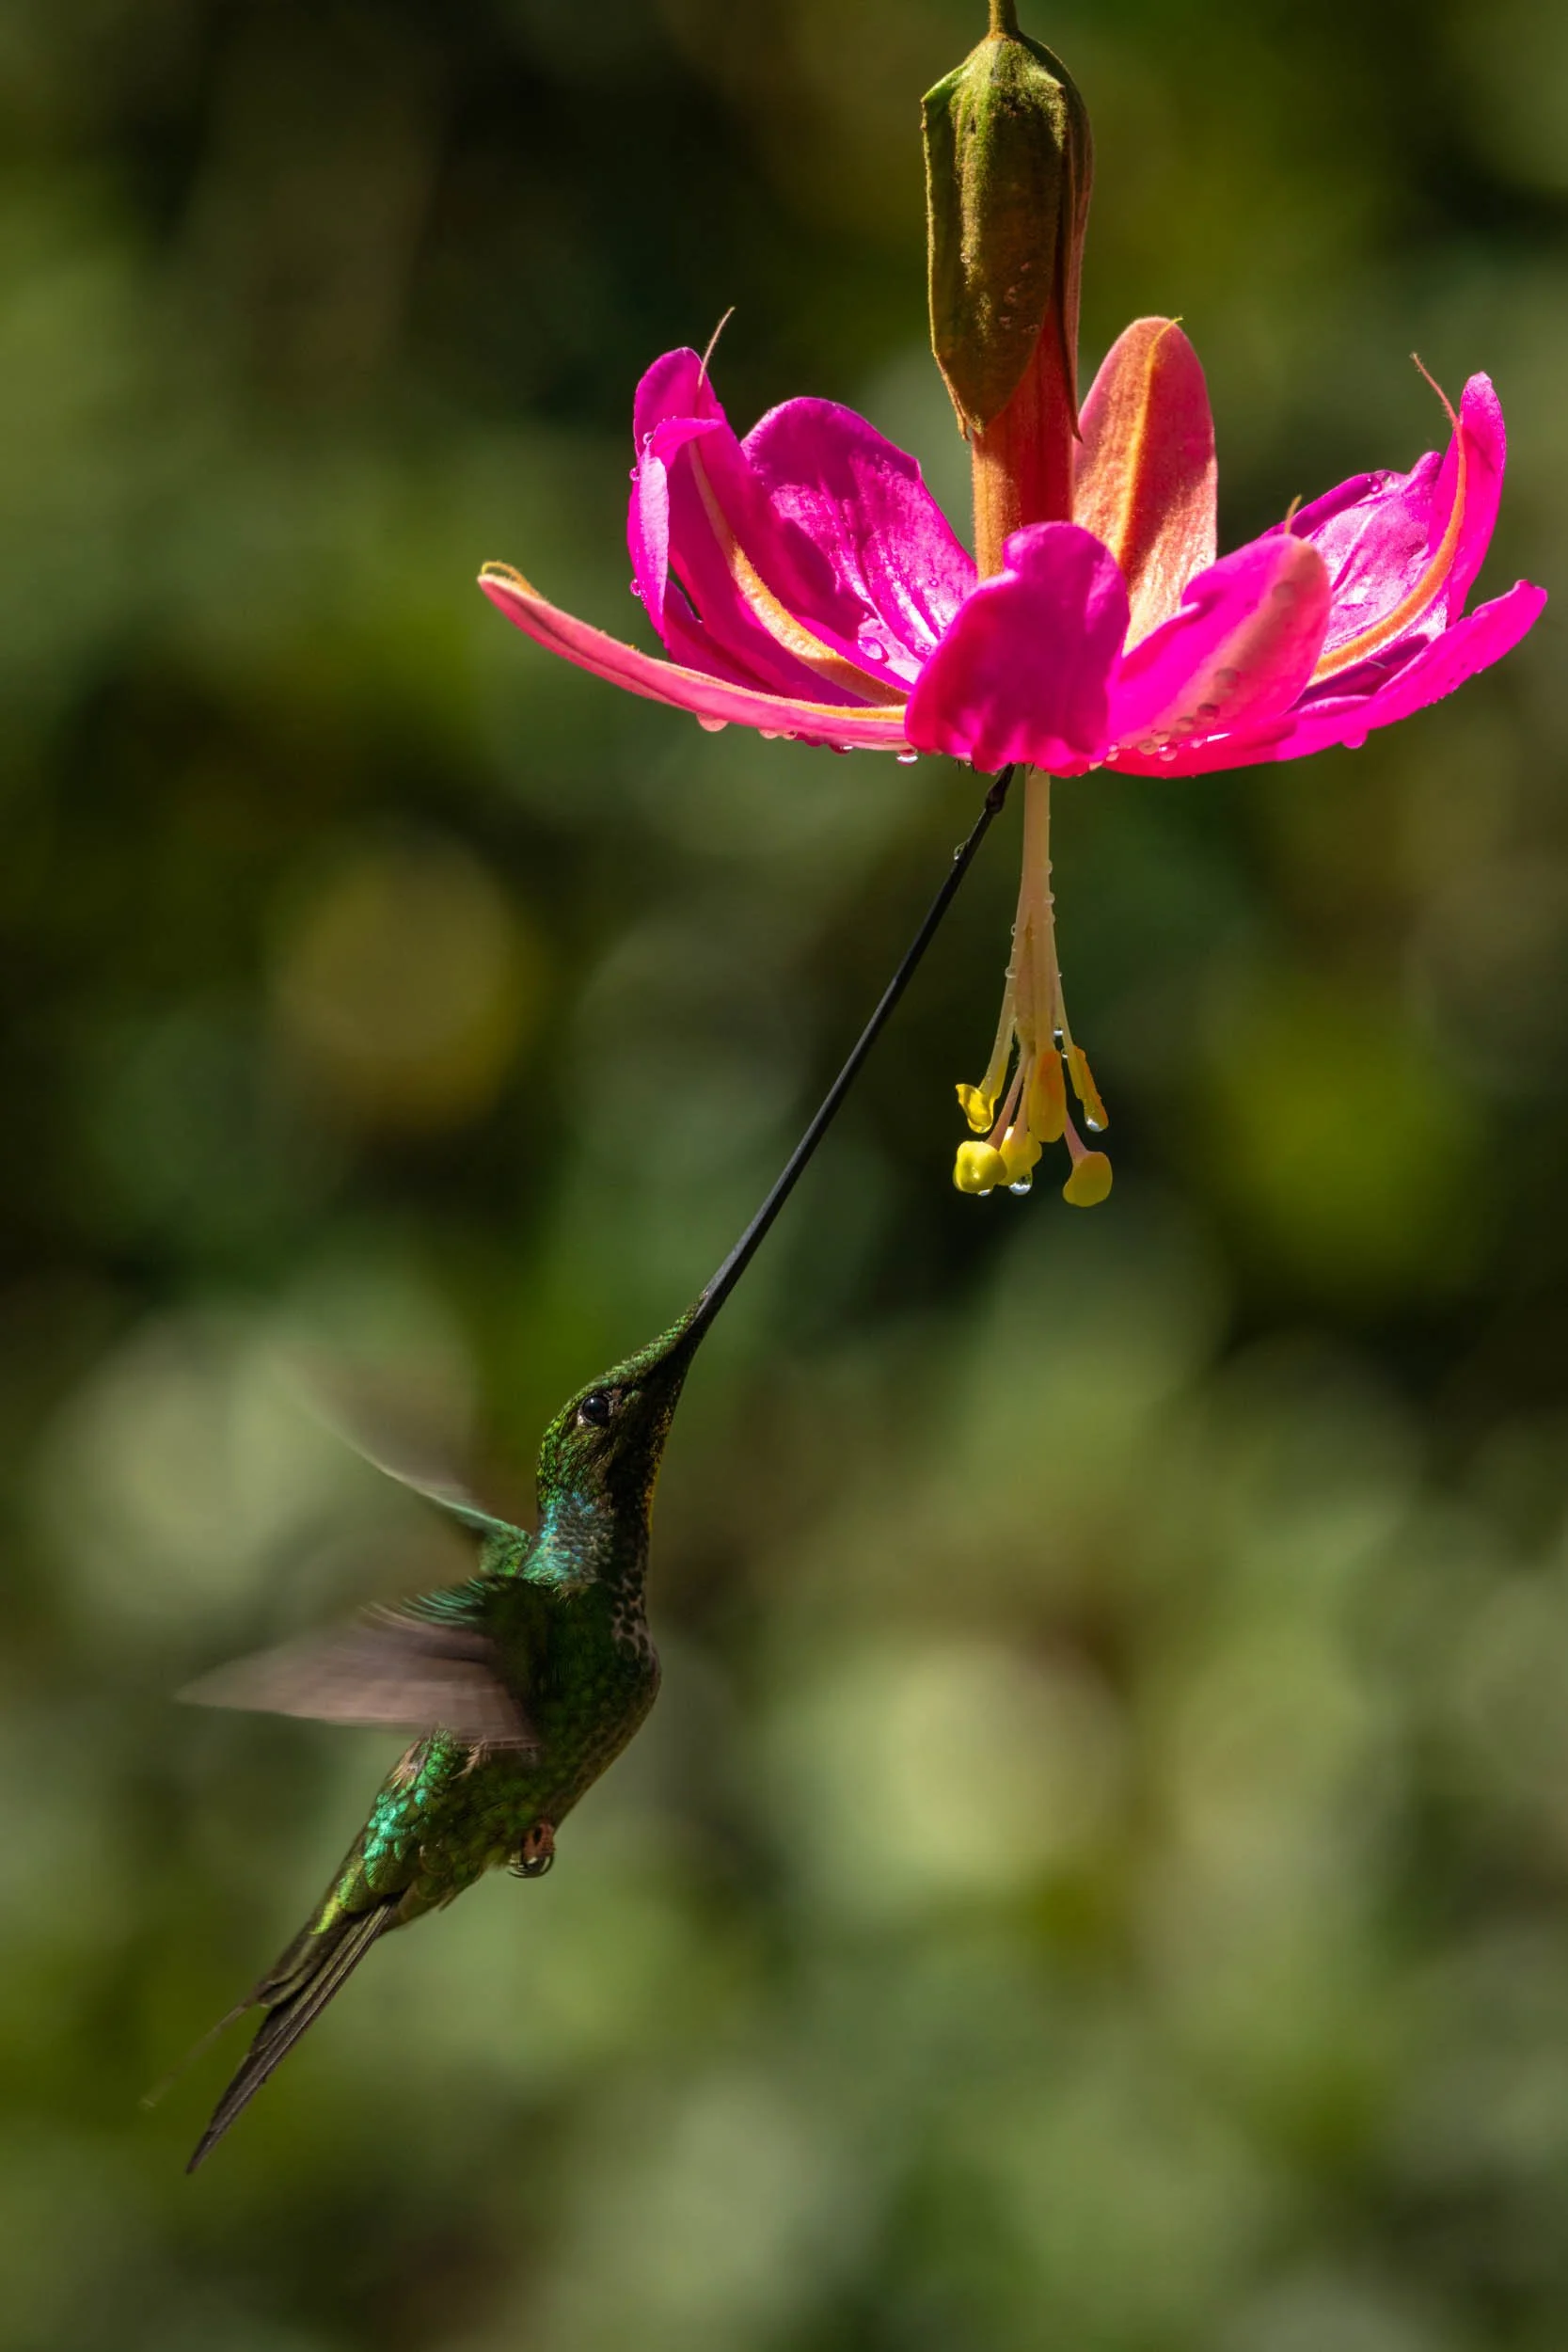
Part of the appeal of going to Tandayapa Bird Lodge was the chance to use flash for the first time in my wildlife photography career. Normally, you can’t use it as it disturbs the animals, but hummingbirds don't seem the least bit bothered by it! As a result, I was able to put my camera on my tripod on the patio and hang a flower from a stand surrounded by four flash guns on other stands. Both the flashguns and my camera had flash triggers, and when I pressed the shutter, all four flashes would fire in unison.
That gave me an immense amount of control—which is very unusual in wildlife photography. Normally, animals and birds do whatever they feel like doing, and you just have to ‘embrace the chaos’, as Matt K would say. However, hummingbirds will do anything for nectar (or sugar water!), so all I had to do was to put my camera on my tripod, compose my shot of the flower with room in the frame for the hummingbird and press the shutter when it arrived.
It took a while to set up at the beginning. Neither of my cameras communicated properly with the flash trigger in the hot shoe, but after a quick Google, I borrowed a cable and made it work with my ⍺1. I was very happy with the look and sharpness of my shots, and Richard thought the backlit ones were ‘incredibile’ (see above)! He said he’d never seen anyone do anything like that before.
Settings
The multi-flash set-up on the patio
The main thing to remember when shooting with flash is that your shutter speed doesn’t matter. The light from the flash is so brief and so much brighter than the ambient light that it effectively freezes the action. You very rarely get ‘ghosting’ around the edges of a moving subject unless, say, there’s a specular highlight on the wing.
As a result, your exposure comes down to three things:
the aperture
the ISO
the power of the flash.
This is where I had to change my normal settings for wildlife photography. If I’d shot wide open, I’d have ended up with either the bird or the flower out of focus, so I had to narrow my aperture to somewhere between f/8 and f/16. I was shooting at 200mm from a distance of only two metres, so my depth of field at f/2.8 would’ve been only 2 cm! As it was, even f/16 only boosted that to 9 cm, but that was at least great enough to include both the bird and the flower.
Auto ISO wasn’t necessary either. The light from the flash was totally predictable, so I could afford to optimise image quality by manually setting my ISO at close to the lowest native value of 100 on my Sony ⍺1.
Finally, the power of the flash was a totally new variable. When I normally photograph wildlife, I have to rely on natural light, but flash completely changed the equation. With four flashguns surrounding my subject, I didn’t have to worry about shadows or the colour and softness of the light, and I had total control over the light levels.
The power setting on flashguns is measured in fractions from 1/1 (full power) all the way down to 1/128 or even 1/256 (minimum power). Each fraction in the series is exactly half the previous one, so each jump is exactly one stop (or exposure value). The flashguns I was using were originally set up to fire at 1/16 power, but I gradually brought that down to 1/32 and then 1/64 to lower the cycle (or recycle) time.
When I started taking my first few shots using flash, I used single-shot mode because I didn’t think the flashguns would be able to recycle fast enough to cope with a burst at 30 fps, which is what I normally use with my ⍺1. However, I experimented over the next few hours and days and learned that by reducing the flash power to 1/32 or 1/64, I could get away with 5 fps or even 15 fps.
That was a useful insight because of the nature of bird photography. Wing position is crucially important, so you need as many frames as possible from which to choose your favourite. If you take only one frame at a time, the odds of getting your timing exactly right are vanishingly small, so you need to shoot at the highest possible burst rate.
After a while, I realised I was taking tens of thousands of pictures (which would take an age to go through!), but I couldn’t see any other way of capturing the right wing position. In addition, I had to worry about focus, composition, the shape of the wingtips and the catchlight. Those were the major things that were outside my conscious control. All I could do was ‘spray and pray’—in other words, buy as many lottery tickets as I could and hope I won the jackpot!
Video
These days, it seems to be far easier to get likes and comments on social media by posting videos rather than stills. As a result, I’ve started branching out into videography. I still consider myself primarily a wildlife photographer, but I want to cater to all tastes! It’s been a learning experience, but it’s nice to be able to show people a quick video on my phone instead of relying on still images or my verbal ability to describe a sighting!
If you want to see a few more hummingbird videos, please visit my Tandayapa playlist on YouTube.
Verdict
Types of hummingbird at Tandayapa
One of the best parts about being a ‘resident photographer’ is that I can go to far-flung parts of the world to photograph wildlife without having to pay the full whack. I usually manage to get free accommodation worth anything up to £1,500 a night, and although Tandayapa only gave me three free nights and a 15% discount, the base cost of $215 was a lot cheaper than most African safari lodges.
It was also a good chance to do something a bit different. The only other time I’ve ever been on a specific ‘birding trip’ was when I went to Lake Kerkini in Greece to photograph the Dalmatian pelicans. In a way, this was very similar because I had a similar amount of control. Pelicans will do anything for fish, and hummingbirds will do anything for sugar water, so it makes composition much easier!
All you need is a bit of luck to make sure the wings are in the right position. The best way of doing that is to take as many pictures as you can using your highest possible frame rate, which means setting the flashguns’ power to 1/16, 1/32 or 1/64. I always enjoy learning new skills and techniques in wildlife photography, and this was a good chance to do that.
I was also lucky with my sightings. I saw my very first Andean cock-of-the-rock, all the ‘common’ species in the chart on the wall at Tandayapa (see above) and even four of the ‘rare’ ones: the velvet-purple coronet, speckled hummingbird, gorgeted sunangel and collared inca.
The payoff was a couple of hundred shots that I was very happy with. I hope you feel the same!
Species
Here are all the animal and bird species I came across. The ones I’d never seen before are shown in bold. As you can see, I’d never seen any of them before!
Animals (1)
Red-tailed squirrel
Birds (55)
Andean cock-of-the-rock
Andean emerald
Band-tailed barbthroat
Black solitario
Black-breasted puffleg
Black-throated mango
Blue-gray tanager
Brown inca
Brown violetear
Buff-tailed coronet
Collared inca
Crimson-rumped toucanet
Crowned woodnymph
Ecuadorian thrush
Empress brilliant
Equatorial antpitta
Fawn-breasted brilliant
Golden tanager
Golden-naped tanager
Gorgeted sunangel
Great ant-shrike
Great thrush
Green thorntail
Green-crowned brilliant
Hooded mountain tanager
Lemon-rumped tanager
Lineated woodpecker
Long-tailed sylph
Many-spotted hummingbird
Orange-bellied euphonia
Orange-fronted barbet
Pale-mandibled araçari
Palm tanager
Plate-billed mountain-toucan
Purple-bibbed whitetip
Purple-throated woodstar
Rose-faced parrot
Ruby-throated hummingbird
Rufescent screech owl
Rufous motmot
Rufous-tailed hummingbird
Scarlet-bellied mountain tanager
Scarlet-rumped cacique
Speckled hummingbird
Superciliaried hemispingus
Sword-billed hummingbird
Thick-billed euphonia
Tooth-billed hummingbird
Toucan barbet
Velvet-purple coronet
Violet-tailed sylph
White-booted racket-tail
White-lined tanager
White-necked jacobin
Zeladon’s antbird
If you’d like to order a framed print of one of my wildlife photographs, please visit the Prints page.
If you’d like to book a lesson or order an online photography course, please visit my Lessons and Courses pages.