
What Accessories Do You Need For Wildlife Photography?
“Do you have that in pink…?”
Wildlife photography can be an expensive hobby—and it gets even worse if you end up buying lots of accessories, including memory cards, spare batteries, filters, battery grips, flashguns, drones, tripods and camera bags. And what about a computer? Editing images and video on the go demands a top-of-the-range laptop that might set you back thousands…!
So what’s the answer? Well, whatever your budget, you need to prioritise. That means doing a kind of cost-benefit analysis. Find out the price and ask yourself a few questions about any potential purchase:
How much will it improve my wildlife photography?
How often will I use it?
Is it small and light enough to fit in my camera bag?
Is there a better and/or cheaper solution?
When I first started as a professional photographer, I bought a Nikon D800 DSLR, a 28-300mm general-purpose lens and lots of expensive accessories I hardly ever needed. Leaving aside cameras and lenses, here’s a list of what I now see as the essentials for wildlife photography.
Let’s start with the major items…
Laptop
Apple 16” M3 Max MacBook Pro
Not many people would classify a laptop as a ‘photographic accessory’, but to my mind, it’s the most important of all. I’m a Mac user, and I bought my current laptop as soon as it came on the market in November 2024 with the highest possible specifications:
Size: 16”
Chip: Apple M3 Max with 16 cores
Memory: 128GB
Storage: 8TB
That cost me an arm and a leg—especially when you consider the trade-in value of my old laptop is only a grand! However, I have no regrets as it plays such an important part in my workflow.
Photography coach Matt Kloskowski always buys the fastest (and most expensive) computers and monitors he can afford, and he explains it by saying he spends so much time on the computer that it makes his day-to-day life a heck of a lot easier. And I agree…
One of the trade-offs with computers is speed and size vs portability. Laptops will never be as fast as desktop computers or have such large displays, but they make up for that with portability. If you want to edit your photos on the go, there’s no other option.
You can always use a desktop when you’re back home, storing your images on external hard drives, but I don’t like such a complicated solution, so I simply connect my Studio Display to my laptop. That gives me a 27” view of my photos in Lightroom and enough storage space to keep all my Raw files in one place.
The only remaining question is how best to back up my files. I used to have an online account with CrashPlan, but that wasn’t much use on a cruise ship or in African safari lodges, where the Wi-Fi connection is unreliable and often non-existent!
I then bought a couple of external hard drives, but they obviously added weight and bulk to my camera bag, so I only use them now when I get home. That means I have no backup of any of my files while I’m in the field. I haven’t lost anything yet, but there’s a first time for everything! Let’s hope I manage to think of a solution soon…
In terms of software, I only really use Lightroom Classic to organise and edit my images. Every now and again, there’s a particular function I need that’s only available in Photoshop, but I’m not an expert, so it’s a bit of a struggle to use.
Fortunately, as a contributor to Adobe Stock, I get both Lightroom and Photoshop for free.
Smartphone
The iPhone 15 Pro Max
Most people can’t seem to live without their smartphones these days, and mine certainly comes in handy. Every time I go on a photographic trip, I use the Notes app to keep a daily diary and record the names of the species I come across.
The specialist photography app I’d recommend is SetMyCamera. This is great for working out the depth of field. All you need to do is enter the focal length and distance from your subject.
I also use Birds of East Africa and Birds of Botswana as field guides. Sony’s Imaging Edge works with my iPhone to geotag my files, but it’s rubbish, frankly...!
Memory Cards
Lexar 320GB Professional CFexpress Type A Card GOLD Series
Digital cameras simply won’t work without a memory card, and if you buy a slower SD card rather than a CFexpress or XQD card, it probably won’t give you the same frame rate or buffer depth.
I don’t want to have to swap cards when I’m in the middle of shooting a cheetah hunt, and I certainly don’t want my camera slowing down as it writes images from the buffer. That’s why I always try to buy memory cards with the highest capacity and read/write speeds.
I currently have two Lexar 320GB Professional CFexpress Type A Card GOLD Series memory cards for my ⍺1 and a 1.3TB Type B 4.0 Delkin Black CFexpress card for my Z8.
The 320GB cards can each capture 5,126 frames, but CFexpress Type A cards are more expensive than Type B cards–even though their read/write speeds are much slower (~700MB/s vs ~1800MB/s), but Sony doesn’t give you any choice…!
I’ve worked out that I use my 600mm for around two-thirds of all my shots. That means I have the larger, faster card in the right body (Z8) and the two 320GB cards in the other one (⍺1)—with a few others in my pocket or camera bag.
All told, that lets me take up to 26,000 frames with my main camera and 10,252 with the other, making 36,252 in total. The two spare cards add another 5,122 frames to the mix.
Now, those numbers might seem crazy to some people. How can you possibly take over 30,000 pictures in a day?! Well, I accept that if you’re the kind of person who never takes more than 1,000 frames on a game drive, say, you don’t need to spend hundreds on the very largest and fastest memory cards.
However, there’s best and there’s second best. If you’re like me and generally end up taking thousands of shots a day at 30 fps (especially with pre-release capture!), then the risks of running out of space on your memory cards or missing shots while the camera is buffering are simply too great.
To take a real-life example, I once spent a couple of hours photographing seabirds from the deck of a ship in the Antarctic, and I ended up with over 38,000 photos!
The other issue with memory cards is whether to buy a card reader. Yes, you can always use a USB cable to transfer your images to your laptop, but it’s not ideal. You can’t use your camera during the download, the USB port might get damaged and the transfer might take much longer.
ProGrade staff have done tests, and they reckon it takes 3.5 hours to transfer 64GB of images with a USB 2.0 cable but only 6 minutes with a Prograde Digital USB 3.2 Gen 2 reader! They would say that, of course, but I did end up buying a similar model: the Lexar Professional CFexpress Type A / SD USB 3.2 Gen 2 Reader.
Batteries
NP-FZ100 battery
The same basic logic applies to batteries as to memory cards. Your cameras won’t work without them, so you need to make sure you have a ready supply. That means carrying at least one spare with you (per camera) when you’re out on a shoot.
I once gave someone a photography lesson in Richmond Park. When we met in the café, I asked him if he’d charged his batteries. He said yes—and then his face fell. “But I left them at home in the charger…!”
Depending on your particular camera, you might also have a choice in terms of battery life. Generally, having a built-in or optional battery grip will give you access to more and/or longer-lasting batteries. That was certainly true with my old Nikon D8xx cameras, and my ⍺1 battery grips take two batteries rather than one.
One thing to bear in mind is that modern mirrorless cameras offer much longer battery life than their early precursors–and even the official figures are misleading. According to the CIPA standards, I should be able to get 430 shots per battery using the EVF on my ⍺1, but I can remember filling up two memory cards with nearly 5,000 shots on one occasion in Botswana!
That’s a massive difference, and it’s down to the assumptions CIPA makes. Most wildlife photographers shoot pretty much the whole time in continuous drive mode, but CIPA assumes a mix of continuous and single shot. That means their battery life figures for mirrorless cameras are unreliable—which also means you don’t need as many spare batteries! I’ve ended up with six NP-FZ100 batteries, but I very rarely have to use even one of the spares…
The only time when I really struggled with battery life was when I went to Arviat in Canada to photograph the polar bear migration around the Hudson Bay. Temperatures fell as low as -25° C (-13° F)
The other reason why you might not need so many batteries is that they add weight to your camera. If you know you’re going to be shooting handheld, why fit the battery grip? Yes, you get the benefit of more comfortable ergonomics in portrait orientation, but is it worth it?
My Sony VG-C4EM Vertical Grip weighs 290g (10.2 oz), and each battery 85g (3 oz). That means my camera will weigh an extra 375g (13.2 oz)—which is not great news if I’m trying to shoot birds in flight with a 600mm lens that already weighs in at 3.3kg (7.3lbs)!
What I tend to do is fit a battery grip to only one of my cameras, which is a decent compromise—especially if I leave out one of the batteries…!
The final issue to do with batteries is charging. Most cameras are sold with a battery charger, but it usually only has a single slot. That’s a pain if you want to charge all your batteries overnight—especially if you have more than one camera body.
My original solution was to buy a double-slot charger, but that wasn’t ideal because it still meant extra weight and bulk. The hand luggage weight limit on most local African flights is only 15kg, so I wanted to find a better solution.
Fortunately, I realised I could use USB cables to recharge my batteries, which means I can now walk into Nairobi Wilson airport with a lot more confidence. All my camera kit weighs around 23kg, so every little helps! In Africa, rules are made to be broken, but I don’t want to push my luck…
Camera Bags
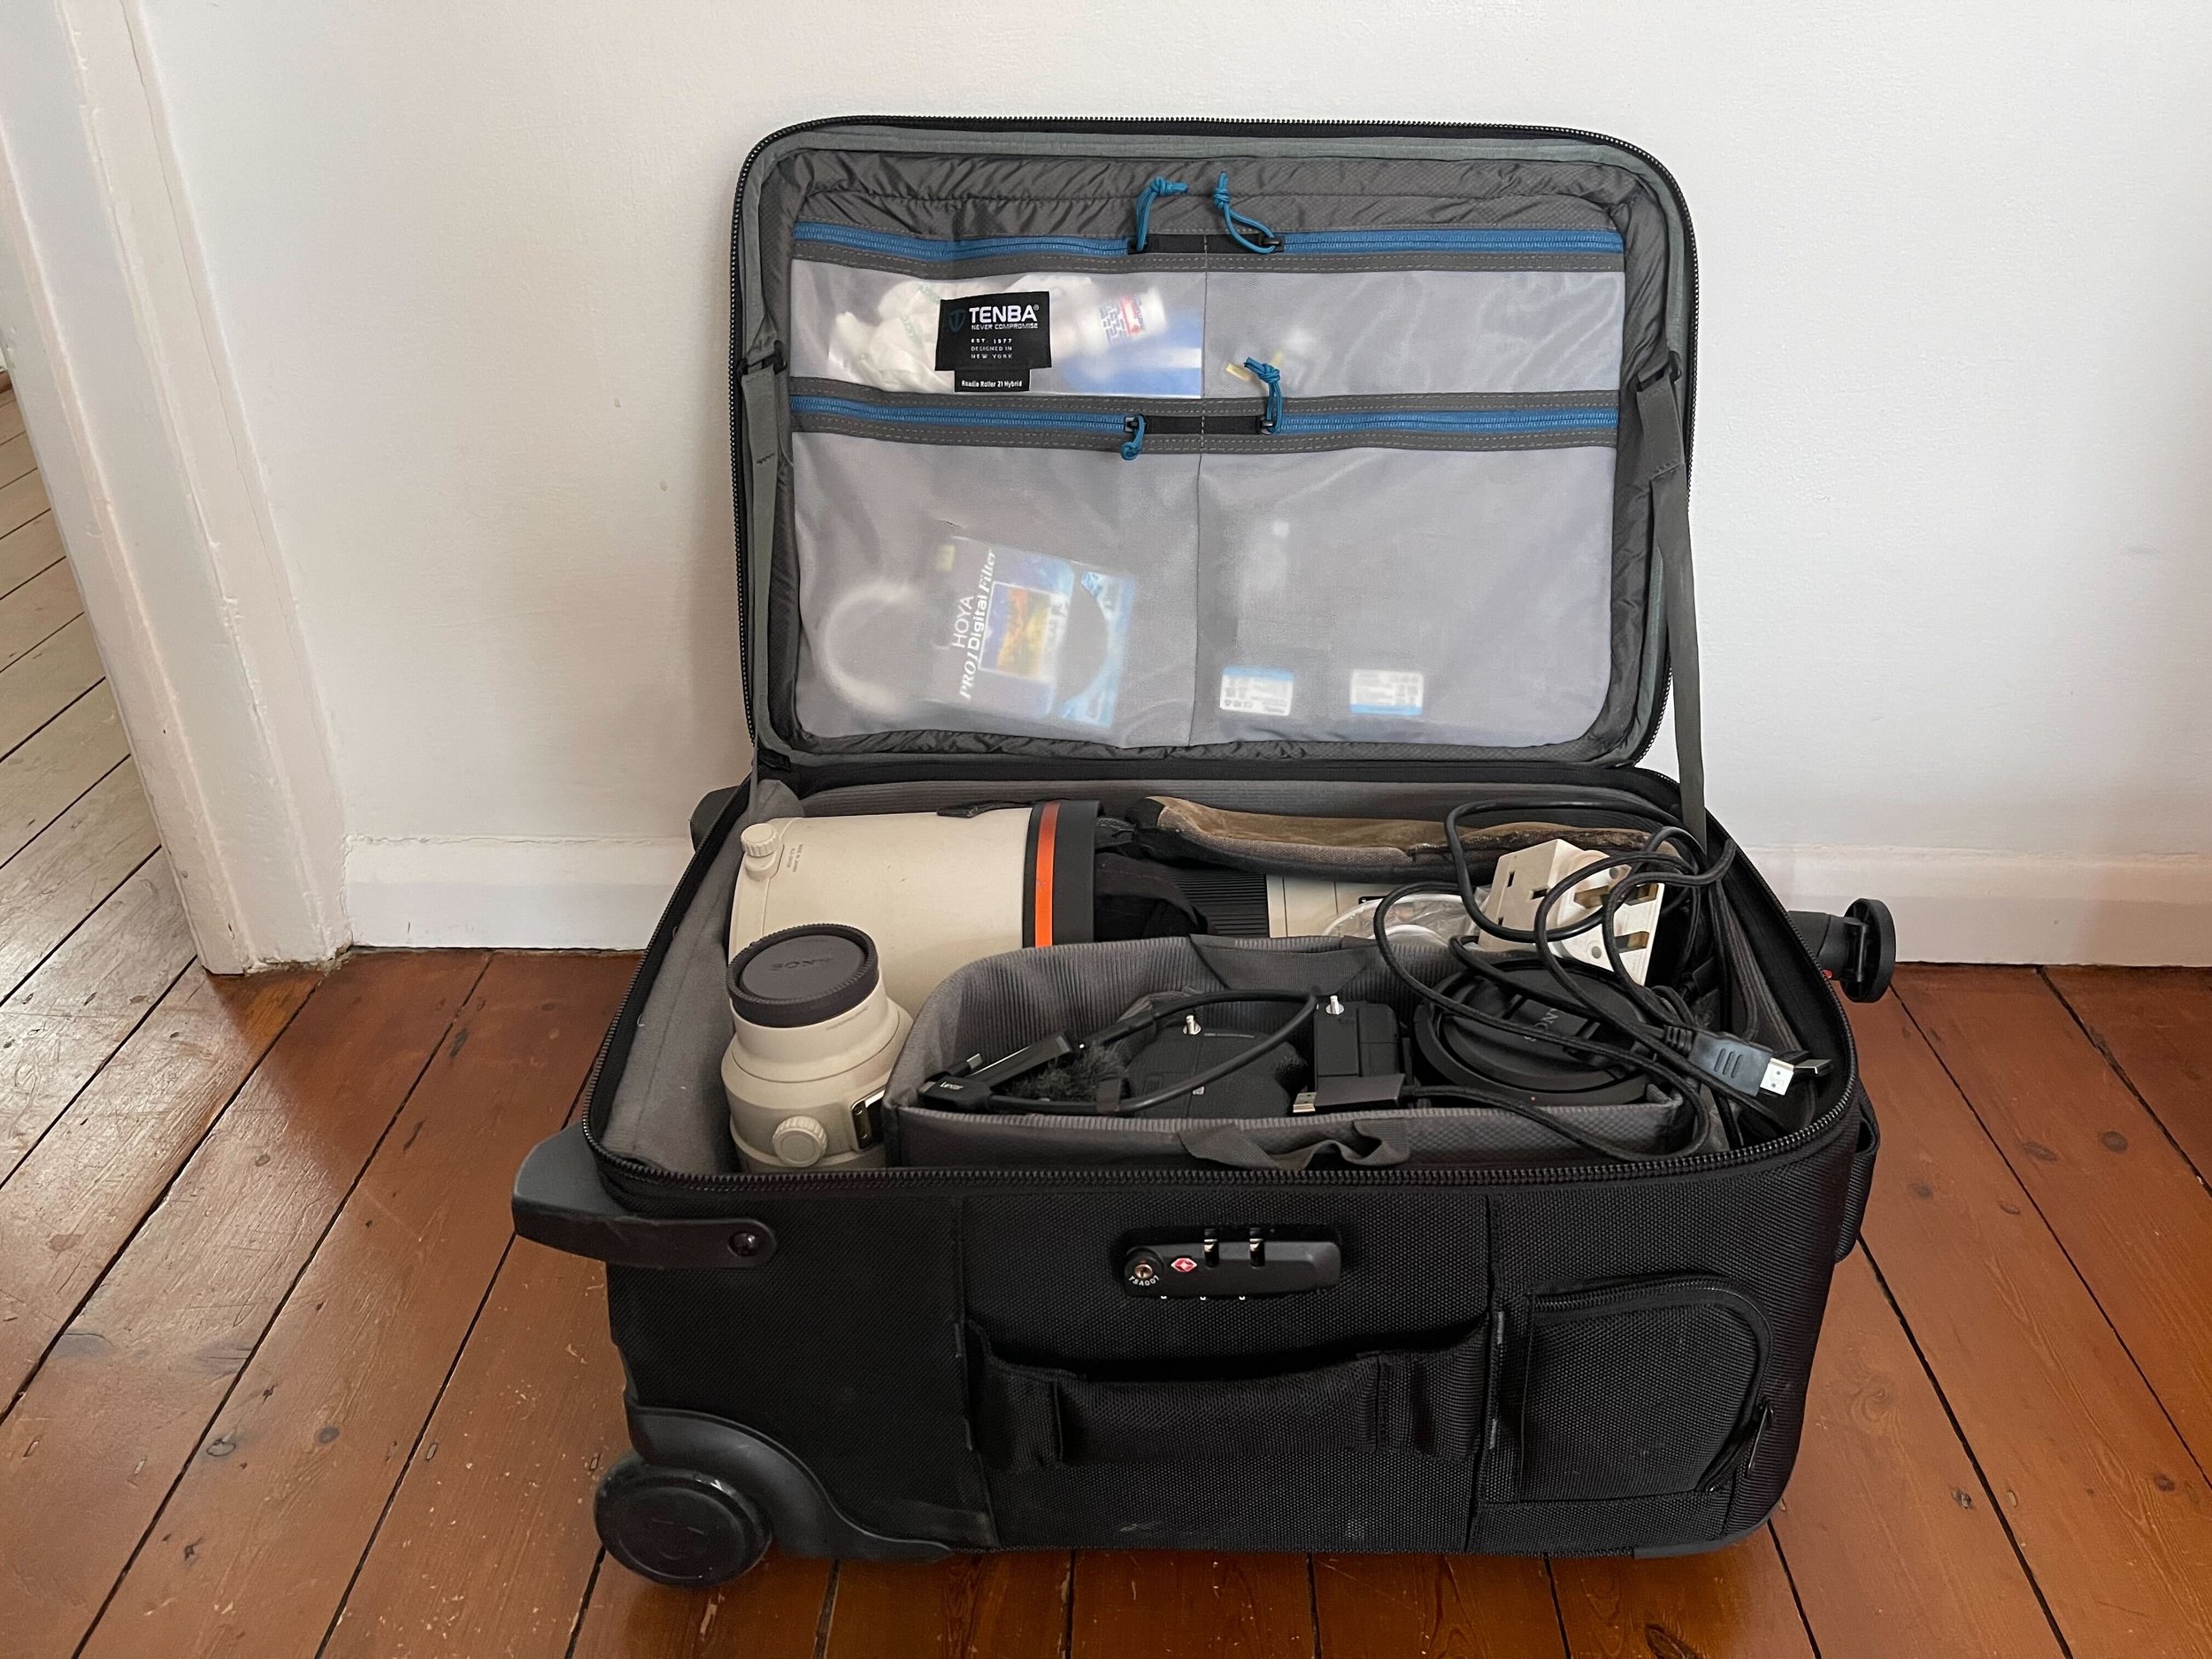
My Tenba Roadie Hybrid Roller 21 camera bag
Finding a good camera bag is important, but it can be a real struggle—especially if you need to fit in a laptop and a 600-800mm lens!
I have a Tenba Roadie Hybrid Roller 21 - Black, which has wheels and straps and fits into the overhead lockers on most planes. It also has a tripod pouch, which is very convenient—although it does make the bag too wide to roll down the aisle on most planes!
It’s big enough for my Sony 600mm G Master lens and still has room for most of my other camera equipment. The only thing that doesn’t fit is my 400mm lens, but I’ve learned that I can put it in a dry bag and take it through airport security as my ‘personal item’.
I pack very light, so I don’t actually need to check any luggage. Instead, I wear my Callaway ‘super jacket’, which has an internal pocket that runs all the way round the interior. It’s big enough to hold all my personal items, including underwear and toiletries. (Fortunately, most African safari lodges have a free laundry service, so I don’t need to take more than one change of clothes!)
Obviously, some people can’t do without an extensive wardrobe and a few more grooming essentials. If you’re one of those people, feel free to take a proper suitcase with you as well as your camera bag. However, most of the guests who’ve met me on safari admit that they didn’t need half the stuff they brought and promise to pack lighter next time…!
Tripods
Manfrotto MT190CXPRO4 Carbon Fibre Tripod
A good tripod with a damped gimbal head is either essential equipment or utterly useless—depending on the circumstances! I do have both, but I only rarely get the chance to use them because I’m normally in the back of a truck on game drives in Africa, where it’s almost impossible to use a tripod.
Having said that, there are times when it’s simply impossible to shoot handheld. I’ve photographed the Northern Lights a couple of times, and I could never have used such long exposures without a tripod.
They also make slow panning much easier if you’re on foot. I did a couple of shoots with women on horseback at Gabus Game Ranch in Namibia, one handheld and one with a tripod. The slow pans I took using the tripod were much sharper, so it was a useful lesson.
The damped gimbal head came in very useful as it smoothed the panning motion and also let me rest the camera in between bursts by keeping it in balance—even with a long lens.
I have a Manfrotto MT190CXPRO4 Carbon Fibre Tripod with Horizontal Column and a Gitzo GHFG1 Fluid Gimbal Head. The tripod is a lightweight model that’s ideal as a travelling companion. I can slot it into the pouch on my camera bag and easily carry it around if I’m on foot.
The only problem is that it has a central column but no hook underneath. Ideally, you want a tripod with three legs that meet at the head. That means you don’t compromise stability when raising the central column to head height. A hook underneath the head lets you hang a heavy object, such as your camera bag, to weigh it down in windy conditions.
A more practical alternative to a tripod is a monopod. It doesn’t give you the same stability—and wouldn’t help you take pictures of the Northern Lights! However, you can take it on walking safaris or game drives to stabilise a long lens or just ease the burden if you’re spending a long day in the field. I have a Manfrotto XPRO 4-Section Photo Monopod, Aluminium with Quick Power Lock.
Both my tripod and monopod have clip locks on the legs rather than twisting ones. I had a tripod with twisting leg locks once, but it failed the first time I tried to use it, and I had to leave it in South America!
Other
What I used to have in my camera bag…
Those are the main essentials for wildlife photography. Now let’s take a look at some other gear that you might need…
Filters
When I got started in photography, I hadn’t yet specialised in wildlife, and I became a bit obsessed with filters for landscape shots. I thought that was the only way to achieve certain effects, and I must’ve been Cokin’s top customer for a couple of weeks!
Fortunately (or unfortunately!), I learned how to do almost everything in Lightroom instead, so I rarely use filters these days. I do have circular polarisers and variable ND filters, which come in handy for slow pans—especially over water. However, I junked my whole Cokin filter system when I switched from DSLRs to mirrorless cameras a couple of years ago.
SpiderPro Belt
Whether you have one or two camera bodies, one way of carrying them in the field is to attach them to a SpiderPro belt. It has one or two holsters for your cameras, one on either side, and wearing it means you can walk, run, sit or kneel without them getting in your way.
If you spend a lot of time shooting on foot, this is a much more practical and comfortable way of carrying your camera than slinging it round your neck on a strap.
Beanbag
Wildlife photography often involves shooting with long lenses, which are prone to camera shake. Modern mirrorless cameras have excellent image stabilisation (both in the lens and the camera body itself), but there’s no substitute for the traditional beanbag.
Most African safari lodges equip their vehicles with special beanbags that are divided in two. That means you can rest your lens in between the two halves, which gives you a much more stable platform—especially for slow pans.
I have an empty beanbag I can take with me and fill with beans or rice from the lodge if I know there won’t be any provided. It weighs almost nothing, but it comes in very handy!
I also have a suede pocket that wraps round my lenses to protect them. I fill it with bubble wrap, and, again, it weighs very little and can easily fit in my camera bag.
Remote Releases
Remote releases are designed to reduce vibration when doing long exposures with a tripod-mounted camera. However, that set-up is generally irrelevant to wildlife photography—unless you’re leaning over the side with your monopod to lower the camera angle!
If you’re in a vehicle and want to take a long exposure of a hippo in a fast-flowing river, say, you can always set the self-timer to two seconds and balance your camera on a beanbag.
If you’re on foot, there are very few occasions when a remote release might help. Slight vibrations are just not an issue except in very low light at long shutter speeds—and even then, the animal or bird would have to stay stock still the whole time!
Flashguns
Flash photography has tremendous possibilities for wildlife photography. I recently saw a YouTube video about Kristi Odom, who used rear curtain flash sync to produce pin-sharp images of bees flying in the darkness, leaving a golden trail in their wake.
The problem is that it’s so hard to get permission to use flash in the wild. It’s generally forbidden in African national parks and reserves, so there’s not much point in me taking my flashgun on safari.
The only time I’ve ever needed one was when I was taken to a hide in the Brazilian Pantanal for an evening photo shoot with ocelots. Unfortunately, the trip was a surprise, so I didn’t have it with me!
Drones
Drones are also forbidden in African national parks and reserves, and I don’t have one myself. However, there are private concessions and other places that permit drones, and I happen to know that wildlife photographer Andy Skillen has done drone photography jobs in Africa.
Rainproof Covers
Most high-end cameras these days are ‘weather-sealed’, but that doesn’t mean waterproof! That’s why a lens hood and a rainproof cover are essential if you’re likely to be hit by bad weather.
It’s possible to spend a lot of money on bespoke rain covers, but it’s also possible to get perfectly serviceable ones for very little on Amazon. All you really need is a transparent plastic tube with drawstrings on either end—either large or small, depending on your focal length.
Cleaning Kit
I have lens cloths, microfibre cloths and a blower to clean my equipment in the field. I also have a sensor cleaning kit just in case I get a sensor spot in the middle of a photographic expedition. However, it’s a nerve-wracking experience cleaning the sensor with a swab, and I don’t often need to.
The only cleaning product you really need is a lens cloth. In some parts of Africa and India, a layer of fine dust can easily build up on your lens, and it’s hard to see if you have a long lens hood. It makes sense to check it every now and again and give the surface of the lens a gentle wipe. A blower would also do the job, but it’s a bit bulkier, so I prefer a cloth.
Microphone
An external microphone is one of those accessories you’ll never need—until you do!
If you shoot video, most modern phones and cameras have built-in microphones that work perfectly well in most circumstances. However, they don’t cope well with wind noise, which can make a video sound awful. That’s the main reason for getting an external microphone with a ‘dead cat’ or ‘windjammer’.
Gimbal
Another useful tool for videographers is a gimbal, which is a stabiliser that works with cameras or smartphones. I was lucky enough to be given a few product samples from DJI and other companies when I was writing reviews for Expert Photography, but I’ve hardly used them.
I’m not a ‘run-and-gun’ videographer, and when I do shoot video, I generally lean on the side of a vehicle to stabilise my camera. However, it’s a personal choice, and it obviously depends what kind of shots you like to take.
Verdict
Travelling light
That just about covers everything you need for wildlife photography. As you can see, it’s not much! Obviously, it depends where you go and what kind of shots you like to take, but I generally go out on game drives with just two cameras, a lens cloth and a few spare batteries and memory cards.
I’ve been lucky enough to afford the very best camera equipment (with the aid of various bank loans and a remortgage!), but I now realise that most of my spending on accessories was wasted.
If you want to improve your photography, the best thing you can do is buy decent lenses. After that, an up-to-date, high-end mirrorless camera is a good investment. Beyond that, an ultra-fast laptop with a ton of memory and a huge hard drive will help you more than all the other photographic gizmos you can buy…
If you’d like to order a framed print of one of my wildlife photographs, please visit the Prints page.
If you’d like to book a lesson or order an online photography course, please visit my Lessons and Courses pages.